Sending this to Yeastspotting.
Click here for my blog index.
About 2 years ago, I made a mochi cake recipe for the first time (formula here), the rest, as they say, is history. The unique chewy texture from glutinous rice flour is what makes this cake stands out. As an extra bonus, it's very quick to put together.
My husband fell in love with this cake immediately, so much so that he asks for it all the time. No other desserts can compare in his eyes. The problem is that I HATE to repeat recipes. Usually I keep making something until I am satisfied with the result, then I move on -- which makes no sense because that means most of time we are eating my "failures". To compromise between his taste and my baking interest, I kept making different variations of this mochi cake, differ furthur and futhur from the original formula, making use of ingredients I have on hand.
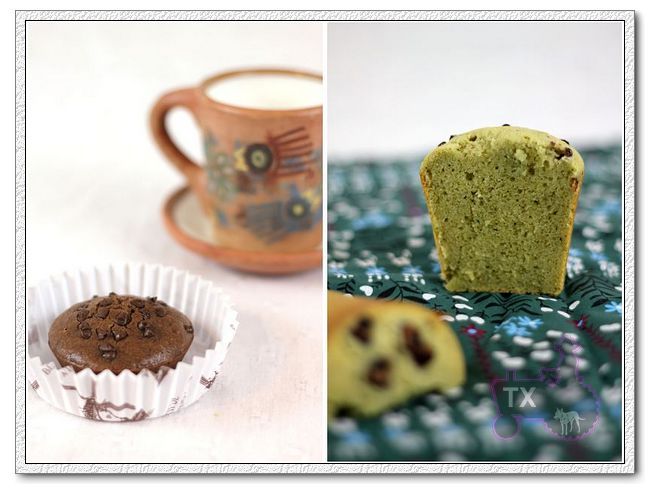
-- Cocoa Mochi Cake
glutinous rice flour, 200g
cocoa powder, 25g
baking powder, 1tsp
sguar, 130g
evaporated milk,187g
butter, 85g, meltd
egg, 2, beaten
chocolate chips, some
-- Matcha Mochi Cake
glutinous rice flour, 220g
matcha powder, 5g
baking powder, 1tsp
sguar, 130g
evaporated milk,187g
butter, 85g, meltd
egg, 2, beaten
Chinese red bean, cooked, some
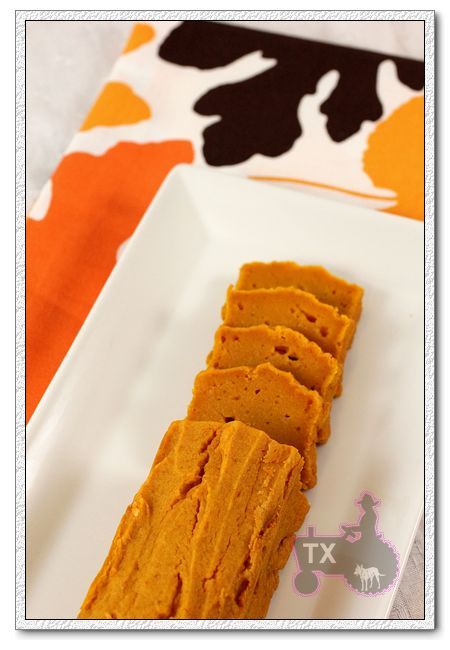
-- Pumpkin Mochi Cake
glutinous rice flour, 226g
pumpkin puree, 400g
baking powder, 1tsp
sguar, 100g
condensed milk,198g
butter, 113g, meltd
egg, 2, beaten
vanilla extract 1tsp
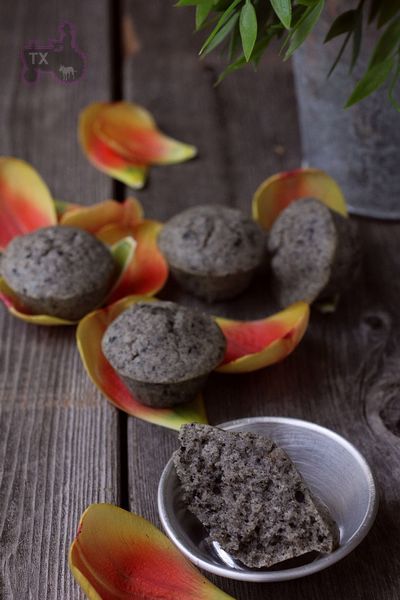
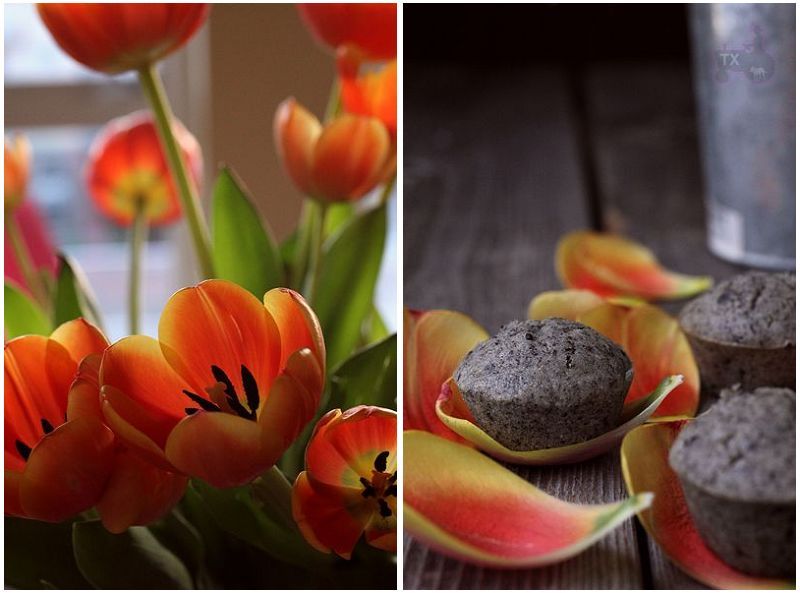
-- Sesame Mochi Cake
glutinous rice flour, 220g
black sesame powder, 40g
baking powder, 1tsp
sguar, 155g
milk,140g
heavy whipping cream, 47g
butter, 85g, meltd
egg, 2, beaten
black sesame, 2tsp
-- Banana Mochi Cake
glutinous rice flour, 220g
baking powder, 1tsp
banana puree, 150g
sguar, 155g
milk,75g
heavy whipping cream, 47g
butter, 85g, meltd
egg, 2, beaten
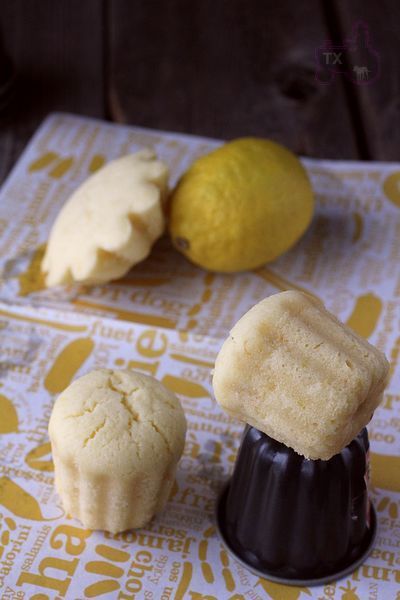
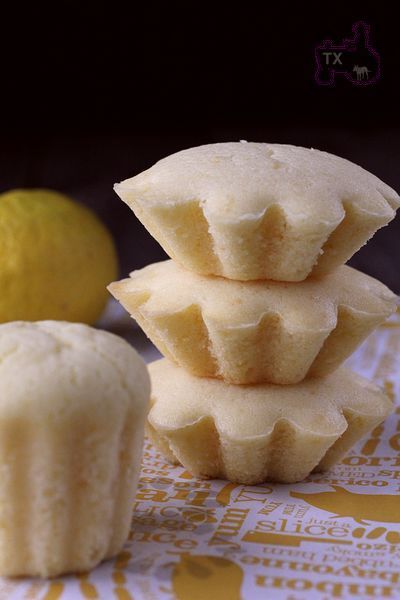
-- Lemon Mochi Cake
glutinous rice flour, 220g
baking powder, 1tsp
sguar, 165g
lemon juice,75g
heavy whipping cream, 50g
lemon zest, 10g
butter, 85g, meltd
egg, 2, beaten
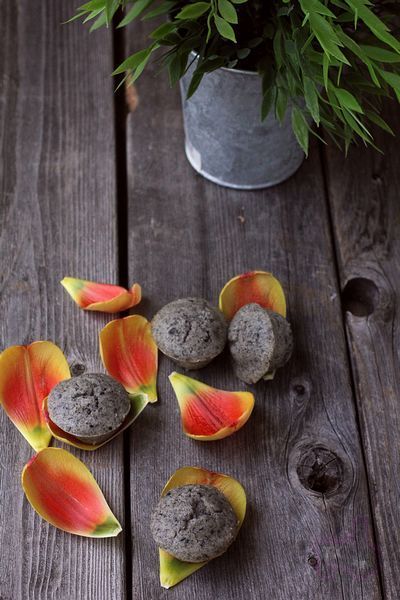
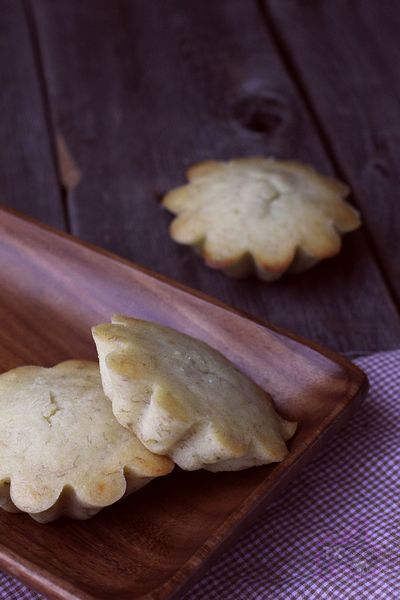
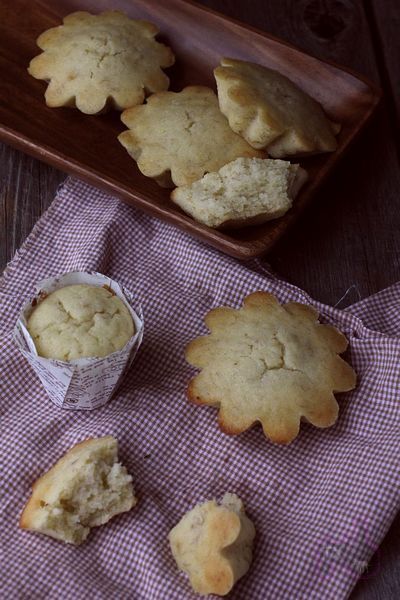
For all the formulas above, the process is the same: mix together the dry ingredients (flour, powder, and baking powder), the wet ingredients (everything else), mix together wet and dry, pour into molds and bake at 350F until done. I like to bake them in cupcake molds. As you can see in the photos, sometimes I get inventive, and bake them in broiche molds, or something similar.
Glutinous rice flours are not created equal. If you use Koda Sweet Rice Flour (link here, which can be found in most grocery stores), the liquid amount should be about right, however if you use another brand (there are many brands of such flour in Asian market), liquid amount may have to be adjusted.
Now these days I use whatever diary/liquid I have on hand and add enough until the batter looks "right". Mochi cakes are supposed to be a bit sticky, but the crumb shouldn't be too wet. If cakes sink during cooking, they are most likely undercooked. For normal muffin tins, I usually bake them for 25-30min at 350F.