The Fresh Loaf

A Community of Amateur Bakers and Artisan Bread Enthusiasts.

Recent Blog Entries

amolitor's picture
amolitor

This was developed from a list of ingredients lifted from the display case at Arizmendi Bakery, in San Francisco. I consulted a few other similar recipes to help out with proportions. The technique is basically a stretch-and-fold approach I lifted from some Tartine recipe in a magazine.

Levain

  • 2 T wheat bran
  • 3/4 cup whole wheat flour
  • 1 cup water
  • 1-2 T active starter ("sufficient" starter to get the levain going)

Set out overnight, or until it is sufficiently developed to float. It's fairly cool here, so 10-12 hours seems to work well for me now.

Dough

  • all of the levain
  • 1/2 cup warm water
  • 2 1/2 cups bread flour ("sufficient" flour to make a fairly wet dough)
  • 1 1/2 tsp salt

Mix well, until the dough separates from the bowl stickily, the usual sort of thing. Stretch and fold every half hour or so for about 3 hours, until the dough is getting close to fully devloped (elastic and as smooth as the bran will allow, and starting to get leavened). Mix in:

  • 2 T fennel seeds
  • 1 tsp fresh ground pepper
  • 12 medium sized dried black figs, quartered (take the stems off if there are any!)

You want the dough mostly but not completely developed. You're going to mix in this stuff with some stretch and fold every 15-20 minutes or so, for 2 or 3 turns. So, another 40 minutes to an hour on the bench.

Form up a loaf, bake at 450 for 40 minutes or so. You'll want to bake a few minutes longer than you would normally bake a loaf of this size, for the figs.

The pepper really makes this one. 1 tsp adds a definitely peppery bite, so you may want to start with less if you're not a pepper fan, or if you are worried about big flavors.


ars pistorica's picture
ars pistorica

City loaf

100% flour, stone-ground wheat, 80% extraction rate

89.9% water

24% starter

2.76% salt

Percentage of flour pre-fermented.  15%.

Final dough temperature.  23.5°C.

Autolyse.  2h.

Bulk ferment.  4h30m - 5h.

Divide & rest.  20m - 30m.

Proof.  12h - 18h, at 8°C.

Bake.  265°C, with steam, for 5m, and then 250°C for 35m.  Vent, 235°C for 10 - 20m more.

Starter, city loaf

100% flour, stone-ground whole wheat

60% water

16% starter, bakery

Final dough temperature.  23.5°C.

Fermentation time.  10 - 12h.

Starter, bakery

100% flour, stone-ground whole wheat

60% water

10% starter, bakery, 24h-old

Final dough temperature.  23.5°C.

Fermentation time.  24h.

greedybread's picture
greedybread

This baby is simply divine..

Although cranberries are sweet, they are offset by the maple syrup and it is not too sweet.

Yummy....

You need to start this the day before, but its still a easy recipe.

It tastes delicious, lovely toasted and even nicer with a lick of ricotta.

So lets get yeasty!!

I know you were thinking i had turned to the dark side of cakes and slices ....BUT NO!!

Ye of little faith!!

Mmmmmm, lovely crumb

So what will you need?

For the starter:

1/4 cup of maple syrup

1/2 cup of warm water

1 tsp of dried yeast

1/2 cup of Strong bakers Flour

Tasty with a pat of butter!!

For the dough:

2  cups of Strong bakers flour

1  cup of warm water

1/3 cup of olive oil

1 tbsp of maple syrup

2 tsp of dried yeast

1 cup of fine polenta

Pinch of Salt

1 cup of cranberries.
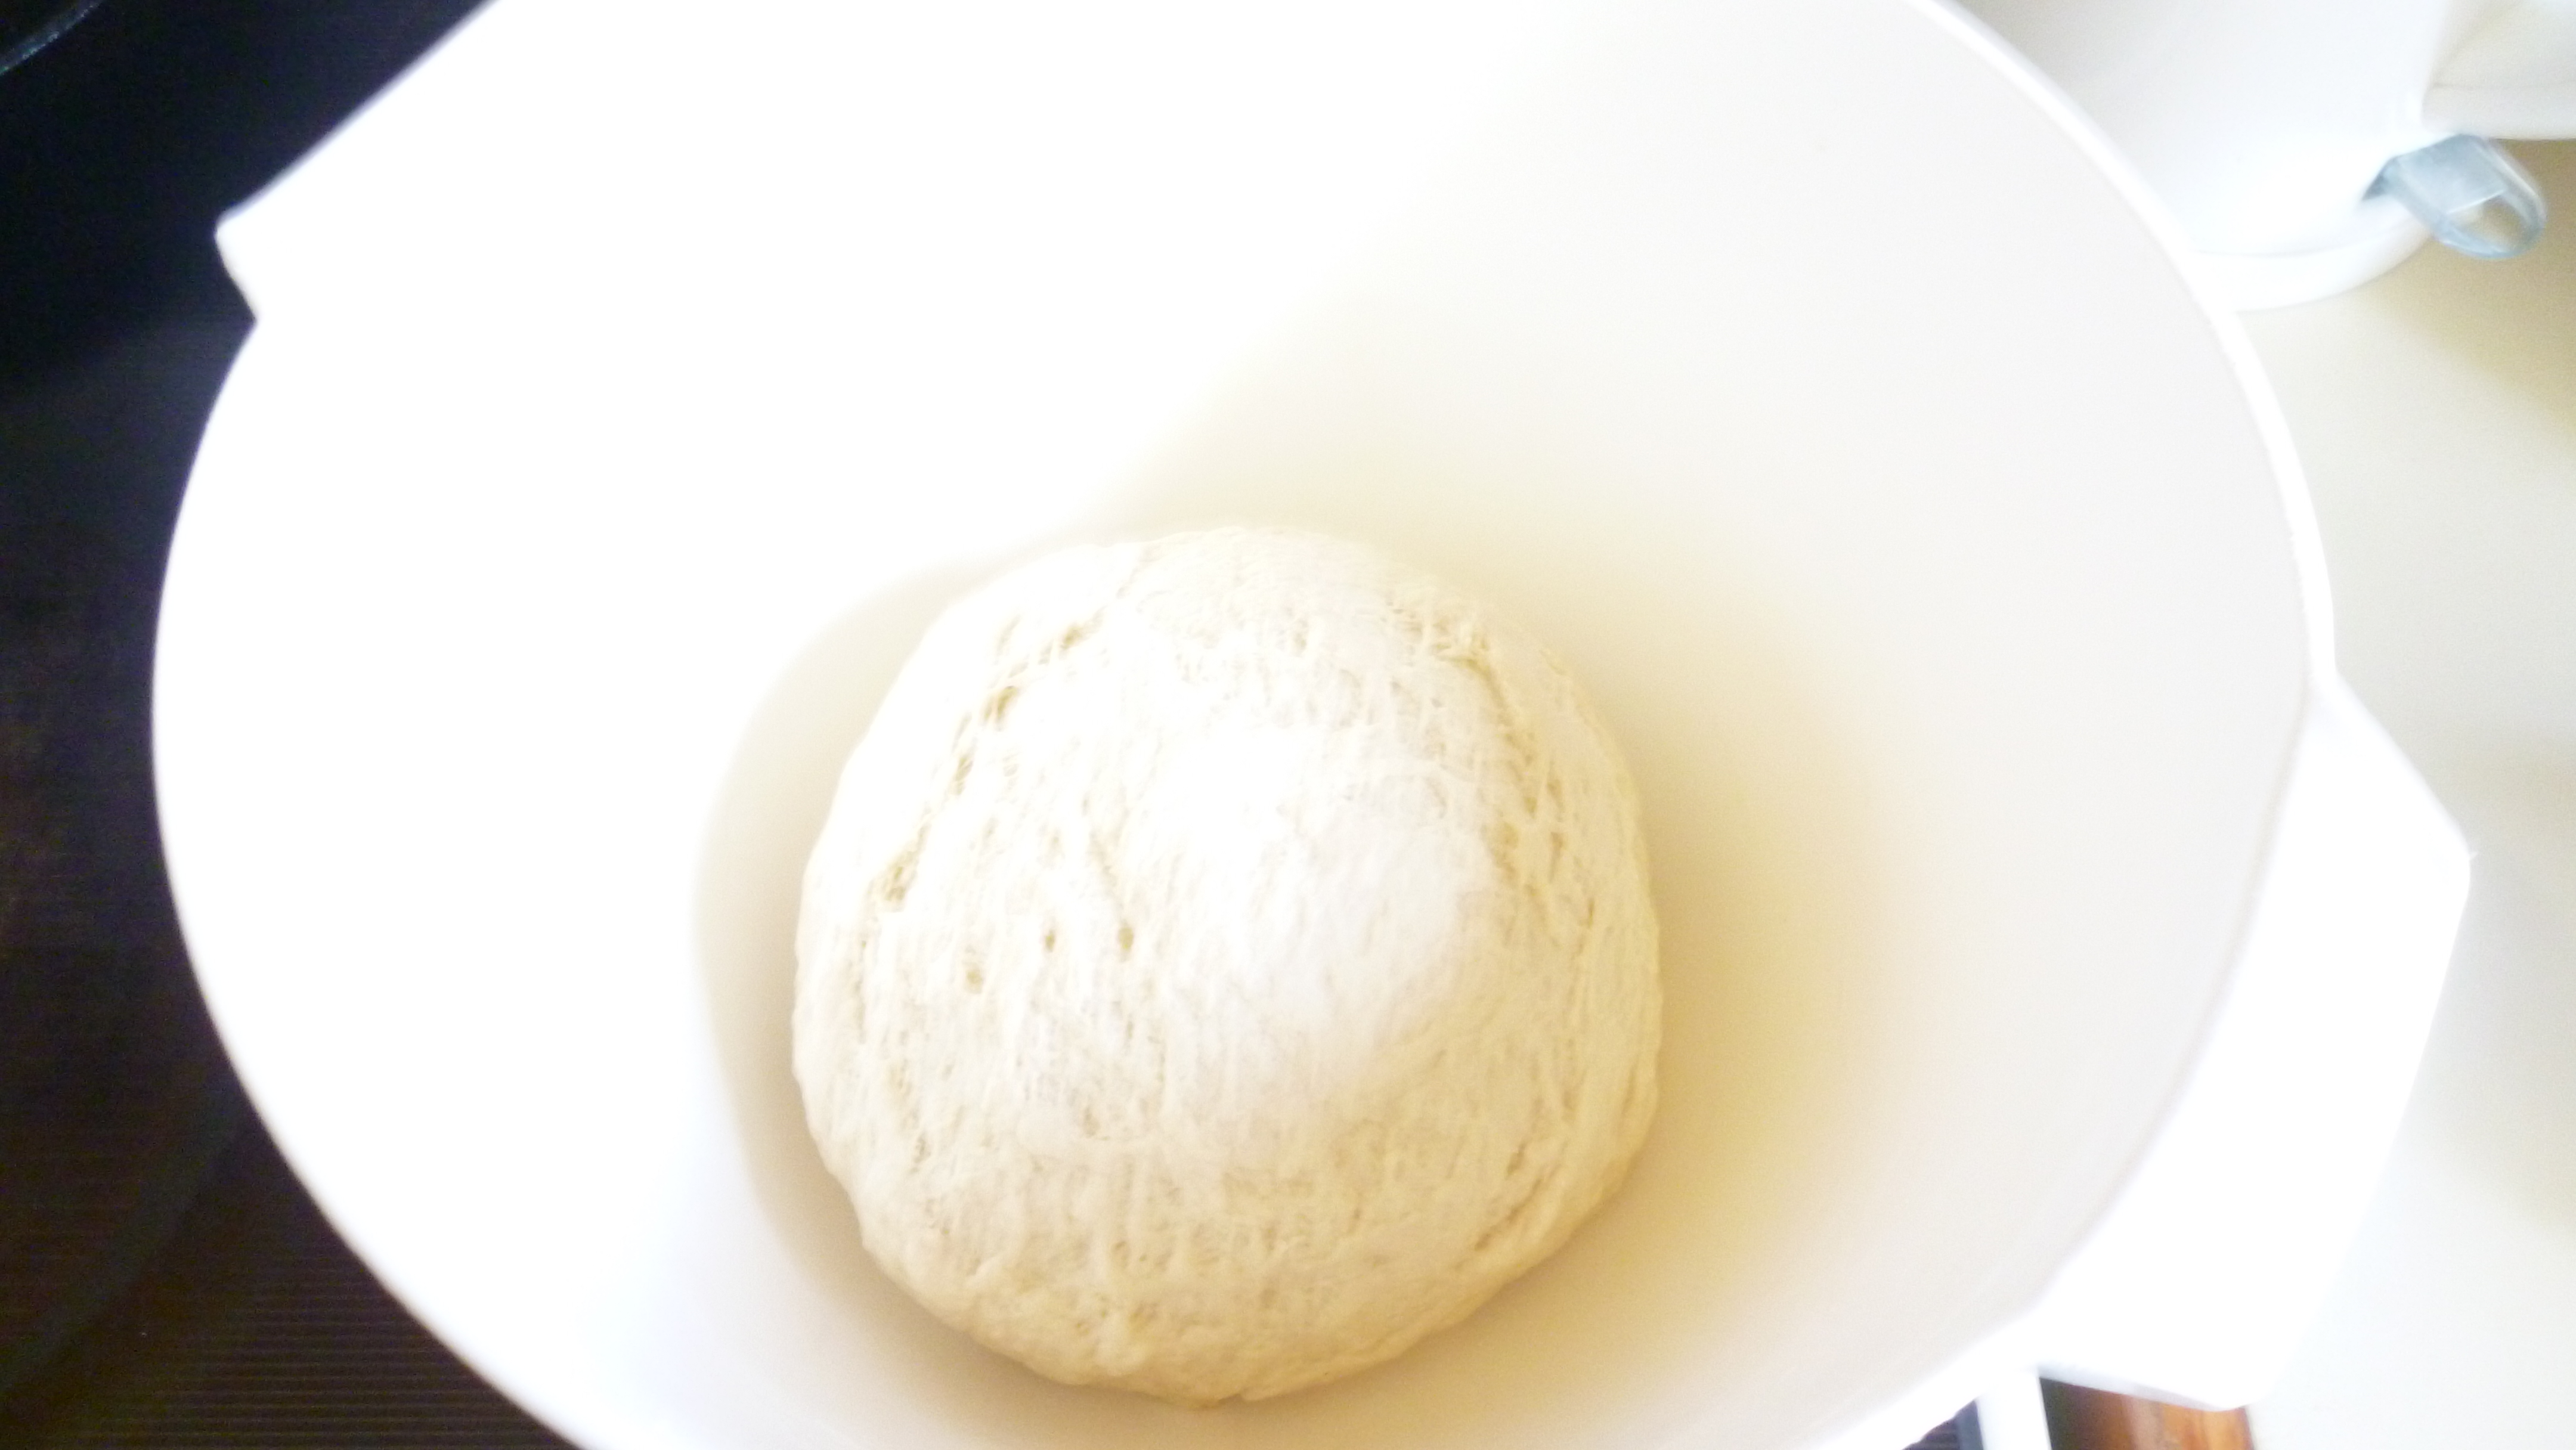
Cranberry dough

Step one:

The night before or the day before (12 -24 hours before), warm water and mix in maple syrup and the dried yeast.

Allow to become creamy and frothy and then add in the flour.

Mix well and then cover with glad wrap and leave in RT for the next 12-24 hours.

Cranberries...

Step 2:

When you are ready the next day, uncover the starter from the day before.

Warm the water and add in the yeast and the 2nd lot of maple syrup and allow to become frothy.

Mix this into the starter from the prior day along with the olive oil and combine well.

In a separate bowl, combine all the dry (flour, salt and polenta) ingredients and then mix in the wet mix.

Combine well, add a little more water if need be to make a smooth dough.

Knead for 5-8 minutes  until the dough is elastic.

Cover with glad wrap and allow to rise for 2 hours.

Roll the cranberries in the dough....

Remove dough and roll out slightly on a lightly floured board.

Sprinkle cranberries (as above) and then roll up so they don't fall out.

Give a small knead, integrating the cranberries.

Cut dough in half and form two baton shape loaves.

You could do round or plaited as well.

Place dough on baking tray with baking paper sprinkled with polenta.

Roll in polenta gently and cover with a tea towel.

Allow to rise for 70 minutes.
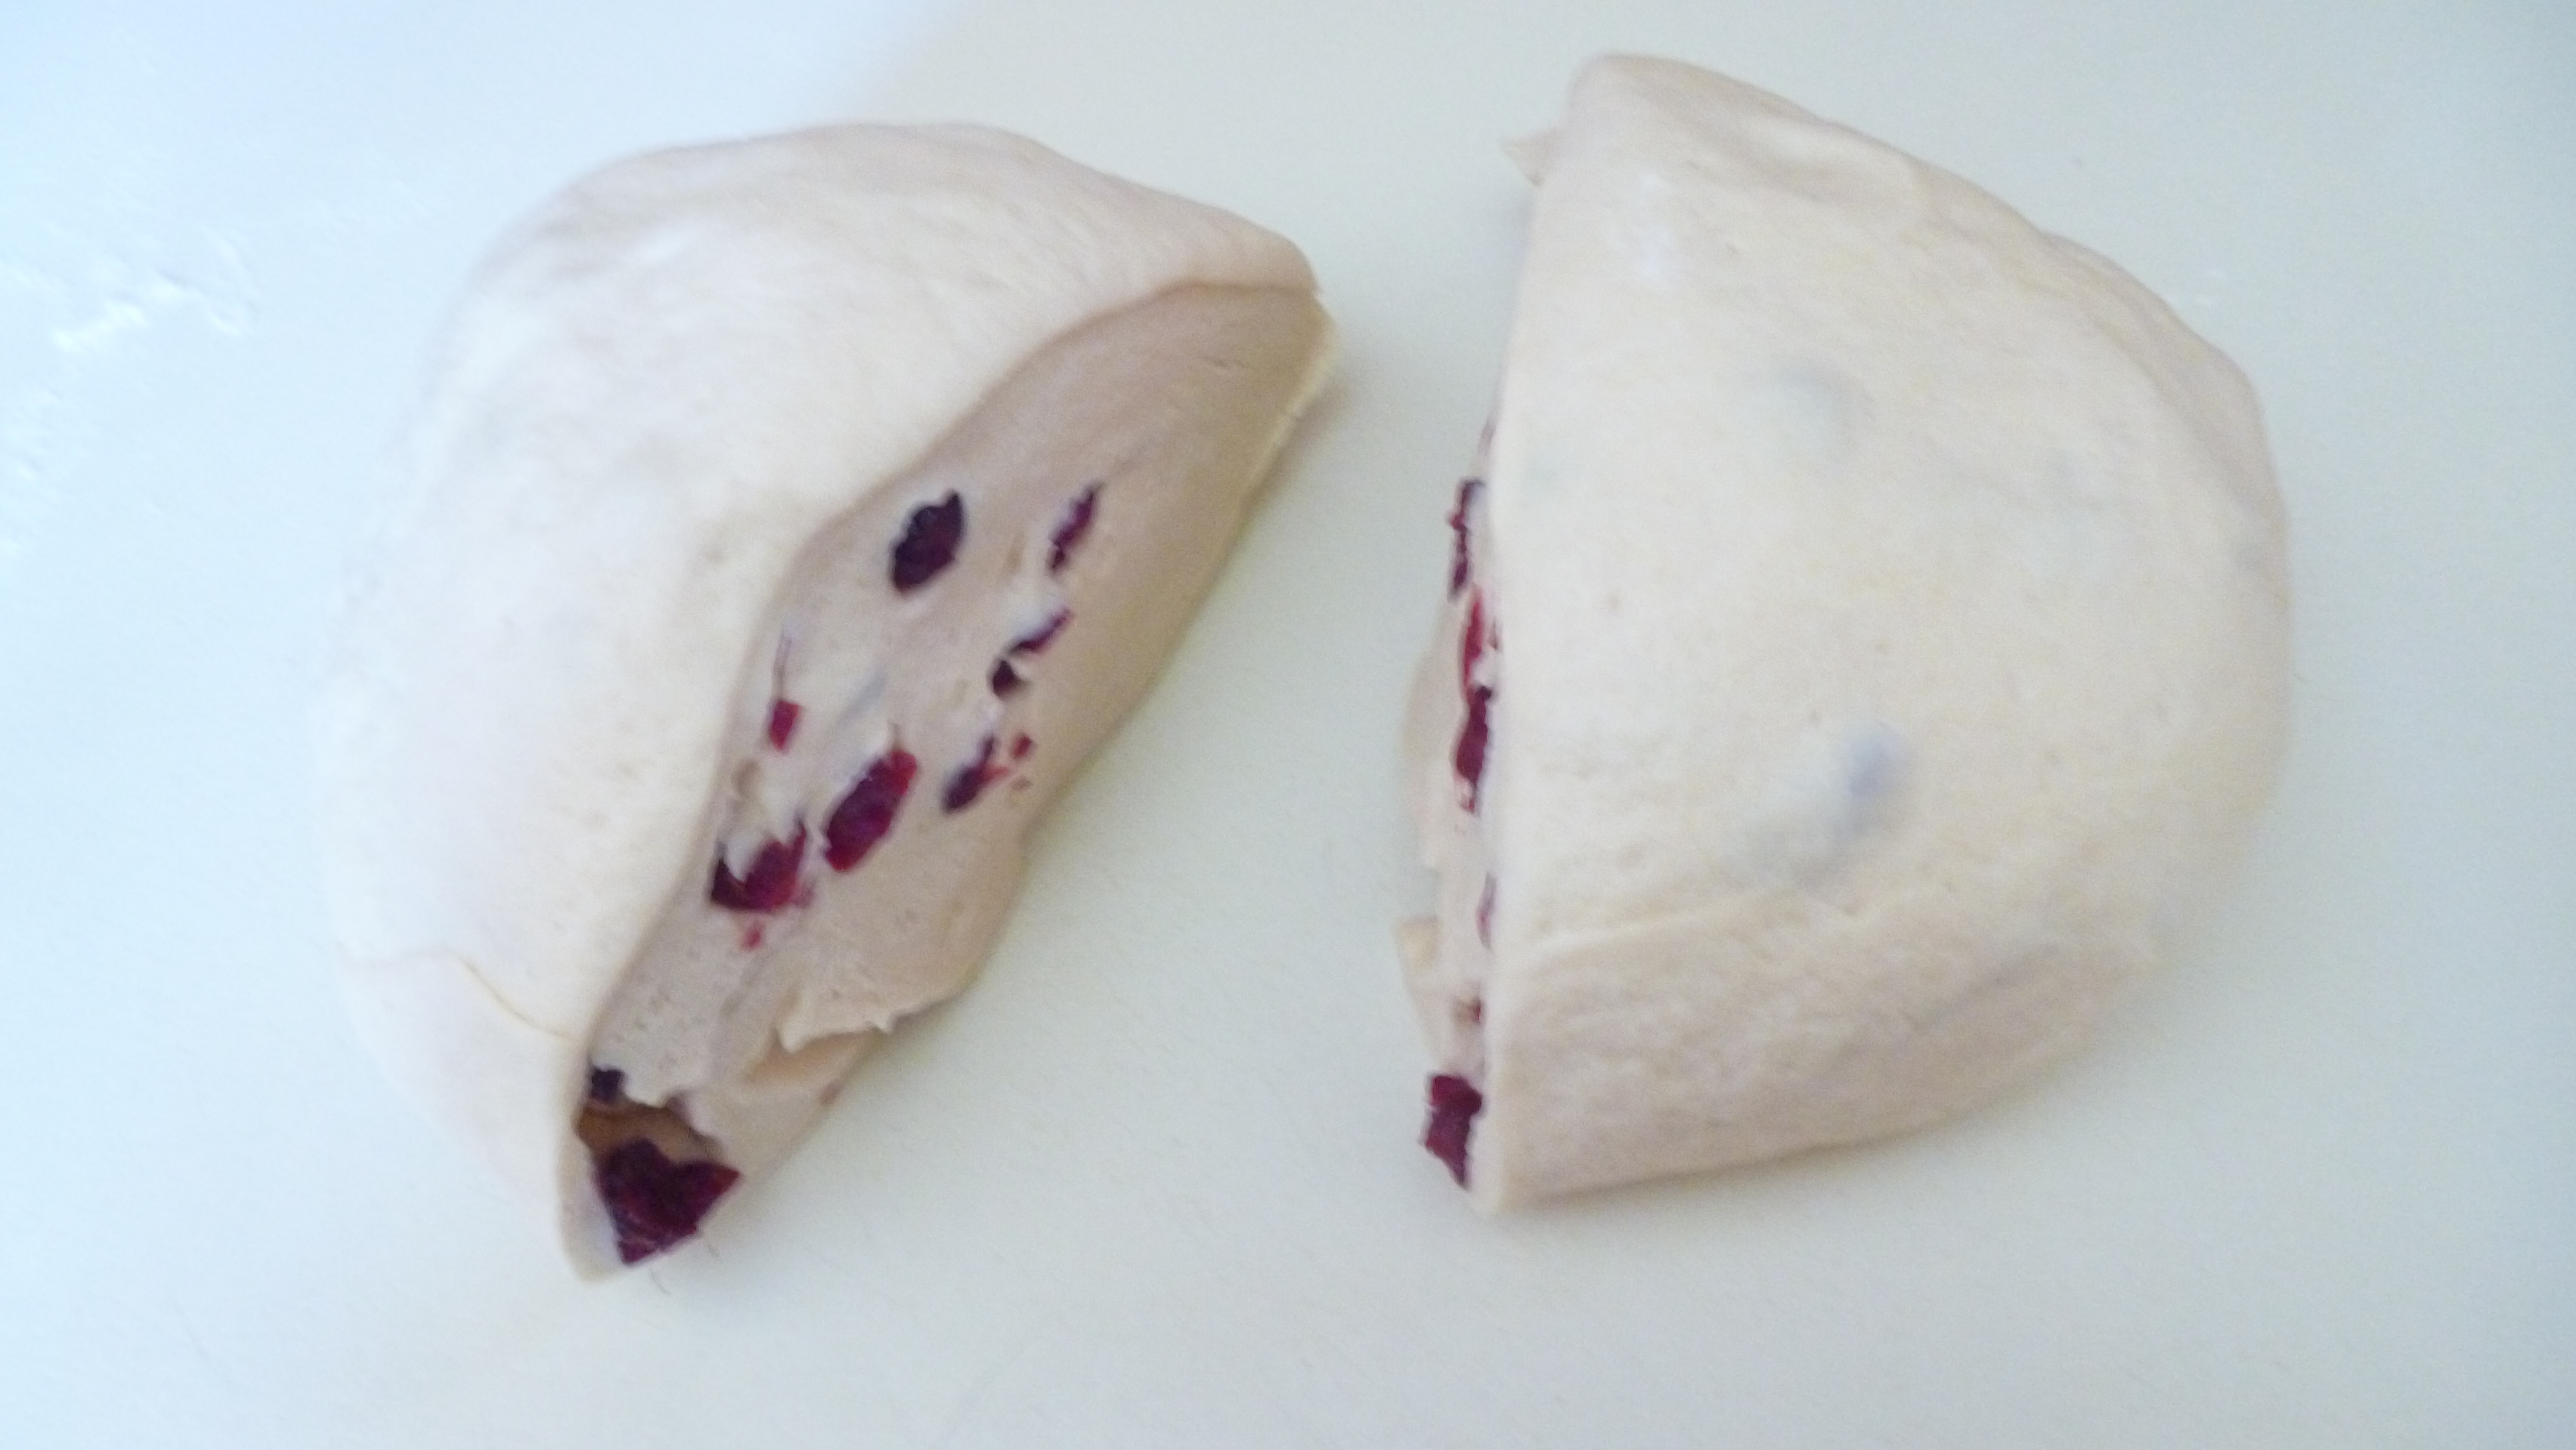
two lovely loaves

Preheat oven to 200 celsius.

Slash the top of the loaves and place in the oven.

Bake for 30-35 minutes until slightly colored.

Remove from oven and allow to cool.

This crust is quite firm but the crumb is very moist.

When you are ready, slice a piece or break off a piece and ENJOY, ENJOY, ENJOY!!

Ready to rise")
ready to bake!!
Slash them baby!!
all baked....
Have a piece...

Now you can with this recipe, take out the maple syrup and use black strap molasses for a different taste.

But only use half the amount of molasses.

It gives it a deeper color and the molasses off sets the cranberries as well.

http://greedybread.wordpress.com/2012/10/16/cranberry-maple-syrup-polenta-bread/

jamesjr54's picture
jamesjr54

Wanted to share this success. Like you all, I hate discarding so much starter, so I've been experimenting with uses - pancakes, english muffins etc. Got the English Muffins to where I'm happy - more batter-like than dough is the secret. Emboldened by English Muffin success, I wanted to experiment with some bread. I tried this formula:

2 days before baking:

Fed  25g of my 100% starter with 50g each KAP and water = 125 G.

Day before: saved 30g, and used 50g in a levain (discarded the rest).

Levain

50g starter

68g AP flour

12g Rye

100g water


Baking Day

Dough - about 68.5% hydration

650g KAP

480 water

All of the Levain (230g)

85G White Whole Wheat (KA)

45G Rye

20G Oat Bran (Bob's Red Mill)

10g salt

7 g flax seed meal (Bob's Red Mill)

Mix all but salt. Autolyse 90 minutes. Add in salt and knead 10-12 minutes by hand. 

Bulk ferment 2.5 hours with S&F at 50 minutes

Preshape; rest for 10 minutes, then shape.

Final Proof 90 minutes (my house was a cool 68F, while outside was about 20F)

Then, my usual baking regimen: 500F preheat with cast iron dutch oven/combo cooker; 20 minutes covered at 475F; 20 minutes uncovered (final 10 minutes with parchment paper removed).

This bread came out great! The flavor was really sublime - slightly nutty and sweet - I guess from the oat bran/flax seed meal combo. Not much sourdough tang at all, which was fine with me.  The crumb was a little too open, owing I think to not enough kneading/development. We demolished the first boule with some homemade minestrone and grilled cheese. 

JMonkey's picture
JMonkey

I bake bread about twice a week for my family, and these days, it's usually either a sourdough from 50% whole wheat, 10% rye and 40% AP or a loaf of Buttermilk and Honey Whole Wheat. But for whatever reason, I was craving rye yesterday, so I set up this loaf. No caraway, as I'd run out, though i do like it.

Here's how I made it:

Formula

  • Whole Rye: 40%
  • High-Gluten Flour: 60%
  • Water: 75%
  • Salt: 1.8%
  • All the rye is in the starter with a hydration of 100%


Ingredients

  • Whole rye starter, 100% hydration: 400g
  • High gluten flour: 300g
  • Water: 175g
  • Salt: 9g
  • Optional -- 9g of caraway seed

To make the bread, mix up all the ingredients and knead. It's sticky, so I like to let it sit for 10-15 minutes first, then I knead with wet hands for 3-5 minutes, let it sit again for 5 minutes, and do a final couple minutes of kneading. Let it rise for 2.5 to 3 hours, shape, and give it another 2.5 to 3 hours to finish. I baked mine in a cloche at 450, covered for 35 minutes, uncovered for 10.

For this morning's breakfast, Iris (my 9-year-old) desperately wanted bagels, so I said I'd make them, but I only had rye starter ready to go. Could be interesting, I thought. So I plowed ahead. They turned out well!

Forumla

  • Whole Rye: 16%
  • High gluten flour: 84%
  • Water: 59%
  • Salt: 2%
  • Diastatic malt powder: 1%
  • All the rye was in the starter at 100% hydration

Ingredients

  • Rye Starter at 100% hydration: 285g
  • High gluten flour: 735g
  • Water: 375g
  • Salt: 18g
  • Diastatic malt powder

Here's how I made them. The night before, I mixed up all the ingredients until they were mostly hydrated, and then let them sit for 15-20 minutes. I then kneaded for about 5 minutes, let it sit for another 5 minutes, and gave it a final kneading of 2-3 minutes. I then cut the dough into 12 pieces of 110 - 120g each.

I pre-shaped each piece into a ball and then rolled them out into a snake, which I wrapped around my hand, sealing the ends together with the heel of my palm. They proofed overnight, covered, in my garage, which is unheated, but rarely gets below 45 degrees F.

The next morning, I brought a big pot of water to boil, to which I'd added a good handful of baking soda. Does it make a difference? Who knows? But I know I'm not messing around with food-grade lye, and baking soda is cheap. Why not? Anyway, it was apparently very cold last night. Usually, I boil them for a minute on each side, and they typically float after 30 seconds or so. These didn't float until 1:45 had passed! Anyway, I put them on a piece of parchment paper that I'd placed on my peel, and let them cool down a bit before brushing them with an egg wash (1 egg + a tsp or two of water, lightly beaten). I like the color it gives them, and it makes the toppings stick better. For toppings, I like garlic, onion, a salt & seed mix, and cheese. For the garlic and onion, I've found that what works best is to rehydrate dehydrated onion and garlic with hot water. Fresh just burns to a crisp in the oven. I add cheese halfway through the bake. Cheese on top of some garlic is particularly nice. I baked at 500 degrees F on a pre-heated baking stone for 10-12 minutes, turning once halfway through the bake.

Finally, my daughter and I have had a lot of fun with the pasta machine we got for Christmas from my parents. Last night, we made spinach and cheese raviolis, which were a ton of fun to make, and even more fun to eat.

I sauteed them in some brown butter after they boiled and then topped with grated parmesan. Just delicious. Here's Iris and me turning the scraps into noodles. They went into the freezer and will likely be added to a soup sometime soon.

Happy New Year, fellow bakers!

Joe Fisher's picture
Joe Fisher

I helped a good friend plan a New Year's Eve party. We went with a Persian theme. When she suggested lavash, I was excited to give it a try. She broke out Food of Life and we found a recipe. There were two given: one was (heavily) enriched with butter and milk, the other was lean; it's basically French bread dough with sugar. We decided on the lean version.

The dough went together like any other lean dough. I kneaded it about 4 minutes in the Kitchenaid, then a few minutes by hand. Then almost a 2 hour rise and it was time to cook!

I started by cutting a ball off the dough and flattening it out. Next rolled it to about 6", let it rest a few minutes for the gluten to relax, then finished rolling it to about 8-10". After that I stretched it across my hands--a lot like making pizza--by tossing it back and forth.


Then the recipe called for a "baker's cushion". It's a round pillow with a cotton cloth tied over it. The idea is to stretch the dough over the cushion to get it round and correctly-sized. I didn't have a good substitute, so I flipped over a big, stainless bowl and put tea towels over it. Worked perfectly! You can see this is a very serious job.


Now the fun part. The recipe calls for a saj, which is a cast iron griddle that may be flat or domed. Since I didn't have one, the recipe suggested an upside-down wok. I put it over my biggest burner, put the heat on low, and it worked a treat! They only required 1-2 minutes each to cook.


And of course, the finished products. The seed mix is nigella and toasted sesame. The recipe says to sprinkle the seeds on after you put the dough on the saj, but there's no way they'd have sticked. I brushed them with a little melted butter and sprinkled after they were done.

They were delicious on their own, as well as being a vehicle for some wonderful eggplant dip, and being transformed into the magical tahdig at the bottom of the rice pot.


matt_s09's picture
matt_s09

happy new year eveyone. 

dmsnyder's picture
dmsnyder

A question arose recently about the use of a couche for proofing bread. Here is a demonstration of how to use a linen couche.

Step 1: Mis en place

Equipment needed: Proofing board and a length of baker's line.

In the bakery, loaves that are not proofed in baskets are proofed on wooden boards covered with baker's linen. After the loaves are placed on the linen between folds, they are  covered with heavy plastic sheeting. The boards are then shelved in rolling racks which are usually themselves covered with plastic.

Baker's linen is an ideal material on which to proof loaves. It is relatively inexpensive. It is flexible. It is inherently non-stick. Even when proofing loaves made with high-hydration, somewhat sticky dough, flouring of the linen is generally not needed. The linen absorbs some moisture from the surface of the loaves which makes them easier to score cleanly.

Baker's linen can be purchased from King Arthur Flour or from TMB Baking (affiliated with the San Francisco Baking Institute). The latter's prices are lower. (I have no financial association with either.)

At home, we are usually only proofing 2 to 4 loaves at once, so a simpler procedure can be followed.

Step 2: Preparing the couche.

Cover the board with the linen. Fold back one end, and roll it up to form a supporting structure for the first loaf place on one end of the couche.

Step 3: Placing the loaves on the couche.

The loaves are placed on the couche. Note the roll of linen supporting the right hand side of the loaf on the right and the fold of linen between the two loaves.

Step 4: The left hand end of the couche is brought up and over to cover the proofing loaves.

Any excess linen can be folded back over to cover the loaves with another layer of linen.

Step 5: The covered loaves are left to proof until ready to bake.

I generally prefer proofing loaves seam side up. The exception is loaves topped with seeds. When transferring loaves proofed seam up with a transfer peel, the loaves must be flipped over on the couche before being transferred to the transfer peel, then to a peel for loading onto a baking stone.

Step 6: Uncover loaves. (Seen with transfer peel)

Step 7: Pull linen from left end to flatten out the folds

Step 8: If loaves were proofed seam side up, flip them over so the seam is down.

Step 9: Transfer loaves to a peel.

Step 8: Score the loaves.

Scored loaves, ready to load.

Loaded onto the baking stone.

Twelve minutes into the bake. Good oven spring. The cuts have opened nicely with good ears. The loaves have just started to color. Time to vent the steam.

 After another 13 minutes baking and 7 minutes resting in the turned off oven with the door ajar ...

San Joaquin Sourdough. My last bake of 2012.

Happy Baking to you all in 2013!

David

breadforfun's picture
breadforfun

I baked a few sourdough loaves for last-minute gifts today.  Using the basic 1-2-3 sourdough recipe, my 100% hydration starter, and a mixture of 70% T-70 (from Central Milling), 15% whole wheat (BRM), 10% whole spelt and 5% rye for the final dough, the final hydration is a bit over 71%. Each loaf was scaled at about 600 gm for a final loaf weighing 500 gm.  The shaped loaves were retarded about 20 hours in the refrigerator and final proofed at room temperature for 2 hours before peeling into an oven heated to 500˚F.  They were baked at 440˚F with steam for 15 minutes, then 420˚F convection for another 20 min.

Happy New Year to all.

-Brad

Pages

Subscribe to Recent Blog Entries