Rosewater, Cardamom & Fruit Challah…Posted on June 26, 2013
Gorgeous!!
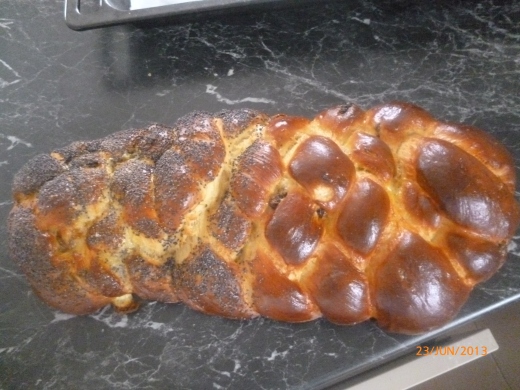
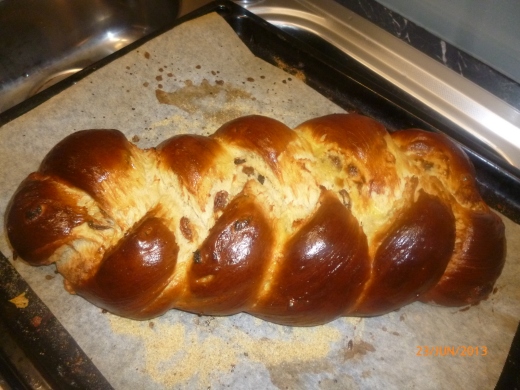
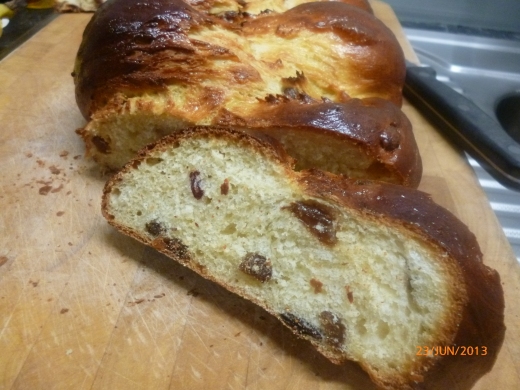
5 braided Challah

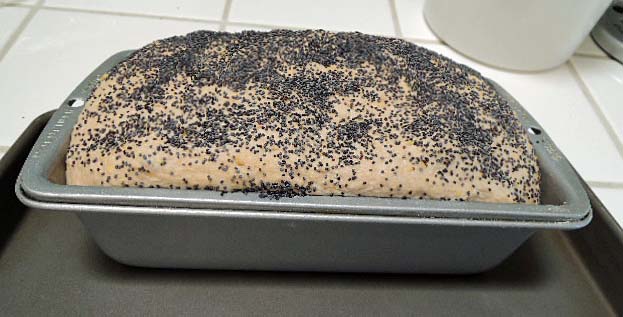
half poppy seed half fruity
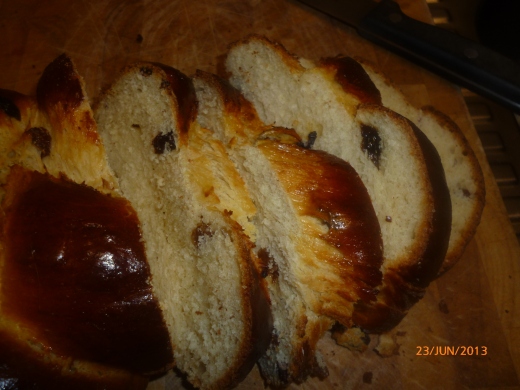
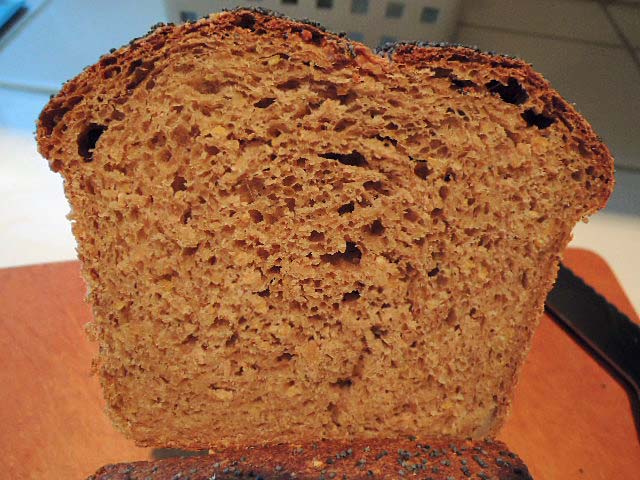
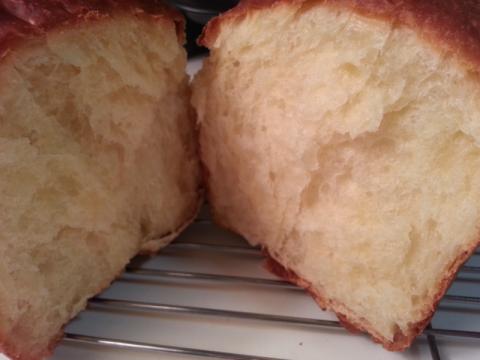
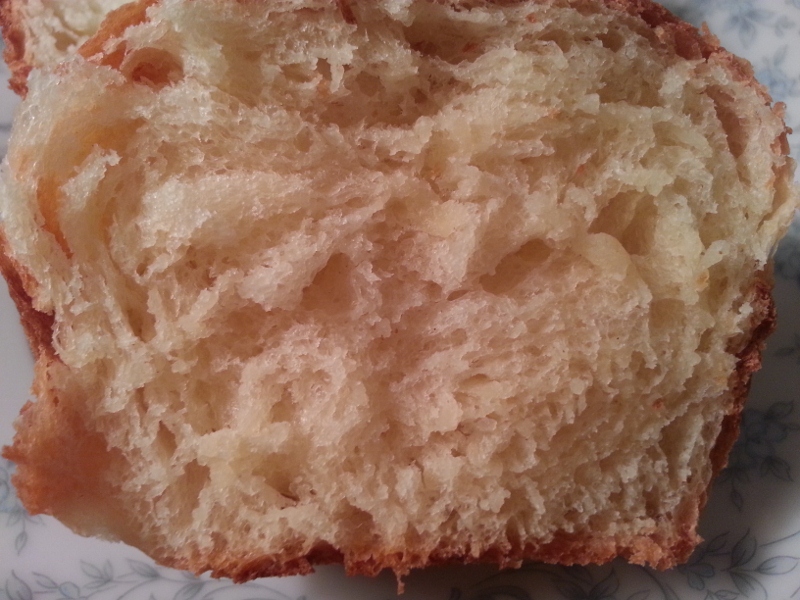
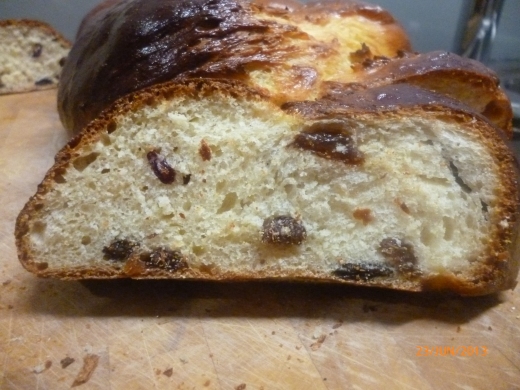
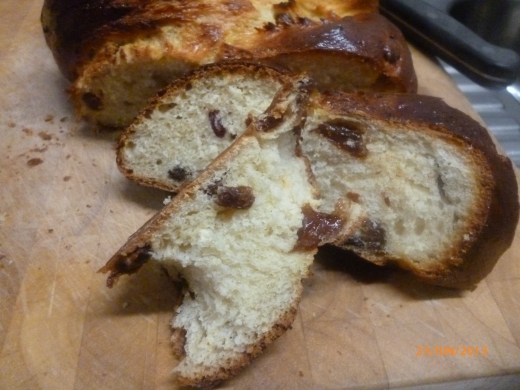
Sliced….mmmmmmm
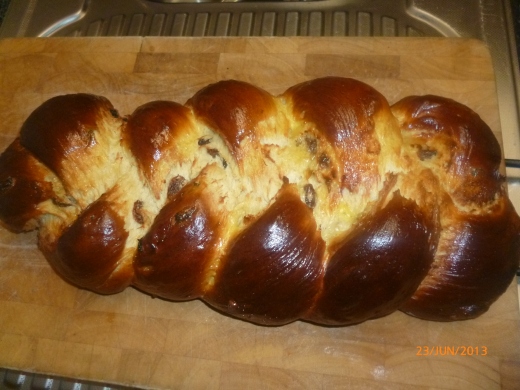
3 braided…fruity
I am still eating this bread and I made it on Sunday!!
Nice, moist but not too rich….
A little bit of effort required but well worth it.
Plus there is so many variations on the challah breads, you could make them for ever!!
What will you need?
6 cups of flour
4 tsp dried yeast
1 cup of warm water
1 cup of castor sugar
twist of salt
4 eggs plus 1 yolk
1/2 cup of olive oil
1 egg for glazing:)
2 cups of mixed fruit (I used cranberries, sultanas and raisins)
3 tsp cardamom
4 Tbsp of Rosewater .
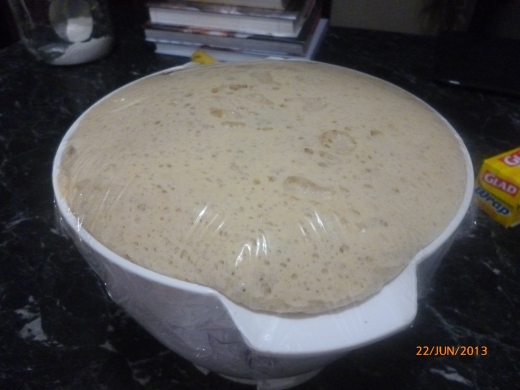
the dough resting…
ready to shape …
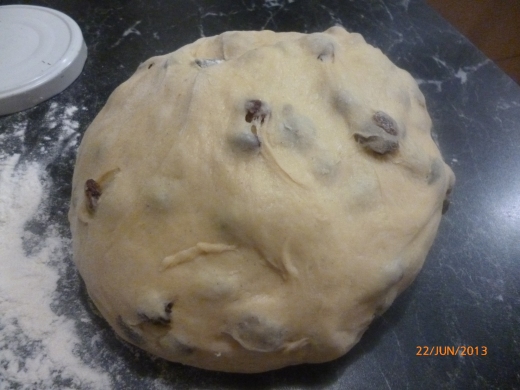
dough ready to be shaped…

ready to be rolled…
What do you need to do???
Warm water, add in a tsp of the sugar with the dried yeast and mix well.
Add in 2 cups of flour and mix until resembling a smooth paste.
Cover and allow to stand for 40 minutes until soupy and frothy.
Whisk the eggs, oil, and extra yolk together with the sugar in a separate bowl.
Place all the dry ingredients (flour, salt, cardamom) into a bowl and combine well.
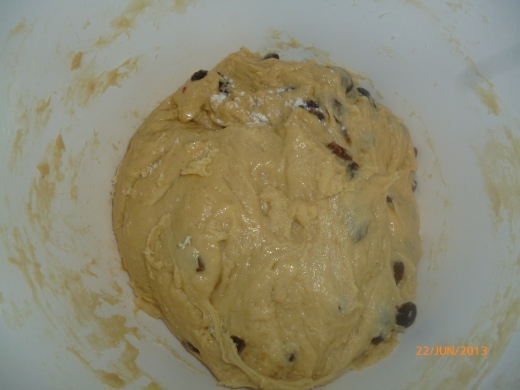
Add the eggy mix to the spongey yeast mix and combine well.
Add wet mix to the dry ingredients forming a dough.
Knead the dough for about 8-10 minutes, adding in lightly dusted with flour fruit in the last few minutes.
Place dough in a well oiled bowl and cover, allowing to rest for 90 minutes.
rolled and resting
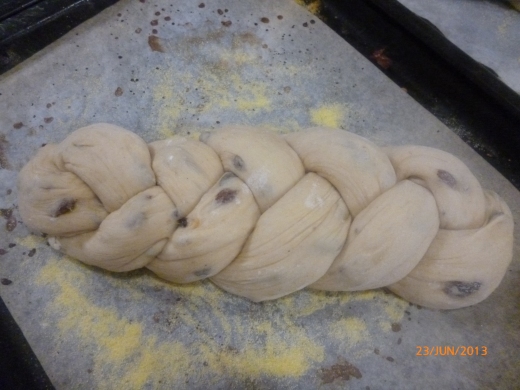
3 braid…
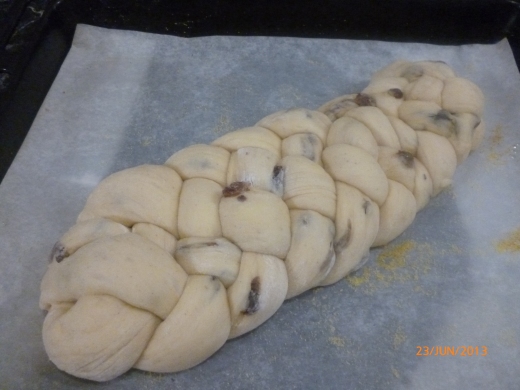
5 braided …
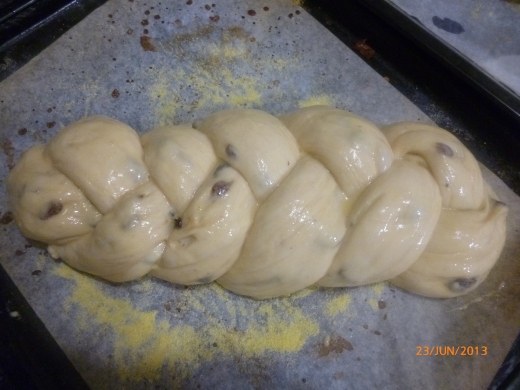
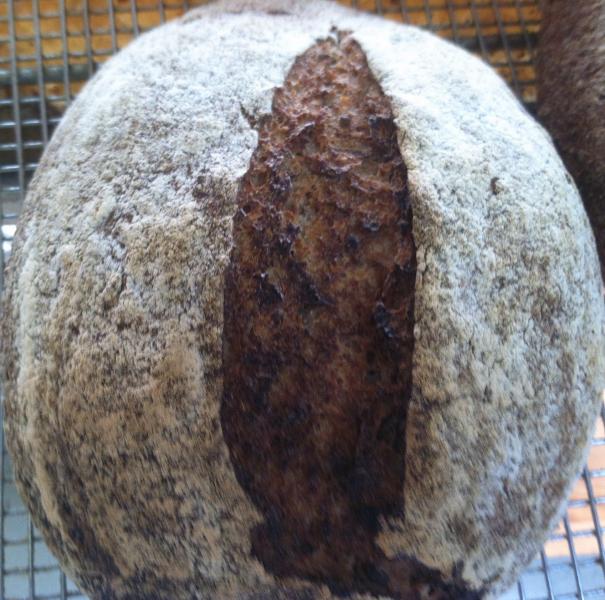
glazed and ready to bake…
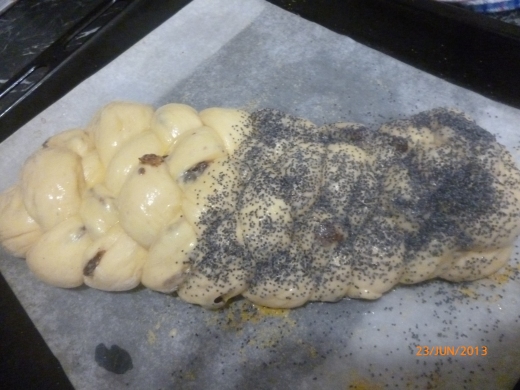
half and half…
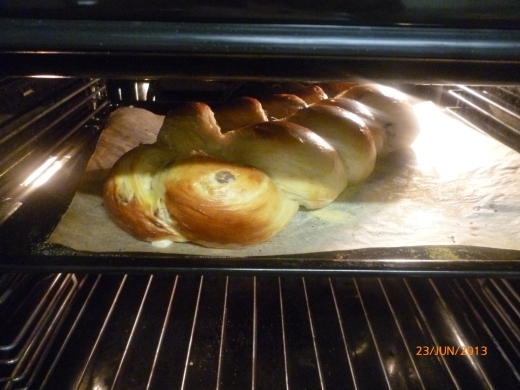
Peeking half way baked:)
Turn rested challah out onto a lightly floured board.
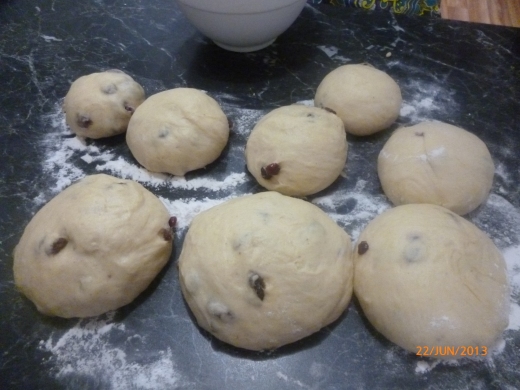
Punch down and knead for 1-2 minutes and shape into a ball.
Cut into the pieces you want.
I made 2 loaves, 1 x 3 braid and 1 x 5 braid (so 8 pieces).
You can do 1 loaf or 3 loaves ….up to you.
Have a play and maybe do 1 this time and 3 next?
Experimenting with flavours too.
To make this plain, do not add in the rosewater, pistachio and cardamom.
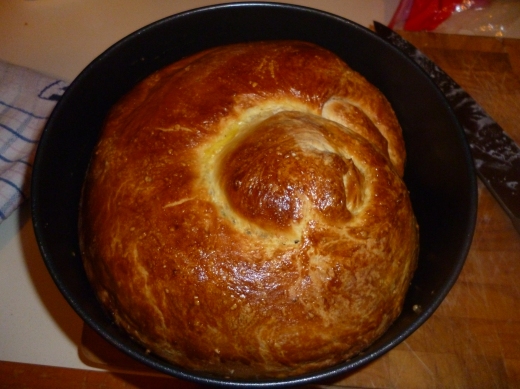
MMMMMM cooling…

5 braid cooling…
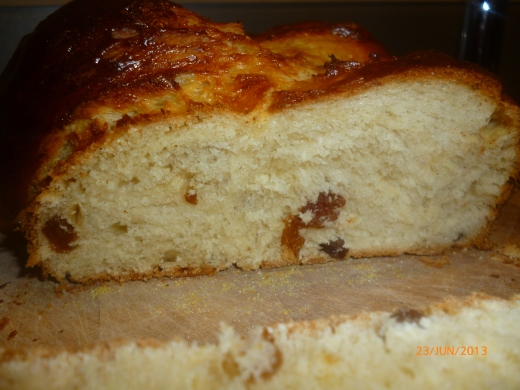
fruity….
Roll your pieces into balls (as shown above) and cover with a tea towel and rest for 30 minutes.
This will relax the gluten and make it easier to work with:)
Roll each ball out into a long sausage or baton.
Join braids together at the top of the top and plait (if doing a 3 braid), or use an under over formula.
I will post a braiding video that Alex and I did in the weekend.
Secure the ends of the braid and transfer loaf to tray with baking paper and cover with damp tea towel.
Allow loaves to sit for 60 minutes.
Brush with beaten egg and a little milk…wait 2 minutes and repeat.
Add on poppy seeds or sesame seeds at this point if you are using.
Pop into the oven and bake for about 35-45 minutes depending on your oven.
Remove from oven and allow to cool on wire racks.
Leave for at an hour before slicing.
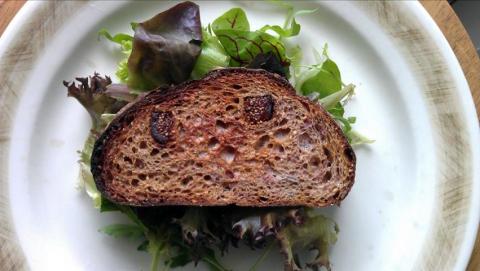
When ready, slice a piece or pull off a piece …
ENJOY ENJOY ENJOY.
lovely…
have a slice…
The grand finale…
Yummm!!
Want more?
Have you tried these bready delights???
Gubana? The Festival bread of Friuli Venezia
Pandoro? The festival bread of the Veneto.
I would sell my children for this!!
or Lovely Flat breads?
Scoop up that yummy winter stew!!
mmm Gubana
Gorgeousness adapted from the ever wonderful recipes in ” Inside the Jewish Bakery” by Stanley Ginsberg & Norman Berg…
Check it out…Wonderful..