Some time ago, Yozza (Derek) started running bread baking classes for the public after hours at his place of work, an educational institute near Fremantle, Western Australia, that runs commercial cookery courses (among many others). Yozza worked for years as a pro baker, and although his official position at the institute is essentially clerical, he has never really taken his baker’s cap off. When I first visited him some years back (after we linked up through TFL), I noticed containers of starter sharing space with paperwork in his office! I do believe there was also a 25kg bag of flour propped up in a corner.
Yozza is a high energy person lit up by all things baking. I struggled to keep up with him on that first visit as he led the way at frenetic pace to the wood-fired oven he had managed to convince the institute to have installed. He had organised some students to lend a hand in its construction during some weekend busy-bees. The effort had been worth it. It’s a fine-lookin’ fine-cookin’ son of a gun. Yozza was clearly proud of it, and justifiably so.
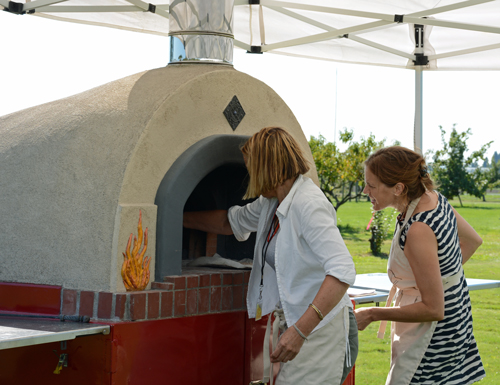
In fact, the WFO was the reason he had invited me on campus. I had developed a sourdough pizza that I was very pleased with. I thought it better than any dry yeasted one I had turned out of my domestic oven in my years of pizza baking and experimentation, and mentioned in a PM to Yozza that I’d love to see what a WFO would do for it. No sooner said than invitation issued! That’s the sorta bloke Yozza is.
Anyway, the pizza night was a lot of fun. I wrote it up on my TFL blog (includes a pic of the WFO): see Yozza and Rossnroller’s Great Wood Fired Oven Adventure.
That was a while ago, and Yozza is now approaching retirement. He hasn’t lost any of his fervour for baking, though, and his energy levels have not dropped in the slightest. No chance of him going gently into that good night – way too much bread to bake, and knowledge to share!
I believe he’s intending to keep running the public baking classes post-retirement and that’s just as well. Somehow, I don’t see him being able to stay away from the campus bakery area he has made his own over the years. Indeed, if the institute management has half a clue – rare for management in my experience, but let’s not get bitter and peripheral – they won’t let go of an asset as valuable as Yozza just cos he’s retired. All that means is more time to share his pro wisdom and love of all things floury with students, the public – indeed, anyone remotely interested.
I’ve tapped myself off track somewhat, so time to impose a bit of self-discipline. To the baking class, then.
There were twelve attendees in all. Most were friends or work colleagues of Yozza’s, many with little or no baking experience. This night was invitation-only. The main focus was sourdough. Yozza’s objective was to fine-tune his content and presentation prior to advertising the class to the public. He’d asked if I would consider writing up a promo piece for the local paper, and I was happy to oblige. Besides, as a sourdough nut, I was interested in comparing and contrasting Yozza’s modus operandi with my own.
During my pizza night visit, I’d been struck by the vast differences between the pro and amateur baking worlds. So it was again this time. It’s largely down to a matter of scale. I do one 1kg bread at a time, hand-mixing in a plastic basin, bulk proofing in a 10L plastic container, using baking paper as a couche (often torn, scungy and singed from multiple bakes). I use Sylvia’s wet towel steaming method during the first 15 minutes of the bake, which I subsequently micro-manage by reducing the oven temperature at set intervals to achieve the finish I like. All very attention-intensive. That is the luxury of the amateur baker.
Yozza, on the other hand, weighs out kilos of flour, water and starter on a commercial set of scales that make my little domestic Target battery digital job look like a kid’s toy, then dumps the lot into a whacking great Hobart spiral mixer, turns it on and stands back while it does its thing.
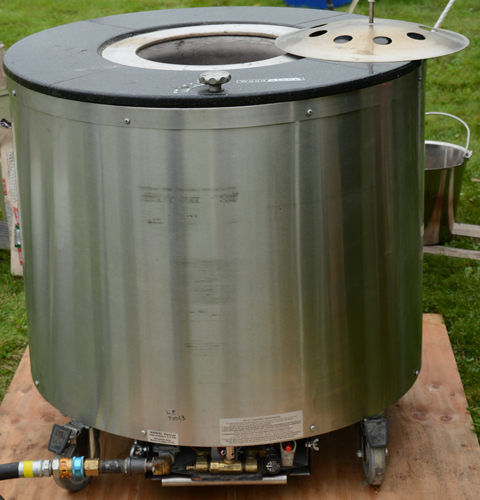
The institute ovens are high-tech marvels. They take 6 trays (I think) of bread or buns per bake, and heat up at a rate of one degree per second. There is digitally controlled steam injection, and steam reduction. A fan, similarly precisely controlled. And all sorts of other functions I didn’t catch. At $8K each, pretty reasonably priced, too, for anyone who wanted to start up a small bakery.
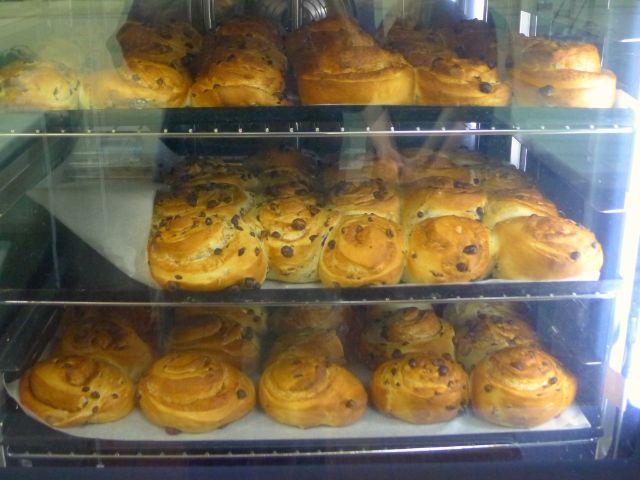
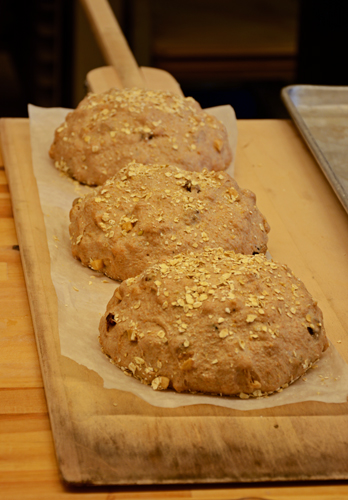
Cinnamon scrolls a-baking in one of the two ovens
But of course, the contrasts between pro and amateur bakers are not simply down to equipment.
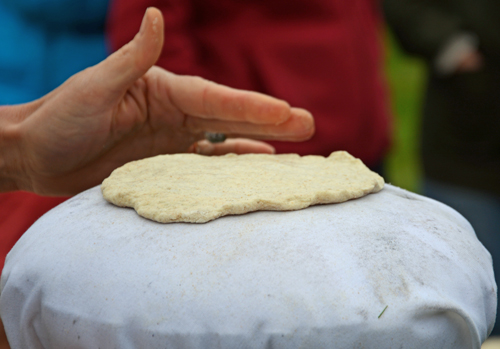
For example, Yozza’s dough shaping is deft and fast-motion in contrast to mine. I tend to be fussy and fastidious; he takes a dough ball in each hand, which he tightens and shapes in two quick dragging and rolling motions that seem to morph into one. The results beat my best efforts…and in quarter the time.
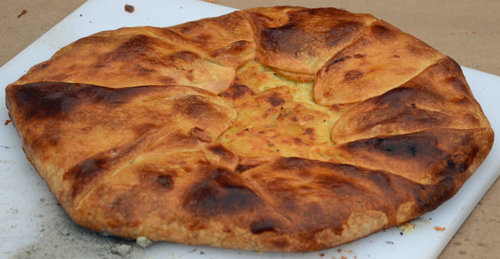
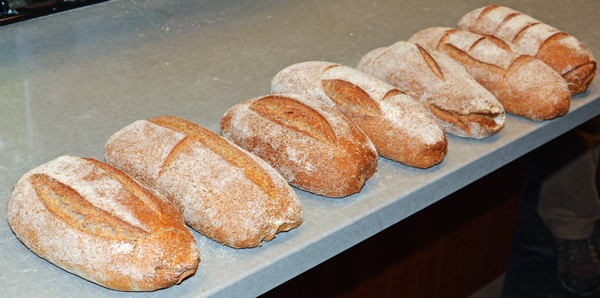
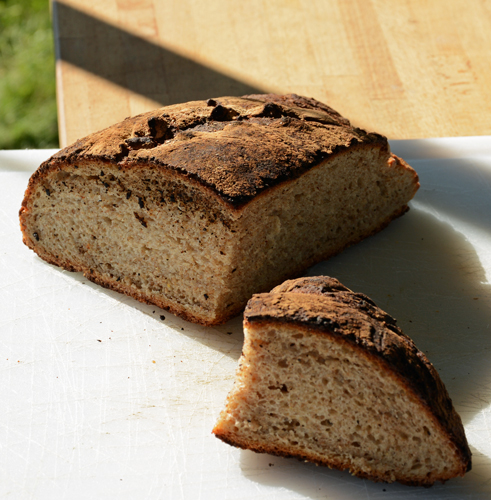
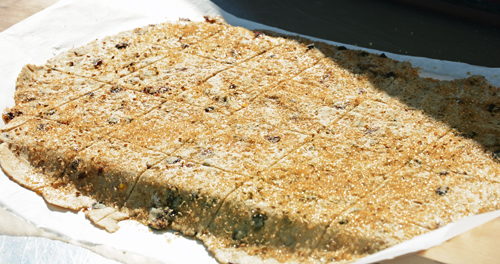
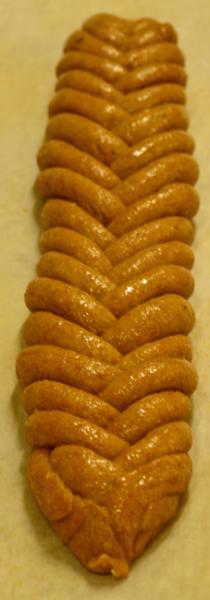
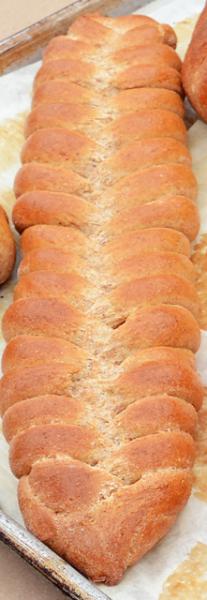
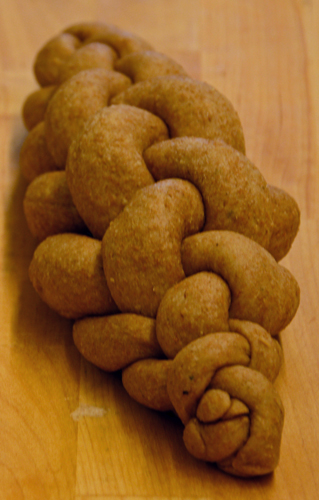
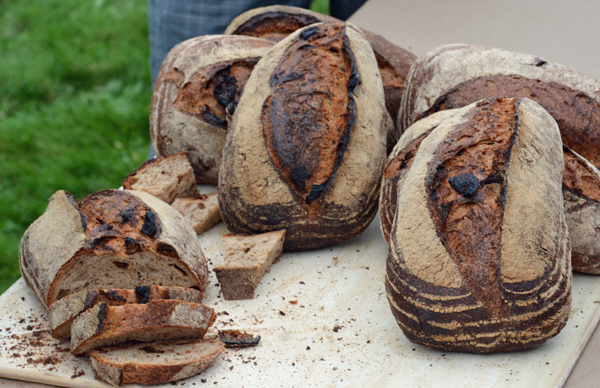
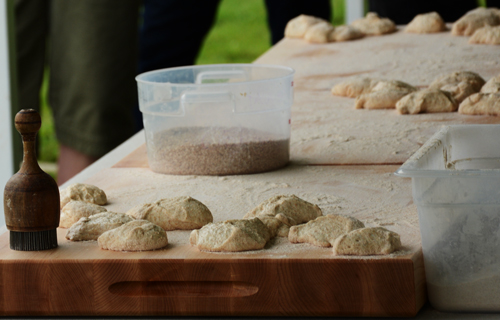
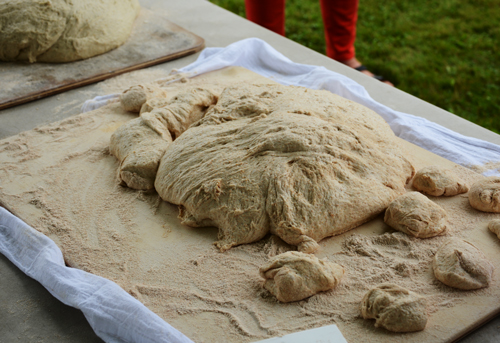
The class was well organised, packing two sourdough breads and some yeasted cinnamon scrolls into 3.5 hours. Yozza had prepared his ‘Black Sesame Sourdough’ the day before, baking it early in the class, then consigning it to the cooler so we could sample it sooner than the usual two hour post-bake minimum.
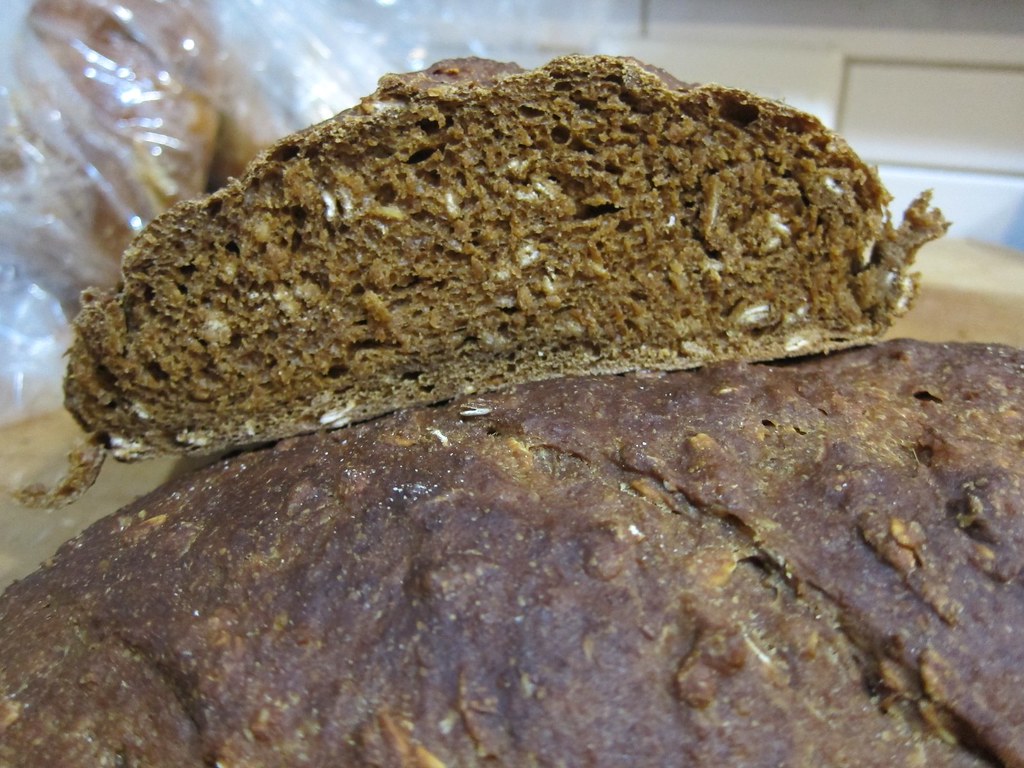
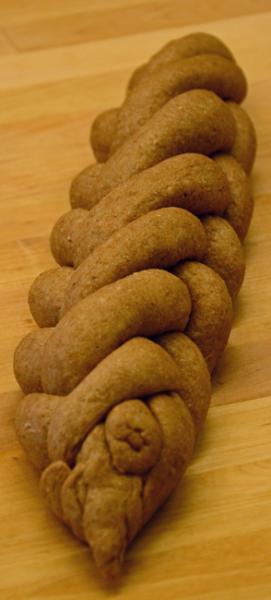
The second sourdough, his ‘50% Wholemeal with Home Brew Stout’ (a stout and wholemeal flour soaker is one component of the formula), we made from scratch.

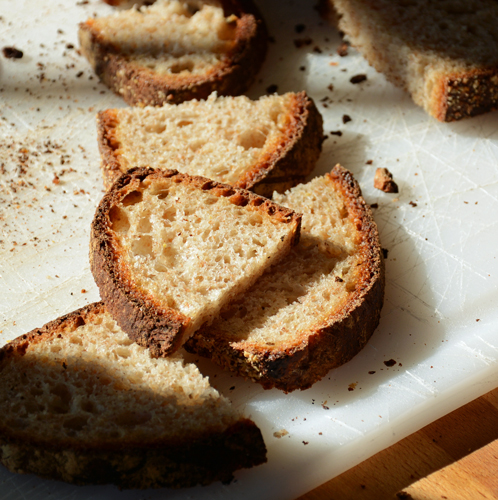
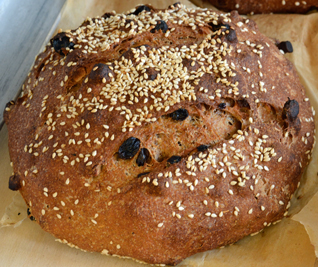
The class appraises their scoring of Derek's 'Black Sesame Sourdough'
With the trusty old Hobart making easy work of the mixing, Yozza took us through assessing gluten development via the window test (which I never do at home). He then moved to stretching and folding the dough, which he spread out across the benchtop like a fleece. The dough was then left to proof with a couple more S&Fs at 45 minute intervals. Towards the end of the class, it was weighed out into 500gm loaves and shaped, Derek mentoring and sometimes coming to the rescue if impending disaster loomed. Each participant was given a foil container of shaped dough to take home and bake next day.
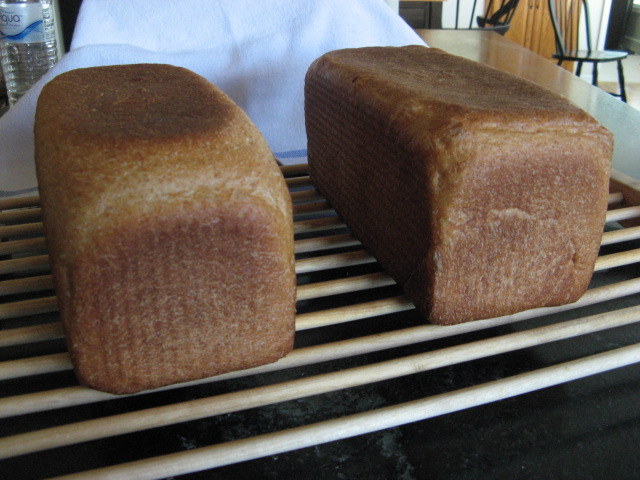
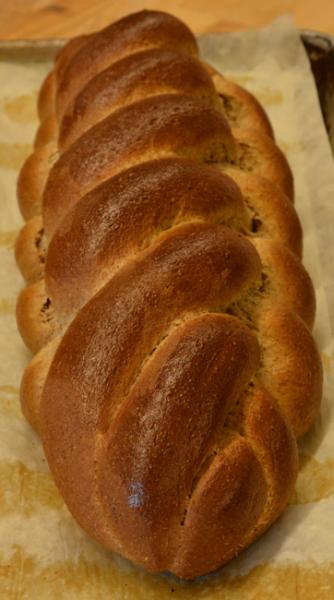
Baked straight out of the foil tin at home, not the most aesthetically appealing finish I've ever managed, but the bread was delicious. The stout lurks in the background, adding an enticing maltiness to the flavour profile.
Speaking of which, Yozza gave us a sample of his home-brewed stout during the class, and very pleasant it was: dark but smooth and mild, with a lovely fine, creamy head.
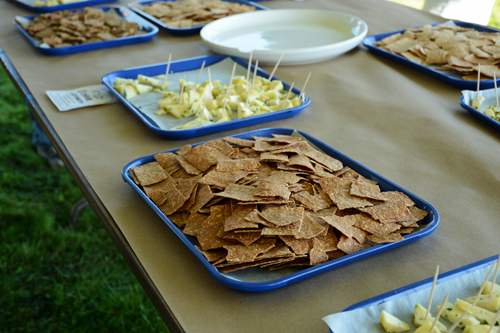
One of the attendees, who once worked with Derek as a baker, owns a small property in the middle of some prime wine country in the state’s south-west, and he treated us to a couple of bottles of his own wine – a respectable sauvignon blanc. Went well with some lavishly buttered slices of Derek’s ‘Black Sesame Sourdough’. Oh, and one of the hospitality students brought in a tray of home-made chocolates. It was all too delish to worry about the cal hit.
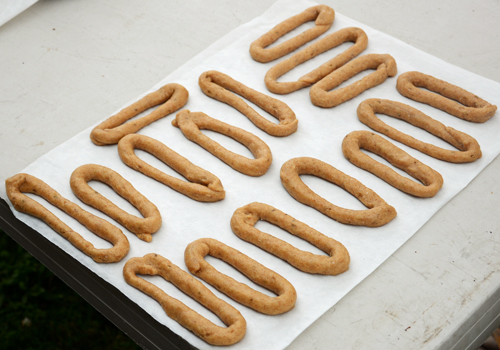
Which didn’t stop there! Each attendee was given a dozen cinnamon scrolls to take home. My partner also attended the class, so we ended up with two dozen. I scoffed two with a cup of tea when we got home, my partner one, and we had another two each next day. The rest are stored away in the freezer. They might have to stay there a while! We’re trying to lose weight prior to a coming travelling stint in Thailand. Were on track to be in reasonable shape, but we have a bit of work and abstinence in front of us after Derek’s class!
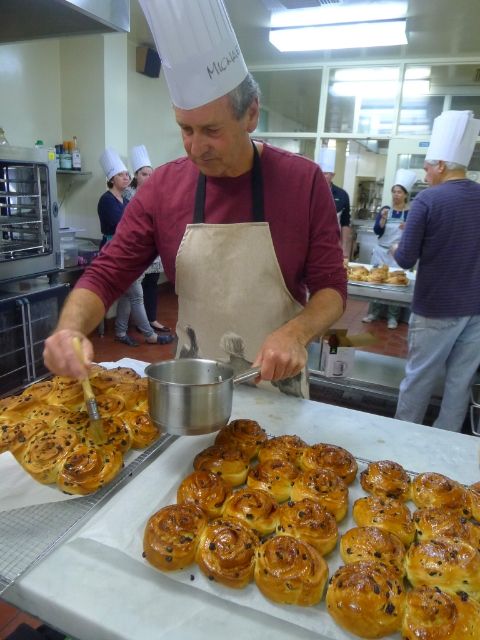
glazing the cinnamon scrolls
With effective advertising and promotion, Derek should have some packed classes in front of him. If I recall correctly (and chances are I don’t), he’s intending to charge the public a paltry $85 per person. Outstanding value for a fun evening of baking education and mentoring from a true pro, and an array of tasty baked indulgences that go on giving for days at home!
Thank you Derek!
Cheers all
Ross

 OK, so for all my dedicated fans, of which I'm sure are numerous, I apologize for my negligence in updates. You might have though I was outta the game forever, but you were so wrong. That is to say, I have recently concocted some delish-ass bread. The inspiration came from my long time friend and college Armun Liaghat, to whom this loaf is dedicated. Enough with the babble lets dabble.


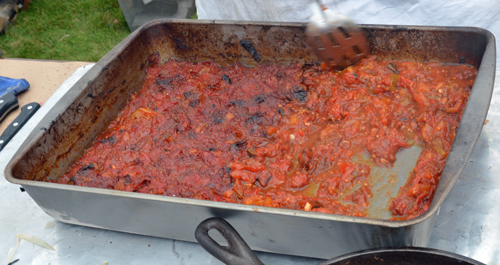
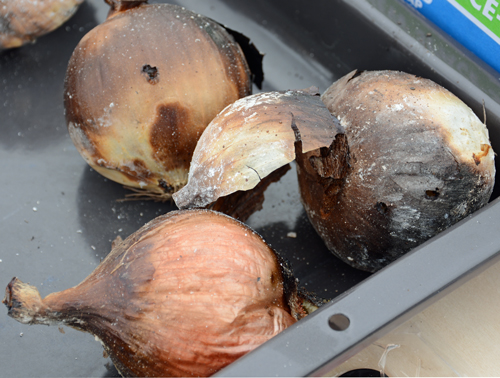 Coal-roasted onions