Last week, I baked Susan from San Diego's “Original Sourdough.” My description can be found at:
http://tfl.thefreshloaf.com/node/11321/susan-san-diego039s-quotoriginal-sourdoughquot
Susan also shared her formula for her “Ultimate Sourdough,” which has replaced the “Original Sourdough” as her personal favorite, I gather. The “Original Sourdough” was so good, it was hard to imagine a bread that would outdo it, and I was tempted to just make it again. But I thought the other deserved a try. So, this week, I baked Susan's “Ultimate Sourdough” - again, with some variations I will describe.
Susan's formula for her “Ultimate Sourdough” is described in her blog, here:
http://www.thefreshloaf.com/node/6927/well-i-finally-did-it
Susan's formula makes “one small boule.” I doubled the recipe. I wanted to make two boules, one to bake after overnight cold retardation, as I did with the “Original Sourdough.” I also added a bit more WW flour than Susan called for and used a different mixing and fermentation approach.
|
Ingredients
|
|
|
Active 65% hydration starter
|
24 gms
|
|
Water
|
350 gms
|
|
KAF White Whole Wheat Flour
|
75 gms
|
|
KAF Bread Flour
|
425 gms
|
|
Sea Salt
|
10 gms
|
Procedures
-
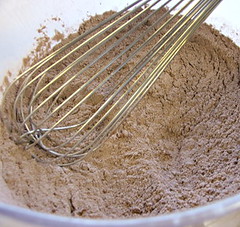
I dissolved the starter in the water in a large bowl.
-
Both flours were added to the water and mixed thoroughly.
-
The bowl was covered tightly and the dough was allowed to rest (autolyse) for 60 minutes.
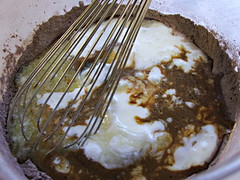
-
The salt was then added and folded into the dough using a flexible dough scraper.
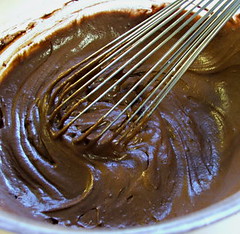
-
After a 20 minutes rest, the dough was stretched and folded in the bowl for 20 strokes. This was repeated twice more at 20 minute intervals.
-
The dough was then transferred to a lightly oiled 2 liter glass measuring “cup” with a tightly fitting plastic cover and allowed to ferment, undisturbed, until doubled. (10 hours, overnight).
-
The next morning, the dough was very soft, puffy and full of bubbles. I divided it into two equal pieces, gently rounded them, and allowed them to rest for 10 minutes.
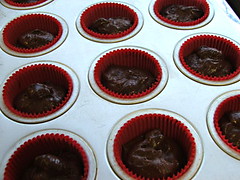
-
The pieces were then formed into boules and placed in well-floured coiled reed brotforms, each of which was then placed in a food-grade plastic bag.
-
At this point, one loaf was allowed to proof on the bench, and the other was placed in the refrigerator to retard until the next day.
-
The first loaf was allowed to expand by about 75% (3 hours).
-
The oven was preheated to 500F, with a baking stone in place for1 hour.
-
The loaf was transferred to a peel dusted with semolina, transferred to the baking stone and covered with a stainless steel bowl preheated with hot tap water. The oven was turned down to 460F.
-
After 15 minutes, the bowl was removed. The loaf was baked for another 10 minutes, then left in the turned-off oven with the door ajar for another 5 minutes to dry the crust.
The retarded loaf was baked the next day. It was allowed to proof in a warm (75F) place for 4 hours. It was baked covered for 12 minutes, then another 15 minutes uncovered. It rested in the turned off oven for 10 minutes.

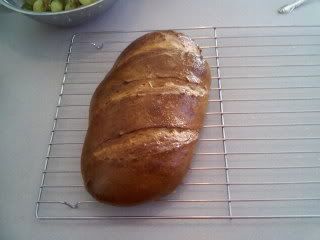
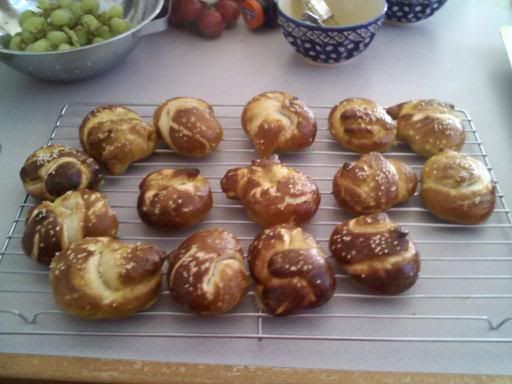
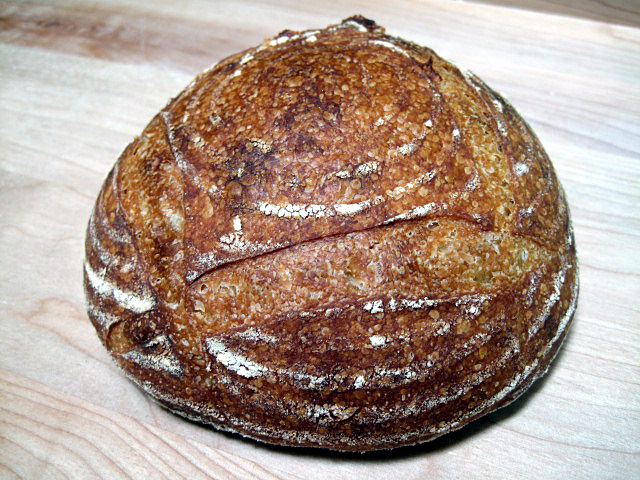
Susan's Ultimate Sourdough (Not retarded)

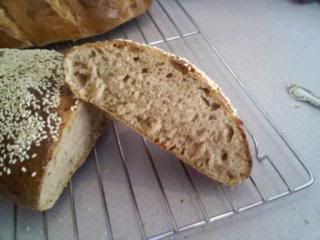
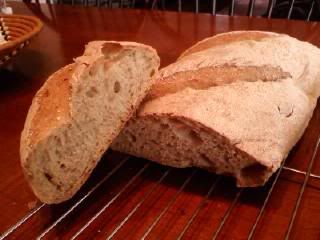
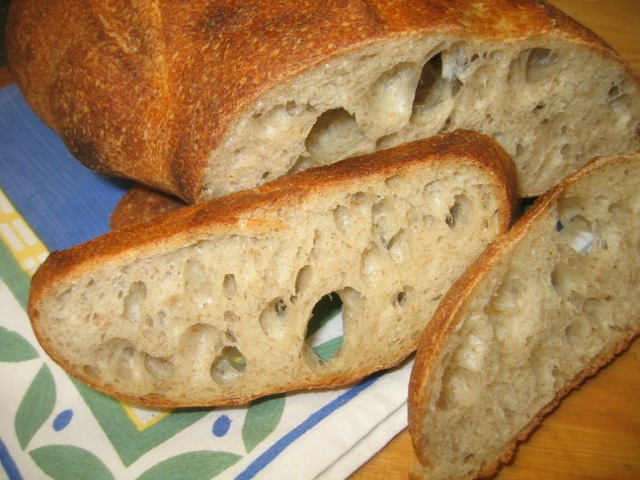
Susan's Ultimate Sourdough (Not retarded) - Crumb
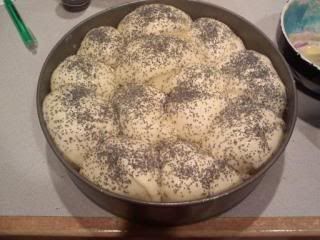
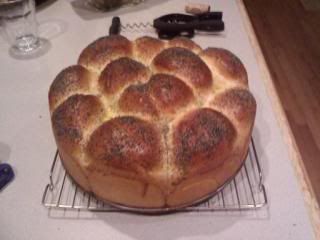
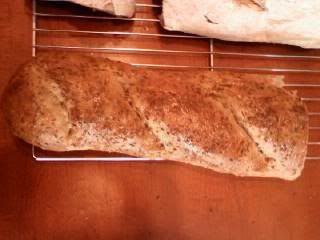
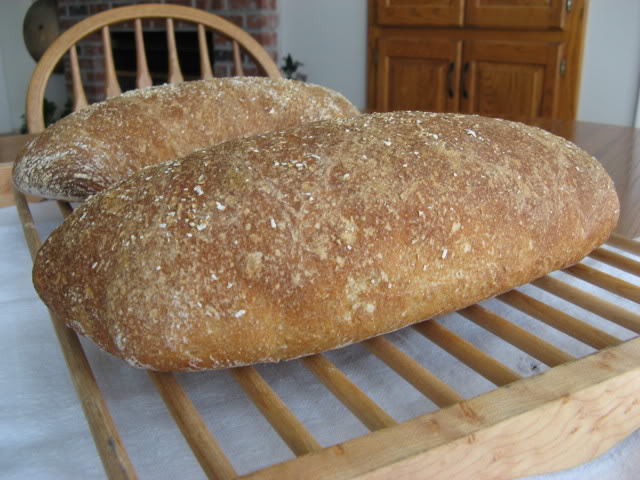
Susan's Ultimate Sourdough (Retarded)

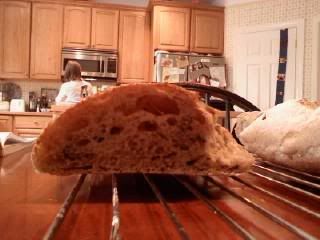
Susan's Ultimate Sourdough (Retarded) -Crumb
The boule that was baked without retardation was very similar in taste to the one I had made using Susan's “Original Soudough” formula. It had a nice flavor and was mildly sour. The sourness increased the next day, as expected. The crust was relatively thin but crunchy the first day and chewy the second day.
The boule that was retarded had a lot less oven spring. I think it was proofed more fully than the other had been. It was a bit more sour than the un-retarded loaf, as expected, but less sour than the “Original Sourdough” retarded loaf was. Tasted 5 hours after baking, the whole wheat flavor was coming through. I expect this to mellow out by tomorrow.
Bottom line: Both of Susan's sourdoughs are wonderful. I can't say I prefer one over the other after making each once. I expect I'll be making both regularly.
Thanks again, Susan!
David


 |
|