The Fresh Loaf

A Community of Amateur Bakers and Artisan Bread Enthusiasts.

Recent Blog Entries

bakerwendy's picture
bakerwendy

I haven't posted in a while but I have been baking. This weekend I made Hamelman's Five-grain levain. The only changes I made was to use whole rye berries as opposed to rye chops and also pumpkin seeds in place of the sunflower seeds. I didn't realize I was out until it was to late. I baked one of the loaves on the day the mixed the dough and put the rest of the dough in the refrigerator overnight. I wanted to compare the flavor and texture the cold fermentation had on the dough. I also had to try the Meteils au Bleu after reading Pamela's "The Saga of the Little Meteils au Bleu." They turned out great. I was proud of the sourdough because the loaves had great oven spring. I also was able to find the bleu d'Auvergne. The blue cheese that was recommended for this bread. Oh MY! This is some funky cheese. Not just a few little strips of mold in this cheese but globs of furry gooey mold! The bread turned out delicious. I have also been working on baguettes. I will try to post my results soon. Here are a few pictures of the spoils.

5 Grain Whole Bread 4/11/09

5 Grain Levain baked day of mixing dough

Photobucket

Crumb of 5 Grain Levain baked day of mixing

Photobucket

5 Grain Levain after cold retardation

Photobucket

Crumb of boule 

Meteils au Bleu 4/12/909

Meteils au Bleu

Photobucket

Insides. Soooo good

ques2008's picture
ques2008

Hi Folks,

You guys have seen this many times over and I was hesitant to post it, but I really wanted to acknowledge the generous spirit of TRAILRUNNER and MARNI who were kind enough to give me the link on how to make a woven round challah.  This was like a month ago and I finally got around to doing it last Good Friday.  I was quite nervous at first, and the instructions given on the site were rather confusing but I managed to get it right on the second try.  I'll have to do it soon again lest I forget the technique.

I followed the technique posted by Tamar Ansh on chabad dot org, but I took the recipe from triple w sugarlaws dot com for her braided bread recipe.  I find that her recipe seems to have the right proportions because the dough just comes together beautifully.  I've come across recipes where I had to over-knead or underknead but hers was the ideal mix.

So trailrunner (Caroline) and Marni, you did ask for photos, so here it is!

round woven challah


SulaBlue's picture
SulaBlue

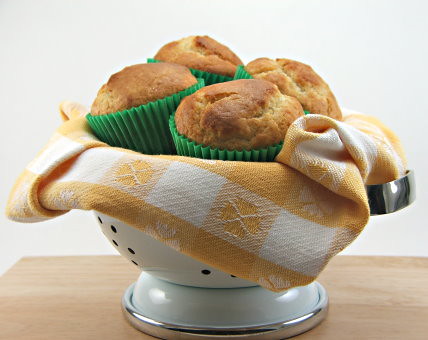
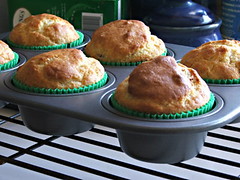
After many recent flops with my baking, it was SO rewarding to have a huge hit this morning! The house smells wonderful and we almost couldn't wait for them to cool to get the icing on. I may never eat a canned cinnamon roll again. I attempted to make these very slightly more healthy with some of the substitutions below as well as using considerably less raw sugar in spice mix and icing. With the melange of flavors it wasn't missed at all.

SulaBlue's Cranberry-Orange Cinnamon Buns

(Modified from Peter Reinhart's Cinnamon Buns and Sticky Buns, Bread Baker's Apprentice, pg 143)


Dough


3.25 oz granulated sugar

.25 oz salt

2.75oz butter or shortening (I used Smart Balance 50/50 blend)

1.65oz 1 large egg (I used Egg Beaters)

2-3 drops orange oil

16 oz unbleached bread or all-purpose flour (I used Bob's Red Mill)

.22 oz instant yeast

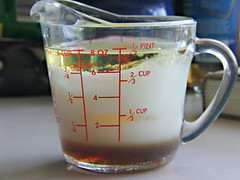
9-10 oz whole milk or buttermilk, at room temp (I used 2%)

OR 1oz powdered milk + 8oz water


Topping

2.5 oz granulated sugar

1T ground cinnamon

Contents of 2 caradmom pods, ground

Dash of ground cloves

2 oz dried cranberries

2 oz pecan pieces


Icing

2 oz confectioner's sugar

2T or so 2% Milk

A few drops of orange oil


Instructions:

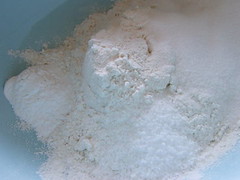
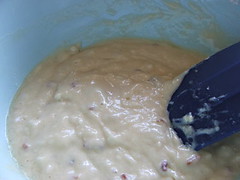
1. Cream together sugar, salt, and butter. Reinhart says if you are using powdered milk to put the milk powder in now, but add the water with the flour and yeast.


2. Mix in the egg and orange oil until lump-free, then add flour, yeast and milk. Add water now if you used milk powder.


3. Flour a pastry cloth and rub the flour in well. Turn dough out and sprinkle a minimum dusting of flour on top. Flour hands lightly and knead by hand for 10-15 mins until it passes the 'windowpane test.' Dough will become very slightly tacky and have a good spring-back to it.


4. Proof at room temp until doubled, about 2 hours.


5. Turn dough out onto pastry cloth and roll dough into a 12"x14" inch rectangle that is approximately 1/2" thick (Reinhart recommends 2/3rds, but that just seemed overly doughy to me. Add as little flour as possible during rolling. I use a rolling pin cover to avoid adding extra flour to keep it from sticking.


6. Shake on sugar-spice mixture, then sprinkle on cranberries and nuts.


7. Take the long end and begin to roll-and-tuck. Roll the dough forward, then without releasing pull back slightly to form a tighter roll. Complete the roll-and-tuck until you reach the end.


8. Trim ends of dough if they are tapered/irregular. You can either discard this or smoosh it together for that 'baker's dozen' one that you'll just -have- to eat right out of the oven. Cut the remaining dough into 12 equal pieces about 1" thick. Place the rounds on a sheet pan about 1/2" apart. Sprinkle any remaining spice mix on top of buns, careful not to dust it onto your pan where it may burn.


9. Proof at room temp for 75-90 minutes until the pieces have almost doubled and have grown into another. Reinhart says you can retard the shaped buns in the refrigerator for up to 2 days, and pull the pan out of the fridge 3-4 hours before baking to allow the dough to proof.


10. Preheat oven to 350F with oven rack at the middle.


11. Bake for 20-30 minutes at NO HIGHER than 350F. Caramelization happens at 350F. A higher temperature may result in the sugar burning. If you have pans that are prone to giving your baked goods dark bottoms you may want to double-pan


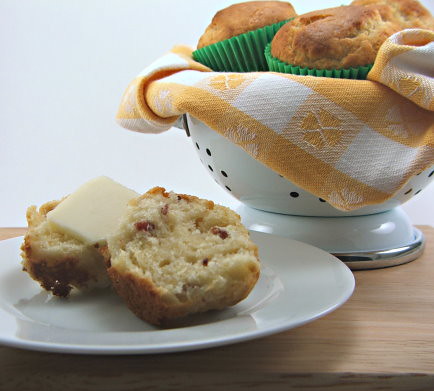
12. When rolls are done, remove from the oven and allow to sit in the pan to cool for at least 5-10 minutes to cool. Eat the funny-shaped end piece to tide you over and to hide the evidence ;) While they are cooling mix the ingredients for the icing in a small bowl using a fork. Add just enough milk to make the icing pourable without being runny. Use the fork to drizzle icing over the rolls.


This is something I'm finally proud enough to submit to Wild Yeast's Yeast Spotting. This week's Yeast Spotting is being hosted by Zorra.

SylviaH's picture
SylviaH

Peach Daisy Ring for Easter.

This is our Easter Sweet Bread.  Glazed with homemade peach jam, almond icing dotted with slivers of fresh almonds.

Sylvia

dmsnyder's picture
dmsnyder

I have continued to play with my formula for what I call "San Joaquin Soudough." This continuing series of experiments started with my curiosity as to whether the baguette formula of Anis Bouabsa could be applied to other types of bread than baguettes. The short answer is, of course, "yes."

The basic approach I have been using is described in detail in the following blog entry:

http://www.thefreshloaf.com/node/8454/pain-de-campagne 

The present variation used 10% KAF White Whole Wheat flour, 90% KAF Bread flour and a slightly higher hydration - 76%. The techniques for mixing, fermentation, etc. were as I have described before. So, the ingredients were:

Ripe 65% hydration sourdough starter....100 gms

Water........................................................380 gms

KAF Bread Flour.........................................450 gms

KAF White Whole Wheat Flour...................50 gms

Sea Salt.........................................................10 gms

Instant Yeast................................................1/4 tsp

The combined effect of the different flours and the higher hydration was to yield a dramatically different bread with a much more open crumb structure - really ciabatta-like.

Now, I did bake these loaves under an aluminum foil roasting pan for the first 12 minutes and then for another 18 minutes uncovered. The oven spring was massive. My scoring was obliterated. Examination of the crust coloration of the bloom revealed that the bloom occurred very early in the bake and very rapidly. (The coloration was even and not different from the rest of the crust. See my Scoring Tutorial in the TFL Handbook for further explanation.)

With the higher hydration and covered baking, the crust softened quickly during cooling. The crumb was like a good ciabatta - very tender yet still chewy. The taste is very mildly sour, even on the day after baking. It made a delicious sandwich with Toscano salami, Beaver Brand Sweet Hot mustard and lettuce. (Sorry, Mini. It definitely would drip mayonnaise in your lap.)

This bread presented me with a number of surprises, but I'm far from disappointed. I'm happy to have a "new" bread in my repertoire. 

David

SylviaH's picture
SylviaH

Well it's Good Friday and time for some Hot Cross Buns and good memories!  Mom made Hot Cross Buns all year round.  They were a favorite to take on their weekly fishing trips.  Back in the 70's I gave her a recipe for them I found in my Sunset Magazine's Bread recipe book...I still have it!  Today I tweeked the recipe and added some K.A. Organic White Wheat, Brown Sugar, some very fresh veitnamese cinnamon, grated nutmeg and cloves along with my home grown citrus lemon and orange candied peels,organic currants and a little orange juice.  The cross is made with a lemon glaze.  They were basted with egg yolk just before baking...Mom would have been pleased!  They are very tasty...Oh yes, and saved one for the tradition/superstition that hanging a hot cross bun on Good Friday assures it will never mold and protects the home from fires and your breads will always rise!....We need all the protection from fires we can get here in So. Calif.  and of coarse who doesn't want their bread to rise! Ha, Ha...I have the perfect place for my bun.

I had 30 buns...29 to eat!

Very Tasty...but not as good as Mom's!  She made hers a lot bigger!

This was my husbands 'Mike' mothers little house she brought back many years ago from Mexico!  Being Irish and being somewhat superstitious...why not...I'll let you know if it molds!  ; )

 note:  His little pan of buns!

bblearner's picture
bblearner

My first try to use a starter to bake a sourdough bread was Mountaindog's Cherry Pecan Pain au Levain which was so dense and almost unedible.  I was sure something was not right with my starter.  So I requested MD post some pictures of his levains for me for guidance, which he did with nice illustrations.  I followed that to feed my starter for over a week and tried to build a levain with bubbles that would match those of MD's and finally I thought my starter was ripe enough to make breads, I tried the Country French Bread (Thom Leonard's), also from MD's blog :

The crumb was still a little dense because I overlooked the part on folding.  So a week later I had another try and followed the recipe as closely as possible and this was a better one :


I was so happy that my starter finally is working and the following one is Richard Bertinet's sourdough bread with a small touch of spelt flour :

Honestly, I like the flavour of the Country French Bread more.  My next exercise will be the Pecan Cranberry Pain au Levain, again. 

I would like to thank everybody on this site for their generosity of sharing techniques, experiences, recipes, etc. and a special thanks to Mountaindog's encouragement!

audra36274's picture
audra36274

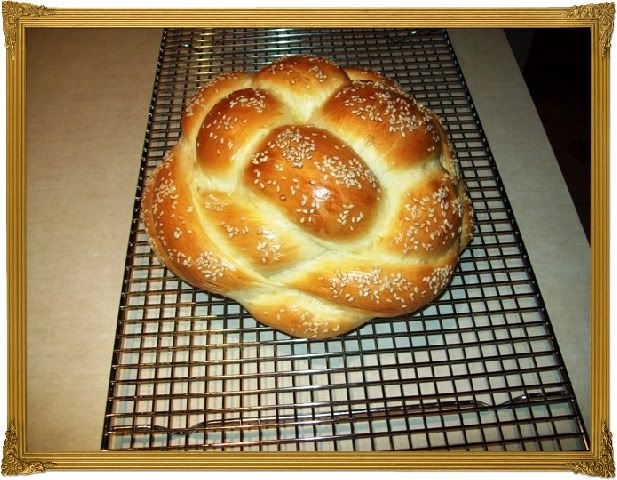
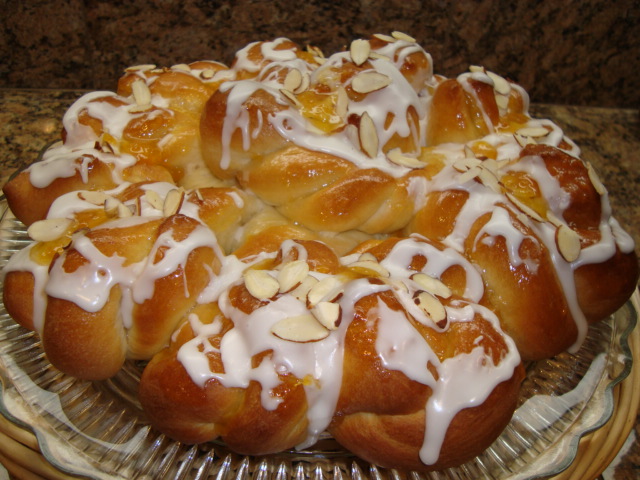
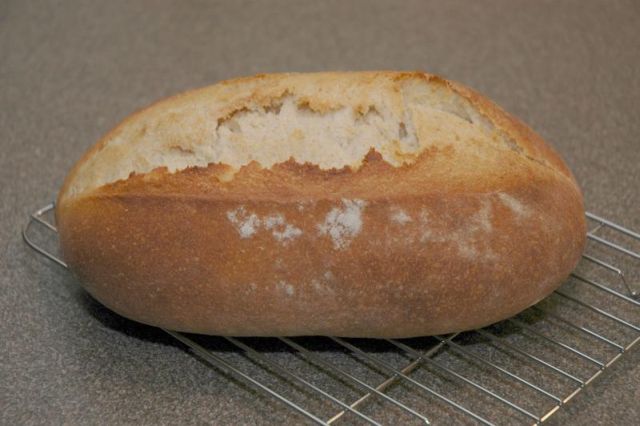
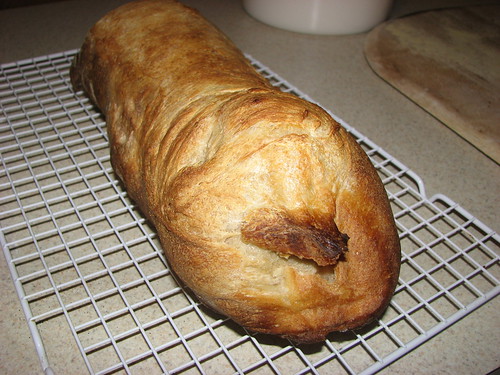
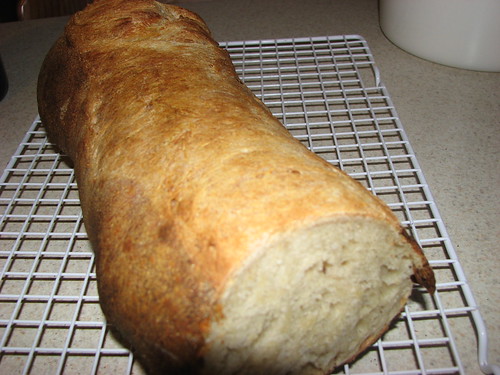
I had taken a few loaves (my first attempt) Paul's Sweet Vanilla Challah from the oven and was working on my photo's. I went back to get the smaller loaf to re- do the shot and it had been assaulted! My shaping was out of practice on my challah, but the taste is fantastic. 

koloatree's picture
koloatree

greetings all!


retried the raisin walnut sourdough recipe from my previous post. i am pleased with the results, however, i am still trying to achieve a better scoring and ear curl. i think i was slashing too deep. i will try the suggestions that i recieved from the discussion thread. thanks members of freshloaf!


next up at bat was another susan sourdough attempt. i made a mistake during the shaping phase which caused me to shape again and again and again. in doing so, nice bubblies were let loose. pooof....next time i will try to shape a better batard. even though the looks lack, the taste was on point. soft in the inside, and a nice exterior crunch. total time of the first and second proof = ~13hrs @ 86 degrees. this was double the recipe btw.


next up was another attempt at baguettes using anis method with sourdough starter. i am still striving for the nice crispy crusty explosive looking baguette. i 'think' it may have something to do with the flour. i am going to give the king authurs artisan flour a shot. supposedly its ~11.6 protein content. also, i forgot to turn down the temperature after placing the baguettes into the oven, i used KA AP which is around 13% protein?


next up is pizza using anis bouabsa mixing method. it is by far my favorite crust i have achieved to date. the only thing i would improve is using a starter for a little sourdough taste.


gothicgirl's picture
gothicgirl

Posted on www.evilshenanaigans.com  4/8/2009

I am a bacon devotee.  I'm not sure if you have noticed, but I love the stuff!  That's why when I was challenged to create a sweet and savoury bacon muffin I jumped at the challenge!

Maple and Bacon Muffins 

But, this is a tale of sadness, regret, but eventual triumph! 

Two months ago, on a cold January evening, I was contemplating new ways to use bacon in my baking when my husband asked, "Can you make a bacon cupcake?"  A cupcake?  No, not that, never that.  However, a muffin I could do!  So, off to research.  I formulated a recipe with a brown sugar crumble and gave it a whirl.

Maple and Bacon Muffins 

They tasted great, but looked about as pretty as homemade soap.  Not a shining moment for me, but I moved on.  Next I tried no crumble and more maple.  They were far too sweet and had the texture of sticky cornbread.  BLEH!   Long story short (too late, right?), after a few more failures I struck the right balance of salty and sweet in a tender, bulging muffins!  It is this that I present to you, the perfect brunch bread. .. Maple and Bacon Muffins!   

Maple and Bacon Muffins   Yield 1 dozen

2 cups all-purpose flour
1 tablespoon baking powder
3 tablespoons sugar
1 teaspoon kosher salt
4 slices bacon, cooked crisp and crumbled
1 cup milk
2 eggs
1/2 cup vegetable oil
1/4 cup real maple syrup

Heat the oven to 400 F and line a 12 cup muffin pan with paper liners, or grease and flour the pan well.

Dry Ingredients 

Mix the flour, baking powder, sugar, and salt well.  Mix in the crumbled bacon.

Wet Ingredients 

In a separate bowl mix the milk, eggs, oil, and maple syrup.

Complete Batter 

Make a well in the center of the dry ingredients and pour the wet ingredients into it.  Fold gently until the dry ingredients are wet.  It will be lumpy.

Scoop into the prepared pan and bake for 20 minutes.

 Maple and Bacon Muffins - Cooling

Serve warm.

Maple and Bacon Muffins

Pages

Subscribe to Recent Blog Entries