The Fresh Loaf

A Community of Amateur Bakers and Artisan Bread Enthusiasts.

Recent Blog Entries

Floydm's picture
Floydm

I made bagels this morning using some of the General Mills All Trumps High Gluten Flour I'd ordered from NYBakers.  They turned out well.


With cream cheese and a tomato picked fresh from the garden this morning they were delicious.

ggmauro's picture
ggmauro

Anyone have expertise in production baking? I am a chef with little natural leavening baking experience. I can make a mean loaf with commercial yeast, but alas, cannot seem to get the the "old fashioned" thing down. I am determined to do what ever it takes to make the absolute most natural and best loaf in las vegas and in my restaurant. My main complaint is that the loafs are too heavy. If I try proofing them for longer they are lighter but become "over-proofed". i.e. extra heavy crust that is extremely hard and crunchy. Please let me know if any of you can lend me a hand in troubleshooting my production.

Thank you,

Giovanni.

tssaweber's picture
tssaweber


Chouette22 posted a couple of weeks ago pictures of her Zopf (http://www.thefreshloaf.com/node/13045/hello-switzerland-celebration-bread-and-zopf). In a reply to my post she mentioned that eggs in this bread would make it dryer or stale faster. This motivated me to experiment with my recipe, with the goal to have at the end a fully understood, easy to use and "Americanized" recipe.

To have a solid and accepted expert on my side I used Dan DiMuzio's book, "Bread Baking" to support my testing. On page 138 he defines rich dough and the effect of fat, eggs and sugar in dough. This was a good start as Zopf has all this ingredients in it. Sugar seems to be the least influential with just a little bit more than 2%, but butter (11%) eggs (14%) and to some degree milk(fat) certainly do have an impact. I also wanted to see what the difference between AP and Bread flour would be.

Zopf is the favorite bread of my younger son, so he was very supportive of this idea. He promised his friends in school to bring an entire loaf for lunch and that this bread would beat every other dad's bread. I don't know how many other dads of his friends are baking but I like that it is embedded in him that not only moms are baking and cooking.   

Using my usual recipe I had to adjust the hydration significantly using AP flour otherwise the dough would have been too wet to braid. The final result was ok from an appearance perspective but did taste too much like "normal" white bread and with the additional flour was also much dryer.

Not adding the eggs was a little bit trickier. Eggs are contributing to the hydration but also add fat and strength to the dough. I decided to substitute 75 % of the egg weight with ¾ milk and ¼ water. The dough turned out wetter than usual and I had a difficult time to roll the two strands for braiding. The final bread had less oven spring and turned out a little bit less roundish than usual. The crumb was denser and whither in color. The taste of the bread was even more like white bread.

It seems to me that adding eggs makes Zopf heavier and gives it the crumb structure I like. It also allows for more liquid without impacting the final result.

I will stick with my ingredients but have changed the process to make it easier to assemble the dough. First I add butter, salt (to make sure I don't' forget it again) and brown sugar, zero out the scale, add hot water to soften the butter, then the two eggs and with the cold milk I get to the correct total amount of liquid to balance the varying weight of the eggs. After that I add the flour and the yeast and knead 3 to 4 min on speed one and another couple of minutes, depending on how the dough develops, on speed two of my KitchenAid. 3 stretch and folds with 45 min rest, after the 3rd st&f I divide the dough, braid it and proof for 20 min. Bake for 25 min at 375˚F (convection). The bread should reach 200˚F interior temperature.

Thomas

And here the final result:

For those interested in the recipe you can print or download it here:

http://tssaweber.com/WP/thomas-bread-secrets/zopf/

The spreadsheet lets you adjust the final dough weight.

Muffin Man's picture
Muffin Man

I was in Portland nearly three years ago to attend the birth of my second grandson (first child for my son).  I had not been baking very long and I knew that Portland was a 'Bread' town.  My son took me to the Pearl where I purchased several breads, including a Walnut Bread.  We took the purchases back to the apartment and tried them all.  I liked the Walnut Bread, but felt that, with a little work, I could produce a loaf that tasted that good.  I'm truthfully not sure of the origin of this recipe, but I have adjusted it over the years based upon suggestions from my best taste-tester (and wife).  I really love the flavors present in this bread, but it will not satisfy a craving for a nice Pain Ordinaire.  Final rant: I feel that one of the most overlooked, and better if the recipe collections, is "Baking Illustrated" by the fine folks at "Cook's Illustrated" magazine.  The really neat feature of this book is that they try many variations on each recipe to see what really produces the best (subjective) flavor.  Variations are discussed so you can grasp what differences  minor variations make.  Anyway, on with the recipe.  Regretably, I have no pics - my son has the camera.

Craisin-Walnut Bread                      

Poolish

50/50 Flour                                             6.5 oz                 

Instant Yeast                           ½ tsp         .125 oz                 

Room Temp Water                  ¾ cup         6 oz                          


         Combine flour and yeast in a medium bowl.  Add water and stir until the consistency of a thick batter.  Continue stirring for about 100 strokes or until the strands of gluten come off the spoon when pressed against the side of the bowl.  Scrape down the sides, cover with plastic wrap, and let sit in a warm place until bubbly and increased in volume.

Final Dough

Active Dry Yeast                     1 tsp                  .25 oz                     

Room Temp Water                  1 ½ cup              12 oz                 

Buttermilk                             1 ½ cup              12 oz                 

Honey                                   2 Tbsp               0.5 oz           

Demerarra Sugar                   2 Tbsp                6.25

50/50 Flour                                                 24 - 30 oz        

Salt                                       1 Tbsp             .75 oz                 

 Craisins                                                        12 oz                 

Walnuts                                                        10 oz                 


         Bring the poolish to the work area.  It should be soupy, bubbly, and puffy and should have a wheaty aroma.  Scrape it into the mixer bowl, adding the water and yeast.  Break up the poolish with the paddle attachment and stir until it loosens and the mixture foams slightly.  Add the sugar, buttermilk, and honey; stirring until well combined. 

Add flour (24 oz), stirring until well combined, then switch to the dough hook and add the salt and just enough of the remaining flour to make a thick mass that is difficult to stir. 

         Turn out onto a well floured surface and knead, adding more flour for 10 minutes.  Gradually knead in craisins and continue kneading until the dough is soft and smooth, 15 to 17 minutes total.  The dough is ready when a small amount pulled out from the mass springs back quickly.


         Flatten the dough into a rectangle about ½ to ¾ inch thick.  Spread some walnuts, to cover, over the middle third of the rectangle, pressing lightly to hold them in place, and fold the right side over the walnuts.  Repeat on the folded portion and fold the remaining piece over the walnuts.  Again flatten the dough as before and repeat until all walnuts are incorporated.

         Shape the dough into a ball and let it rest on a lightly floured surface while you scrape, clean, and oil a large bowl.  The dough temp should be 78.  Place the dough in the bowl, upper surface down and turn once to cover (smooth side is now up).  Cover with plastic wrap and allow it to ferment until doubled in bulk.  The dough has risen enough when a finger poked ½ inch into the dough leaves an indentation.

         Degas the dough in the bowl and place on a lightly floured surface and divide into four equal pieces.  Flatten each piece firmly with your hand and shape each piece into a tight round ball, sealing the seam.  Place the loaves on a floured peel, cover with plastic wrap, and allow to proof in a warm place until increased in bulk about 1 ½ times.  Preheat the oven to 450.

         Slip the loaves onto the baking stone, score them and add boiling water to steam pan.  Bake for about 15 to 20 minutes or until the loaves begin to color.  Reduce the heat to 400 and bake for another 15 to 20 minutes until the loaves are a rich caramel color and the crust is firm.  Test for doneness by thumping the bottom of the loaf and listen for a hollow sound.  If not ready, bake for another 5 minutes and retest.  Cool fully on a wire rack


Good luck.  I'd like to hear from anyone who tries this.


  I am constantly amazed that a little flour, water, yeast, salt, time and temperature may be varied to produce an almost endless variety of great tasting breads.


Bill


dmsnyder's picture
dmsnyder


I made this bread from Salome's formula a couple months ago. At that time, I couldn't get good quality hazelnuts, so I made it with walnuts only. It was very good tasting, had amazing keeping quality and was excellent after having been frozen.

A new crop of very good tasting hazelnuts finally appeared in my local Whole Foods Market, so it was time to make this bread again. Salome has posted this bread on her own TFL blog since I first made it. She made her bread using a rye sour rather than a wheat flour levain. This sounded like a great idea, so I did it.


Ingredients

Amounts (grams)

Baker's percentage

Bread flour

600

100

Roasted potato

400

67

Toasted hazelnuts & walnuts

200 (100 gms each)

33

Water

250

42

Active rye sour

200

33

Salt

10

1.7

Ground coriander

2 tsp


Notes on Ingredients

You may note that I have increased the flour for this bake. Maybe my potatoes had more water content or my flour had less. (Or my water was wetter?) In any case, the dough was even gloppier than previously as I mixed it, so, after giving it a good chance to develop but still having medium-consistency batter in my mixer bowl, I added 100 gms more flour. The ingredient list reflects this.

At this point, I'm not sure what to recommend to others except to not add “too much” flour. This is supposed to be a very slack dough. Alternative methods I would consider would be to hold back some of the water and add water as needed (rather than flour) during mixing. This has the advantage of not throwing off the percentages of other ingredients relative to the flour. Another related solution would be to plan on using the “double hydration” technique often recommended for very slack doughs. This entails initially mixing with only 2/3 to ¾ of the total water until the dough has developed some (gluten) strength, then adding the remainder of the water and mixing until it is incorporated.

Procedures

  1. The night before baking, activate the rye sour by mixing 20 gms starter with 100 gms of water and 80 gms of whole rye flour. Cover and ferment for 8-12 hours.

  2. The next day, roast, steam or boil the potatoes. Peel them.

  3. In a large bowl (or the bowl of your mixer), dissolve the rye sour in the water. Add the flour and potatoes, mashed or put through a ricer and mix to a shaggy mass. Cover and let rest (autolyse) for 30 minutes.

  4. Add the salt and coriander and mix to moderate gluten development. (10-13 minutes at Speed 2 with a KitchenAid)

  5. Transfer the dough to a floured board and, with well-floured hands, stretch it to a 14” square. Distribute the nuts over the dough, roll it up and knead for a few minutes to evenly distribute the nuts throughout the dough.

  6. Form the dough into a ball and place it in a lightly oiled large bowl. Cover the bowl tightly.

  7. Ferment the dough until doubled in volume with stretch and folds at 30, 60 and 90 minutes.

  8. Transfer the dough to a lightly floured board. Divide it in two equal pieces and pre-shape each into a log. Dust with flour and cover. Let the dough rest for 10-20 minutes.

  9. Shape each piece as a bâtard and place them, seam side down, on a linen or parchment paper couche.

  10. Cover the loaves and proof them until they have expanded to 1.5 times their original volume.

  11. 45-60 minutes before baking, pre-heat the oven to 430F with a baking stone and your steaming method of choice in place.

  12. Transfer the loaves to the baking stone and bake with steam for 10 minutes, then another 20 minutes without steam. If the loaves are browning too fast, turn the oven down 10-20 degrees.

  13. Bake until the internal temperature of the loaves is 205F.

  14. When the loaves are done, leave them on the baking stone with the oven off and the door ajar for an additional 5-10 minutes to dry the crust.

  15. Remove the loaves to a cooling rack and cool completely before slicing

I sliced the bread and tasting it after it was completely cooled. The crust had softened somewhat but was still crisp. The crumb is moist but pleasantly chewy. The nuts are soft but provide little pops of nuttiness. This is particularly true of the hazelnuts, which I roasted longer than I usually do. The overall flavor is outstanding. There is more of a sour flavor than my previous bake of this bread, presumably due to the rye sour. There is no discernible rye flavor, but it does add to the overall complexity of the flavor as well as to the sourness.

I do prefer this version with the walnuts and hazelnuts and with the rye sour. 

I'm taking one of the loaves up to San Francisco tomorrow to nourish 3 of my siblings who otherwise would be suffering with only bread from Acme, Boudin, Semifreddi, Arizmendi, Tartine, Noe Valley, etc. to eat. <sniff>


David


mrosen814's picture
mrosen814

Here are some photos from last night's Rosh Hashana Challah bake! 

Shiao-Ping's picture
Shiao-Ping


                                                                               SP's Country Sourdough


And let's slice them ...


 Now I found something ... 


And this ...


                                   Lovely crumb to me                                        but this is slightly on the dense side and gummy, why?


A wake-up call:

I recall when I was mixing my starter in the water for the final dough, I felt tiny little lumps of dough in my hands but I was unable to break them up because they were too many.  I used a trick that I learned from making custard when there were lumps - by pushing the starter through a sifter, I managed to get rid of most big lumps, but there were still many very tiny ones.  I got tired of trying to get rid of them, so I proceeded as normal.  Those lumps would most likely have been formed during the 2 hour final levain expansion (see my post here for details of Chad Robertson's sourdough timeline) - I did not mix the starter thoroughly with the flour and water.  And these lumps, however small, became the gummy part of the crumb!  (I may be wrong but that's what I think it was.)

A myth: The longer the fermentation, the better it is for the sourdough.  No, it depends on how time is spent, not how much time there has been.

With this sourdough, I learned something new.  What happened was when I was trying to get rid of the lumps, my hands were stirring the starter in the water for quite a long time (15 to 20 minutes at least).  I had never seen so many bubbles appearing in the water as if all of the wild beasties were woken up from their sleep and were doing their morning exercises.  This would not have meant anything to me, had it not been the fact later on that the fermentation seemed to have advanced in quite a fast pace even though the dough temperature was under 20C / 68F.  (I wish Debra of the Frankendough could help me out here.)

Anyway, with the fermentation kicking along, I decided I wanted to do an experiment, and that is, to really work the dough with my stretch & folds in such a way as to really build the dough strength.  I dipped both of my hands in water (to prevent sticking) and, with one hand pressing the centre of the dough, the other hand grapping a corner of the dough and folding onto itself, I stretched & folded the dough quite vigorously for at least 30 to 40 times at each set of S&F's until the dough felt elastic.  I did 3 sets of S&F's within one and a half hours and within that time the dough expanded quite a lot.  In normal circumstances I would have done a 4 hour bulk fermentation as in my post of Chad Robertson's country sourdough; but in this instance, I decided one and a half hours were enough (the dough temperature stayed under 20C).  I divided the dough into three pieces and pre-shaped them twice as they were very soft and even though I pre-shaped them to very tight balls each time they relaxed and spread out completely.  I shaped them to tight batards and only proofed for half an hour, compared to 2 hours previously when I did my Chad Robertson's.  Retardation was only 9 hours.

This morning before I baked them, the doughs were as flat as pancakes, but in the oven, they rose like hills:


What I learned in this bake is that the dough strength (built up from the vigorous stretch & folds) helped in the volume (the oven spring, the open crumb, etc).


Time for some food,


And pack up the rest,


Shiao-Ping 

p.s.  The minor variations I made in the formula here compared to the one in My Imitation of Chad Robertson's Country Sourdough were: (1) 72% hydration; (2) 5% of total flours in rye flour; and (3) total dough weight 3 kg.

Elagins's picture
Elagins

I've gotten some negative feedback on my visibility here on TFL as someone with an economic interest in bread baking, and it's been suggested that instead of flying my flag all over the place, that I focus on keeping a blog that details my hopes, expectations, worries, goals -- all the stuff that goes into turning a hobby into a business.

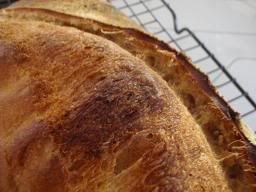
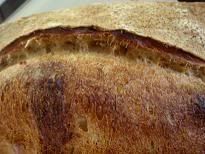
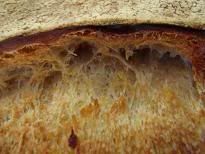
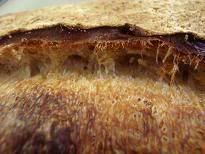
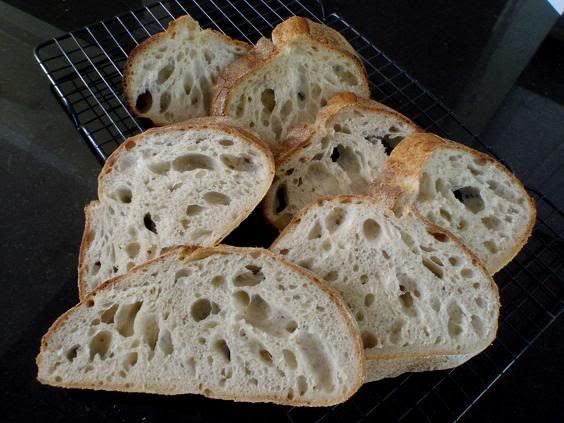
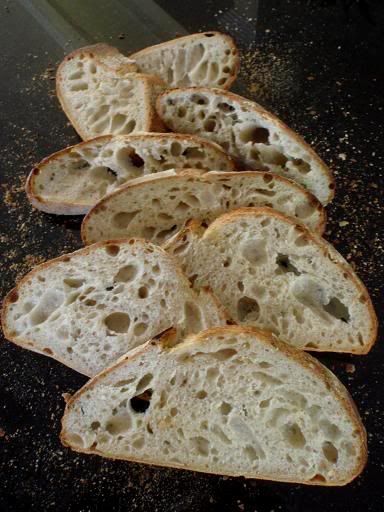
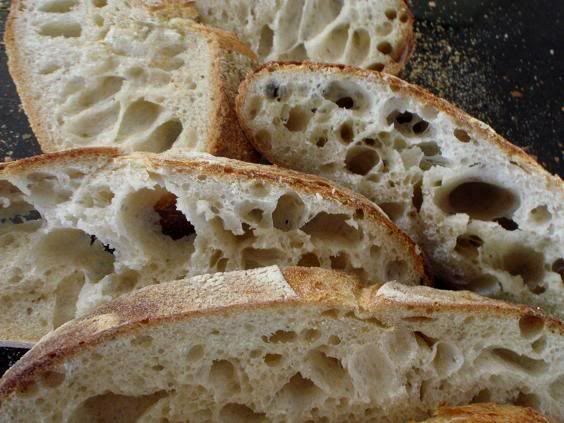
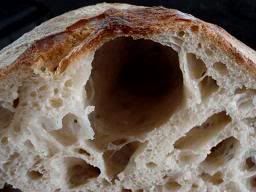
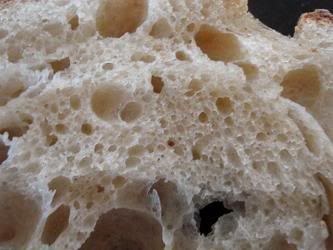
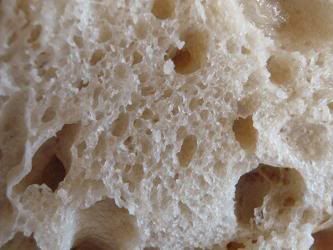
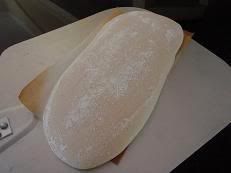
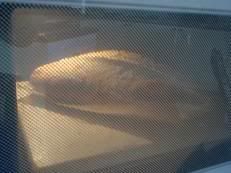
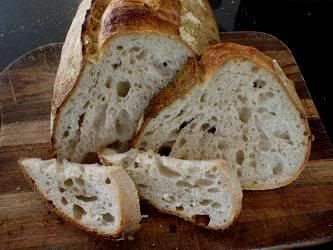
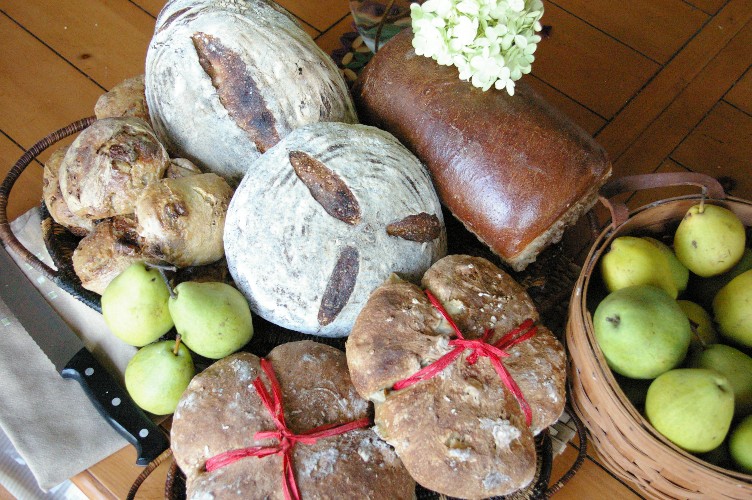
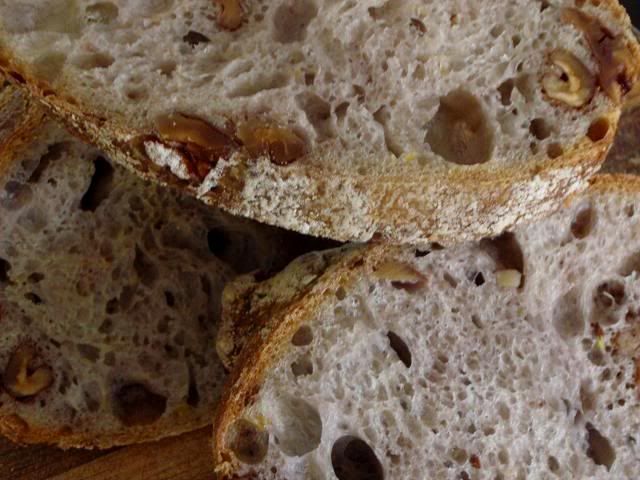
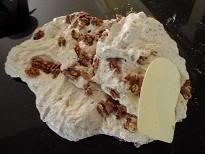
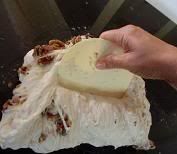
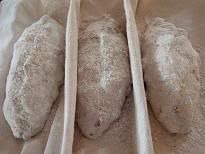
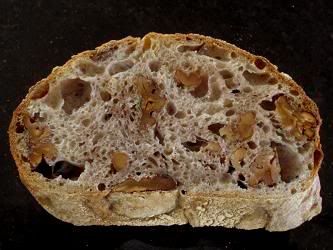
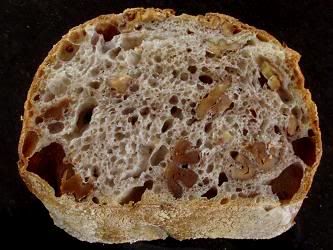
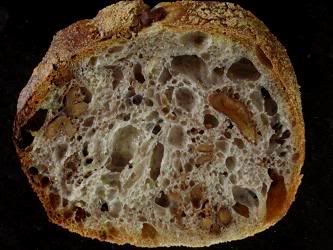
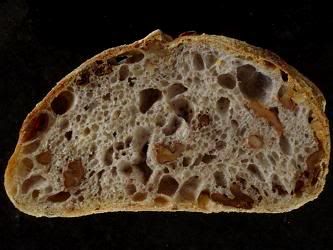
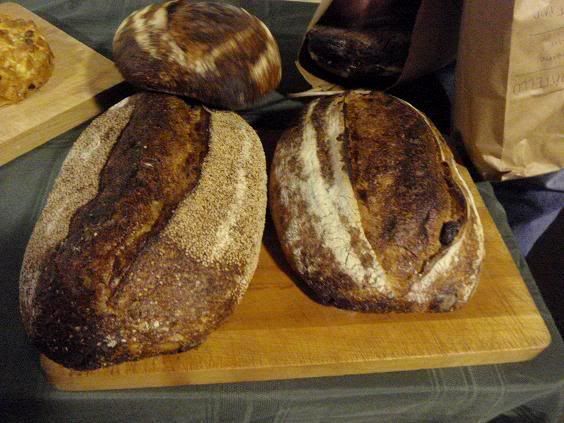
It's hard wearing two hats. On the one hand, I've been baking bread for a long time and have had both great loaves and doorstops come out of my oven. Engaging with flour, water, yeast (wild or commercial) and salt -- plus heat and maybe steam -- has been, and continues to be a source of great pleasure and challenge for me. In fact, it was the frustration I continually felt around getting reasonably priced bakers' flours, yeast, and other ingredients -- as well as decent equipment -- that motivated me to start my e-biz, so that I could provide a place for other hobbyist bread bakers, like myself, to find the things they need without having to go into their 401ks to do it.

I've been playing with the idea for years, decided earlier this year that 2009 would be my launch year, and then kept procrastinating out of pure anxiety.

Finally, in mid-August, I posted here saying that I had flours and baking stones for sale. I did it as a way of forcing myself to move forward, because I knew that if I didn't do it that way -- if I didn't make promises I had to keep -- it would never happen.

So the past month has been a mad game of catch-up. I had my suppliers all lined up before that first post, and that was really pretty much the only thing I had. Didn't have a website; had no idea how to put one together; took me a week or so of trying out half a dozen different web design programs and intensive browse through 4 or 5 books on web design and html to find the right tools. My website came together during the course of an 80-hour week, filled with trial and error, learning htmal (or at least enough to get things going) from scratch; learning about and contracting with a web hosting service. Finding space where I could set up shop. Getting all of the necessary licenses, permits and tax matters in place. Developing labels, catalog entries, packaging, finding an affordable shipper, legal-for-trade scale, and on and on. And, of course, paying for all of it.

Fortunately for me, I have a great spouse and some very good friends, both old and new, who have been incredibly supportive and who have offered their expertise. Even with their help, though, there's still so much to do. Now that the website is up and running and orders are starting to come in, I'm discovering additional layers of things that need to be taken care of -- stuff that I never knew existed, like search engine optimization and payment systems. The website, I've discovered is much less an end than it is a beginning of a whole set of processes I never imagined existed.

It's like having a new child, with the obvious difference that newborns come with a certain amount of immune system strength already programmed in and a ready-made support system. nybakers was born with only my hopes and aspirations to nourish it, and an ongoing commitment to myself and those who believe in me to make it happen.

It makes one feel very vulnerable ... throwing one's doors open and saying to the world, "here I am," and hoping that someone -- anyone -- else cares, and maybe comes in, looks around and buys something, as much to show that they're paying attention and that they support my larger goals as because they need it. But that kind of good will doesn't last, and the 300, 400, 500 hits a day of the early days dwindle down to 15, 20, maybe 40 or 50 on a good day.

And so there's anxiety, and maybe I let my anxiety show by waving too big a flag and talking too loudly, because I'm afraid that nobody cares. And if that's what I'm doing, and that's pushing people away, then it's clearly the wrong thing to do. I believe in what I'm doing, and believe there's a real need out in our world for the things I offer -- which are the things I use myself in my own baking.

It just feels very lonely out here, sometimes.

More to come.

cake diva's picture
cake diva

Off to my hometown for a big birthday party.  Must make sure I bring everything

Checklist:

1.  chocolate sourdough bread.  Check.

chocolate sd

2. Chocolate zucchini cakes.  Check.

chocolate zucchini cake

3. panetonne.  Check.

panetonne

4. Portuguese filled rolls (sweet bean paste, almond paste). Check.

Filled POrtuguese rolls

5. Malasadas filled with passionfruit curd.

malasadas

Uncheck!  OOOps, forgot we ate them just as they came out of the fryer.  Supposedly, these are only good fresh- so we had to eat them right away.  Don't you just hate it when they twist your arm to eat donuts?

6. Frozen bread from last week's bake-off.  Check.

sept bake

7. Tropical chiffon cake, crumb-iced.  Check.

tropical chiffon cake

8. passionfruit tart. Check.

passionfruit tart

And a stack of full-sized crepes, frozen (not pictured) + caramel sauce.

Hmmmnnn... did I forget anything?

Shiao-Ping's picture
Shiao-Ping

The best Walnut Sourdough that I've ever had was from Tartine Bakery in San Francisco.  Imagine a rustic Country Sourdough studded with whole walnuts and no compromise on the open crumb.  To me a simple sourdough like walnut sourdough is not something that can be easily made well; in fact, I've found any sourdough with add-ins hard to make really well.  Once I find a method that works for me, I am normally eager to try the new method on doughs with add-ins.  This was what happened when I found James MacGuire's hand-mixing technique.  He permanently expelled my fear of hand mixing.  I had used his method on walnuts and mixed dried fruits and quite liked the result at the time but was wondering subsequently if it was possible to achieve a more open crumb.   I know the emphasis on an open crumb may sound pretentious at times but I am just a housewife with free time and mental space.  If there is something I still find room for improvement and I am still interested enough, I'll keep trying.

With this post I have used the method I've recently learned from The Bread Builders about Chad Robertson's sourdough timeline and applied it by hand on my own formula.  One of these days I will write to him to seek for confirmation but for now I will amuse myself with one more bake along the same line as my previous 4 posts. 


My Formula 

  • 716 g starter @ 75% hydration
  • 71 g stone ground organic medium rye flour (10% of final dough flour)
  • 645 g organic unbleached flour (90% of final dough flour)
  • 593 g water
  • 450 g walnuts (40% of total flours, including that from starter), toasted
  • 22 g salt
  • Extra medium rye flour for dusting

 Total dough weight 2.5 kg and total dough hydration 80%


  1. First break up the starter in water in a big bowl by hand
  2. Stir in all the ingredients except walnuts (record the time when this is done)
  3. Autolyse 45 minutes (longer than I normally would, to make sure the flour has a good chance to bind with the water before the disruptive walnuts come in)
  4. Spread half of walnuts on a work bench, dump the sticky dough on top of it, then spread the other half of walnuts over the dough
  5. Start mixing in the walnuts by a series of folding motions with a dough scraper from the side to the centre, then
  6. Place the sticky dough back to the big bowl, and start the first set of stretch and folds by hand or with the plastic scraper
  7. Do another 3 sets of stretch and folds in the next 3 hours or so (note: total bulk fermentation is 4 hours counting from the time ingredients except walnuts are mixed until division/pre-shaping; the ideal dough temperature for me is 18 - 21C / 65 - 70F, if your dough temperature is higher due to warmer weather, shorten fermentation time accordingly)
  8. Divide into three pieces of 830 g each and pre-shape each to a log
  9. Rest for 15 minutes and in the mean time dust linen with medium rye flour
  10. Shape into batards
  11. Proof for 45 minutes (as my room temperature had risen and the dough temperature registered 25 C / 77 F, I put the dough into the refrigerator to start retarding)
  12. Retard for 17 hours (or 8 hours minimum)
  13. Bake the next day with steam at 230 C for 20 minutes and another 20 minutes at 220 C.


With the high hydration and rye flour, the dough fermented quite well earlier on.  There was very noticeable fermentation activity even before the second set of stretch and folds.  With my room temperature rising, the dough was at a risk of being over-fermented.  On hindsight, the bulk fermentation could have been shorter.

Also, I went crazy with walnuts.  Even though it is nice to have such a "deluxe" quantity, there is really more chewing than necessary when you bite into a slice.

The 80% hydration is about right because of the added nuts.  A couple percentages more hydration would be fine too.

Other than the above, this walnut sourdough is quite alright, no where compared to Tartine's though.  What's in your memory is always the best.

Shiao-Ping

The following is updated on 21st Septermber: I found these pictures of very rustic sourdoughs from Tartine Bakery in my files, including their Walnut Sourdough, and would like to share them:


      I believe the one in the front to the right is the Walnut Sourdough


                                   Walnut Sourdough

Their sourdoughs appear to be very high hydration to me.


Pages

Subscribe to Recent Blog Entries