The Fresh Loaf

A Community of Amateur Bakers and Artisan Bread Enthusiasts.

Recent Blog Entries

Doughtagnan's picture
Doughtagnan

After reading the excellent recipe  by Pat (proth5),  posted by dmsnyder  I thought i'd give these a go over the weekend and well, it must be a good recipe as even in my ham fisted hands I managed to turn out some very tasty bread, even if I need to watch some more shaping 'n' slashing videos!  I varied it by using 300 grams of flour / 195ml eau (plus the rye starter) and made an overnight sponge with roughly 100g of the flour, starter and water the day before.  The one on the right was baked 1st and was better, must have been the proofing en plastic guttering! I had thought i'd slashed it fairly deeply but the rise was quite impressive. 

hansjoakim's picture
hansjoakim

I've been experimenting with some different levain breads recently, all made with more or less the same procedure: Between 15% and 20% prefermented flour, bulk fermentation around 2.5 hours with one or two folds, and retarding in fridge overnight (or at least 8 hours).

First up was a semolina levain, loosely based on Hamelman's semolina bread from the levain chapter in his book. I added a pinch whole-wheat and whole-rye flour to the formula, to give it a bit more body. There's toasted sesame seeds in the dough, and flavourful seeds on the crust, that provide a rich taste to each slice. A very nice bread to go with cured sausages or paninis!

Semolina bread


A bread that really blew me away was a levain made with roasted potatoes, roasted garlic and fresh herbs. Here's a link to my spreadsheet which details the formula. If you want to try it, keep an eye on the hydration of the dough as you mix it: You might have to add or reduce water depending on the moisture of the roasted potatoes. The garlic gets a mellow, rich buttery flavour after roasting it, and it blends perfectly with herbs and potatoes in this humble bread. I used parsley, but anything from thyme, basil, rosemary, dill to oregano would work equally well. You could also replace some of the water with olive oil if you prefer a softer crumb. Either way, I can heartily recommend it.

Roasted potato and garlic bread


Finally, my everyday pain au levain from "Bread", the pain au levain with whole-wheat flour:

Pain au levain with whole-wheat flour


PS: If you're a literature buff (like me), keep an eye out for Sofi Oksanen, a young Finnish writer who's making waves in literature circles here in Scandinavia. Two of her three novels are translated into my mother tongue, and her third novel "Purge", is soon published in English (Amazon.com link). Estonia, torn between Finland (West) and the Soviet union (East), is central to her work, and the tension between the two blocks has devastating effects on her characters. "Purge" is nominated for this year's Nordic Council's literature prize, arguably the most prestigious award for literature written in the Nordic languages, and I wouldn't be surprised if she wins.

trailrunner's picture
trailrunner

I found this formula on Sourdough Companion and used it as a starting point for my bread. http://sourdough.com/recipes/raisin-breadbasic-fruit-loaf..here is the link. I subbed the dates and pecans for the dried fruit. I also changed the spices . I used 400 g KA bread flour and 100 g KA ww flour. Sorghum syrup from TN for the sweetener. I baked it as one large loaf at 375 for 1hr. No steam and no stone this bake and no slash.

This is the most amazingly good sourdough I have made so far. The dough comes together like silk. I could handle it with ease and the folding of the fruit into the dough was simplicity itself. I used rice flour for the 1st time on the linen napkin with which I lined the basket. I will always do that from now on. It makes the dough literally fall off of the cloth w/ just a light dusting remaining. Things I will do differently...I will use a larger basket next time or else make 2 boules, I will slash...I didn't as I was afraid the fruit would burn. Turns out the charred dates are so YUM that it is a good thing when they caramelize. I will also go ahead and steam and stone although it is fine w/o but I want to see the difference. So here goes...formula "my way" and pics.

400g KA bread flour

100g KA ww flour

200g starter ( I used my 100% hydration white)

162g warm milk ( I used 1%)

162 g warm water

20 g sorghum syrup ( you could use honey)

10 g Kosher salt

7 g mixed spice ( 5 g cinnamon,1g cardomom,1g nutmeg)

250 g mixed dried fruits/nuts ( I used 1/2 chopped dates and pecans)

Mix all but fruits/nuts in KA just till moist and autolyse 20 min. Use mixer on setting 2 for 1 min to knead bread x 3 with 10 min rests between. May need to add a few drops of water depending on your ww flour and your moisture in your home. Dough should clean the bowl right away and be soft,pliable and silky almost from the start. Ferment 1 hr . Do 2 stretch and folds at 1 hr intervals on the counter. Return to oiled covered bowl after each.  Remove dough from bowl and flatten to a large rectangle. Dough is so smooth and soft that this was a pleasure. Strew the nut/fruits over the dough and roll up to a long tube and then gently fold in ends and sides to make a smooth ball. Return to oiled covered bowl 1 hr. Remove and shape as desired... 1  large boule, batard or 2 .Place in cloth lined basket. Let rise in a warm place for 3-4 hrs, I use the mantle in my kitchen above the fireplace. Bake in preheated 375 oven one hour for one large loaf or to 200 degrees internal temp...see my notes above...steam/stone etc are optional. Finished loaf :

Photobucket crumb shots: Photobucket Photobucket

breadbakingbassplayer's picture
breadbakingbass...

Hey All,

A quick question for those of you using lava rocks to create steam...

I have been creating steam using a stainless steel pan filled with lava rocks on the floor of my oven...  I washed the lava rocks and sterilized them by boiling them in water for about 30 minutes, and then placing them in my oven to dry.  Also, the bottom of my steam pan is slightly rusted.  Not sure if this is a problem...

The results have been great, however, I have had this mineral taste in my mouth for the past week...  Has anyone noticed this when using lava rocks?  Could this be caused the the rust in the bottom of the pan?  None of my friends who have had the breads have noticed...  Also, my diet is the same, and have not eaten anything that I usually don't eat...

Anybody else have this experience?  Please let me know.  Thanks.

Tim

Mebake's picture
Mebake

Yesterday I baked this Boule... With 33% Rye this time. Success!

I have had the best oven spring because of using an improvised cloche. A ceramic clay oven pot i bought off a store, and replaced the cover (which was vented) with a stanless steel bowl on top, and preheated both to 250 C.

Now i know how baking accomplishment feels.

Hats off to Susan't magic bowl idea, and Eric..at that.


rossnroller's picture
rossnroller

In response to a request on another thread, here is my sourdough pizza recipe.

My pizza story goes some way back now. Masochists can access the details in the following posts on my regular blog:

Pizza - A Tale of Evolution

Making Your Own Great Pizzas At Home (I've been meaning to amend the title of this post for some time...this was written pre my sourdough revelation).

I 'graduated' from dry yeast pizzas after coming across Jeff Varasano's amazing site of obsession and instruction - see here. Until applying Jeff's sage advice, I thought I'd tweaked my dry yeast pizzas to close to optimum for a domestic oven, but have found that SD brings the flavours to a whole new level. Of course, there is simply no substitute for a wood-fired oven (or, second-best, an electric pro oven) because unless tampered with, domestic ovens cannot reach the temperatures required to bring the very best out of pizzas (around 450C, 800F).

That said, the pizzas I am turning out with this recipe are pretty damned goood - far better than those I've had from most commercial venues, and immeasurably superior to the crappy things franchises like Dominos, Pizza Hut, etc sell by the millions (how's that for lowering the bar?). Not as good as the incredible thin-crust ones I had from an old woodfired oven pizzeria near the Trevi Fountain in Rome, but not far off, either. I say this not out of boast, but as a pizza tragic (although not on Jeff's level!) who is eternally on a quest for superb pizza, and in a spirit of spreading the lurve.

I have to acknowledge that Jeff Varasano's dough mix and methods are the inspiration for this pizza. I do not have a mixer as he does, so adjusted the method to suit hand-mixing. Also, I was not prepared to mess with my oven to force it up to ideal pizza temperatures as Jeff recommends. Instead, I experimented and made some little tweaks along the way, which have improved both the convenience of the method and the final result. If you try this recipe, hope you find the same. Enough rambling...

Dough for 1 pizza - multiply ingredient weights by however many you want to make (or use bakers' % to re-scale):
Filtered water                 110g (65.5%)
Pizza flour                     168g (100%)
Salt                               6g or less (2-3.5%, according to taste)
Sourdough starter*        15g (9.0%)
Instant dry yeast            0.5g (0.25%...I just use 1 or 2 pinches, or 3 for 2 pizzas)
Olive oil                         1 tblespoon approx
*I use a 100% hydration white starter, or rye/white flour starter. With this small amount, hydration % is not crucial.


Dough Method (as stated, I do all mixing by hand):

  1. Mix all ingredients except salt, cover and rest for 20-40 mins (autolyse).
  2. Add salt, and do 20 or 30 stretch-and-folds in bowl.
  3. Pour about 1 tbls olive oil on to bench surface, scrape dough on to bench and knead/squelch between fingers/stretch until oil begins to be absorbed (2-3 minutes). Change kneading method to "air kneading" (slapping dough repeatedly on bench). 
  4. If sticking too much during air kneading, add more oil to bench surface and repeat 3. 
  5. Repeat 4 until gluten is well-developed and dough is smooth and stretchy (but it will still be quite a wet dough). This should take about 5 minutes in total, but always go by dough feel. Return dough to lightly oiled mixing bowl, cover, and rest 20 mins or so.
  6. Divide dough into however many pizzas you're making, using a scale to ensure each piece is equal in weight.
  7. Roll into balls and transfer each into its own small oiled plastic container, roll around to cover evenly with oil, and put on lid.
  8. After short rest, transfer to fridge. Retard fermentation in fridge 2 - 3 days (I prefer 3).


Making pizza:

  1. Take dough out of fridge about 1 hour before baking (pre-heat oven and pizza stone on max during this time).
  2. Empty one dough ball out on to floured surface. Gently and gradually stretch it out evenly from centre with your fingers, leaving a small rim at edges. Be firm but not rough - the dough should be very manageable and stretchy, but be careful not to stretch it so thin it tears. When at the size and thickness you want, transfer to semolina-sprinkled peel (or back of cookie sheet). This transfer process can be a bit tricky. I get my partner to lift one side of dough while I lift the other. It will distort in shape in transit, so re-shape when on peel (easy - but who cares if it ends up 'rustic' in shape, anyway?). Keep giving peel a shake to make sure the dough is not sticking. If it does stick, work a little more semolina under the sticking part. It is vital to keep checking with a little shake that it is not sticking as you put the toppings on that it is not sticking. I have made the mistake of thinking a tiny bit of sticking shouldn't matter, that the weight of the pizza would unstick it and send it sliding cleanly off the peel and on to the pizza stone - I was spectacularly wrong! IF IT STICKS AT ALL, SPRINKLE SOME SEMOLINA UNDER THE STICKING PART SO IT DOES NOT STICK ANY LONGER!!
  3. Quickly assemble your preferred toppings. KEEP TOPPINGS LIGHT! Then transfer to pizza stone in maxed-out pre-heated oven. Bake about 8 mins (note: the thicker the dough and spread of toppings, the longer it will take to bake; I like thin crust pizzas lightly topped, so mine only take 8 mins @ 250C).
  4. I like to serve mine with freshly ground black pepper, some torn basil leaves, with some chopped fresh chillies in quality extra virgin olive oil spooned over.

I don't take great pics - too impatient to start eating! These don't do justice to these pizzas, but will give some idea of the way they turn out (NB: I don't even try to char mine - that's best done in high-temp WF or pro ovens).

cacciatore sausage, zucchini, red onion, mozzarella and ricotta SD pizza


mushroom, tomato, red onion and mozzarella SD pizza


anchovies, olives, onion and mozzarella SD pizza


Cheers all
Ross

breadbakingbassplayer's picture
breadbakingbass...

Hey All,

More blogging ketchup...

Here's a sourdough from 1/5/10...  Enjoy.

Tim

breadbakingbassplayer's picture
breadbakingbass...

Hey All,

I'm just going to start catching up on my freshloaf blogging...  Here are some French bread loaves from 1/4/2010...  Enjoy!

Tim


ltews's picture
ltews

I'm looking for a inexpensive site to purchase bread stones.  I just picked one up today off of the King Arthur site and it was nearly $40.00.

sergio83's picture
sergio83

I'm still tying to make baguettes and having a lot of fun doing it.  I thought I'd try Anis Bouabsa's recipe as described by David (dmsnyder) here on Jane's (janedo) blog/page/thread(?): http://www.thefreshloaf.com/node/8066/great-baguette-quest-n%C2%B03-anis-bouabsa. After converting grams to ounces to cups, or something along those lines-- I describe my "process" there-- I ended up using 1-3/4 cups of ap flour, and 6 oz of water, plus the yeast and the salt.  The ghetto comes into play because I used the everyday Pillsbury AP flour instead of the fancy stuff (I spent all my money on KA bread and white whole wheat flour), add to that that I measure by volume (I looked at scales the other day, I'm working on it) and that I spent more than 21 hours-- actually, I'm not sure how long it spent in the fridge, just that it was a little more than the 21 hours, but not much more than a few hours more, if that.

I ran into some familiar problems.

I've been proofing, shaping into baguettes on the pan that I put into the oven, letting them rise and then baking them without moving them.  My "shaping" skills leave a lot to be desired, I think my problem has to do mostly with how I'm not good at putting flour on the countertop-- so far, i put too much on and instead of rolling it just slides aroung and i end up pulling out the ends-- next time, i just won't put flour on the countertop.

This time, I tried to "pre-shape" (or something like that) the loaves so I did the push-fold-turn-push-fold seal thingy I've seen on youtube-- actually, if I'm stubborn about making mistakes, I hold this to blame: http://www.youtube.com/watch?v=2AOSuKWJEPI&feature=fvw-- and then I rolled it-- so basically I shaped the baguette.  Then after an hour I shaped it again-- well, first I stretched it of of the parchment paper which is stuck to (I'm thinking it might be a bad idea to let it rise in a steamy oven, which I would do so that I wouldn't have to put anything over it which would then stick, but since it's sticking and messing up anyway...)  So I tried to reshape it again and roll it out on a lot of flour but I more slid it around instead.  It was also very stretchy, so I had to cut it in half and made two "baguettes" instead of one.

I also tried putting a cookie sheet in the oven to warm up before putting the loaves on it. Not surprisingly I made a mess of that and when I tried to slide the loaves onto the hot cookie sheet they slid into each other so they have a soft spot on one side-- actually though, I got what I think was some oven spring out of it... Or that may just have been because I forgot to score the loaves :S.

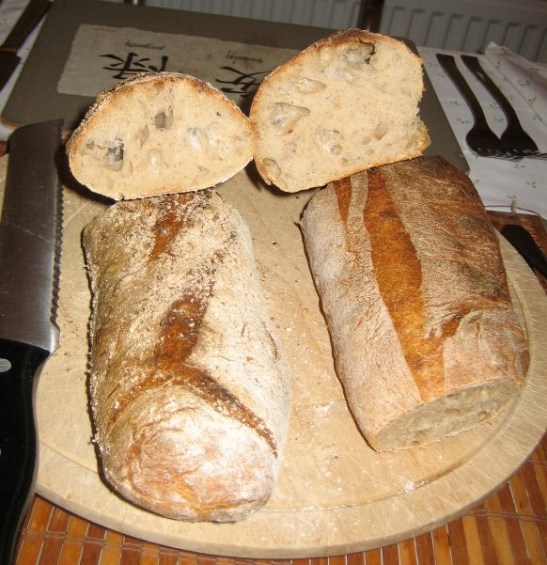
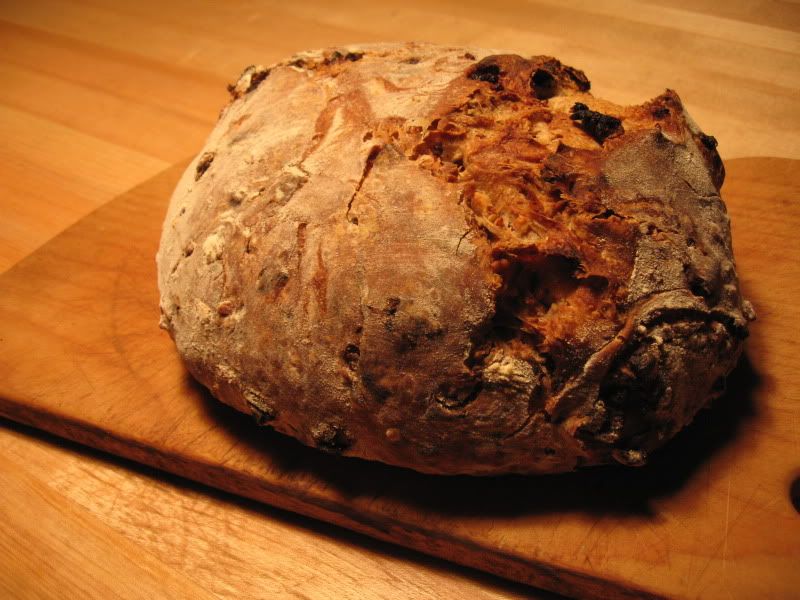
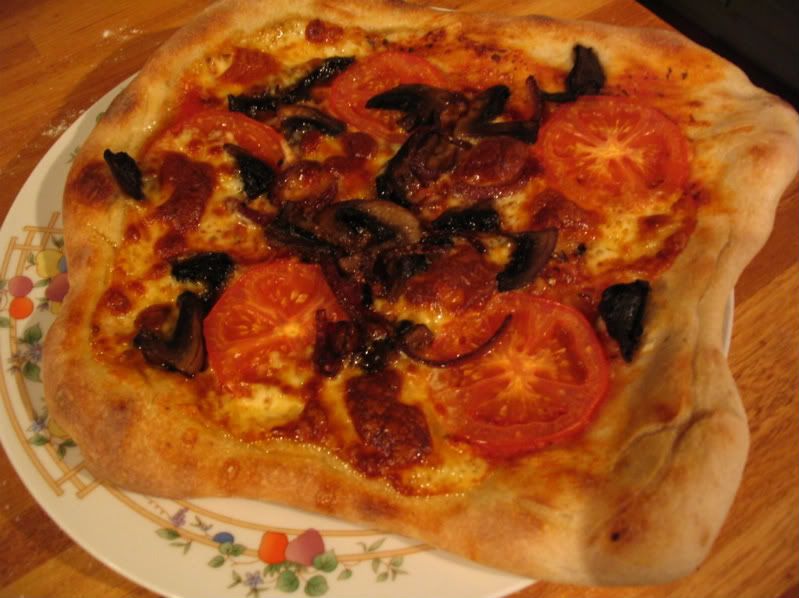
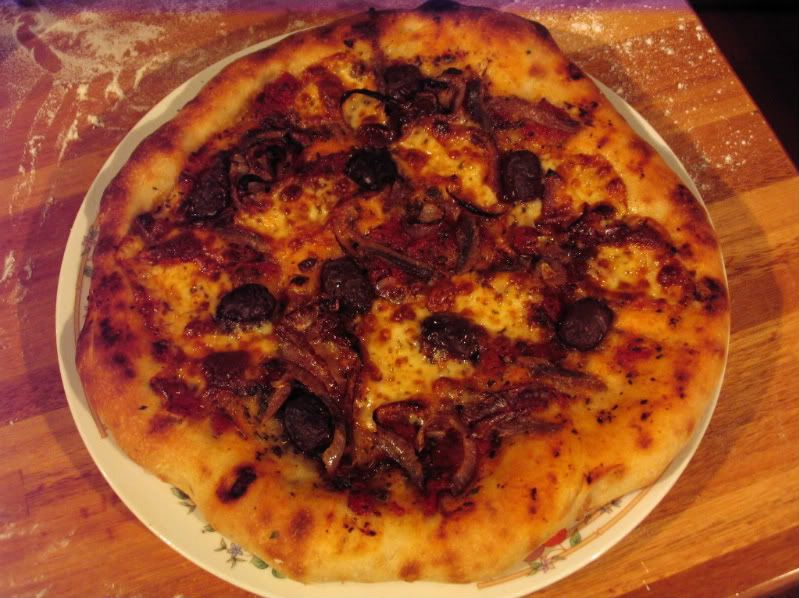
Anyway, here are the results of my little comedy of errors:

I couldn't find my camera last night so by the time i did we'd finished off half of one loaf.

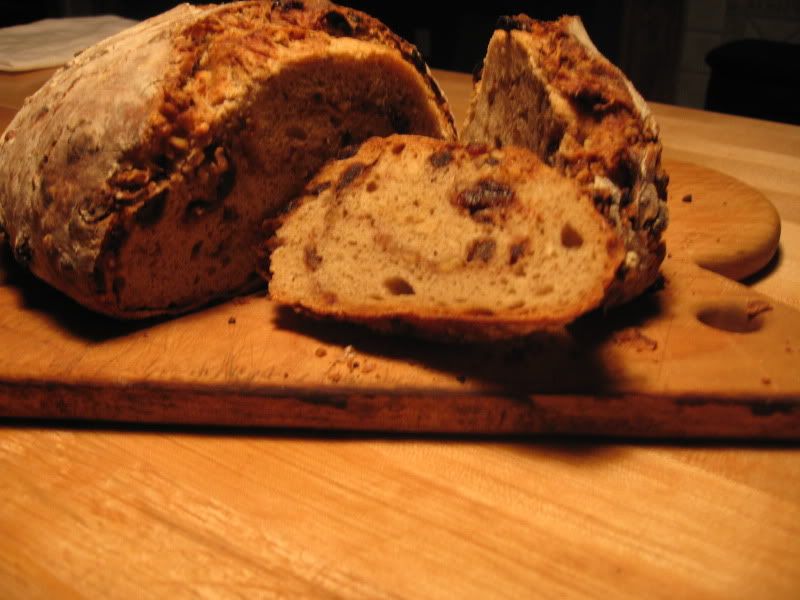
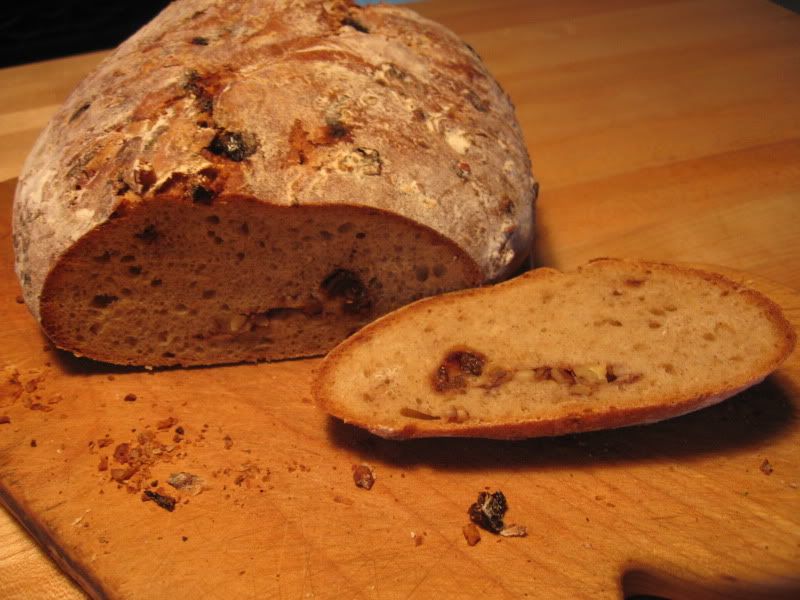
I'm pretty happy about the crumb, though it seems to be somewhat irregularly irregular.

I'd have been ever so happy if the whole thing had come out like the right half of the above cross section... actually it might have (I forgot to mention that when i went to slide it I noticed that the tip was off the end of the parchment sheet so I tucked it in so maybe that's why the bubbles are so little.

As far as taste goes, it's not terribly fantastic.  It might have to do with the flour's brand, that the flour wasn't terribly fresh, or that I'm still trying to figure out how to balance out the salt and on this occasion I tried to guess on the miserly side.

I used more than the cup of flour I'm fond of, so for my next trick, I'll try it with 1 cup of flour and i'll figure out the rest of the ratios.  I think I'll also buy some KA brand ap flour.  I'll do the 21 hour cold rise... as far as shaping goes, I could take it out of the fridge and shape on the parchment paper i'll bake it on... but I think i'll take it out of the fridge and let it rest as a ball since I don't know what "pre-shaping" is.  I will not, however, put it in a steamy oven-- I'll cover it with oiled cling wrap instead and then a damp cloth... uy, i think it's gonna stick-- anyway, let me look some stuff up before I try...

Sergio

Pages

Subscribe to Recent Blog Entries