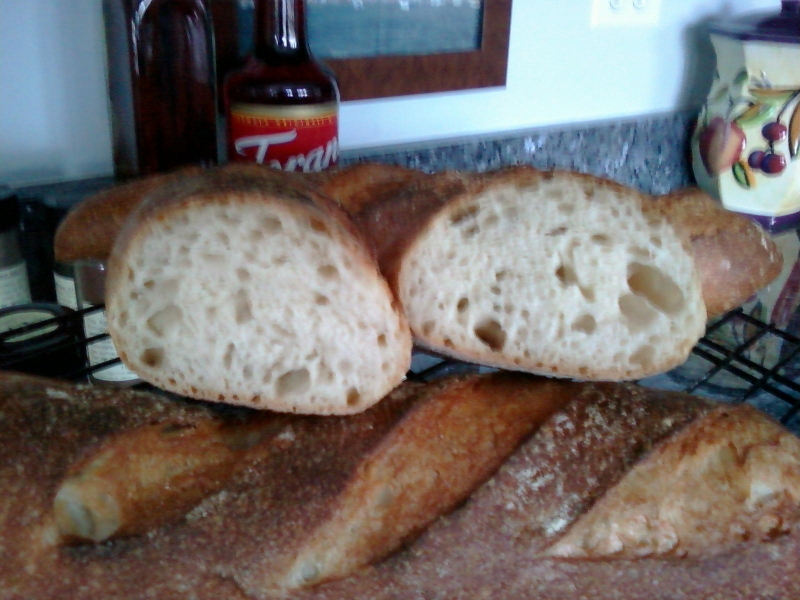
I went to my neighbourhood bookstore, Mary Ryan, after dropping my son to school the other day. The timber flour and the Bach playing in the background made me want to stay longer. I paid for a cookbook, Bécasse, and quickly left. I wanted to have breakfast and coffee at Chouquette Boulangerie & Patisserie. This was my first time back there since my last post about them five months ago. Their business is going really well. Quite obviously, there are unfilled demands for good quality breads and pastries around Brisbane. I peeped into their production area right next to the shop front, only two people remaining there, decorating pastries. I asked for butter for my Baguette Traditionnel to go with my coffee. Lovely coffee, lovely baguette, and a lovely morning.
While the baguette I had was made early that morning, the crust was not all that crunchy any more, without being heated up again. The labour is so expensive here in Australia that it is not possible to have several hot bread times intra day. In Japan and Taiwan, the population density is such that it is economical to provide that kind of quality throughout the day. Many bakeries over there have a white board standing at the door with hot bread times written on the board as you walk in.
The breads in this post were my "warm-ups" for a Lionel Poilâne style of miche. I have ordered my T80 flour from a French on-line grocer. It is wicked to think we are able to order anything from anywhere in the world on-line. I have almost all of Lionel Poilâne's books and have been studying them. Many people have tried to bake a Poilâne style of miche. While I do not believe there is such a thing called the best bread in the world, the intriguing thing, to me as a home baker, about Miche Poilâne is its process; i.e., you set aside a portion of the dough to be the levain de pâte for the next batch of dough and, again, a portion of the next dough is sectioned off to be the levain for yet another dough, thus, making dough and levain a seamless continuous process. To be exact, 1/3 of the dough is set aside and proved for a couple of hours before being used as a levain and added to the next dough.
Courtesy of Eric at Breadtopia.com, the following two pictures were the famous Miche Poilâne, air-flown from Paris to Iowa, the USA, in March 2007, for his bread-day (birthday) party:
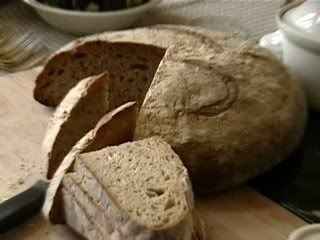

Miche Poilâne, air-flown from Paris to Iowa
We cannot call a miche that we made a true Poilâne style of miche without using the flour that they use. The flour combination that I used for the breads in this post is no where near T80 but is fun for me because it is a change from my usual white flour. This post for me is about Poilâne's process.
My Continuous Dough and Levain Process
Basically I wanted to make a miche of about 1 kg each. I also wanted to set aside about 1/3 of my dough as levain for my next dough, so for my first dough I needed to have about 1.35 - 1.4 kg.
Next, I needed to decide on a hydration. I chose 75%. Miche Poilâne is about 65% hydration. Their hydration is because of the flour they use is a softer kind of flour; but my flour combination (see below) can take more hydration and would love more hydration. A 75% hydration has another advantage - it makes calculation really easy. This hydration is for the main dough as it is for the levain as they are the same process.
Next, flour combination. I chose to have 50% bread flour, 30% whole wheat flour, 10% spelt, and 10% rye. I used this combination for all my seven miches in this post, except the last two. The seven miches were made, one after another, in a space of 5 days. For the 6th miche, I used 50% bread flour and 50% sifted whole wheat flour and for my very last miche, see below.
For my first miche, I pre-scaled 800 grams of flours (in the above combination), 600 grams of water, and 16 grams of salt, for use in the levain as well as the main dough.
First, the levain for the first miche. I took 20 grams of my usual white starter from the refrigerator as my chef and built it to 350 grams in three stages, using 200 grams in total of the 800 grams of flours and 150 grams in total of the 600 grams of water. When the levain was ready, I then mixed my main dough using the rest of the ingredients, including salt.
After an autolyse of 30 minutes and 20 stretch-and-folds in the mixing bowl, I set aside 350 grams of the dough to be the levain de pâte for my 2nd dough. Instead of two-hour ferment as per Poilâne, my levain de pâte was fermented on average for 5 - 6 hours as I like my levain to almost triple. My room temperature averaged around 26 - 27 ºC. The salt in the levain meant that it developed more slowly, allowing more flavours and aromas in the end result.
The first dough had 2 1/2 hour bulk ferment and about 2 1/2 hour proofing.
- 1st miche: Crumb tasted a little bit gummy and very sour. (I guess this was because my chef was straight out of the fridge. If I had refreshed my starter culture at least a couple of times before the 3-stage levain build, the miche would not have been so sour).
Just before the first miche was baked, my first levain de pâte was ready to mix my second dough. For my second dough (and all of the rest of the doughs except my 7th miche), I pre-scaled 600 grams of flours (in the combination detailed above), 450 grams of water, and 12 grams of salt. I mixed the second dough. Again, autolyse, stretch and folds ... the same procedure, and set aside 350 grams as levain de pâte for the third dough.
My second dough was proof-retarded overnight. While the second dough was being retarded in the refrigerator, the levain de pâte for the third dough became ready late that night. It was getting late, but instead of placing the levain in the refrigerator for use the following morning, I decided to mix my third dough there and then. Again, the same procedure, including taking 350 grams off the dough as levain for my fourth dough. Just before mid-night, I place my third dough to bulk retard in the refrigerator.
- 2nd miche: The gumminess has disappeared but the taste is still very sour.
The next morning when the above 2nd miche was baking in the oven, the third dough was warming up to the room temperature. And, in the mean time, the levain de pâte for the fourth dough was ripe to use. The continuous dough and levain process was such that there were three things going at one point.
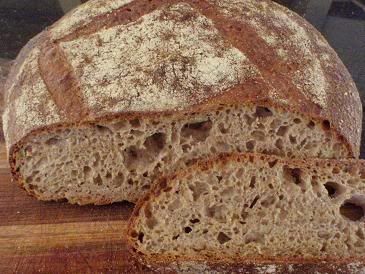
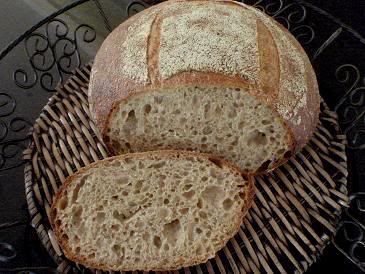
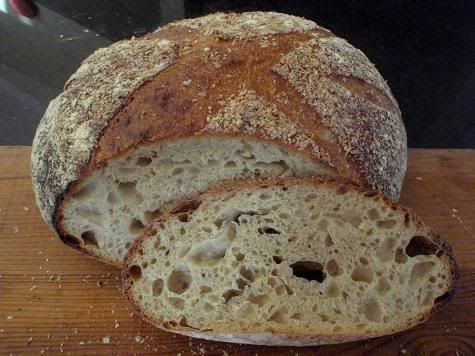
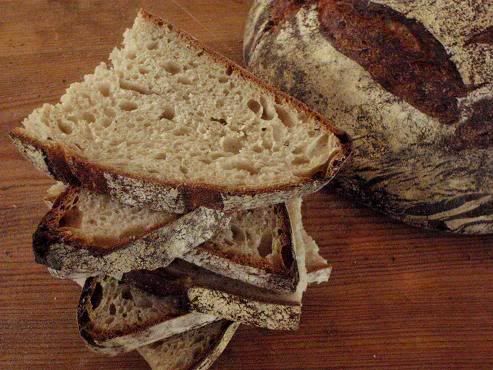
- 4th & 5th miche: These were my favourite of the lot (except my 7th miche in this post). They were light and spongy and toasted beautifully. Because of the whole grain flours, the two miches above were still sour, not in an unpleasant way, but I am not one who loves pickles. They tasted a lot better the next day and the next day again - the sourness had mellowed and the flavour was more rounded.
For the whole time up to that point, my levain de pâte smelled sour. And then, all of a sudden, my levain de pâte for my 6th dough smelled milky, very milky. The multiple feedings (and perhaps the relatively short refreshment time as well) had finally done the trick. I was so happy that I decided I would do something different for my 6th miche. Instead of 600 grams in the flour combination above, I used 600 grams of sifted WW flour. I had to use 700 grams WW flour to get 600 grams finely sifted WW flour. I was amazed at the amount of brans in my usual WW flour.
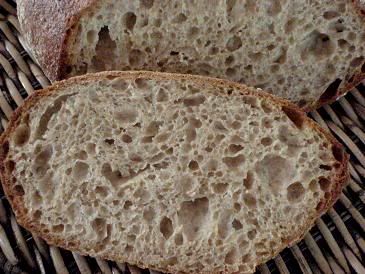
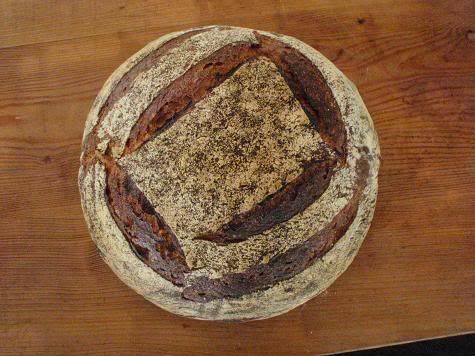
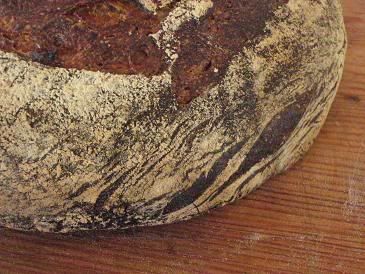
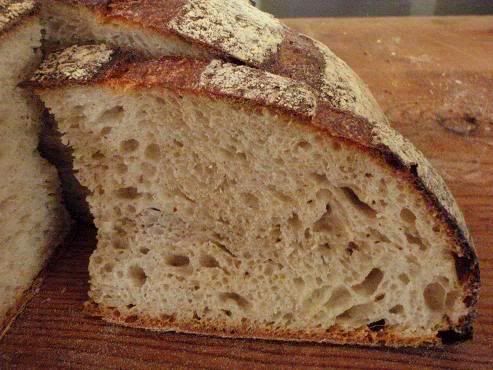
- 6th miche: Unfortunately, I was running out of gas, getting impatient, and did not allow enough time for my 6th dough to ferment (at bulk and proof). It had the promise to be one of the best miches of the lot, but the promise did not come to fruition. While large and irregular holes are visible in the crumb shot above, where there are no holes, the crumb actually felt dense. And the flavour, oh, what a disappointment! I would have thought that, with all the brans taken off, the crumb would taste sweet. But, No... I am not being critical... the taste was kind of bland and the mouth feel was heavy. I didn't even like it toasted the next day. This just goes to show that it is no good hurrying. For crumb flavour to develop, time is of essence.
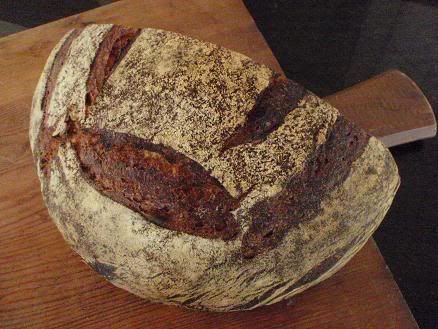
I rested for half a day, so did the levain de pâte (part of the 6th dough), resting in the refrigerator. I just had to pull it out again from the fridge to make one more try. And this time, for my 7th miche, I decided to make a 4 pounds loaf (the size of Miche Poilâne) with 5% WW, 5% Spelt, 5% rye, and the rest white. I gave the dough a slow, long bulk ferment of 6 - 7 hours overnight at room temperature of around 24.5 - 25 ºC. As the dough became bigger, my levain de pâte as a percentage of the final dough had become smaller. The next morning, before I shaped, I turned on my oven full blast to pre-heat. The shaped dough proved for only an hour and 15 minutes (because of the long bulk). And the result is ....Bellissimo!
- 7th miche: The flavour is well rounded, not too much acidity, just enough, and very "creamy." The texture is supple.
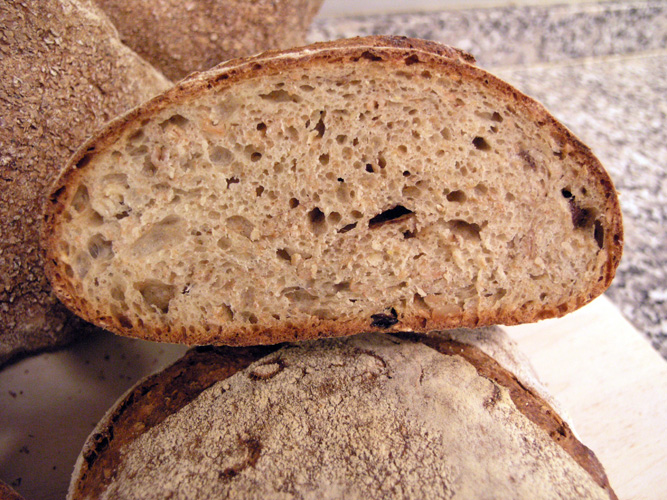
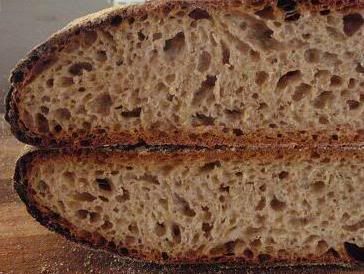
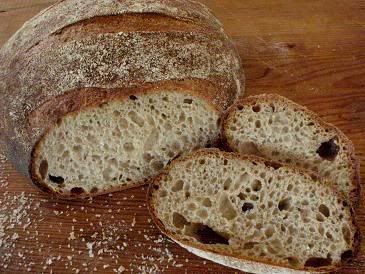
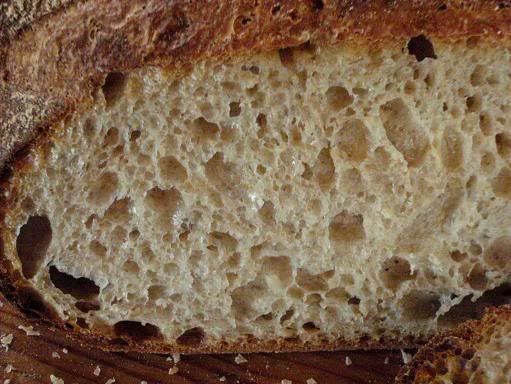
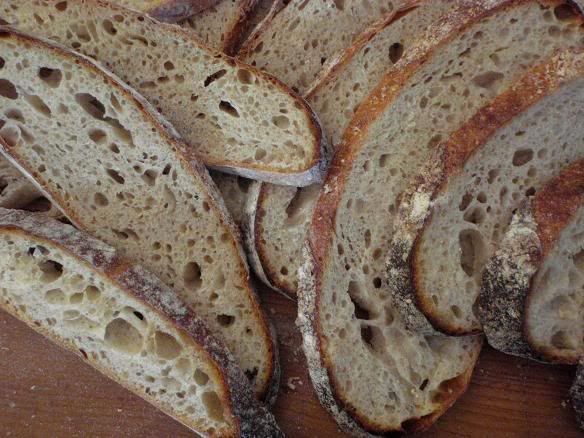
The cells of this miche were very well fermented. In the centre, there might not be large and irregular holes, but the texture was light, very different from my 6th miche. I cut the 4 pounds miche in half below:
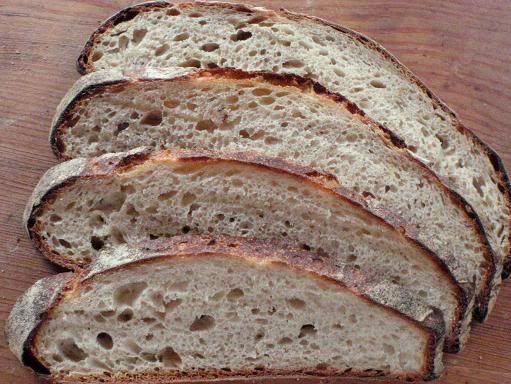
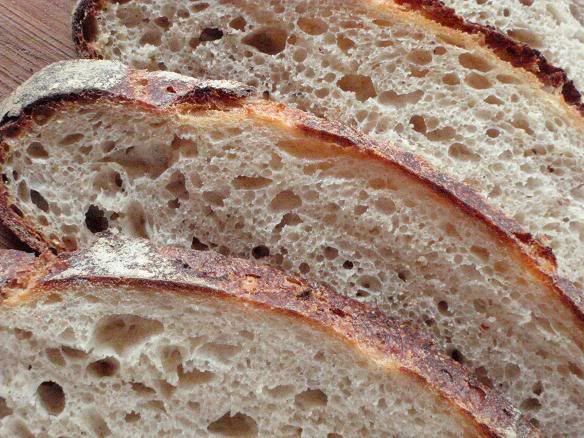
crumb of the 7th miche
If you look closely and compare the crumb shot above with the crumb shot of th 6th miche, you will see that there is much more lightness and suppleness in the 7th miche.
Overall, this had been a fun exercise. It would have been better in winter when everything can be left on the kitchen counter without having to worry if the levain or the dough gets over fermented. With a continuous dough and levain process like this one, you bound to have good bread sometimes along the way. Enjoy!
Shiao-Ping