The Fresh Loaf

A Community of Amateur Bakers and Artisan Bread Enthusiasts.

Recent Blog Entries

moldyclint's picture
moldyclint

So , I finally have one I want to share in my first post!  I have only been baking steadily for a couple of months now, and since I successfully captured some wild yeasties, have been using them exclusively.  I have also tried to simplify things as much as possible, hence have tended to keep my sourdough starter roughly the same hydration as my final dough.  As I have a regular day job, but don't want to limit my baking to weekends, I have been working on a means of fitting my baking into a regular day's schedule, and have come up with a technique that seems to work for me (made specific for this loaf):

The night before baking, I take the ~1 cup of starter that I have in my fridge out, and add 1 cup flour, 1/2 cup water and ~1/3 tsp salt.  I typically use rye or whole wheat, but this time I used organic spelt (the existing starter was ~80% spelt, 20% AP).  Mixed alltogether and left on the counter overnight.

Morning, 5:45am before going to work, added 3 cups organic AP flour, 1 1/2 cups water, 1 and a bit tsp salt.  Mixed together, and put down in the basement where it is a bit cooler.

Went to work.  Returned ~5:00pm.

Had roughly doubled.  The challenge has been to find a spot in the house that is the right temperature to leave the dough all day.  This has been a cool spring, so some days the basement is too cold, and I get almost no rise. Recently it has been a lot hotter, and I can get over-fermentation.  This still to be refined.  Nevertheless, today things worked out perfectly!

Cut ~1/2 cup of dough off to save as my next starter, stretched/folded/rested/formed a boule and let it sit in the colander for a couple hours to proof.  Next used the handy cast-iron dutch oven method, and results were most satisfactory.  The starter got fed (tripled) and immediately put in the fridge.

I have varied quantities of starter from batch to batch, and this quantity (~1 cup doubled the night before and then more than doubled the next morning) has given me the best flavour yet!  Not so sour that the wife won't eat it, but not as lightly-flavoured as I have been getting with half the quantity of starter.  Mmmmm.

semi-demi-spelt sourdough

Bit of an explosion on the crust, despite a cramped (as it was in the dutch oven) slashing with my handy straight razor.


tracie's picture
tracie

At the beginning of the year, when I was a complete novice, I went to the half price book store, in the hope of finding some inspiration and help.  I couldnt find anything specific in the cookery section, so I meandered off to the discount shelves in hope of finding a novel in order to utllise my time doing something other than filling my freezer with dough items.  I noticed one book had been replaced backwards.  Imagine my excitement as I pulled it out, to find the title was simply 'BREAD'.  Eureka!  I have since made and adapted (oh yes, I said adapted...my adventurous streak now knows no boundaries!) many recipes, one of which is the 40 minute hamburger buns. 

Admittedly, the first time I attempted these the reception was not marvelous.  They were a little too doughy to be the traditional 'baps' that are served at the fast food joints, but they sufficed.  Then, last night, a stroke of genius hit me.  I could 'adapt' the recipe.  The dough makes 12 rolls but I managed to eek it out to 14.  To the first four I added chopped jalpeno, the next three olives, the next three carraway seeds and finally a mixture of italian herbs, majoram, parsely and rosemary.  Before putting them in the oven, I sprinkled cheese on the jalapeno four. 

The fact that four of us demolished them before the meal was over, I thought, was a positive sign.  If anyone wants the recipe here it is.

1 cup of warm water; 2 tablespoons (american) of fast active yeast; 1/4 cup sugar; 1/3 cup oil; 1 egg; 1 teaspoon salt; 3-3.5 cups of flour.

Add yeast to warm water, then add sugar and oil.  Mix together and leave for five minutes.  Add egg and salt, mix, then add enough flour to form soft dough.  Kneed for 3-5 minutes.  Divide into 12 pieces an roll in hands to form a 'roll'.  Add whatever you like to each roll and put on baking tray.  Cover and leave for 10 minutes.  Bake in a hot (425) oven for 8-12 mins. 

Enjoy!

Mebake's picture
Mebake

This is a 50% wholewheat from "BREAD". I have finally achieved the color i wanted and the crumb texture i like. THis is a keeper.

To obtain the color, I have improvised enclosed steaming for this one:

Poultry roaster with lid. Under the roaster a stone, and in the roaster lid: a stone squeezed-in in such a way that it dented the lid, but remained in. This way, i can get heat from a stone on top of the loaf, and from under the loaf, all in an enclosed space to trap steam. IT Worked!

Here are the loaves:

UPDATE:  here is the roaster steamer with stone device:

Khalid


hanseata's picture
hanseata

Today I revisited my childhood. For the first time I baked Danish Tebirkes.
For many years my grandmother, aunt, two cousins and I would spend our summer holidays in Denmark. Every morning
one of us kids would bike to the grocery store to pick up freshly baked rolls for breakfast. My favorite were Tebirkes, buttery, croissant-like rolls, sprinkled with poppy seeds.


RobertS's picture
RobertS

Continuing my experiments with Lahey bread...

I cut up fresh cherry tomatoes and a medium sized "regular" tomato, and threw in 2 tsps ground oregano. Then I hand-mixed them into my gorgeous, gorgeous Lahey dough which had fermented for 26 hours. It was a struggle, and when it ended, I thought I had thoroughly destroyed all the gas and air in the dough. I also thought that the dough had finished all the fermenting it was going to ferment, as it looked somewhat shiny, like a kind of cheap plastic. So with heavy heart (not really, it was fun!) I let it sit in my fermenting tub for another hour and fifteen minutes, not really expecting to see any change. To my surprise, back came at least a modicum of bubbles, and, taking no chances, I poured it onto a wheat-branned towel and did a sloppy. mimimal fold job as best as I could, and turned on my convection oven to 500-degrees. Twenty-minutes later, I was dismayed to see the dough was plaster-stuck to the towel (like an idiot I should have first turned the dough onto my counter and floured it before towel-wrapping it). Getting the dough into the pot was---ahem--an adventure, (and I had to throw the towel into the garbage). There really wasn't enough dough to fill my cast-iron pot properly, and what I managed to place into it looked like it had been torn apart by four fighting pitbulls pulling from all the points of the compass.

Naturally my expectations were low. Who ever heard of waiting for 26 hours to load veggies into a dough, to say nothing of eschewing the time-honoured tradition of inserting them by flattening the dough, distributing the pieces all over it, then rolling it up like a carpet? And to abuse the dough thoroughly (Lahey & Reinhart, excuse me), and pot it in such a sorry, flaccid state?

Well, this bread hardly came out singing Hallelujah --- a lot of the tomatoes gravitated too close to the crust, and the crumb was a wee bit over-moist and closed in places --- but it DID have a truly memorable crust, and the taste was first-class.

Question to anyone who reads this: any suggestiuons for next time, given the same ingredients? Comments would be appreciated greatly, since I am a complete novice. See another picture below.

txfarmer's picture
txfarmer


I have wanted to take classes from SFBI for so long, but TX is not exactly close to SF, and my day job really gets in the way of scheduling. When I saw they started offering some weekend workshops, I jumped on the opportunity. And of course, I picked the baguette class, since that's my main obsession.

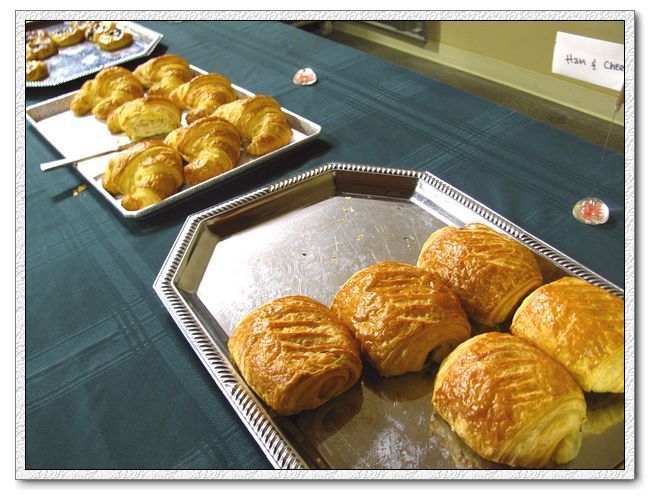
Arriving early to be greeted by friendly classmates, teacher, and lots of fresh croissants. While we were going through our class, the students were just producing breads nonstop the entire time, and lucky us got to sample a few.


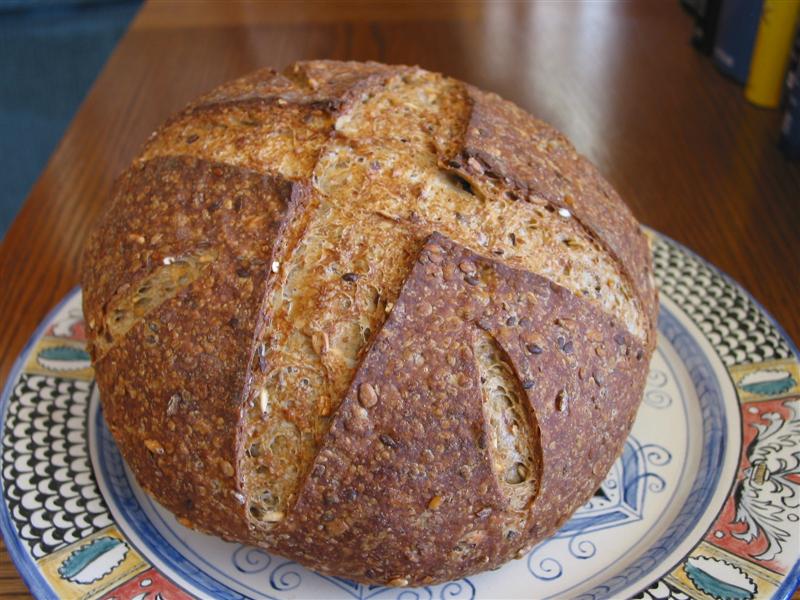
Hmmm, I wonder if I can ask for this to be my birthday gift? I am sure we can fit one in.... if we tear down our living room and den!


Would anyone notice if I just take a couple?....I AM KIDDING!


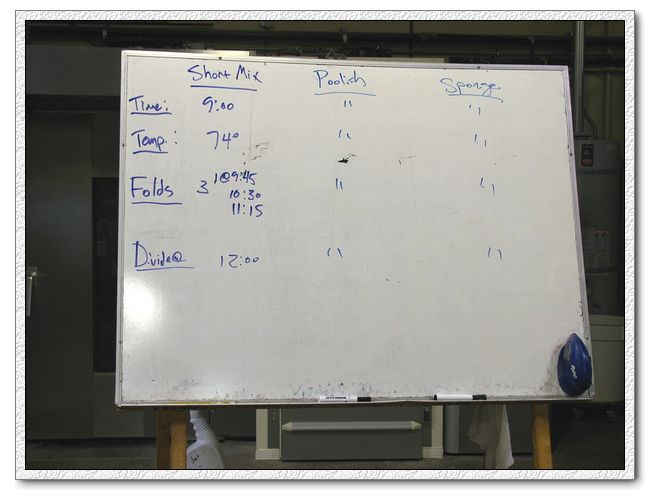
Now, let's get to work, 3 types for the first day: straight dough, poolish, and sponge. All done with minimal mixing (hand mixed to incorporate), and 3 sets of S&F.


I have done S&F every weekend, but handling 7.5KG of dough is decidely different from handling 1KG. Note to self, must lift weights.

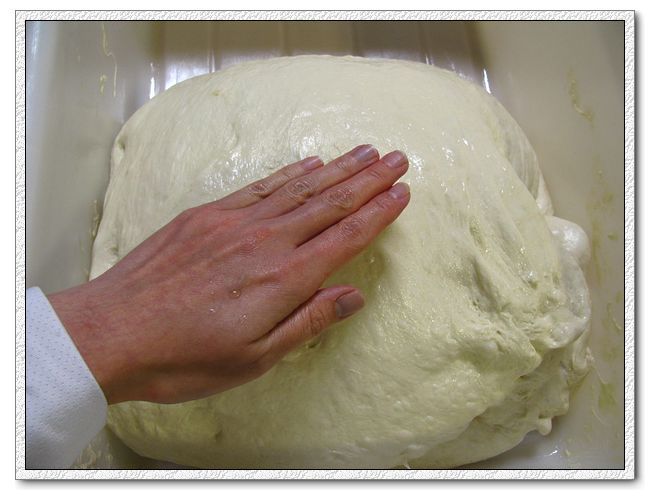
We had lectures while waiting for the dough, but my favorite part is the hands on part. Look at the big tubs of dough, this  is when I realized that professional baking is a very very very physical job. Oh, I also would like a kitchen that's as big as this!

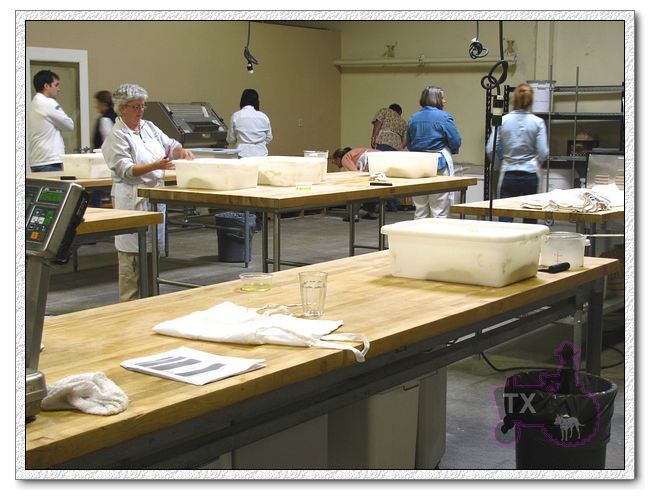
Teacher Frank is showing us how to divide and preshape. Even pieces, even tension, repeat.

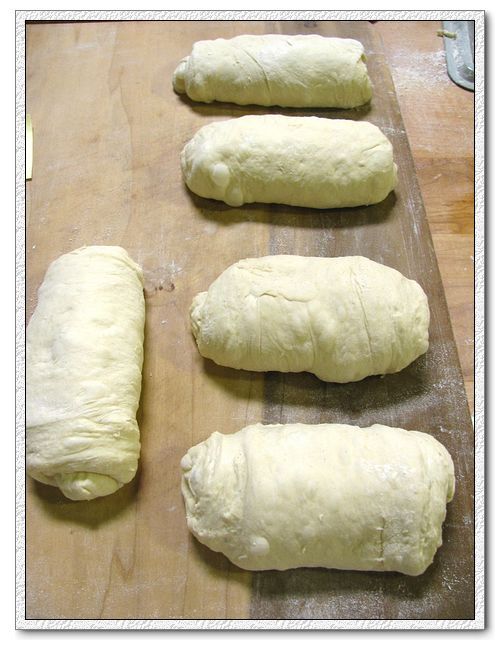
We make 5 pieces for each type of baguette, my preshaping is far from perfect


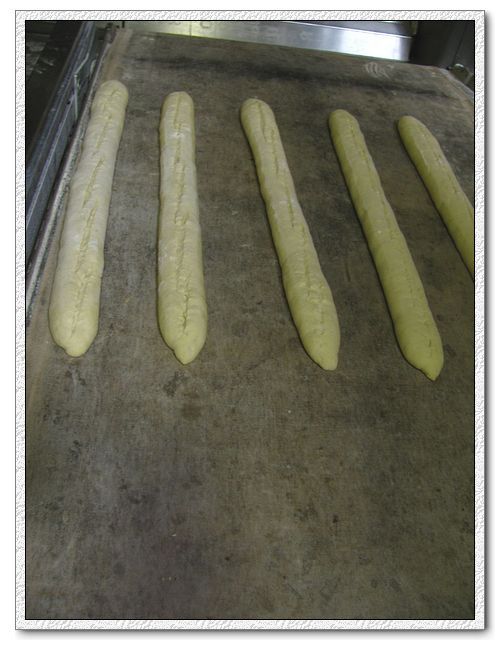
Many many many trays of dough - 15 pieces per person per day

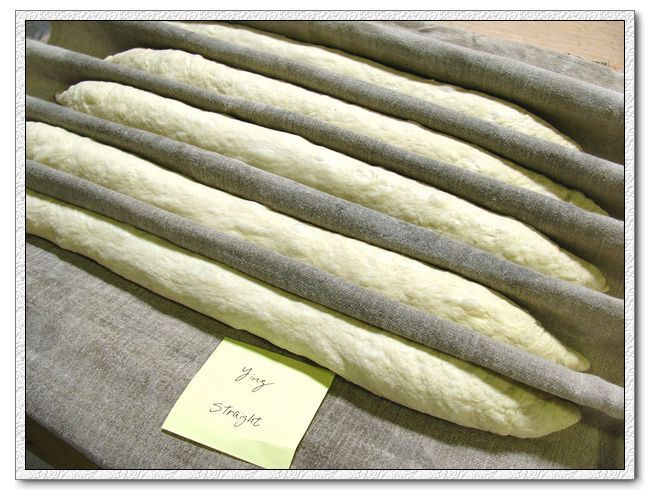
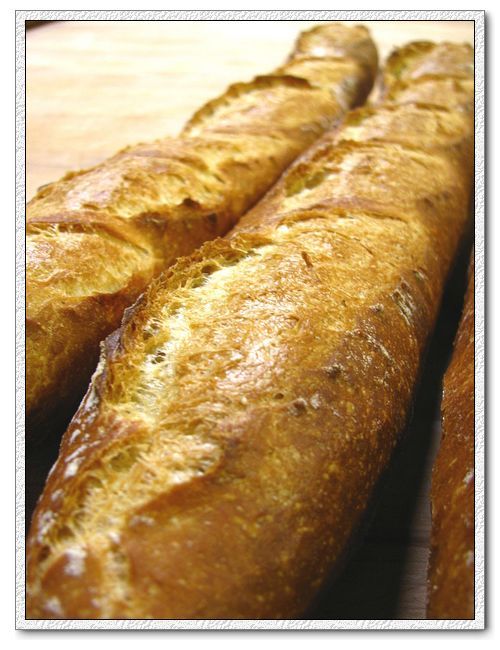
It's almost 2pm, we are starving. Let's get these babies shaped already! My batch of straight dough baguettes here - with my name on it!

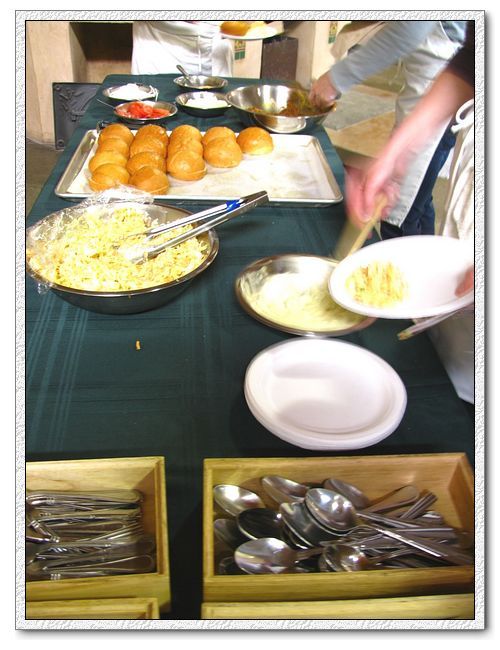
Lunch , thank goodness. We inhaled that one. On 2nd day, we had pizza (yum!) and wine for lunch. Let's just say there were a lot more giggling in the afternoon session.

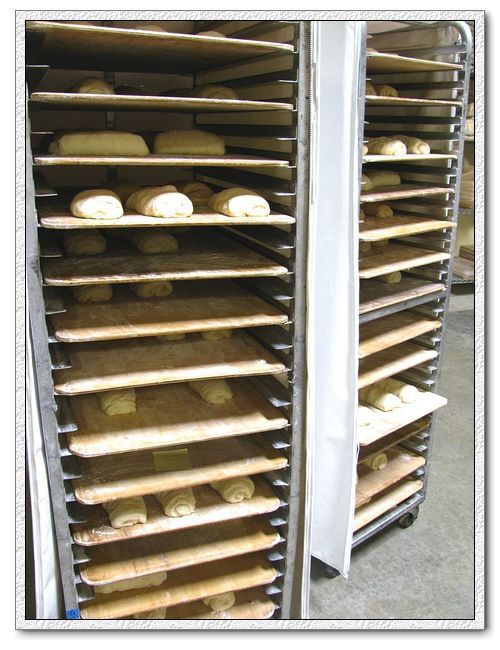
Well fed, let's check on the dough, ready to be scored and baked!

Loading is "interesting". Frank also showed us the home oven method (baking stone, cast iron skillets underneads to create steam etc.).

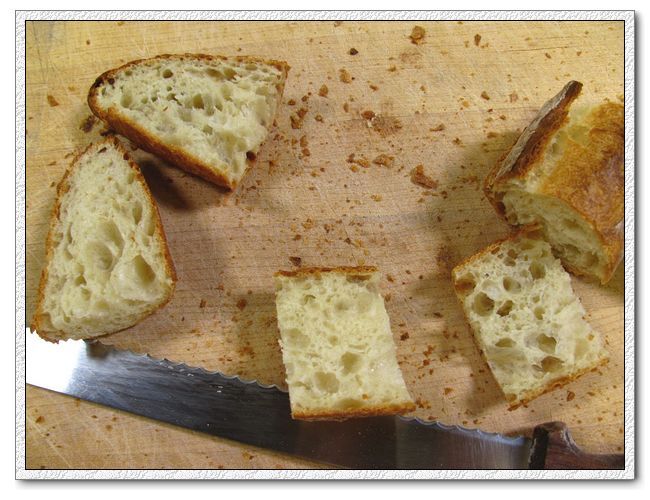
Best part, time to taste and critique! These are Frank's, hole-y and beautiful

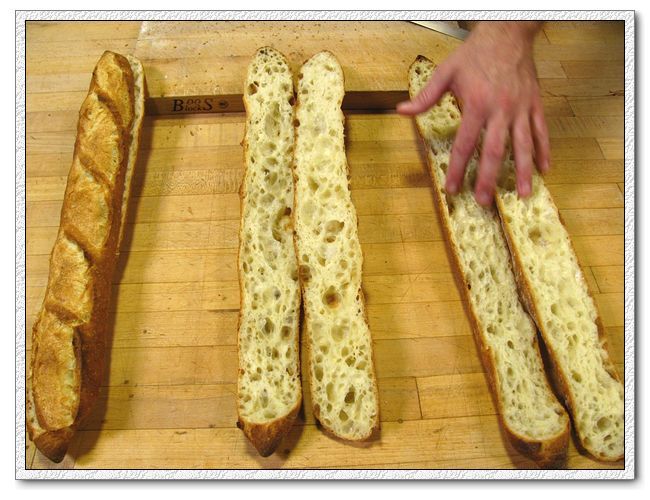
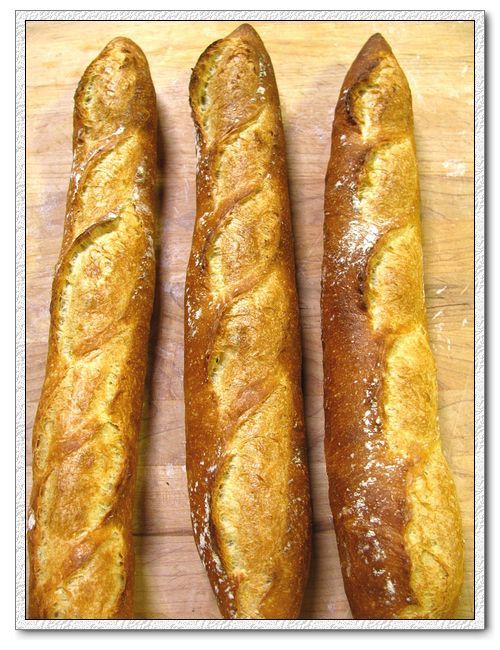
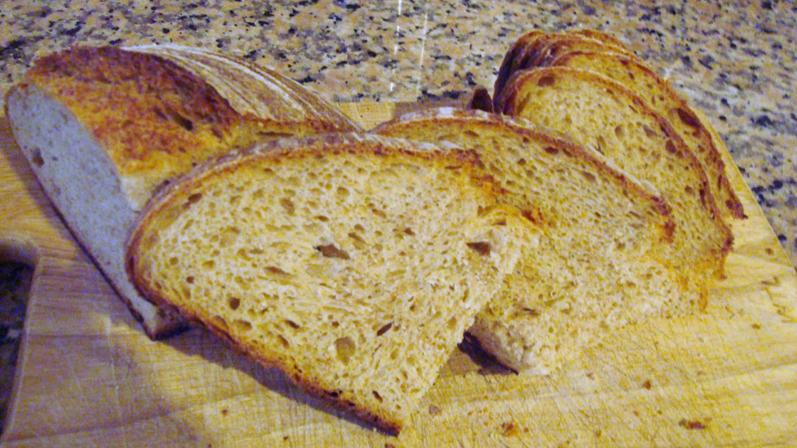
These are mine. The dough is about 68% hydration, not so wet, so scoring was not difficult, I am semi-happy with the left two, no idea what happened for the one on the right. Seems that I loaded it too close to the right edge, didn't get browned on that side. It's straight dough, poolish, and sponge from left to right.


Not as open as Frank's crumb, need more practice with the new shaping method.


We all like the taset of sponge one the best, but all three are delicious.


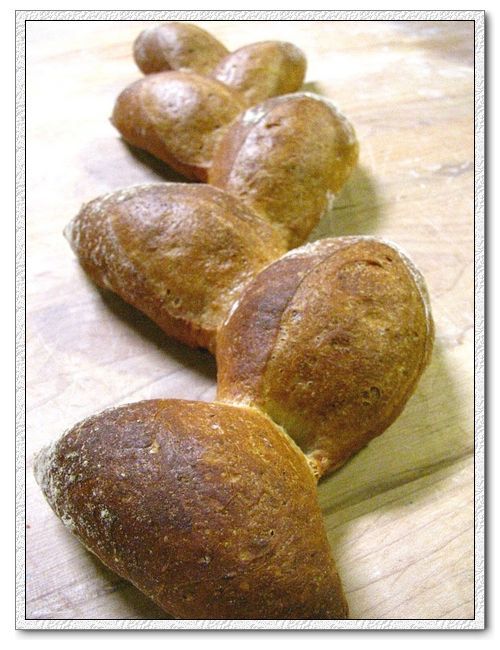
We did 3 more formulas on the 2nd day (With teff, with sunflower seeds, and ww with wheat germ), and tried epi too.


All in all, a great experience! A lot of the info were familiar to me thanks to the knowledgable people here at TFL, but it helps tremendously to see close up how a professional handles the dough , and practice on 15 baguettes each day. Frank was very helpful answering questions and helping too. The shaping and preshaping methods are slightly different from what I have been doing previously, I like this new way better, will keep practicing at home for sure. Everyone ended up with loads of bread at the end of each day, since I was from out of town, I gave most of mine away to a classmate, who then distributed to elders in her neighbourhood - makes me happy.


turosdolci's picture
turosdolci

It is said that making pesto requires patients and love. The motion of the wooden pestle against the stone mortar brings out the oils. Trofietti Liguri is a traditional dish in Liguria.

http://turosdolci.wordpress.com/2010/06/28/trofiette-liguri-and-genovese-pesto/


merlie's picture
merlie

Growing up in England in the late forties, early fifties, Tatt's cafe Near Folkestone Central train station served the most delicious Belgium Buns. I remember them being 4-5inches across and about 3/4 of an inch high. They were soft and sticky. filled with currants and glazed with transparent icing. It seems that there is only one recipe on the whole of the internet for these wonderful buns but although I have tried it many times it is just not right! Does anyone else remember these buns or have a recipe for them?

( Mr Noel Tatt was a young man when his parents ran the cafe - I believe he now owns a large greeting card company - Maybe he'd remember....... )

Thank you to any one who can help in this search - Merlie. 

SylviaH's picture
SylviaH

My fig tree gave me it's first lovely figs of the summer.  For tonights dinner I made a pizza with figs, goat cheese, pine nuts and a lovely sweet thick basalmic glaze.  I had some frozen pizza dough and the recipe for the dough is right on the TFL front page list of recipes or just click Here.    

I stretched the dough nice and thin and thicker for the crown.  It made a lovely crispy pizza crust.   

I first drizzled a little extra virgin olive oil.  Then a drizzle of delicious balsamic glaze, topped it with sliced fanned out figs,  dollops of fresh goat cheese and a sprinkly of fresh pine nuts.  All the flavors just blend so deliciously together.  This pizza makes a delicious appetizer.

Baked it in a one hour pre-heated 550F convection heat oven with a pizza stone until nicely browned and a little char. 


                  My Jack Russell 'Joey' eats the low hanging ones on the tree..He also pulls off my cucumbers he can reach and eats the whole thing!


                                                                                 The Pine Nuts toasted up nicely while the figs carmelized


                   Bottom nicely browned and crispy


                                         The Fig and Goat Cheese Pizza made a great start with the Cucumber salad and Chicken Parmesan Dinner


                                        Fig and Goat Cheese Pizza Submitted to Yeastspotting


MichaelH's picture
MichaelH

Hamelman's 5 Grain Levain is becoming one of our everyday favorites. Baked per the formula in Bread with added wheat germ.


Pages

Subscribe to Recent Blog Entries