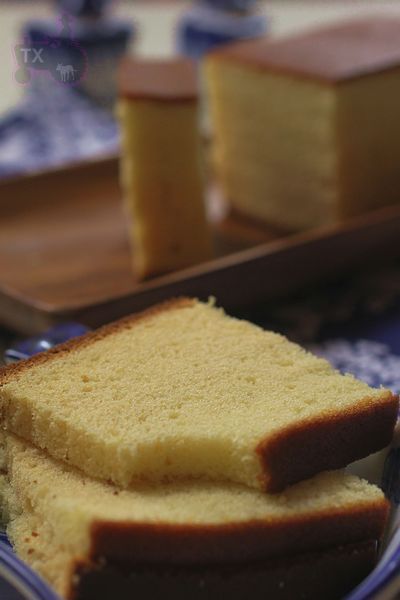
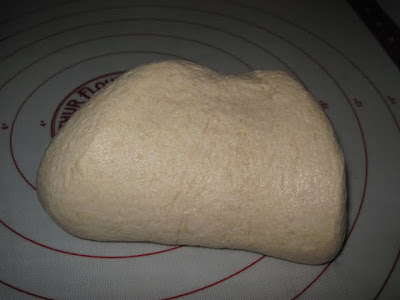
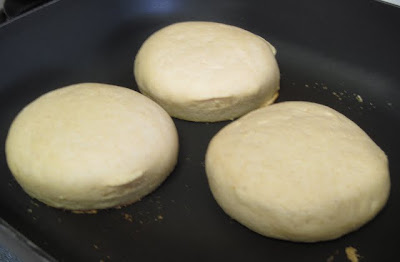
Castella cake is a famouse Japanese dessert, it's essentially a sponge cake, raised solely by egg foam, with no butter or oil. It's soft yet slightly spongy texture, subtle sweet tastes appeals greatly to Chinese people, so this cake is very popular in China. Like everything in Japanese cooking, they have elevated this cake into an art form. The crumb is so even and delicate that it's pore-less, the bottom and top are flat with not a ripple, the taste is a delicate balance between honey, milk, and Aji Mirin(Japanese sweet rice wine, you can find it easily in any Asian market, if not, you can replace it with brandy or other liquor.). I make this cake often at home, using a traditional wood frame. Wood deducts heat slowly, which helps to bake the cake evenly, however, it can also be made in a metal or glass tin. Unlike most cakes, this cake is made with bread flour, not cake or AP flour, to obtain that "spongy" texture. For backgaround and a good recipe for this cake, please refer to this wonderful blog post, my recipe is different form hers, however, I did learn some critical techniques there.
The key to a successful castella cake is in the beating of the eggs, if you have made genoise before, the process is quite similar. If not, refer to this wonderful recipe, Rose has outlined exactly what needs to be done for a good genoise sponge cake, the same lesson can be applied here. Other than the egg beating, you might also need to experiment with tin size, and baking time to get the cake perfect, however, the effort is well worthwhile. I thought this is a fitting homeage to Japan and its people, given what they have been going through.
Castella (adapted from various sources)
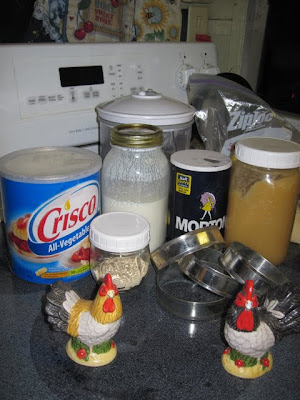
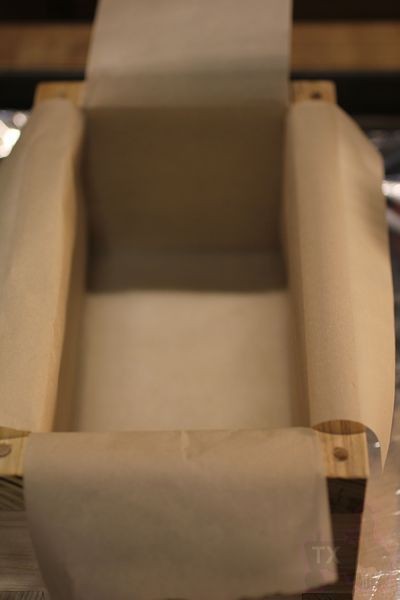
Note: my wood frame is 14cm×24cm×8cm, it's made entirely with wood with no metal nails. A similar sized metal tin would work just fine, however the baking time will be MUCH shorter.
egg, 4
sugar, 110g
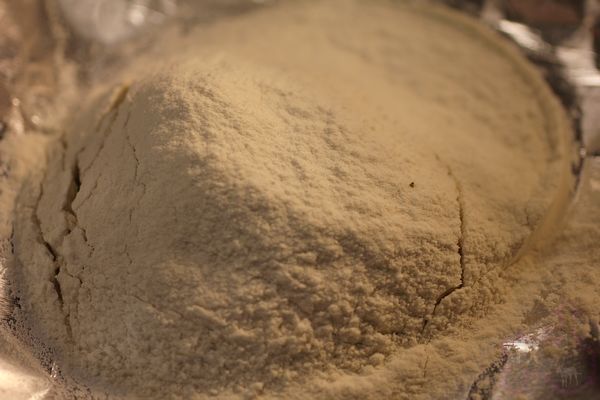
bread flour, 100g
honey, 2tbsp
milk, 2tbsp
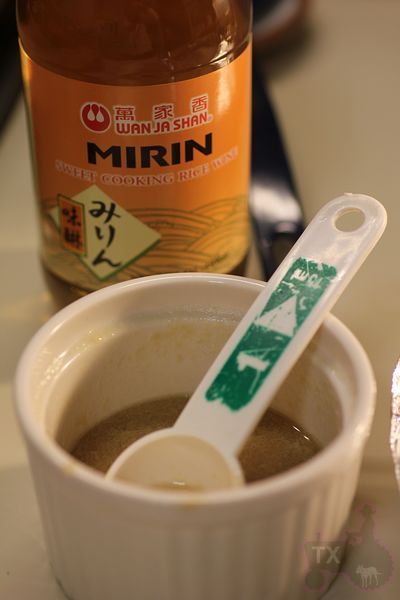
Aji Mirin(Japanese sweet rice wine), 1tbsp
1. If you do use a wood frame, it needs to be pre-processed: wash then soak in water overnight, dry, bake in oven at 350F for 30min. This step would eliminate odor from the wood. To use the wood frame, put it on a baking sheet lined with aluminium sheet (the wood frame has no bottom), then line the inside with parchment paper. if using other tins, also line with parchment paper.
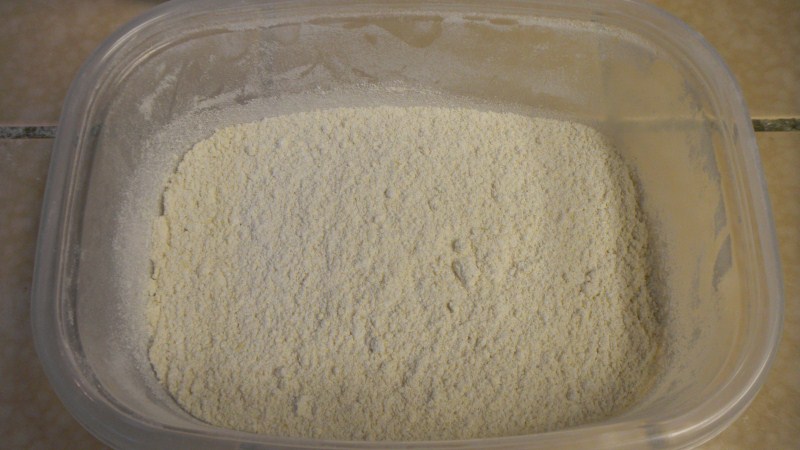
2. shift the flour 3 times. Yes, I know shifting is a lot of work, and do it 3 times is a hassel, but it makes a wold of difference in the crumb of the cake, so just do it! In fact the same thing can be said for pound cakes and sponge cakes, I didn't shift before, now I am a believer.
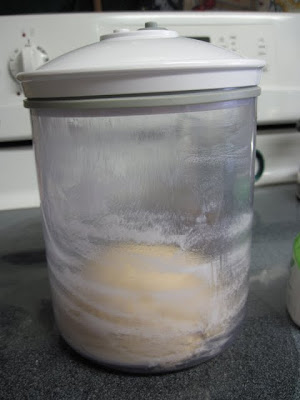
3.mix honey and milk, boil, mix until honey completely dissolves, set aside. (the bottle in the picture below shows the sweet rice wine)
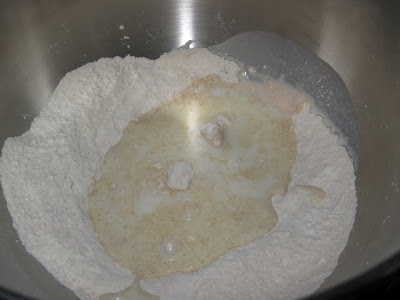
4. Mix eggs and sugar, hold it over a pot of boiling water (bottom not touching the water), while mixing by hand, for one minute. This step is to warm up the eggs, to ensure a stable foam later on. Now remove from the boiling water pot, use wire attachment on a KA mixer, beat at high speed for 5 minutes, by the end, the mixture is thick, triple by volume, and very pale. Droplets should not disappear into the mixtured for at least 10 seconds when dropped from the beater. Yes, beat teh full 5 minutes, it may look ready and thick enough at the 3rd minutes, but it's infact not, you MUST mix at the highest setting for the full 5 minutes! Drop to medium speed and beat for another 2minutes, this is to stablize the foam structure. (note, if you don't have a stand mixer, you can beat the eggs with a handheld mixture for MUCH LONGER, something like 10min at the hightest speed. If you beat by hand, well, I hope you have good arm strength!)
5. Add the honey/milk mixture, beat at medium speed until blended in. Add sweet rice wine, beat at medium speed until blended.
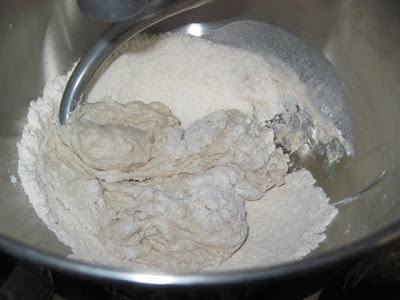
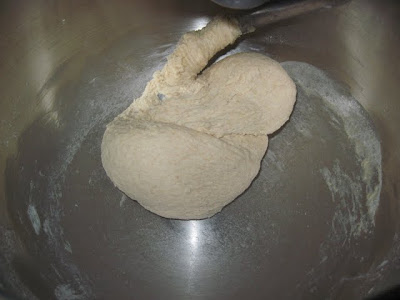
6. Add flour in 3 batches, mix by hand to ensure no dry spots. Then mix at medium speed for about 3 minutes. This is unusual for caking making, usually we try not to overmix after adding flour, however, this cake requires a lightly spongy texture, that's why we use bread flour and mix quite a bit to develop some gluten. This is also why we really need a well developed and stable egg foam, otherwise after flour addition and mixing, a lot of foam would be destroyed.
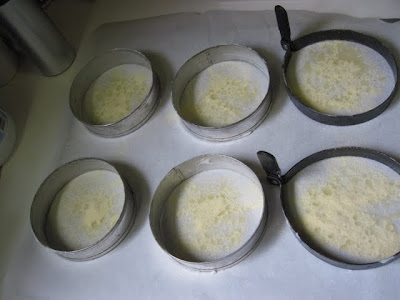
7. Pour into tin, about 75% full, use a chopstick or toothpick to draw "Z" several time to eliminate any big bubbles.
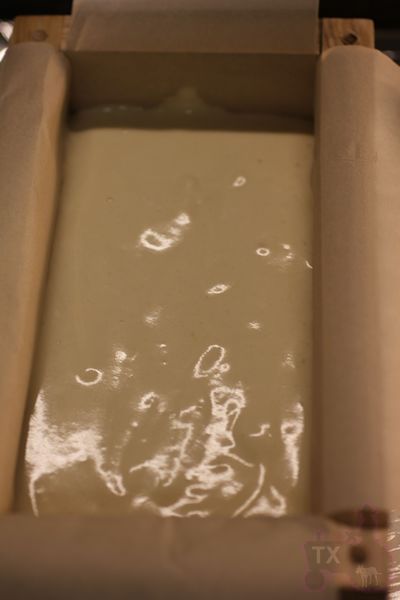
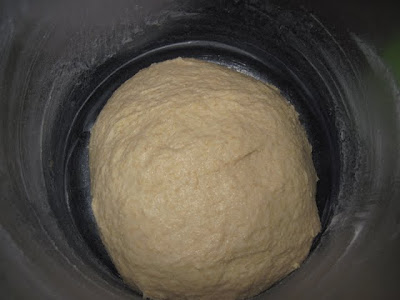
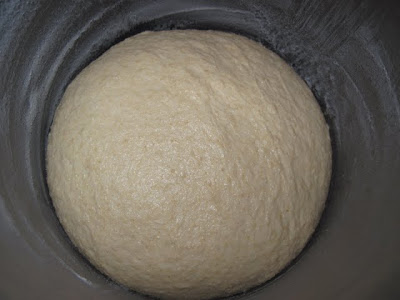
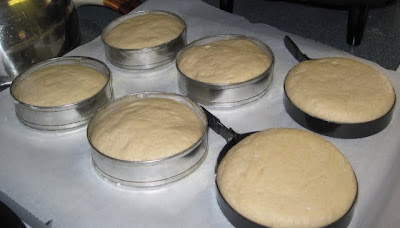
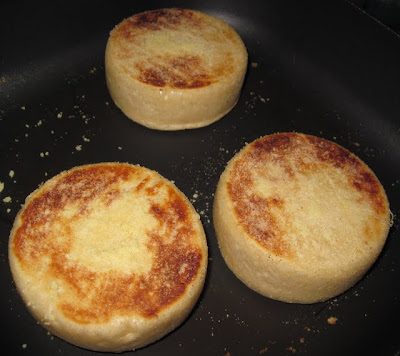
8. Bake at 340F for 70min, if the top gets too dark, cover with foil. Note that due to the wood frame, my cake bakes for a long time, if you use a metal tin, it will be ready at around 50 min. The cake would slowly rise to the top, then slightly dom over during the baking process. When the top feels firm and the cake just starts to shrink back, it's ready (this is exactly like a genoise cake). The cake MUST be fully baked, otherwise it will shrink and collapse out of the oven.
9. Take out, brush with some melted honey, cover the top with plastic, flip over (so it's upside down), slip the whole thing into a sealed bag, and fridge immediately. It needs to be sealed and fridge while warm to retain moisture. It needs to be cooled upside down to avoid uneven (denser) layer at the bottom.
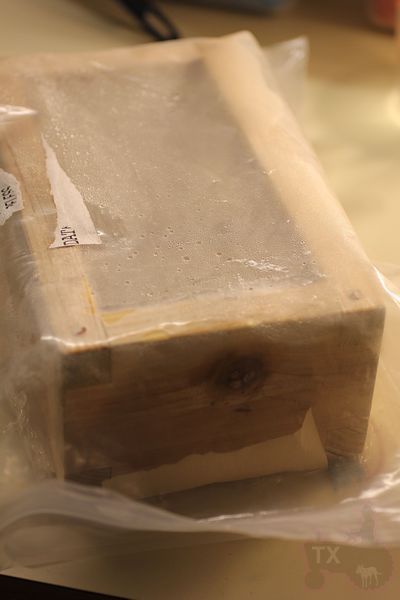
10. After 8 hours, take out, flip again so the top is up. The cake should be even height with the wood frame, no sinking, no shrinking. There will be some wrinkles on the side due to the parchmentpaper, this is normal.

11. To server, use a sharp thin blade knife to cut off the sides, then cut into thick slices.
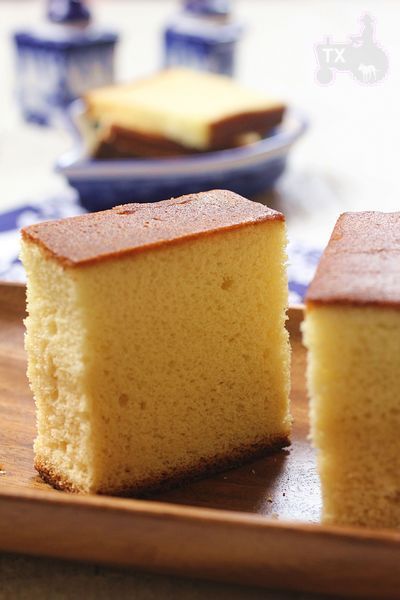
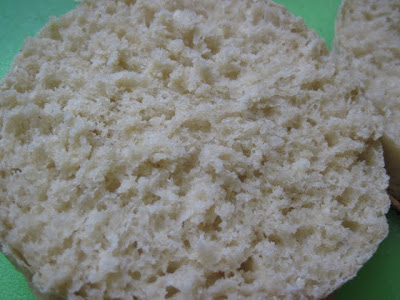
A good castella cake should be smooth, delicate, yet have a bit of bounce.
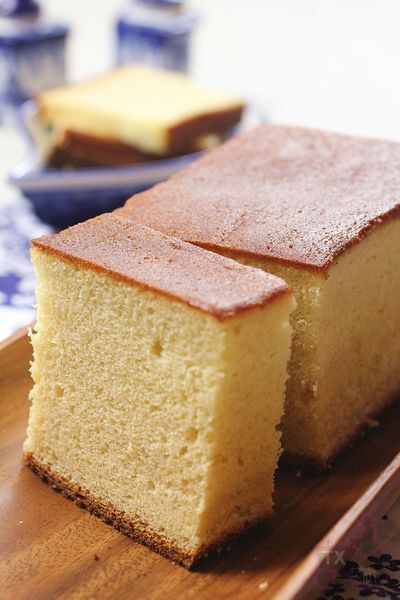
Sweet and subtle, perfect with some green tea.