It wasn’t meant to do like that. I fed my starter the first thing in the morning, hoping it’d be ready for the second feed sometime in early afternoon, which would be ready to be used by early evening, as usual. Then I would prepare the dough, bulk ferment with a few S & F, shape it and put in the banettons and proof overnight in the fridge, so that I could bake it the next day. That was my plan, anyway…..
But it was unexpectedly and unbelievably cold for early October on Saturday, even for English standard. It was almost 11:00 pm when the starter at last looked just bout ripe enough to be used. Just. I would’ve stayed for 2 – 3 hrs or so normally to complete the routine of mix – autolyse – a few sessions of S & F before I put the dough in the fridge for overnight cold retard, but it was a very busy day and I was soooooo tired I could collapse onto a bed (or any horizontal surface, soft or hard) at any minute.
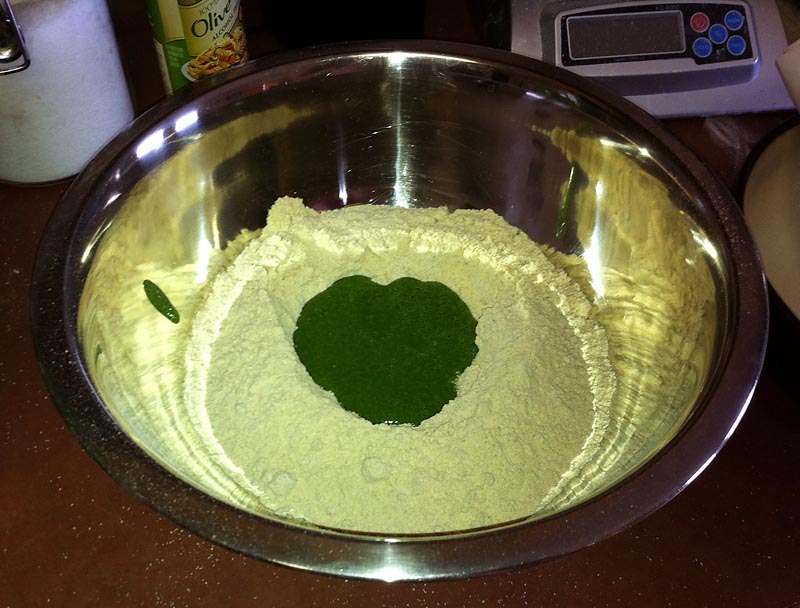
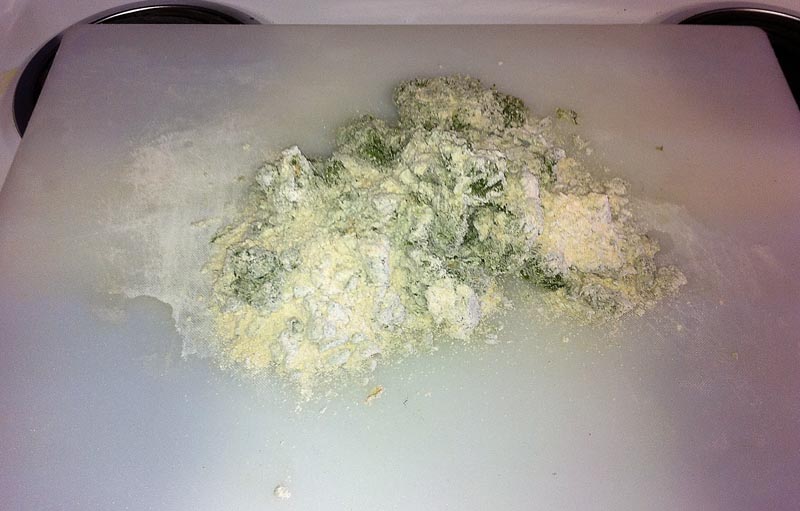
So, I put all the ingredients, except for the salt in the bowl, mixed them quickly, did the quickest S & F in the human history just to make the dough 'look' sort of even and smooth(-ish), put the whole thing in the fridge, and went to bed with my fingers and toes and every crossable thing crossed, hoping it’d be alright, dreading how the dough would be like the next morning.
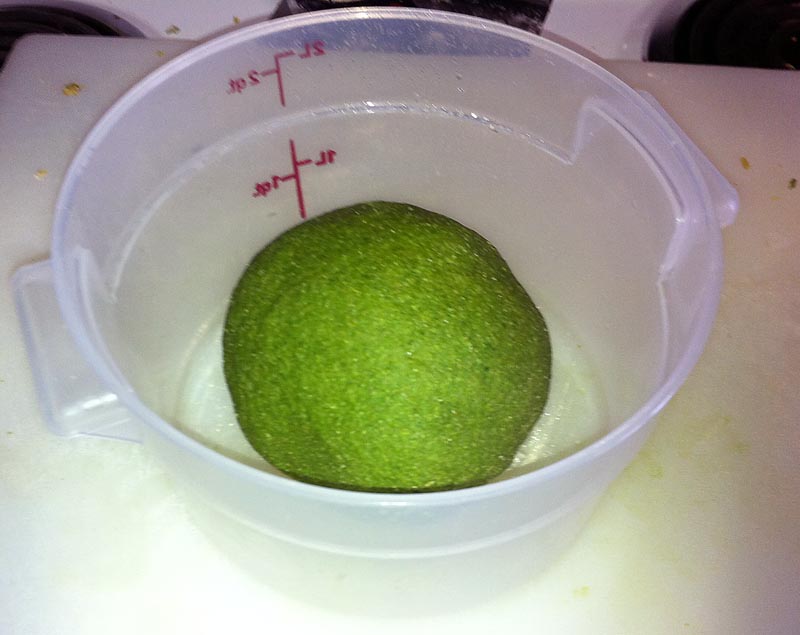
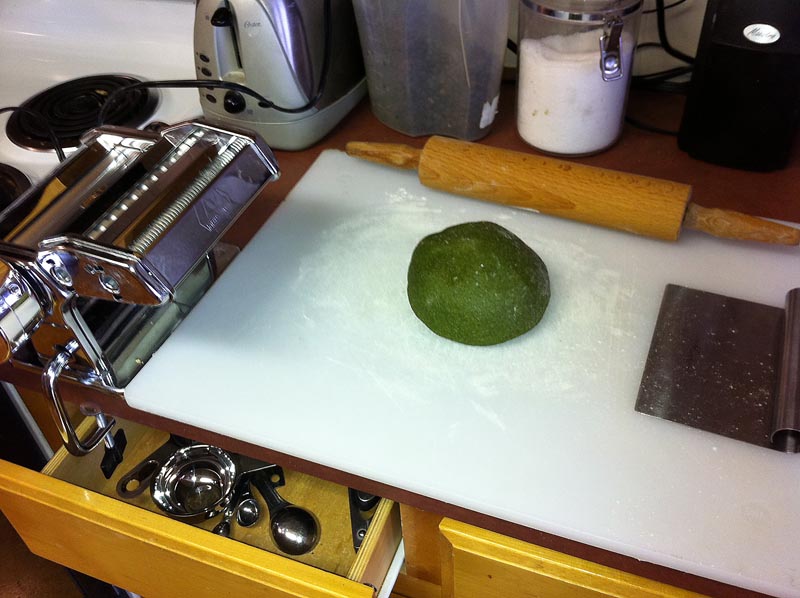
The next morning…… I took the bowl out of the fridge, removed a cover to have a look with some trepidation. But what I found inside the bowl was a smooth ball of dough, slightly grown in size than when I left it the previous night. When I pushed the surface, it felt nicely supple with quite assuring strength. I did a quick window-pane test and was happily surprised it had a good gluten development, just shy of full development. So relieved and rather chuffed that I managed to get to that stage just by leaving it overnight, I left it for an hour or so to bring it back to room temperature, and did a couple of S & F over 3 hrs to finish the bulk fermentation. And another delight I found, during those S & F, was that the seeds were so well blended in and gripped by the dough, they didn’t escape and fall off from the dough (like they’d usually do) while I was stretching and folding. So much easier to handle without loosing some seeds than my usual method.
I’ve done Jim Lahey’s no-kneed method but only with quite high-hydration as he suggests. This one was more normal 70-ish% hydration and was only overnight, so it didn’t quite achieve a complete no-knead effect. But it was good enough for me. It made my life much easier with much less handling of dough with as good result as I can usually get.
So from now on, this is going to be my method of making seeded dough. Just mix it, put in the fridge and forget about it for 8 -12 hrs! The rest of the procedure will be much easier than usual, too!
Note : For this seeded bread, I used my sourdough interpretation of Heinz’s Swiss bread as the base dough, but with white levain instead of 50/50 = white/ww levain. Also all the white flour used in main dough is strong flour, instead of the mix of strong and plain in my original formula, so that the dough has strength enough to support the seeds.

Seeded Swiss Bernese Oberland Sourdough with White Levain
Ingredients : (makes one medium loaf. Dough weight around 770g)
Sourdough (75% hydration) 120g
Feed a small amount of starter twice during 8-12 hr period before use with strong flour (strong 60g + spelt 10g + water 50g = 120g)
Soaker
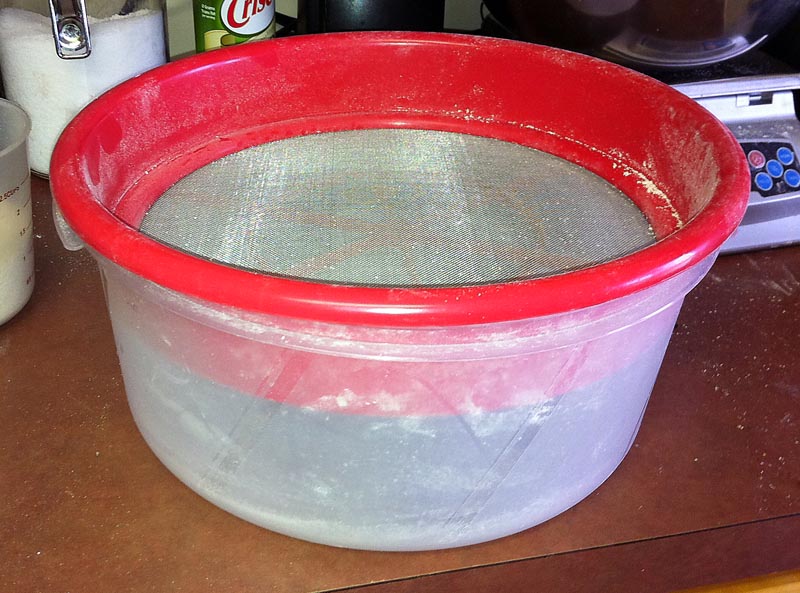
Mixed Seeds* 100g
Water 50g
Soak the seeds in the water for a few hours.
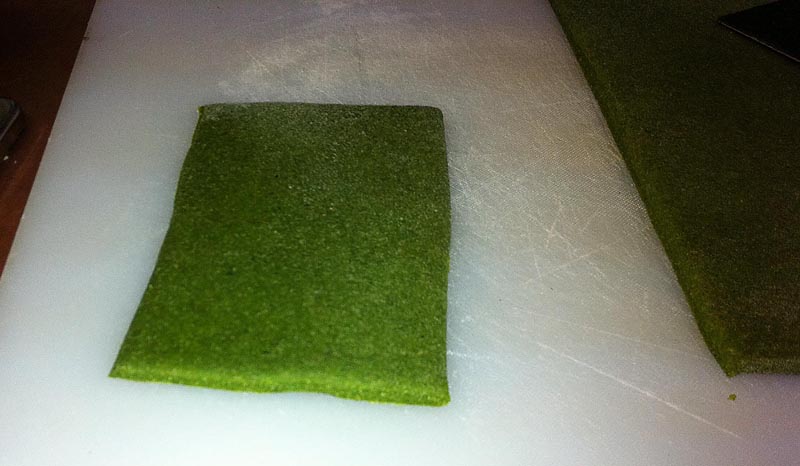
* I used pre-mixed seeds from Waitrose which contains Sunflower seeds (57%), pumpkin seeds (17%), golden linseed (10%), hemp seeds (8%), sesame seeds (8%). - The photo below.
Main Dough
Strong/bread flour 180g
Stoneground WW flour 80g
Stoneground whole greain rye flour 40g
Wheatgerm 1 tbls
Soaker (all of above)
Water 200g
Salt 6g
METHOD
1. Feed S/D twice during 8-12 hr period before you start making the bread.
2. Mix all the flours, wheatgerm, soaker in a large bowl.
3. In a separate small bowl, mix S/D and water to loosen S/D a little.
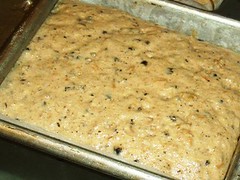
4. Pour S/D+water to the bowl of flours and mix briefly into shaggy mess. Stretch and fold in the bowl briefly. Cover and put in the fridge and long-autolyse overnight. Have a good night sleep. No need to worry. :p
5. Next morning, take the dough out of the fridge and leave for 1 hr.
6. Sprinkle salt on the surface of the dough and S & F vigorously in the bowl until salt is evenly distributed. Cover and Leave another 45-50 minutes.
7. Two more sets of S & F in the bowl every 45 - 50 minutes.
8. Pre-shape and rest for 20 minutes.
9. Shape and put in a bannetton and proof at room temperature. (You can cold retard for 6-10 hrs if you like, too.)
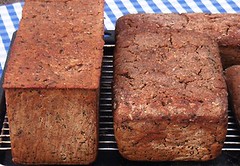
10. Bake in a pre-heated covered pot at 240 C for 20 minutes.
11. After 20 minutes, remove the lid, lower the temperature and bake for another 20-25 minutes.


Must say nutty kick of seeds did work very well with Swill BO sourdough, too. Throughly recommend this.
lumos