
Camp Dutch Sourdough #2
I wanted to keep working on my process to produce a good loaf at the campsite, so I split my weekly baking into two loaves so I could practice with the camp dutch oven. The area of focus on this bake was heat. My first attempt definitely lacked enough heat to encourage a strong spring, so I fired up an entire charcoal chimney to start this time. I used the ring method with one ring of charcoal below the oven, and was shooting for about 2.5 rings on the top. After 20 minutes, the heat was still a bit low (400F), so I added some more. Here's what the top looked like at that point:
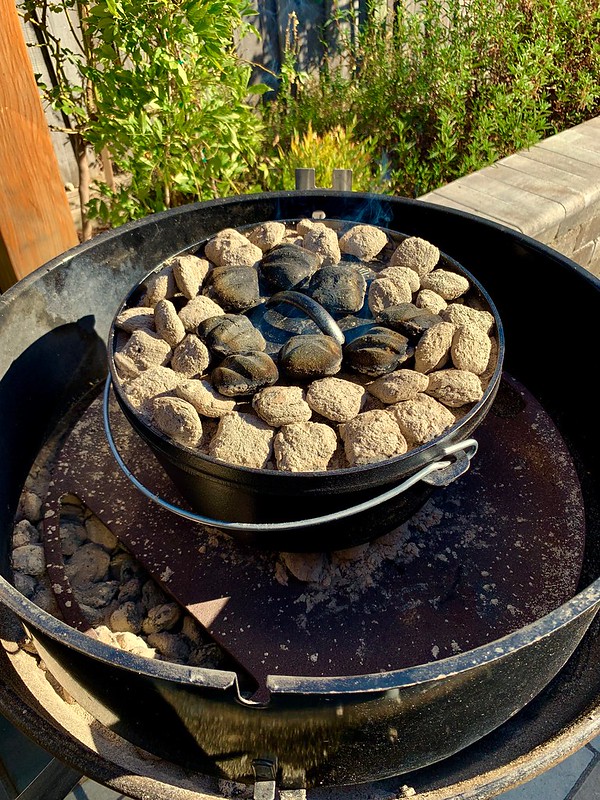
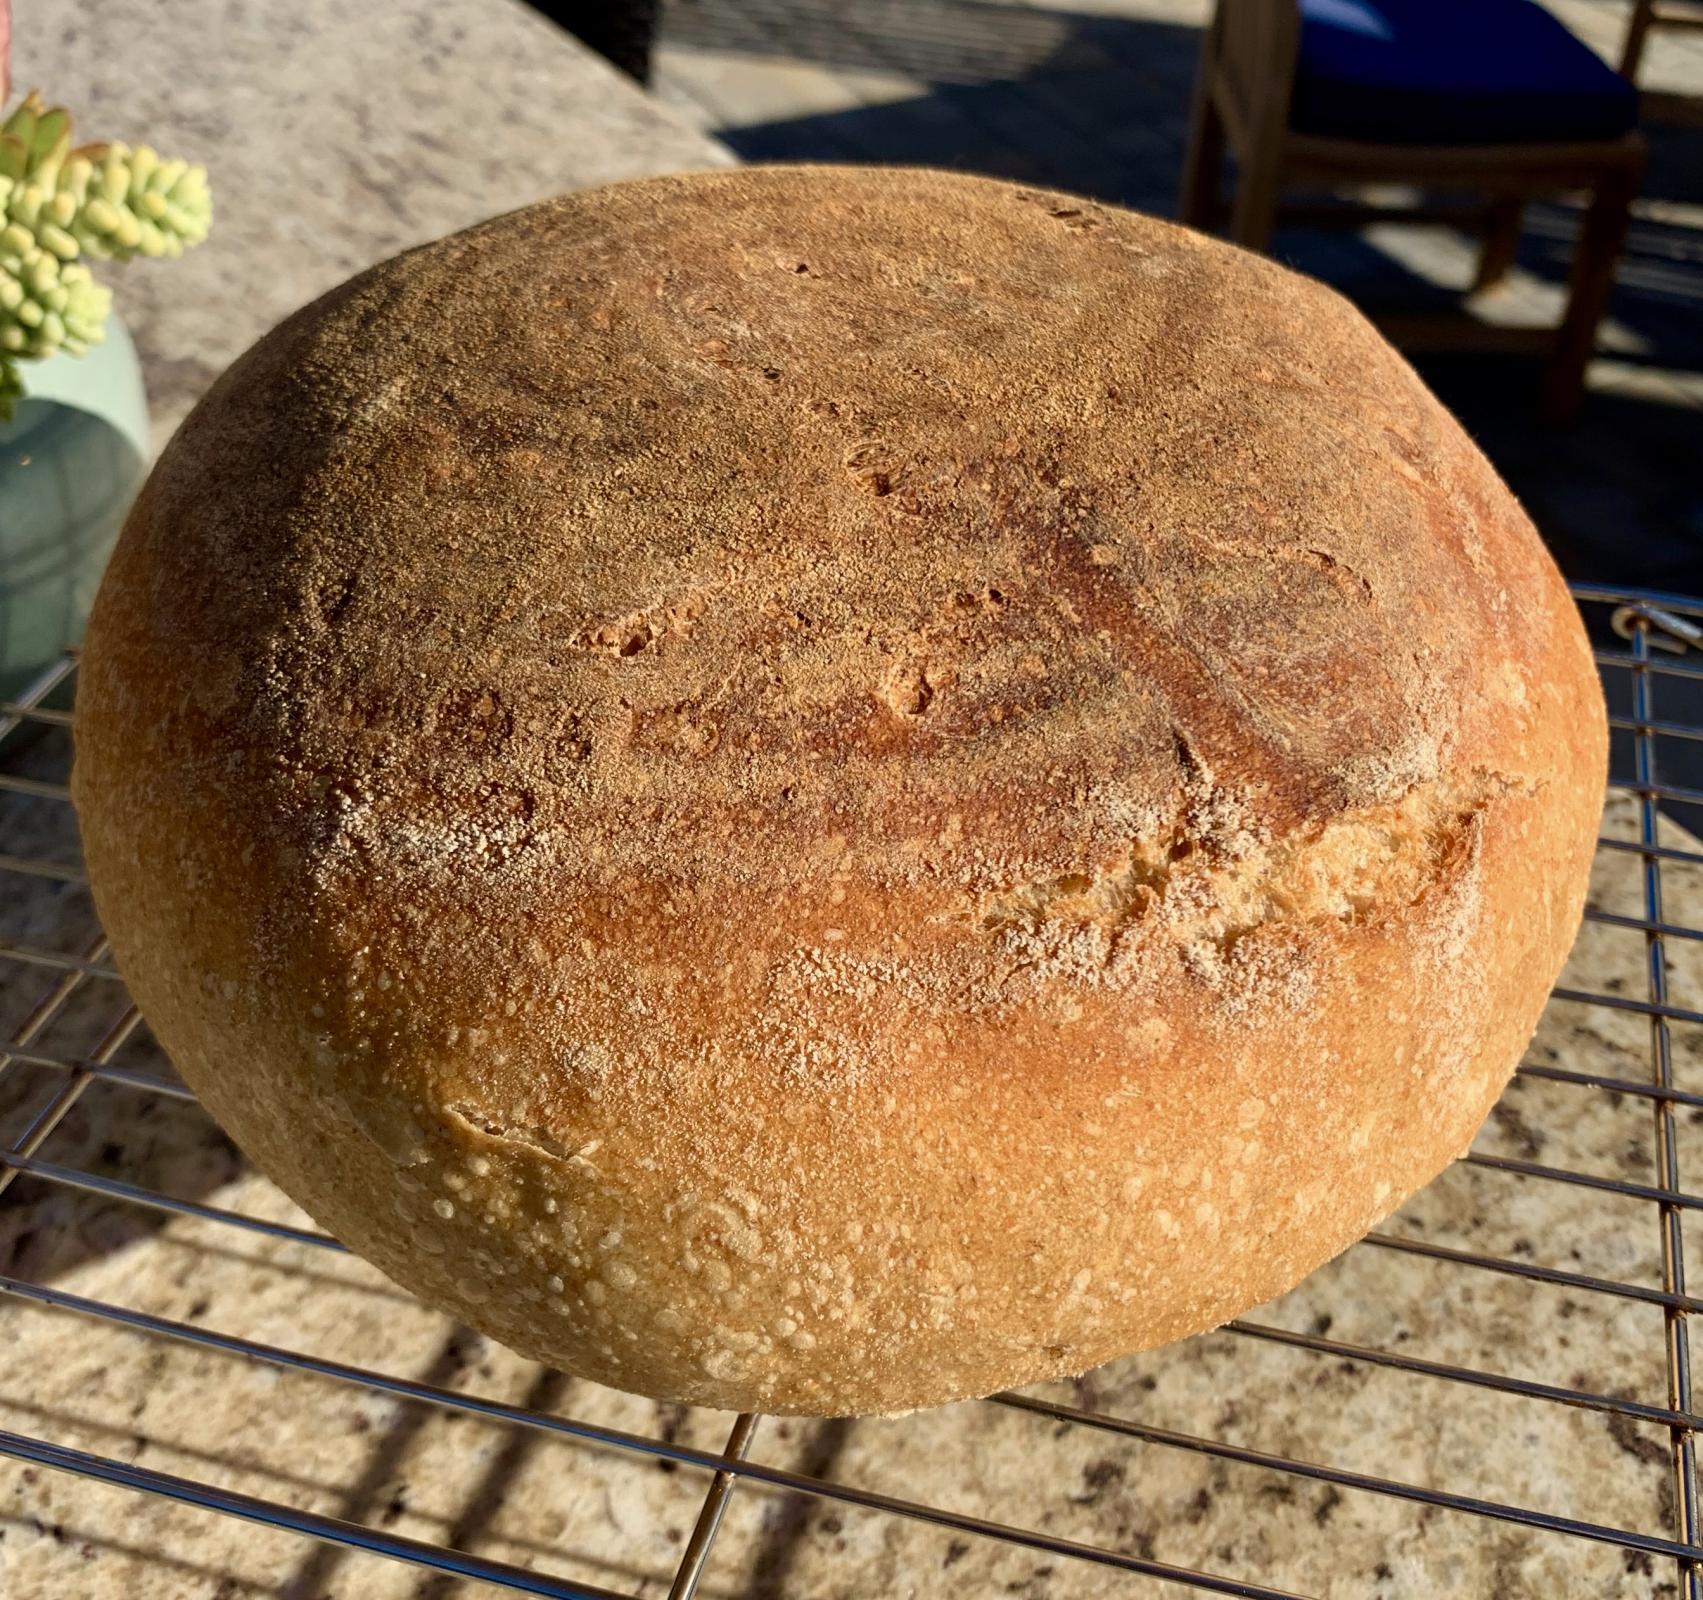
Once my IR thermometer was reading 500F on the lid (lower on the exterior sides of the DO), I loaded my loaf. I didn't slash this one, as I proofed it seam side down for natural bloom. I rotated the DO and lid in opposite directions every 10 minutes to even out the heat. After 20 minutes I took a peak and was a bit disappointed to see no bloom at all, but was very pleased with the color. After another 30 minutes, it became apparent that I needed more heat on the bottom next time, so I flipped the loaf to even out the color. After 40 minutes, the loaf was done (210F internal), so I removed it to cool:

It looked really good, with a firm, but yielding, crust. This morning, I cut into the loaf for some toast, and was very encouraged by what I saw. Not only would I be thrilled to serve this up at camp, I am quite pleased to have it here in the house:

So, changes for next time will really only be adding more initial bottom heat. I also need to tackle mixing, stretching, bulk and final rise timing in a "camp setting", but I wanted to start with the oven part so that I would know I could bake the loaf properly once I get it there.
This was fun, and I can't wait to serve some good, freshly baked bread next camping trip! :)
Rich