
Artisan II course - day one freedom, day five miche
Day one of Artisan II course at the San Francisco Baking Institute, Frank our instructor touched on a buzz word for me - Freedom. This was by no means any where in the manual or was there any hint on his part of an emphasis when he mentioned it; it was a casual passing comment. He said the best bread for him is a bread with a pre-ferment (poolish or sponge where there is a small amount of commercial yeast) and a levain (in the final dough which is then retarded), and that this combination gives you a lot of "freedom."
There were 16 of us sitting in the classroom. Not everyone gets a message at the same level. I am not suggesting one level is higher than another, or a student who gets a particular message is a better baker than the rest of the class. I am saying - the message I received has a special meaning to me, and me only. For the rest of the day, I was chewing on the concept. I did not know what exactly in Frank's remarks that fascinated me - is it the excitement in the knowledge that the combination of a pre-ferment and a levain would give me the possibility of making a great flavored bread, or what? It was not until the next night when I was reading my French bread book (which I brought from home) with the assistance of Google translator on French bread tradition that it clicked on me - tradition? freedom?
Is tradition a quantifier and qualifier, a boundary, a set of rules and conventions; or is tradition a liberator? Why did the best abstract artists in fine art history start their life-long pursuits by doing serious charcoal sketches and still-life drawings? I am a Chinese, but do I want to be bound by it? Freedom. My tradition is one enriching element in my fabric but I do not want it to be a boundary. I learn bread, but I do not want to be bound by the bread conventions. I will make breads that are meaningful to me, whatever that is. I answer to myself.
As in any learning, formula can never replace the reasoning behind. The concept is always more valuable than the mere formula. Once we are able to extract the governing concept or principle from the formula, we have freedom to construct our own formula. The aspect of freedom excites me far more than the formula. But I have to start my learning from the formula.
A Sourdough Formula From Scratch - 5 Days Start To Finish
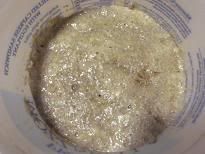
day 1 at noon, starting to make the culture
- 200 g bread flour
- 200 g whole wheat flour
- 400 g lukewarm water (80F)
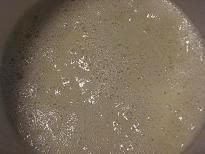
day 2 at 8 am
culture on day 2 morning before feeding (after the very first mixing of flour and water the day before)
- 200 g bread flour
- 200 g lukewarm water (80F)
- 200 g culture from the day before (threw away the rest)
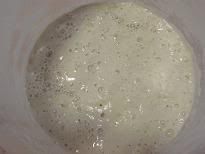
day 2 at 4 pm
culture on day 2 afternoon before feeding
- 200 g bread flour
- 200 g water
- 200 g culture from the morning (threw away the rest)
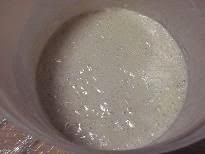
day 3 at 8 am
culture on day 3 morning before feeding
- 200 g bread flour
- 200 g water
- 200 g culture from the day before (threw away the rest)
day 3 at 4 pm, beginning to turn the culture into a starter
culture on day 3 afternoon before feeding and turning into starter
- 300 g bread flour
- 300 g water
- 120 g culture from the morning (threw away the rest)
day 4 at 8 am
starter on day 4 morning before being fed
- 300 g flour
- 300 g water
- 200 g starter, amount increased from 120 g to 200g as this would be used in the afternoon to make sourdough!
day 4 at 3 pm, starting to hand mix the following ingredients for sourdough:
- 673 g bread flour
- 471 g water
- 18 g salt
- 337 g levain from above
Total dough weight 1.5 kg and total dough hydration 76%
- Mix the above ingredients in a bucket (or a large bowl) by hand.
- Turn out the sticky mess onto the work bench.
- Use the palm of one hand, stretch out (like smearing) the sticky mess against the work bench for one minute, not any longer, to thoroughly hydrate the flour;.
- Scrape the sticky mess back into the bucket.
- With one hand holding the edge of the bucket, another hand stretches and folds the dough onto itself at one corner of the dough; then gives the bucket a 1/4 turn, and stretches and folds the dough again until you have done four corners (ie, one round); do two round in total, no more.
- At 30 minutes mark, repeat step 5
- At another 30 minutes mark, repeat step 6; at this point you will notice some strength in dough has developed.
- At another 30 minutes mark, repeat step 7. As some dough strength has developed, you will notice the dough is smooth and silky and easily clears the side of the bucket as you stretch and fold in the bucket.
- At another 30 minutes mark, turn out the dough onto a well floured work surface. Oil the bucket before you attend to the dough again.
- Now, pre-shape the somewhat loose dough (due to high hydration) into a boule by folding 1/4 of the dough onto itself until all the dough is onto itself, then flip it over; and with two hands on both sides of the dough, create surface tension by applying downward pressure against the work bench and form the dough into a boule.
- With the flexibility of a gymnast (joking), flip the pre-shaped boule into the bucket (right side in the bottom) in a swift motion.
- Dust your linen lined basket with rice flour or a mixture of bread flour and rice flour.
- At 15 minutes mark, turn out the pre-shaped dough onto a well floured work bench. Shape again as in step 10 but try to do it as tight as possible without tearing the skin.
- Flip the shaped dough into the basket, right side down. Cover.
- At 30 minutes mark, wheel (I mean, chuck) the dough into your fridge for overnight retardation (14 hours).
day 5 bake this little baby
- At 7:30 am, turn on your oven to pre-heat to 450 F
- At 8:00 am, remove the dough from the fridge to room temperature.
- Invert the dough onto a peel, and clean off rice flour on top if there is any. Dust the surface with bread flour or stencil the top with favourite design of your choice. (At the last minute, I cut out three round circles as stencils.)
- At 8:30 am, score your dough; steam your oven for 2 seconds, load the dough onto the baking stone, steam for another 2 seconds, and bake for 30 minutes; then, bake for another 30 minutes with the oven door ajar to vent (in order to dry out the crust) or until the crust is of a desired color. (Note: for home baking the steaming is done after the dough is loaded with 1 cup of water onto lava rock filled cast iron roasting pan.)
- Cool completely before slicing.
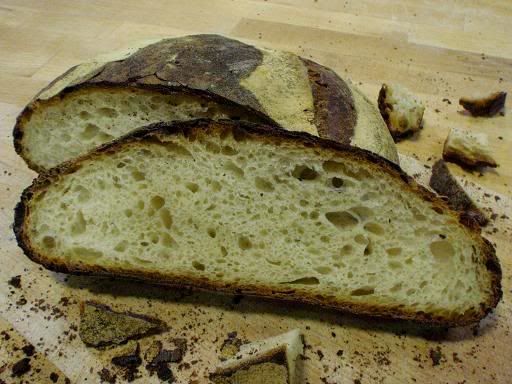
And, here is my true San Francisco Sourdough made in San Francisco. (The above procedure is my own, adapted from various sources mentioned in this blog as well as Frank our instructor's instructions.)
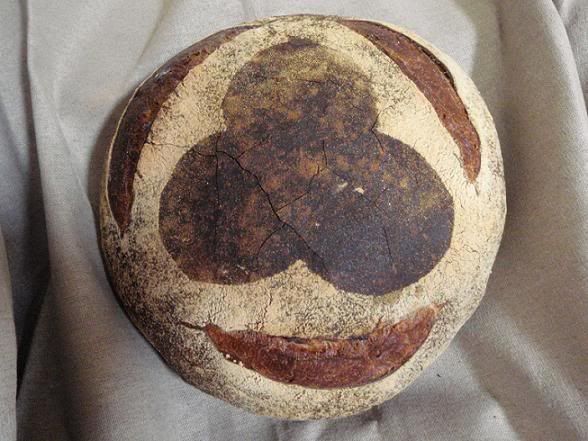
My true San Francisco Sourdough made in San Francisco
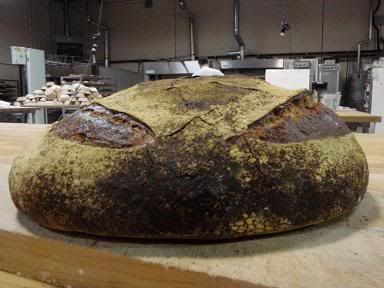
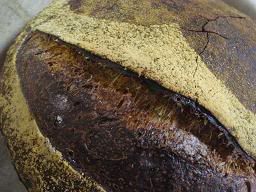
Crust: I cannot claim credit for the beautiful crust. Frank was our master baker, the man at the oven. He controlled the oven temp, the length of the baking, and all that cares that go with the baking. The crust is very crispy and full of that caramel/charcoal fragrance.
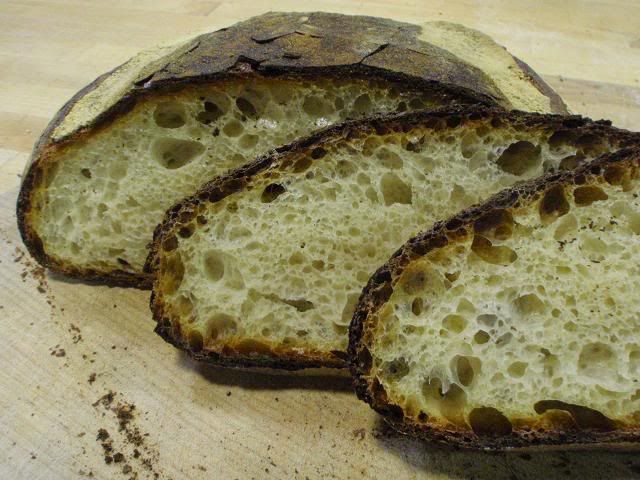
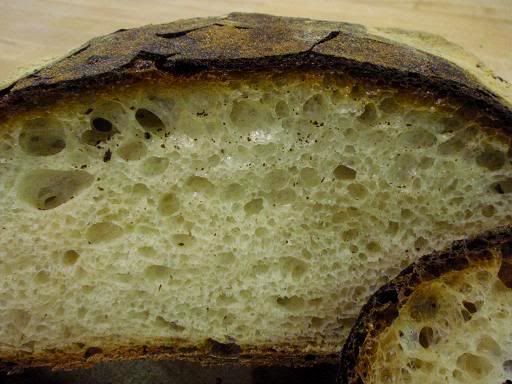
Crumb color: I have never seen such a beautiful crumb color. You would say there was hardly any oxidization of flour at all due to the way the dough was mixed and fermented, resulting in this exceedingly creamy, somewhat golden, color.
The taste is a little bit sour. I am surprised as I would have thought with the liquid levain, there would be more lactic acidity, rather than acetic acidity. Maybe overnight retardation is the reason. Or maybe any true San Francisco sourdough is sour... that San Francisco air and sea breeze?
The mouth feel of the crumb is moist and mildly chewy, full of life.

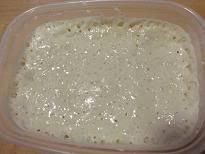
Before I leave San Francisco I have one more job to do - to "immortalize" my San Francisco starter to bring home to Australia in dry form. After using it to mix the dough at day 4 afternoon, I had about 460 g of liquid starter (100% hydration) left. I turned it into a stiff starter (50% hydration) at the end of that day's class and this morning (day 5) I fed it again. When I finished today's class, it was already very bubbly. I brought it back to my hotel and was painting the starter onto a few parchment paper. Before I had done painting the 5th piece of paper, the first one partially dried. It was lucky that I turned the liquid starter into a stiff one as it dried faster; my decision was one of greed - I thought with a stiff starter, more flour, more beasties.
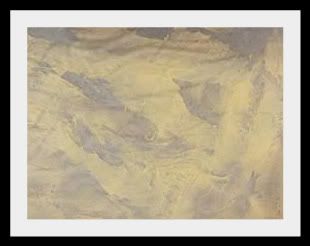
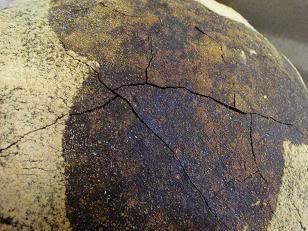
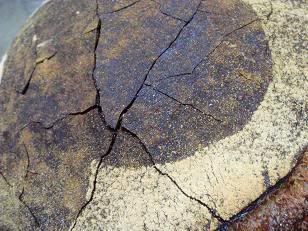
Here is my abstract starter painting with flour and water to finish the day.
Shiao-Ping
p.s. I asked Frank if I could blog today's sourdough. I never received a YES answer so quick. His reply was as if my question was unnecessary.