……just so that you know I do not live by baguettes alone. :p
*****************************************************************************************************************
Before I start...... Hope all you US-based TFLers are safe and unharmed in any way in the hurricane. Please know that my prayer is with you. (Let's forget just for now that I'm an atheist....)
******************************************************************************************************************
Never been to New York (or USA, for that matter, unless you count the island of Guam as a part of American soil), so, very regrettably I’ve yet to experience the true glory of famous New York Bagels. You can buy so-called ‘New York Bagels’ here in UK, which noisily claims its authenticity on their plastic bag that’s suffocating 5 bagel-like soft bread rings; sure sign that it is anything but authentic….
Coincidentally, two of the largest Jewish communities in UK are both within 30-minutes driving distance from me, so I have had a few of their bagels from the bakeries there in the past, but most of them seem to pride themselves and compete each other for the ‘authentic fillings,’ like salt beef or lox, in their bagel sandwiches rather than the bagel itself. I have found a good review about a new bagel shop in another area about 20-25 minutes drive away from me, that is run by a baker who came from Israel quite recently and claims his ones are the authentic bagels, but I have yet to try his…..and his shop is quite near the area which was badly damaged in the recent riot. I’m desparately hoping his shop was alright. If not, that’s another reason I want those ******* ***** ******* rioters to be properly punished for meddling with my potential foodie-heaven before I get my hands on.
So in short, I really don’t know if I have ever tasted authentic bagels or whether my bagels are any good at all. But I’ve been baking these for some friends for a while; one of them (and her husband) who used to live in New York for several years and quite happily buy my bagels very regularly, and the other friend who is an American-Jewish (his parents are immigrants from Russia after WWII) and told me they are the best homemade bagels he’d ever had. (Though I really doubt he’d ever had so many ‘homemade’ bagels before. I suspect he and his family have been buying their bagels from their local Jewish bakeries….)
Anyway, they seem to like it, and I like it, too. So whether authentic or not (though I suspect any possible claim for ‘authenticity’ will be down the drain the instant I add WW flour in the mix…:p.), this is the one I’d like to share with you. Hope you like it, too.

SOURDOUGH BAGELS WITH WHOLEMEAL
Ingredients (makes 12 bagels)
Sourdough (70% hydration) 200g --- Fed twice during 8-12 hrs period before use with 120g High Gluten
White Flour* (see note below) + 80g water (1st feed = 40g flour + 25g water, 2nd feed = 80g flour + 55g water)
High Gluten White Flour 450g * (see note below)
Strong Wholemeal flour 120g
Non-diastic malt powder 12g
Organic cane sugar 14g
Skimmed Milk Powder (optional) 2-3 tbls
Instant Dry Yeast (Easy Blend Yeast) 2g (about 1/2 tsp) optional (Note: Without added yeast,it needs longer fermentation and the crumb is slightly denser)
Good quality sea salt 12g
Filtered water or bottled spring water 300-310g
For boiling water …..Malt extract/syrup or light brown sugar and bicarbonate of soda
* Note : High Gluten White Flour …. I use Waitrose Very Strong Canadian Flour (from Canadian Red Spring Wheat, protein 15%)
METHOD
- Mix all the dry ingredients in a large bowl.
- Mix sourdough and water in a separate bowl and stir to loosen the sourdough.
- Pour the sourdough/water into the dry ingredients and mix until no dry bits is left. Rest for 15 minutes or so to let the flour absorb water.
- Knead for 15 – 20 minutes (it may take longer) until the gluten fully develops.
- Divide into 12 equal pieces and shape them into nice, neat balls with smooth, tight skin. Put a damp (but not wet) tea towel over them and rest for 15 minutes.
- Shape them into bagels. (I use, possibly, Japanese-style 'rope-method which has one extra-step before you elongate the dough into a rope-shape, which is similar to this video, but whatever a method that works for you should be fine)
- You can either final-proof at room temperature (around 1-2 hr or so, depending upon the temperature) or cold retard in a fridge overnight -24 hrs. Be careful NOT to over-proof, or you’ll end up with soft, fluffy bagels that doesn’t ‘bite back.’
- Boil in the water (with malt extract/sugar and 1-2 tsp bicarbonate of soda) for 1 minute each side.
- Drain on a tea towel until you boil the rest. (Better not leave for more than 5-6 minutes or you may end up with bagels with wrinkly skin)
- Bake for 18 – 20 minutes at 200 C.


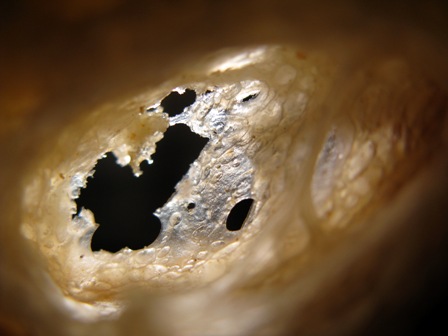
(For this batch, only had time to retard for 5-6 hrs. Longer retardation will give you more birds-eyes.)


Best wishes and Shalom.......just to compensate for the lack of authenticity of my bagels. :p
lumos


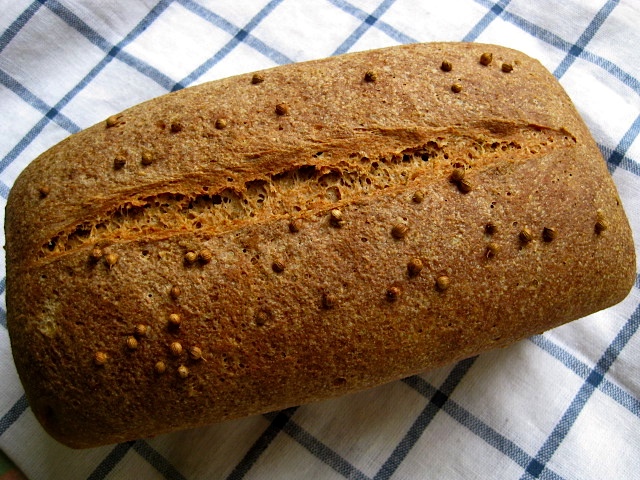


 .. the baked Kuchen
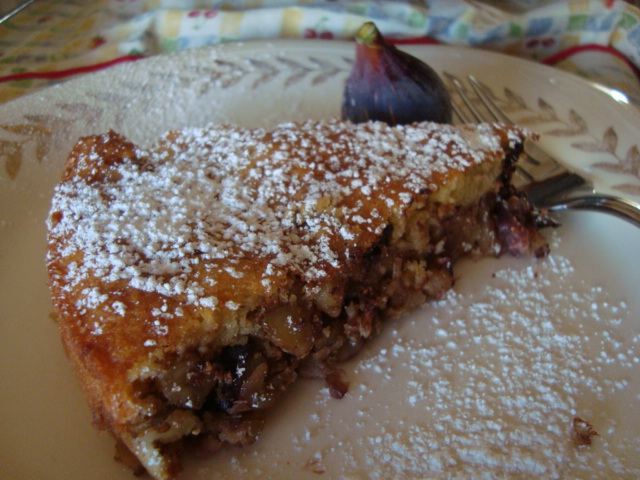
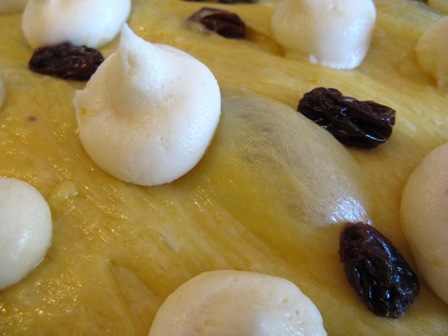 ...close up of Butterkuchen (almond paste),

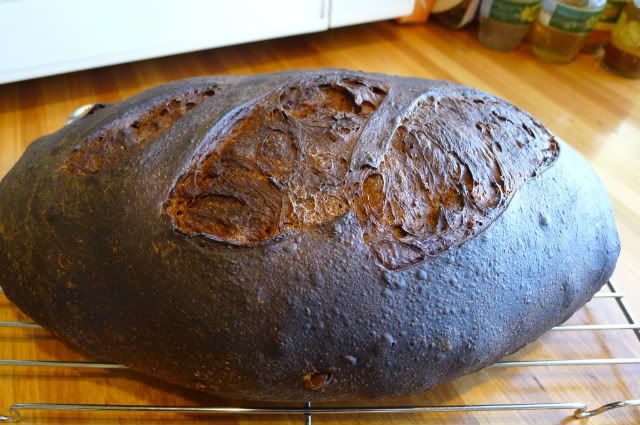
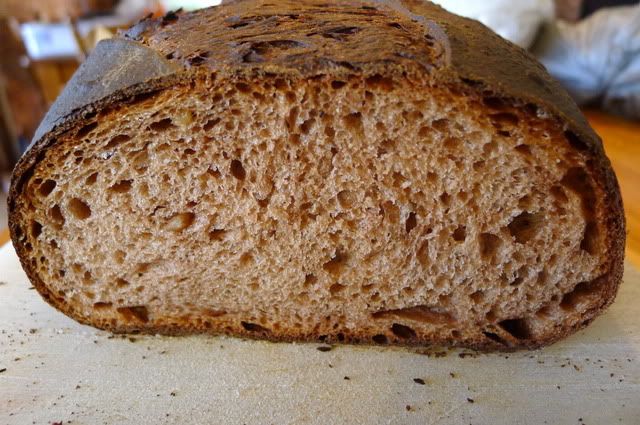
 ...an end view

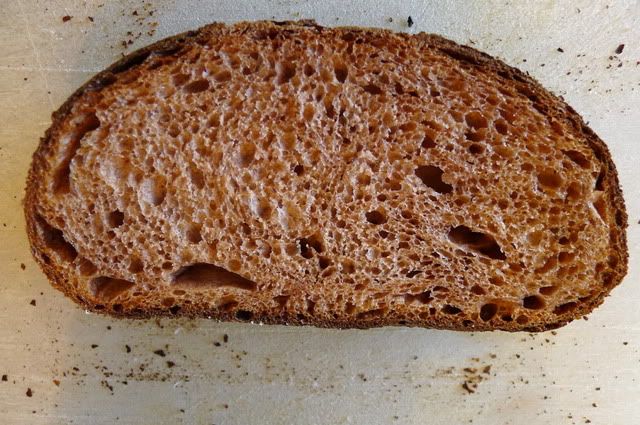
 ... and the crumb