
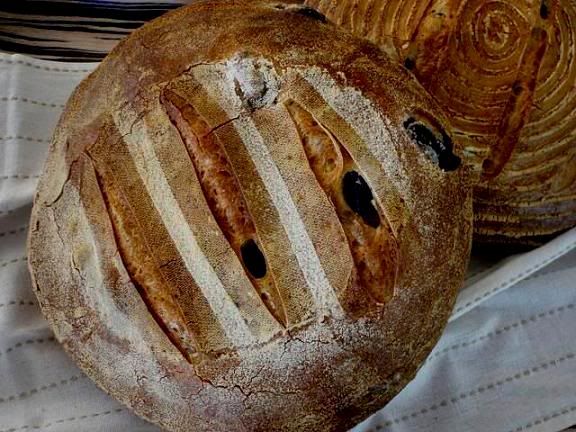
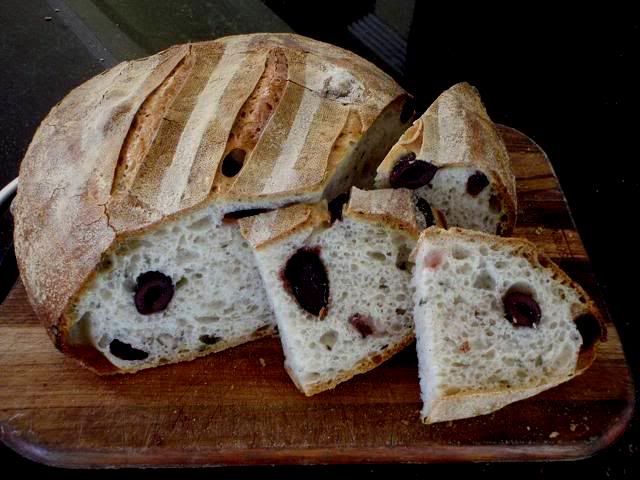
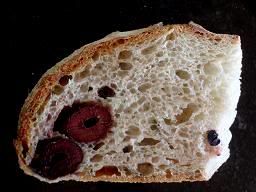
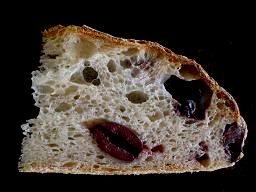
Olive & Rosemary Oregano Sourdough
We made olive bread at Artisan II course, SFBI, using double hydration method (see this post for a description of double hydration). At the time I felt the bread came out a bit dense because, with the double hydration method, you actually end up mixing the dough for quite a long time. The method is supposed to help build up the dough strength before any add-ins are incorporated into the dough.
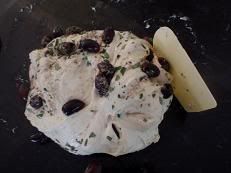
With this Olive & Rosemary Oregano Sourdough, I wanted to experiment if I could first build up the dough strength with stretch & folds by hand, then incorporate the olives and herbs. What I did was after the usual autolyse of 30 minutes, I did the first set of stretch & folds, waited 3o minutes, then mixed in the add-ins by way of the 2nd set of stretch & folds. Perhaps because this dough was lower hydration than my usual dough (which is well over 70%), I found that some strength and good elasticity had already developed towards the end of the first set of stretch and folds. So, I was happy to incorporate the olives and herbs at the 2nd set of stretch and folds.
My kids are on school holiday this week; it's a week day today but felt like a Sunday for us. Here is the sourdough we enjoyed at today's lunch table.

My Formula
- 704 g starter @75% hydration
- 412 g water
- 60 ml or 4 tbsp of olive oil (note: 4 tablespoonfuls of olive oil is 60 ml but not 60 grams; it is about 40 to 44 grams in weight. The SFBI formula that we worked on at the Artisan course does not use olive oil.)
- 704 g bread flour
- 17 g salt (I used only 1.5% of total flour because there is also salt in olives.)
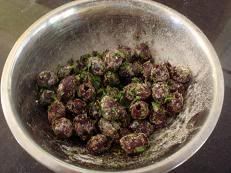
- 280 g pitted kalamata olives, rinsed in water and drained (I used 25% of total flour)
- Chopped rosemary (I used only a sprig of 20 cm in length; this turned out to be on the light side, you could easily have 2 to 3 times amount of what I used).
- Chopped oregano (I used only 3 sprigs; this also turned out to be too little, you could at least triple the amount I used. Also note the SFBI formula uses Thyme, not rosemary or oregano.)
- Extra Whole Wheat flour to coat the olives (just before olives are to be incorporated into the dough); this is said to prevent the olives from being meshed during mixing, but I don't find it necessary.
Total dough weight 2.16kg (to be divided into two pieces); total dough hydration 70% (note: SFBI formula is 66% hydration)
- Mix all ingredients (except the olives and the herbs) by hand
- Autolyse 30 minutes
- Do the first set of stretch and folds of 30 - 40 strokes
- After 30 minutes, incorporate all the olives and herbs at the 2nd set of stretch and folds
- After another 40 minutes, perform the 3rd set of stretch & folds
- After another 40 minutes, divide the dough to two pieces and pre-shape to tight balls
- Rest for 20 minutes
- Shape to tight balls
- Proof for 2 hours then place in refrigerator to retard (I did 18 hours)
- Bake next morning with steam at 230 C for 20 minutes and 220 C for another 20 minutes
Some thoughts on this bake:
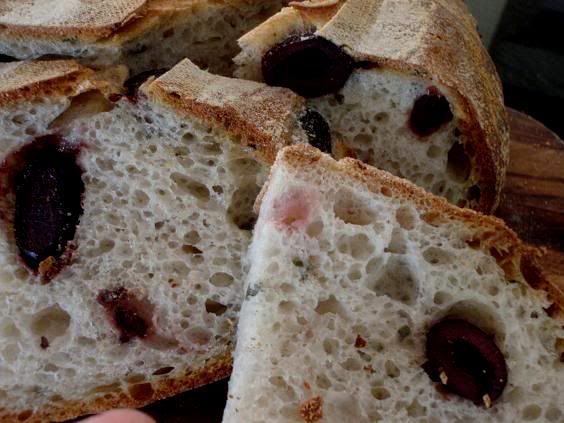
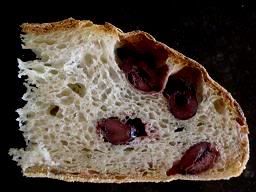
(1) The dough was slightly over-fermented as there was not very much oven spring. From the time the dough was mixed to the time it went into the fridge, it was 5 hours. Adding the 18 hours retardation, total fermentation was 23 hours. This normally would not be too much, but I wonder if my active starter has meant that I should shorten the proofing time before the dough gets into the refrigerator.
(2) 5% olive oil increases the keeping quality of the sourdough; the bread stays fresh longer and toasts beautifully. The oil gives the crumb a very light texture.
Shiao-Ping


Comments
Beautiful looking loaf Shiao-Ping. Interesting crust.
Eric
Another lovely looking bread - and quite different. About the crust: I was wondering how you created that stripe pattern?
Always look forward to your posts - invariably excellent.
Cheers!
Ross
The stencil is very easy. I cut out three stripes of paper, each measuring 1.5 - 2 cm in width by 15 cm in length; lay them on top of the dough, then sift flour on top of it, take the pieces of paper off, then score the dough just before baking.
If you want the stencils very sharp, then you'll have to brush off any dusting of flour remaining on the dough before you place the stencils on it and sift flour.
There are a multitude of variations with stencils using paper shapes. There is this other beautiful type of stencils here using herbs.
Why didn't I think of that? Thanks, Shiao-Ping. Always learning, and you're one of my most consistently inspiring educators. Thank you.
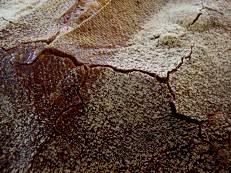
We all learn from one another, don't we? I found these pictures from my old file:
For the one on the right, I used a round cooling rack (for cookies and cakes etc) as stencil.
Meant to respond way before now - your breads are just exquisite, Shiao-Ping. Beautifully photographed, also. Thank you.
Cheers
Ross