Greetings lovely bready friends:)
It has been almost 12 months since I did a blog post.
I moved from a city of 2 million to a town of 16,000 (at peak times) ...
We lived in a house for the first 7 months (after our house purchase fell through) that had an oven from hell.
Looked like a dream BUT no!! So no baking, in fact limited cooking went on as well:(
We finally found a house we liked enough to buy after 7 months looking BUT the oven is not great...
Its ok, but not at all really a bread oven, hence bread and yeasty things have been scarce.
We will be replacing it at Xmas, so watch this space then....
I still have a few lovelies up my sleeve that have worked in this oven and a few posts that I have not shared from prior...
Today I share with you a favourite and its very versatile to make your own!!
Enjoy, I always love this one...even in my putoo oven:)
Cinnamon Sticky buns with Vanilla Cream Icing:

Mmmm yum!!
You know I love sticky buns….
The danger is with these lovelies is that one can not just have one!!
Ok, It’s greedy piggy girl who can’t have one…
I just love them but my thighs do not !
So I make them to be eaten asap by greedyboys.
These are BEST eaten on the day …
If you have any left, then call me as they all should be gone!!
No seriously, they are good toasted for brekkie too..If there is any left.
Or in french toast…

STICKY STICKY STICKY

OR FRUITY?
LET US GET YEASTY!!! and greedy….
What will you need??
5 cups of Strong bread flour
3 tsp dried yeast
1 cup of raw or muscovado sugar
1 cup of brown sugar (for filling)
150 gm butter for filling
2 tbsp cinnamon for filling
1 tsp nutmeg for filling
1 tsp star anise for filling
150g butter for the dough
2 eggs
1 & 1/2 cups of milk
pinch of salt
125 g cream cheese
1 & 1/2 cups of icing sugar
2 tsp vanilla essence
1/4 cup milk.

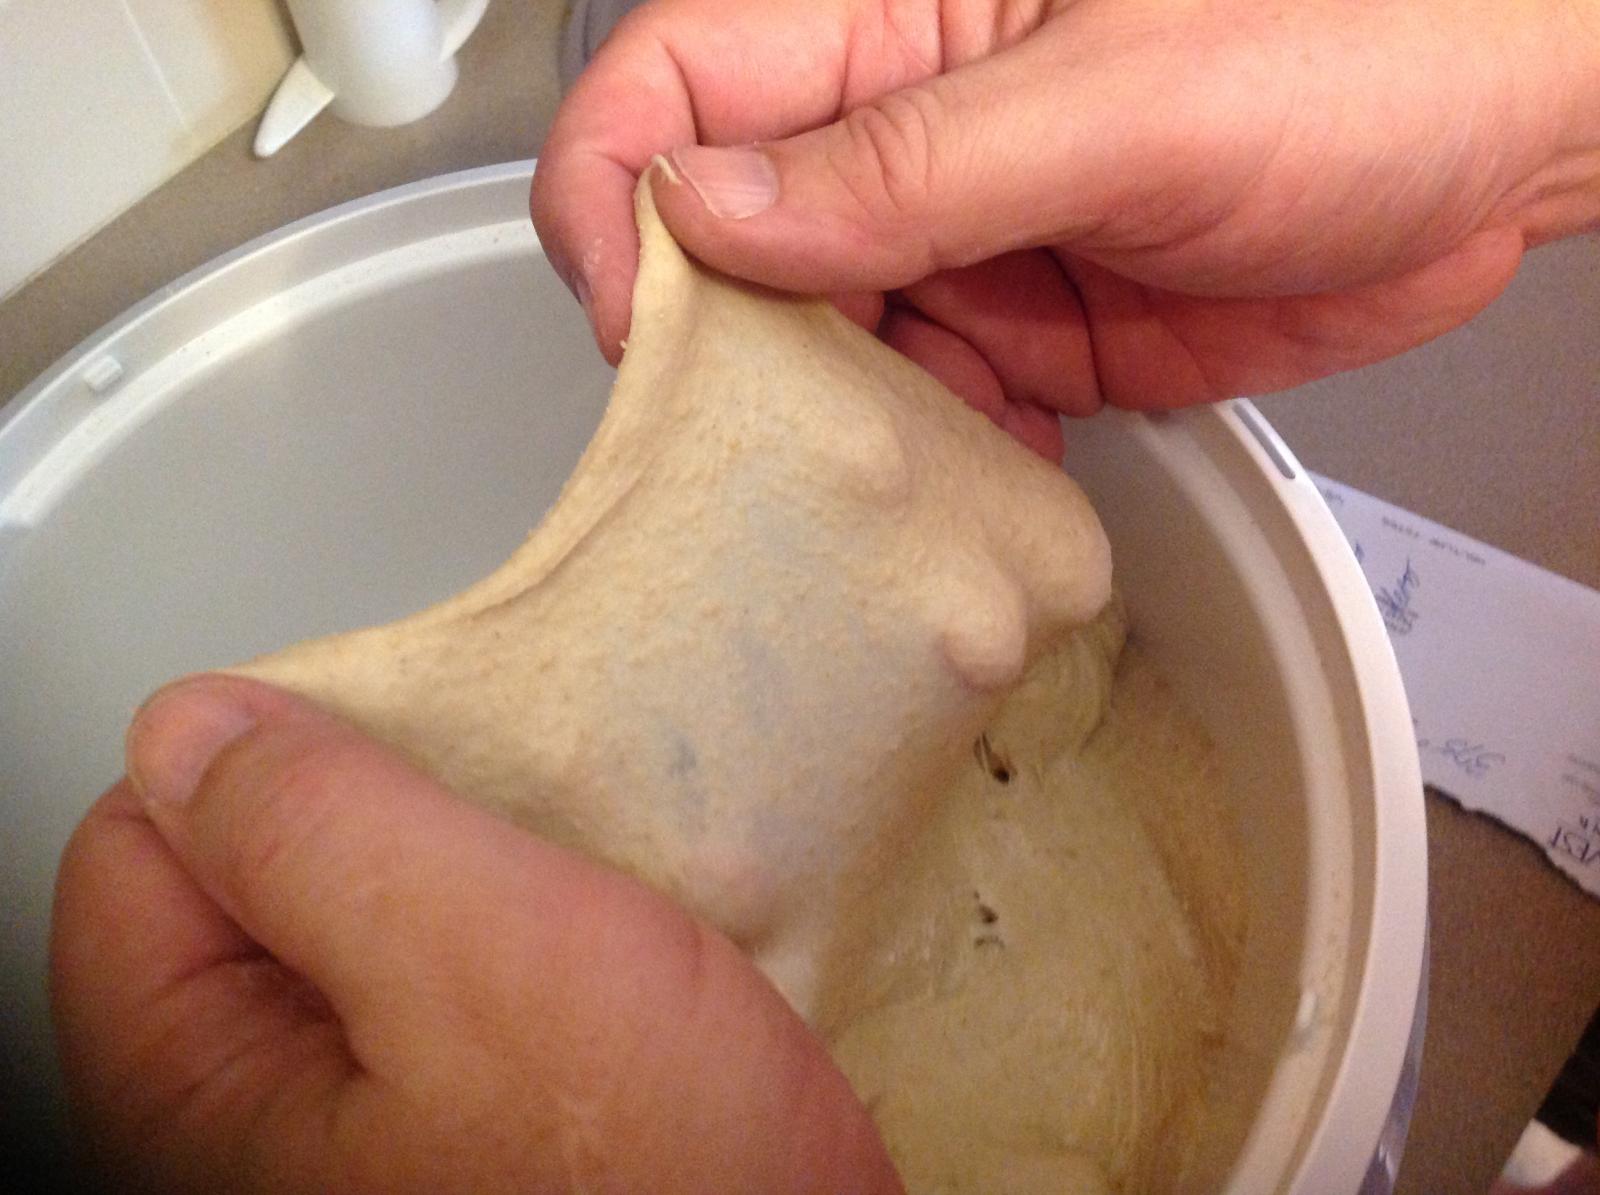
STICKY DOUGH..

READY TO ROLL…
Warm milk and add in 2 tsp of muscovado/raw sugar.
Stir in yeast and allow to become frothy.
Melt butter and pour into yeasty mix along with remaining sugar.
Stir in beaten eggs to yeasty/ butter mix.
Combine flour and salt and then pour in yeasty mix.
Form a dough and knead for about 7 minutes until smooth.
Place in well oiled bowl and cover.
Leave for 2 hours or until doubled in size.

ROLLED OUT!

ADD CINNAMON STICKY MIX.

ROLL UP…I DID HALF WITH RAISINS..
While dough is resting, prepare the filling with butter, spices and sugar.
Beat till a smooth paste and place aside.
Place dough on lightly floured bench and roll out until it is about 45 cms long by 30cms.
Don’t be anal though ok?
A little more or a little less won’t kill it!
Spread filling onto dough as shown above, leaving a little space at the long end of one of them (roll towards this end).
I often will do one half plain ( for boys) and one with nuts/fruits.
From the longest end, roll up until it is quite tight.

SWIRLY..

SNAILS…

READY TO REST..
This recipe will make 12 snails, as I like to call the cut bits.
Cut the roll into 12 pieces BUT if I put fruit on all of it, they will be bulkier.
Place into well-greased tray (as above), leaving room to rise and expand.
Cover and leave for about 90 minutes.
30 minutes before resting time is finished, preheat oven to 180 celsius.

BAKING TIME!!!

ALMOST BAKED!
Place buns into the oven, bake for 30-35 minutes until golden brown.
Remove from oven and allow to cool.
Whilst cooling, make up frosting.
Soften cream cheese and add in icing sugar and whip until smooth.
Add in vanilla and milk.
Pour on buns whilst slightly warm.
Not too warm or it will all melt….
This is a sticky frosting, not a set hard one….
ENJOY ENJOY ENJOY……While they last!

MMMM LOOKING GOOD!

MMMM READY!

A DOLLOP!

JUST GORGEOUS!!

ENJOY!!
Did you just LOOOVVVEEEE these?
Have you tried Chelsea buns?
Vanilla sticky brown butter buns?
Marzipan, Rosewater and pistachio sticky buns?
I LOVE BUNS!!!

TRAYS OF THEM!
www.greedybread.com