The Fresh Loaf

A Community of Amateur Bakers and Artisan Bread Enthusiasts.

Most bookmarked

Danni3ll3's picture
Danni3ll3

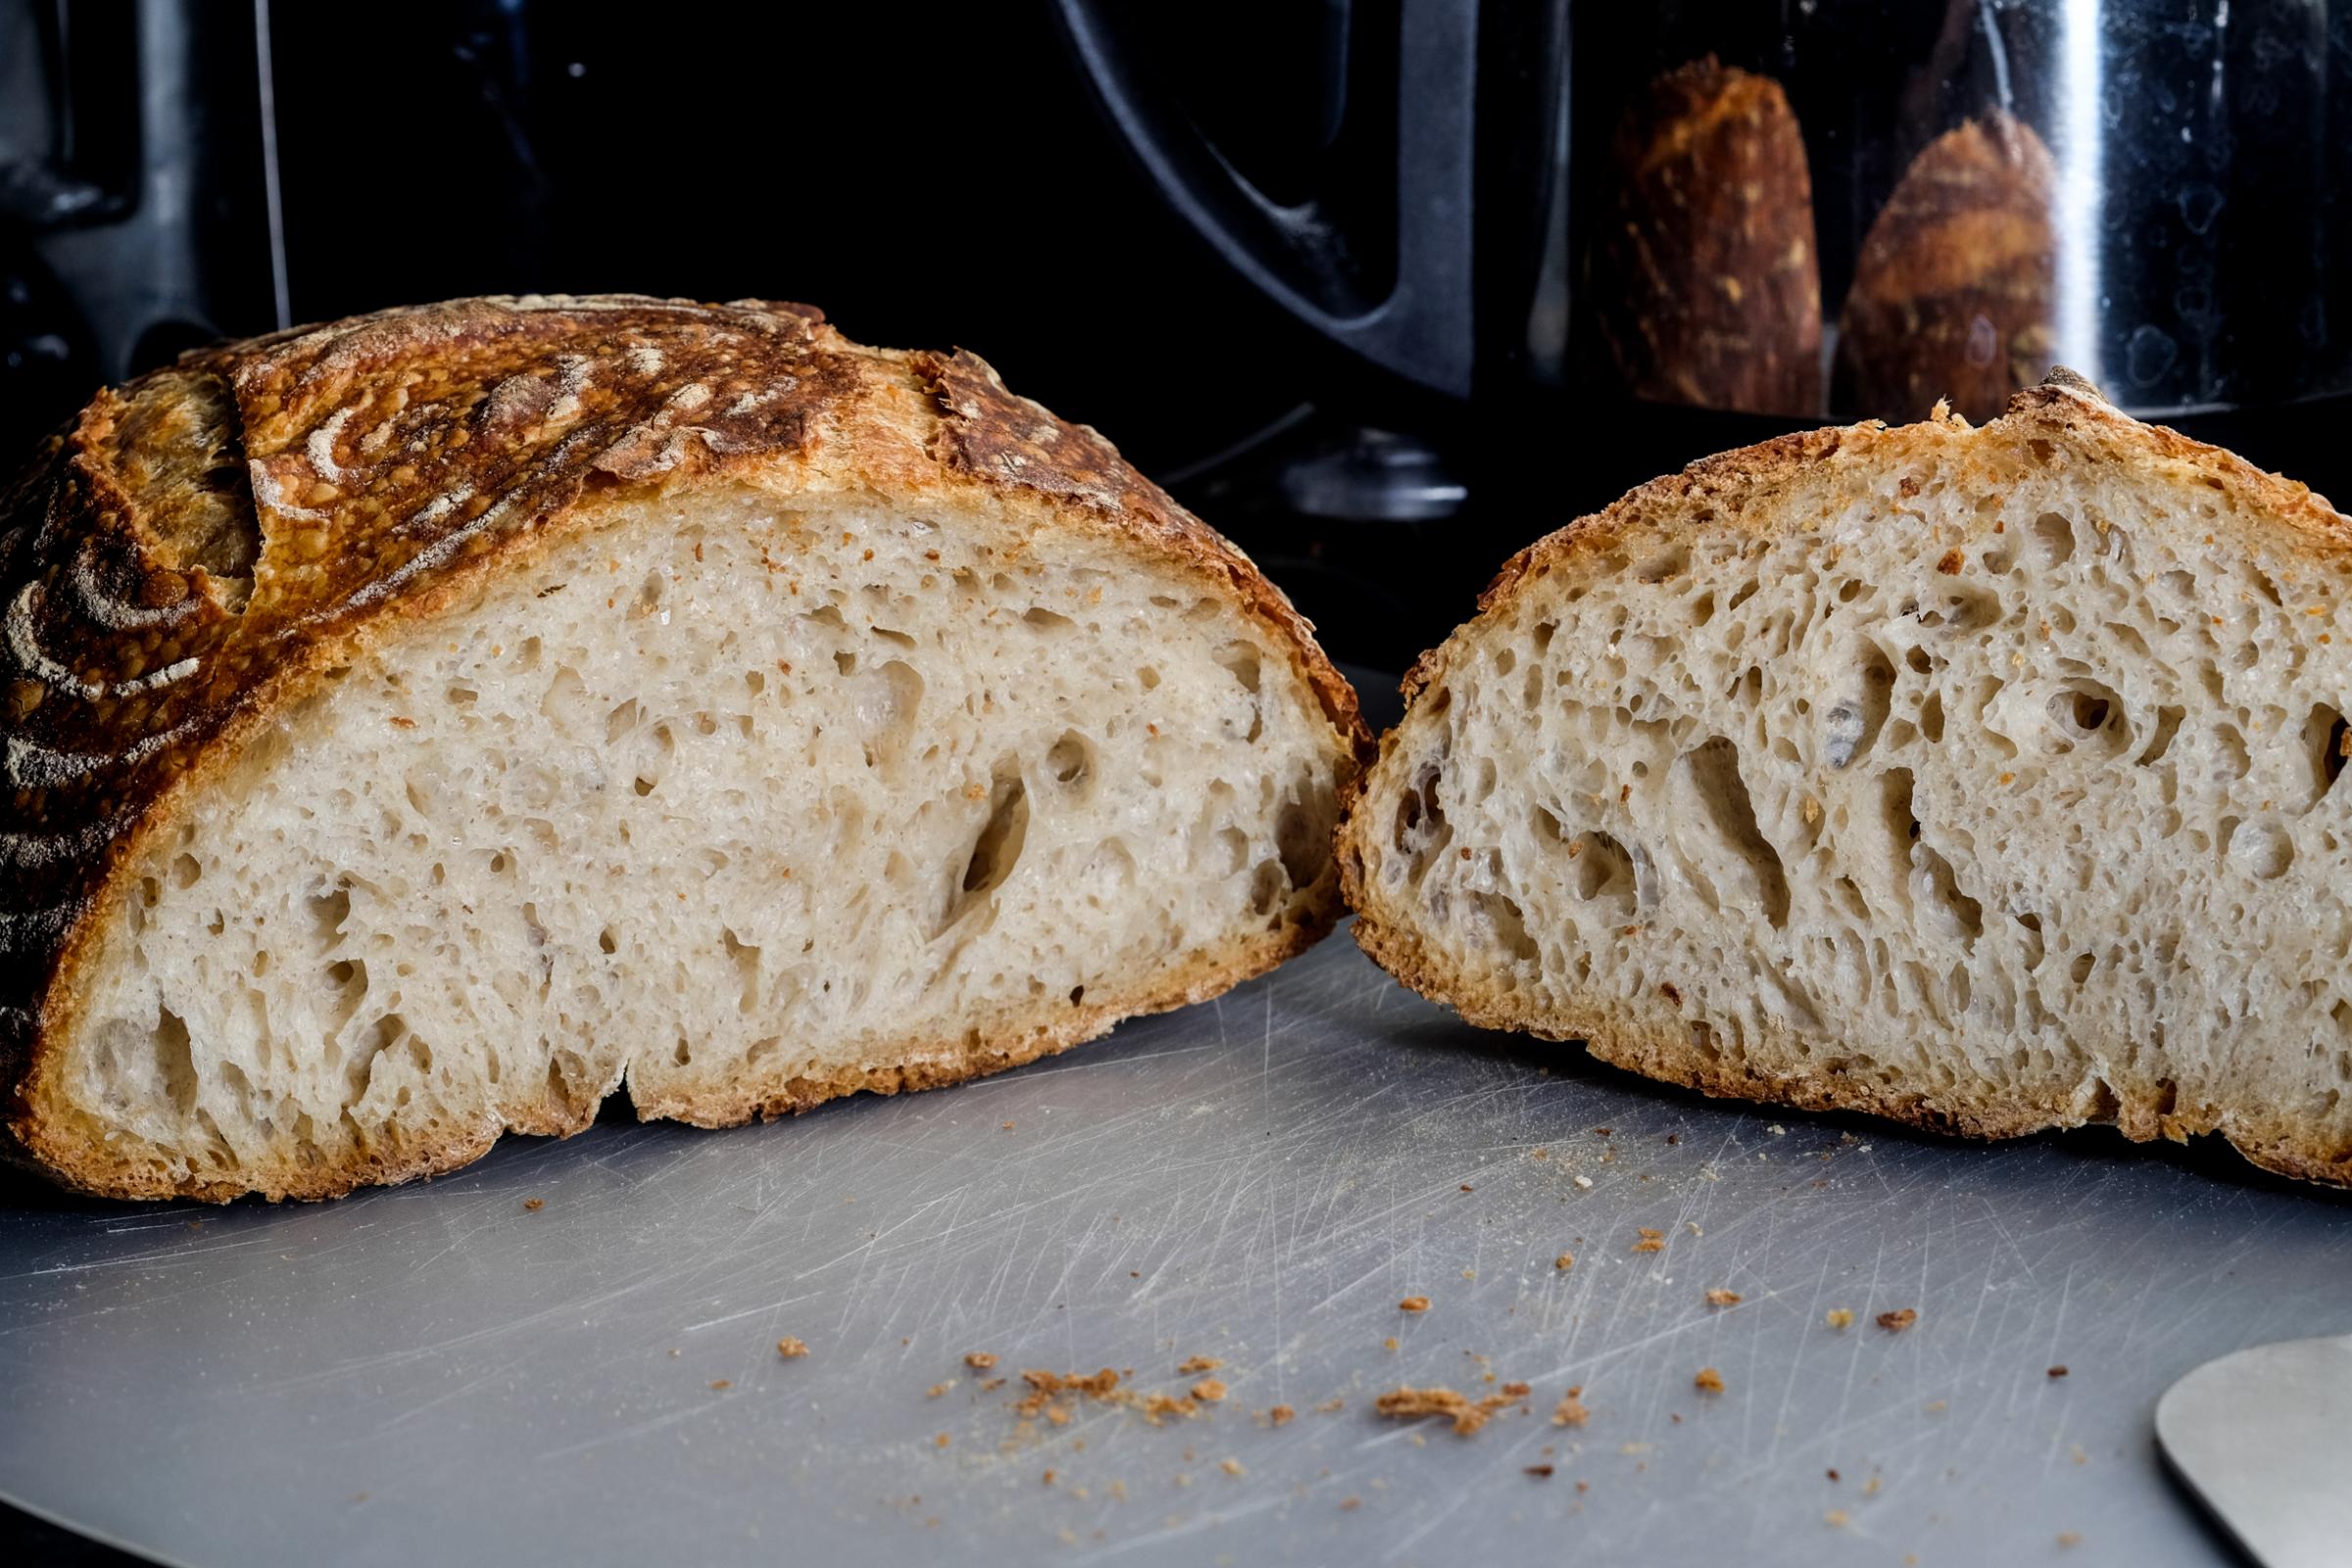
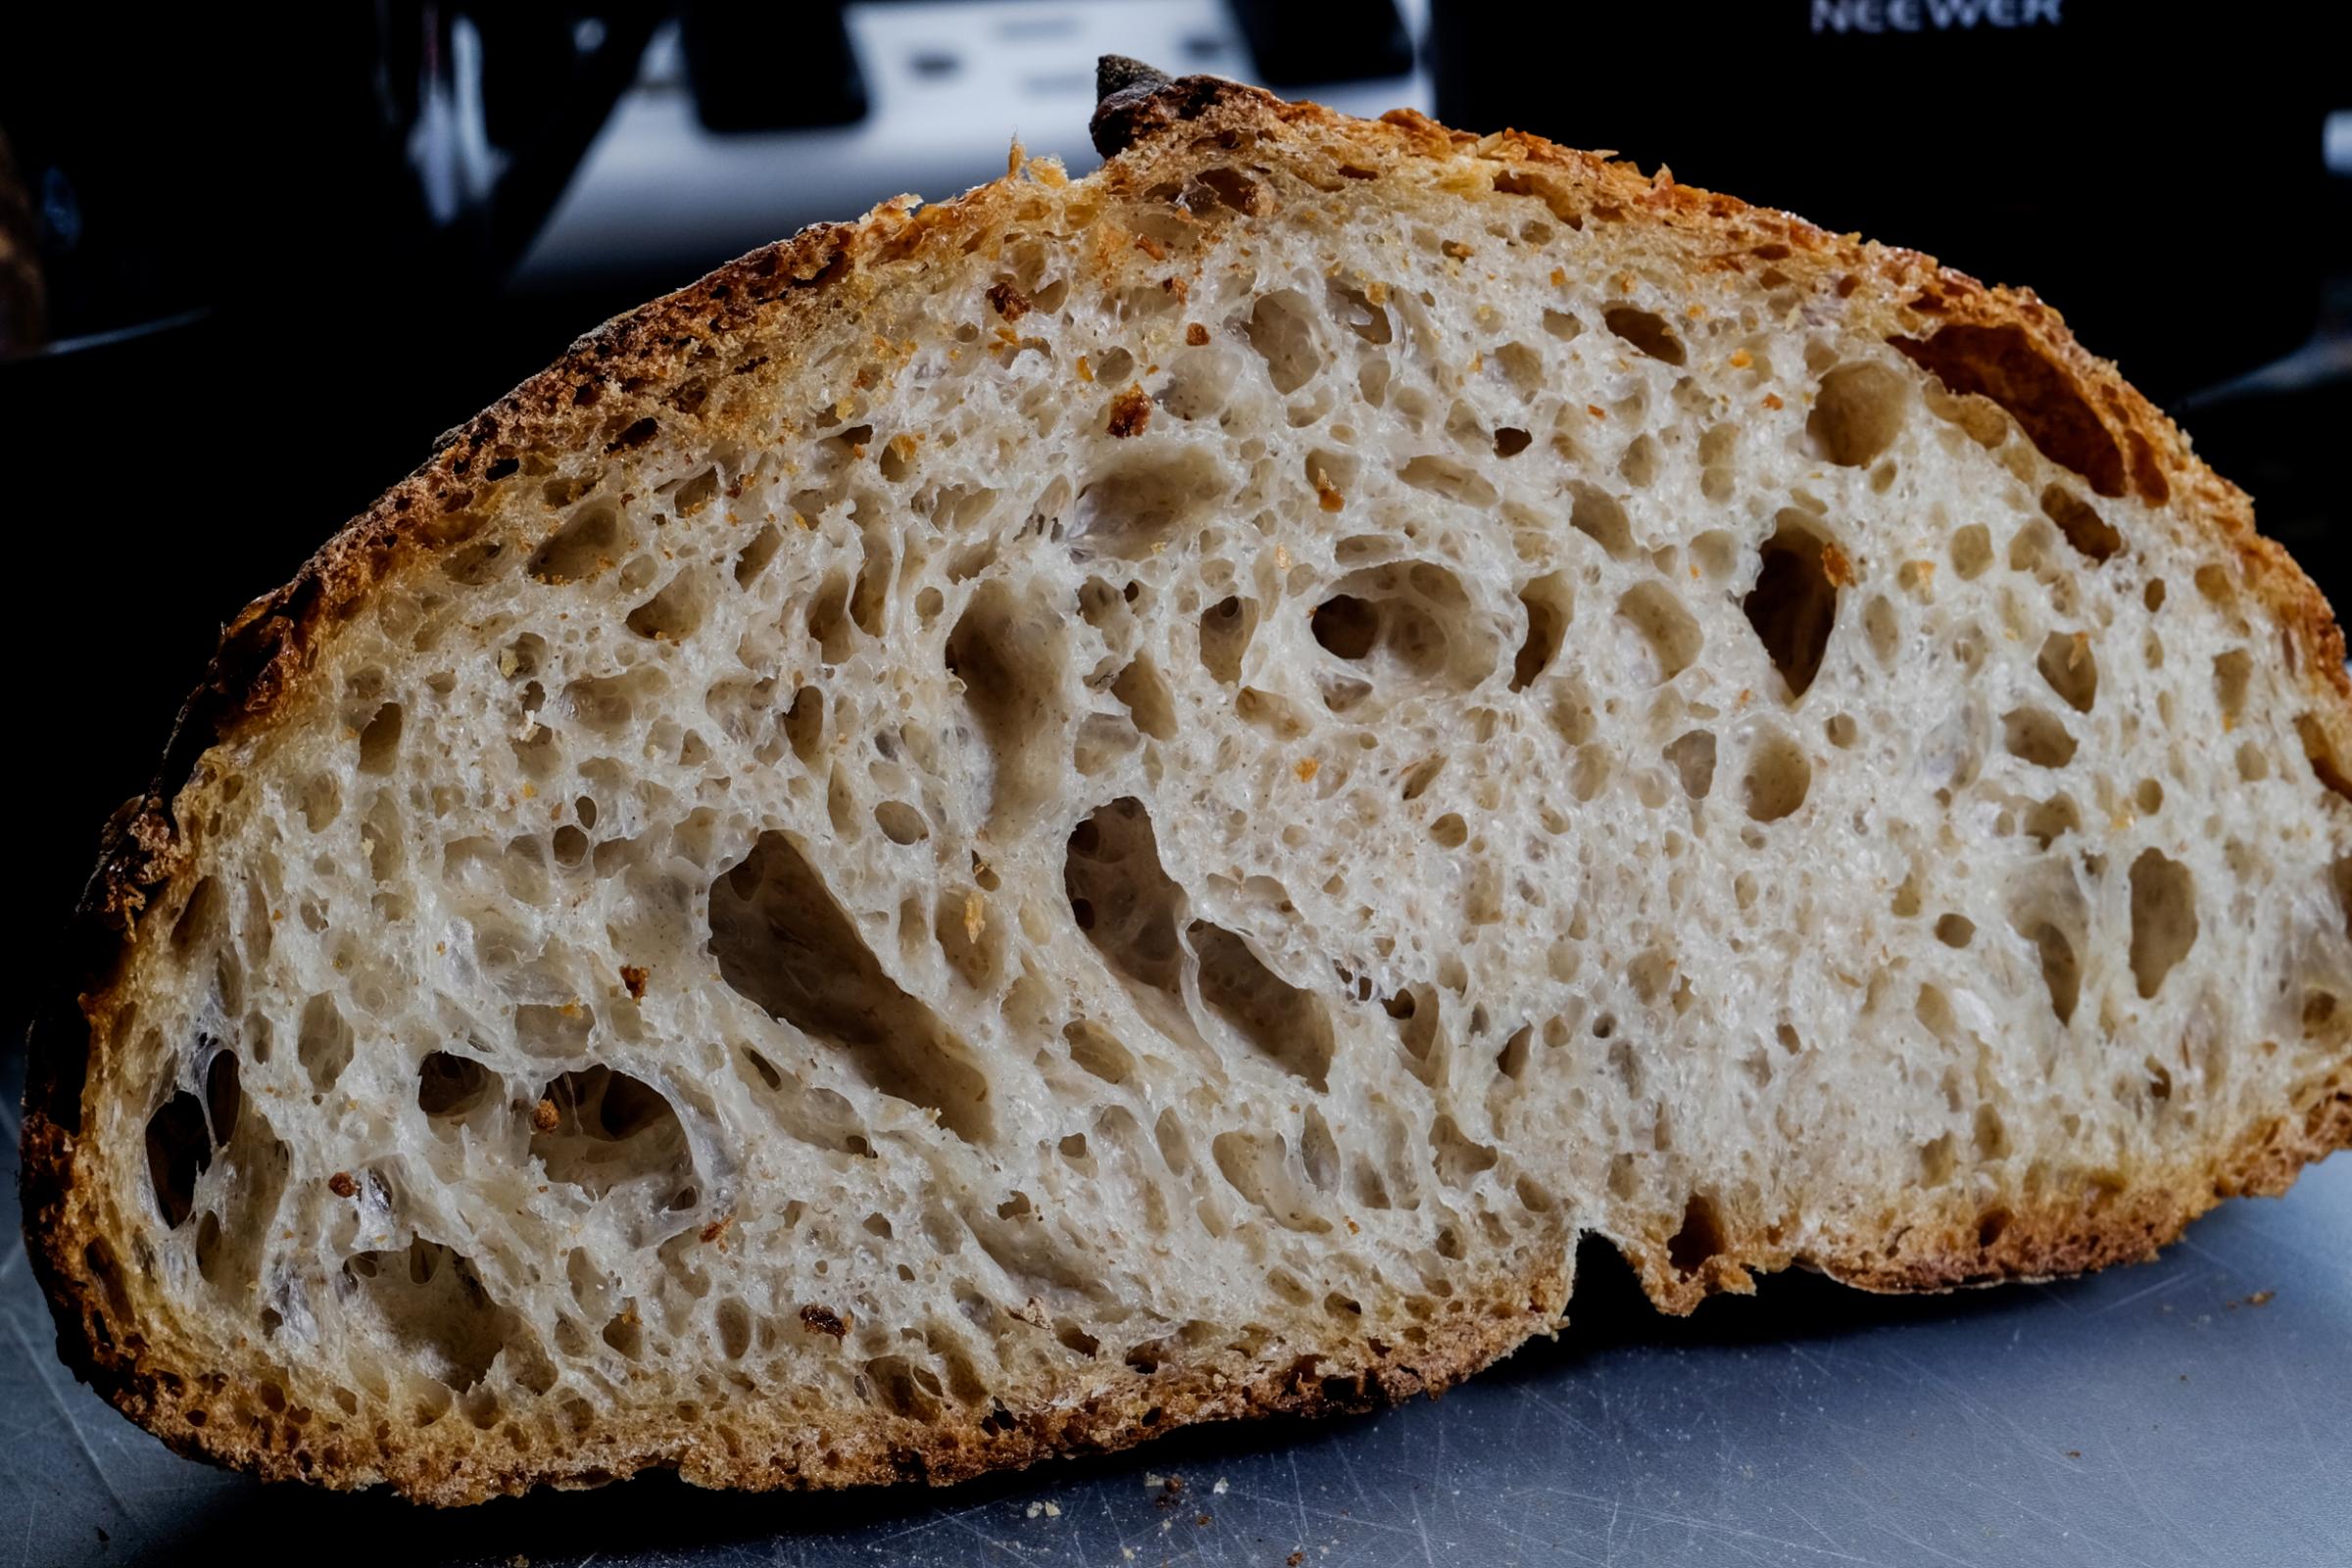
Honey Spelt Oat Porridge Sourdough with Cranberries, Mixed Peel and Sunflower Seeds


Time for Easter so that means a fruit bread is “de rigueur”. I tweaked and adapted a version that I made for Canadian Thanksgiving back in October.

Makes 3 loaves

Levain

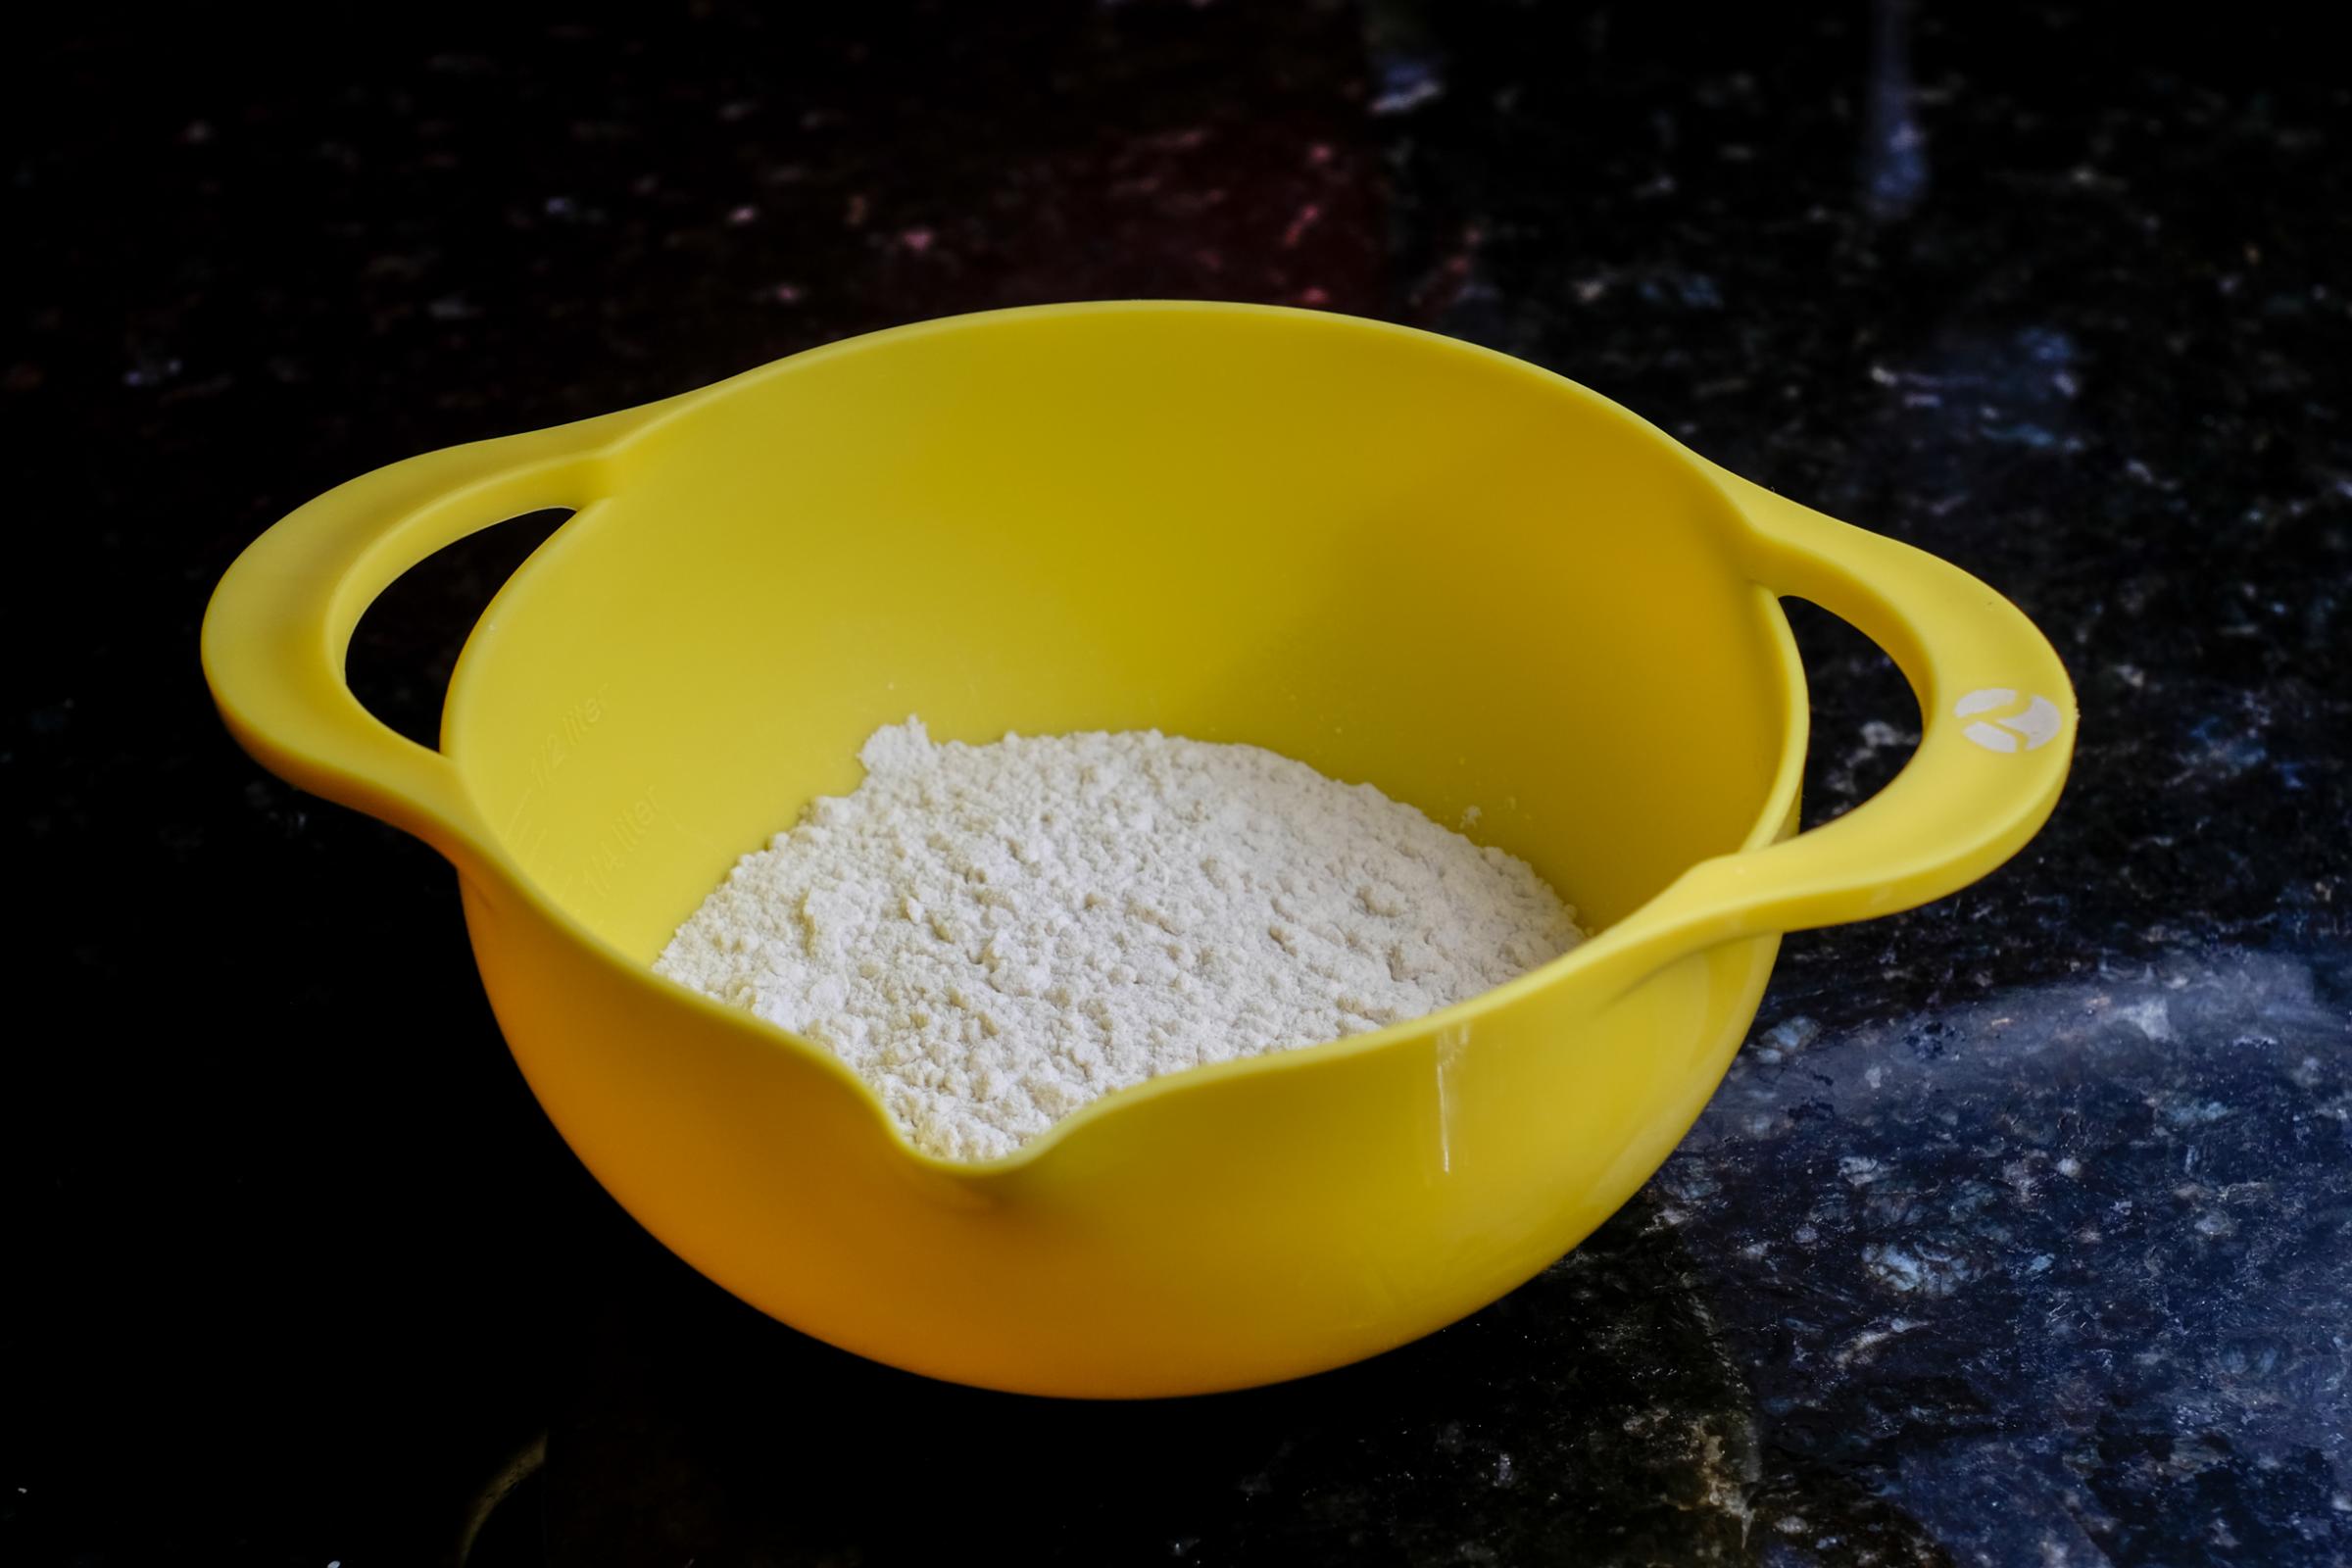
148 g bread flour (I used a combo of spelt bran and sifted flour as well as bread flour)

118 g water

30 g starter

Porridge

125 g large flake oats

25 g oat bran (combo of oat bran and spelt bran)

345 g water

75 g plain yogurt

Main dough

633 g unbleached flour

17 g vital wheat gluten

302 g freshly milled and sifted spelt flour from 347 g Spelt berries

50 g freshly ground flax seeds

75 g dried cranberries

75 g candied mixed peel

75 g toasted sunflower seeds

50 g honey

300 g apple yeast water

250 g water

22 g sea salt

266 g levain

A couple of days before:

  1. Mill 347 g of Spelt berries and sift to obtain ~302 g of sifted flour and ~45 g of bran. Use 302 g of the sifted flour for the main dough and reserve the bran and the remaining few grams of sifted flour to revive or feed the starter. 
  2. Revive or feed your levain every 12 hours or so for a day or two to have it very active. Use the bran from milling the Spelt to feed it.

The night before:

Porridge

  1. Toast 125 g of large flake oats. When toasted, add 25 g of oat bran to the oats. I ran out of oat bran so I added some Spelt bran to top up to the right amount. Mix together 345 g of water and 75 g of organic plain yogurt. Pour 3/4 of the water/yogurt mixture into the oats and cook on medium heat until water is absorbed. Add the remainder of the water/yogurt mixture and cook on low heat for a few minutes. Cover and cool overnight. (This can be done in the morning of but I prefer doing the night before and leaving it to cool overnight to room temp.)

Levain

  1. Mix 30 g of starter with the 148 bread flour (I used up the remainder of the bran and the sifted spelt flour and topped up with bread flour. Ratio ended up being about 1/3 bran/sifted flour to 2/3 bread flour.) and 118 g of water. Let rise overnight.

Final Mix and Bake:

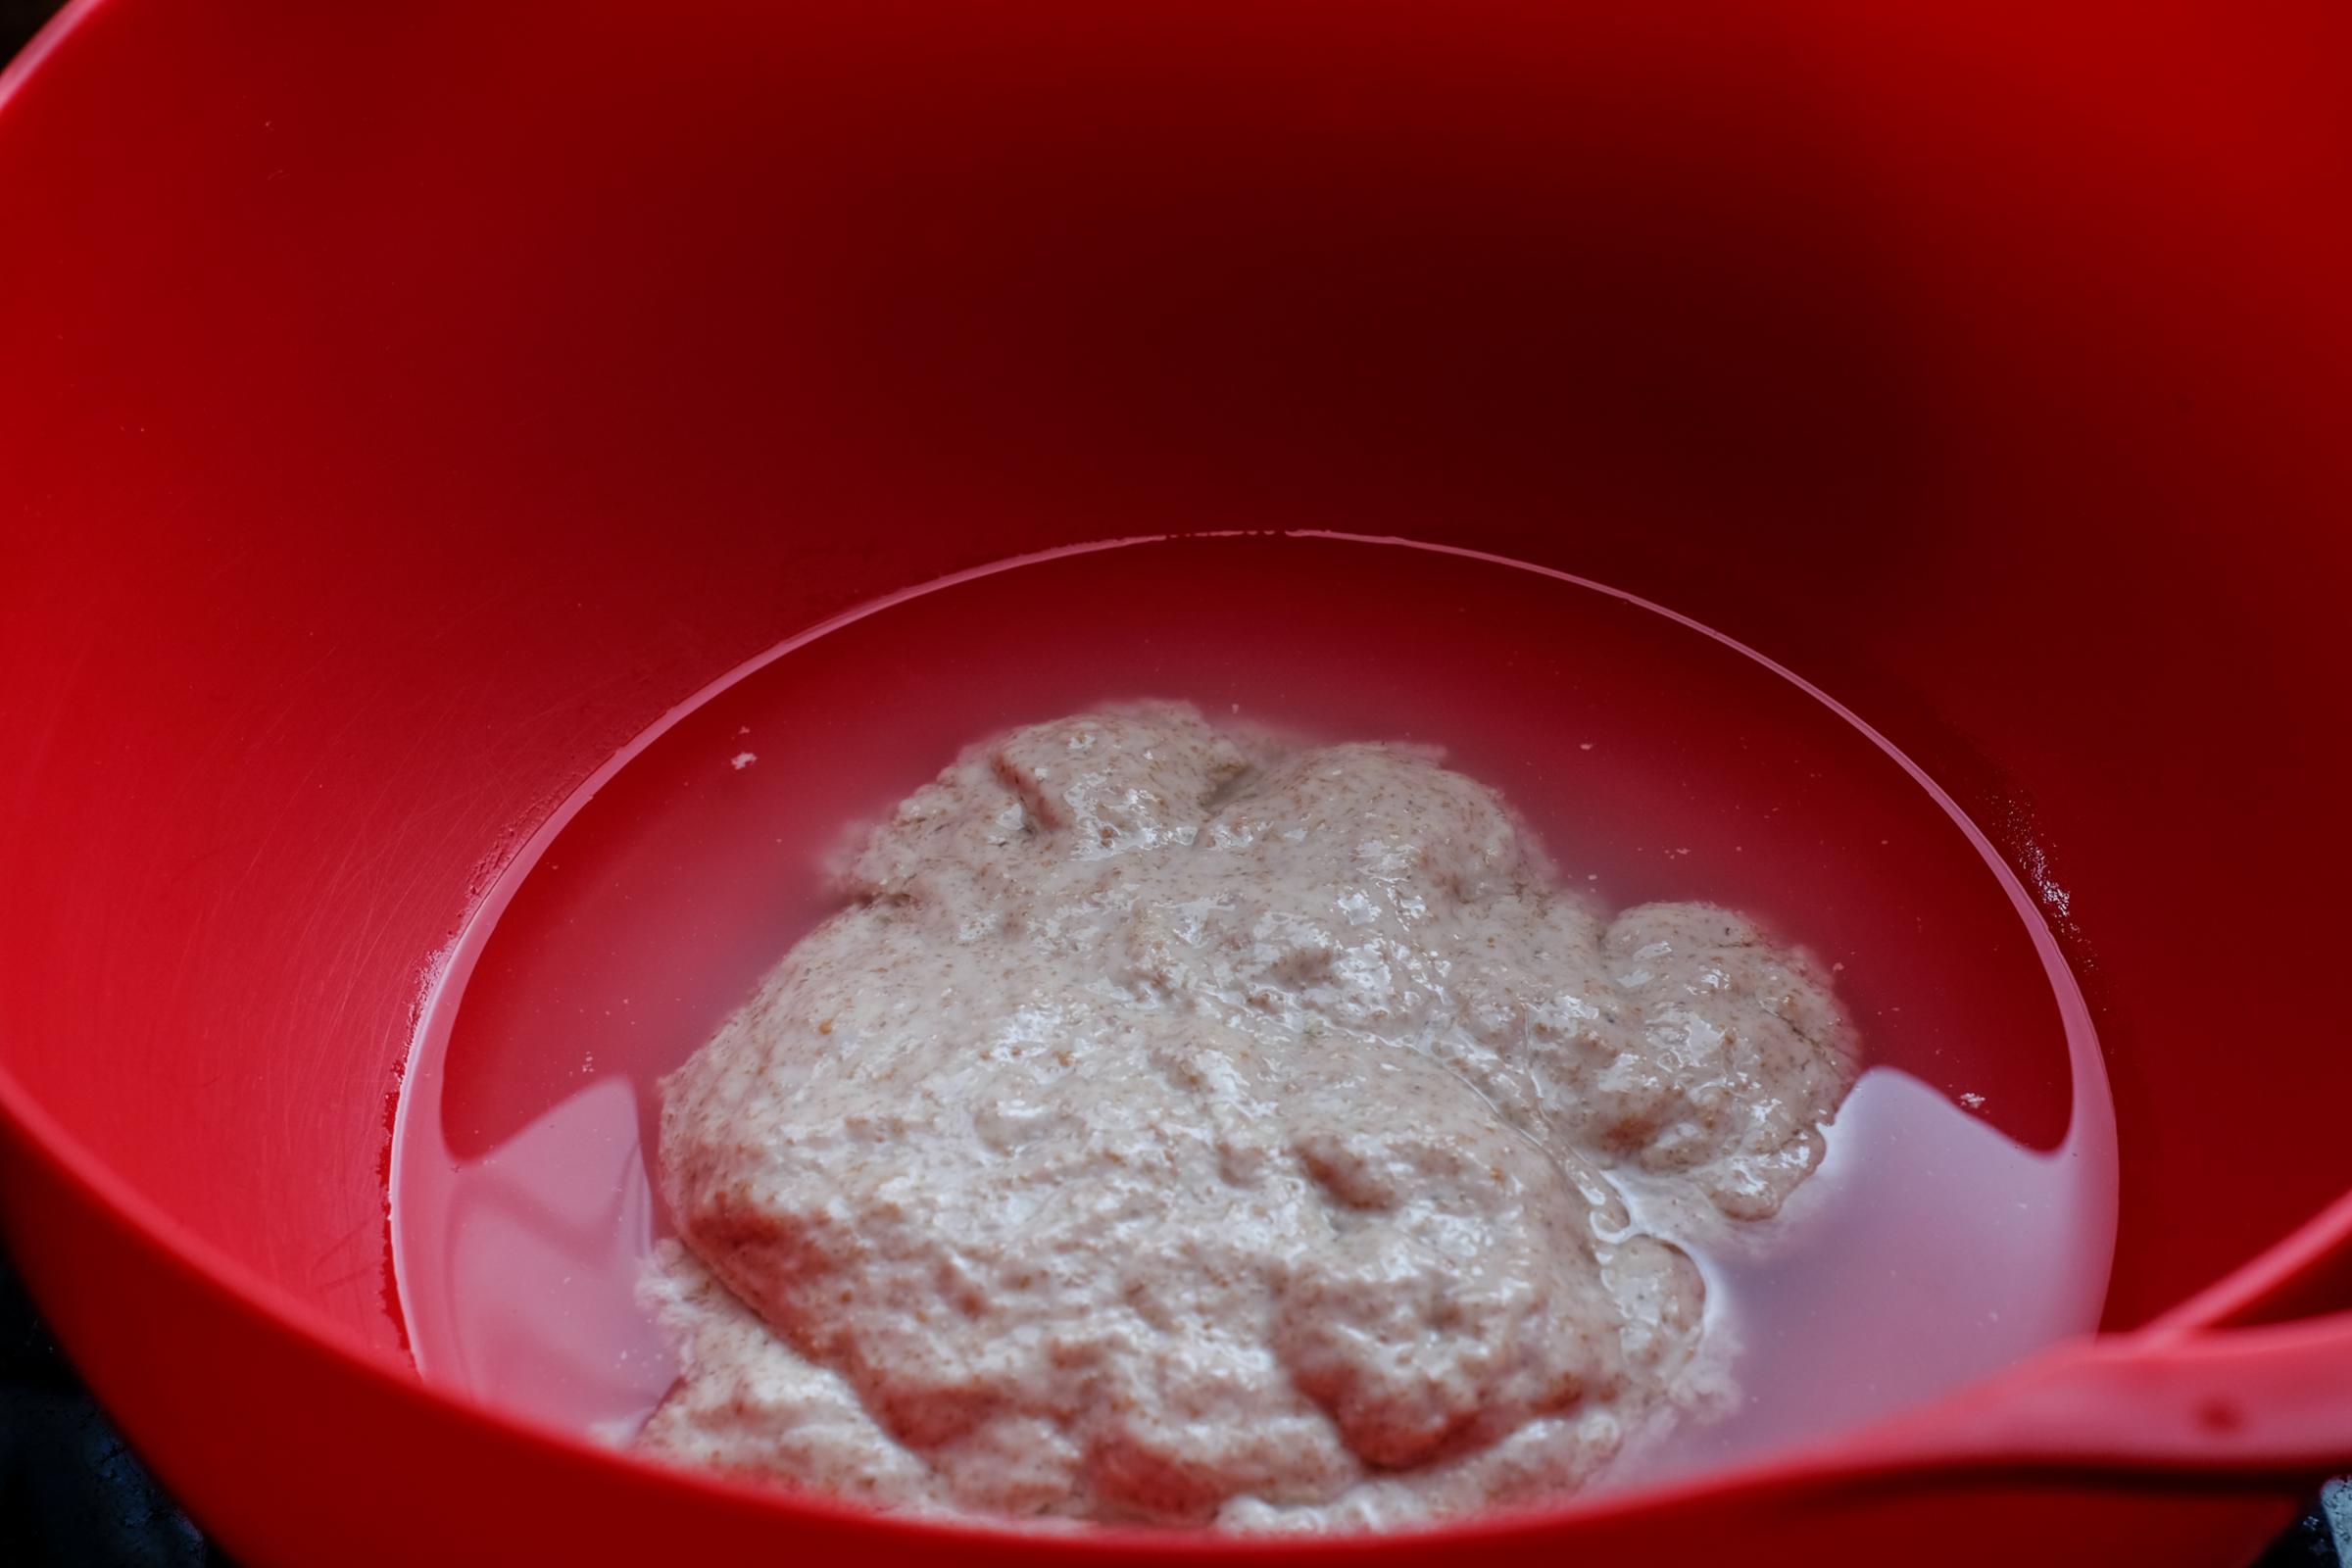
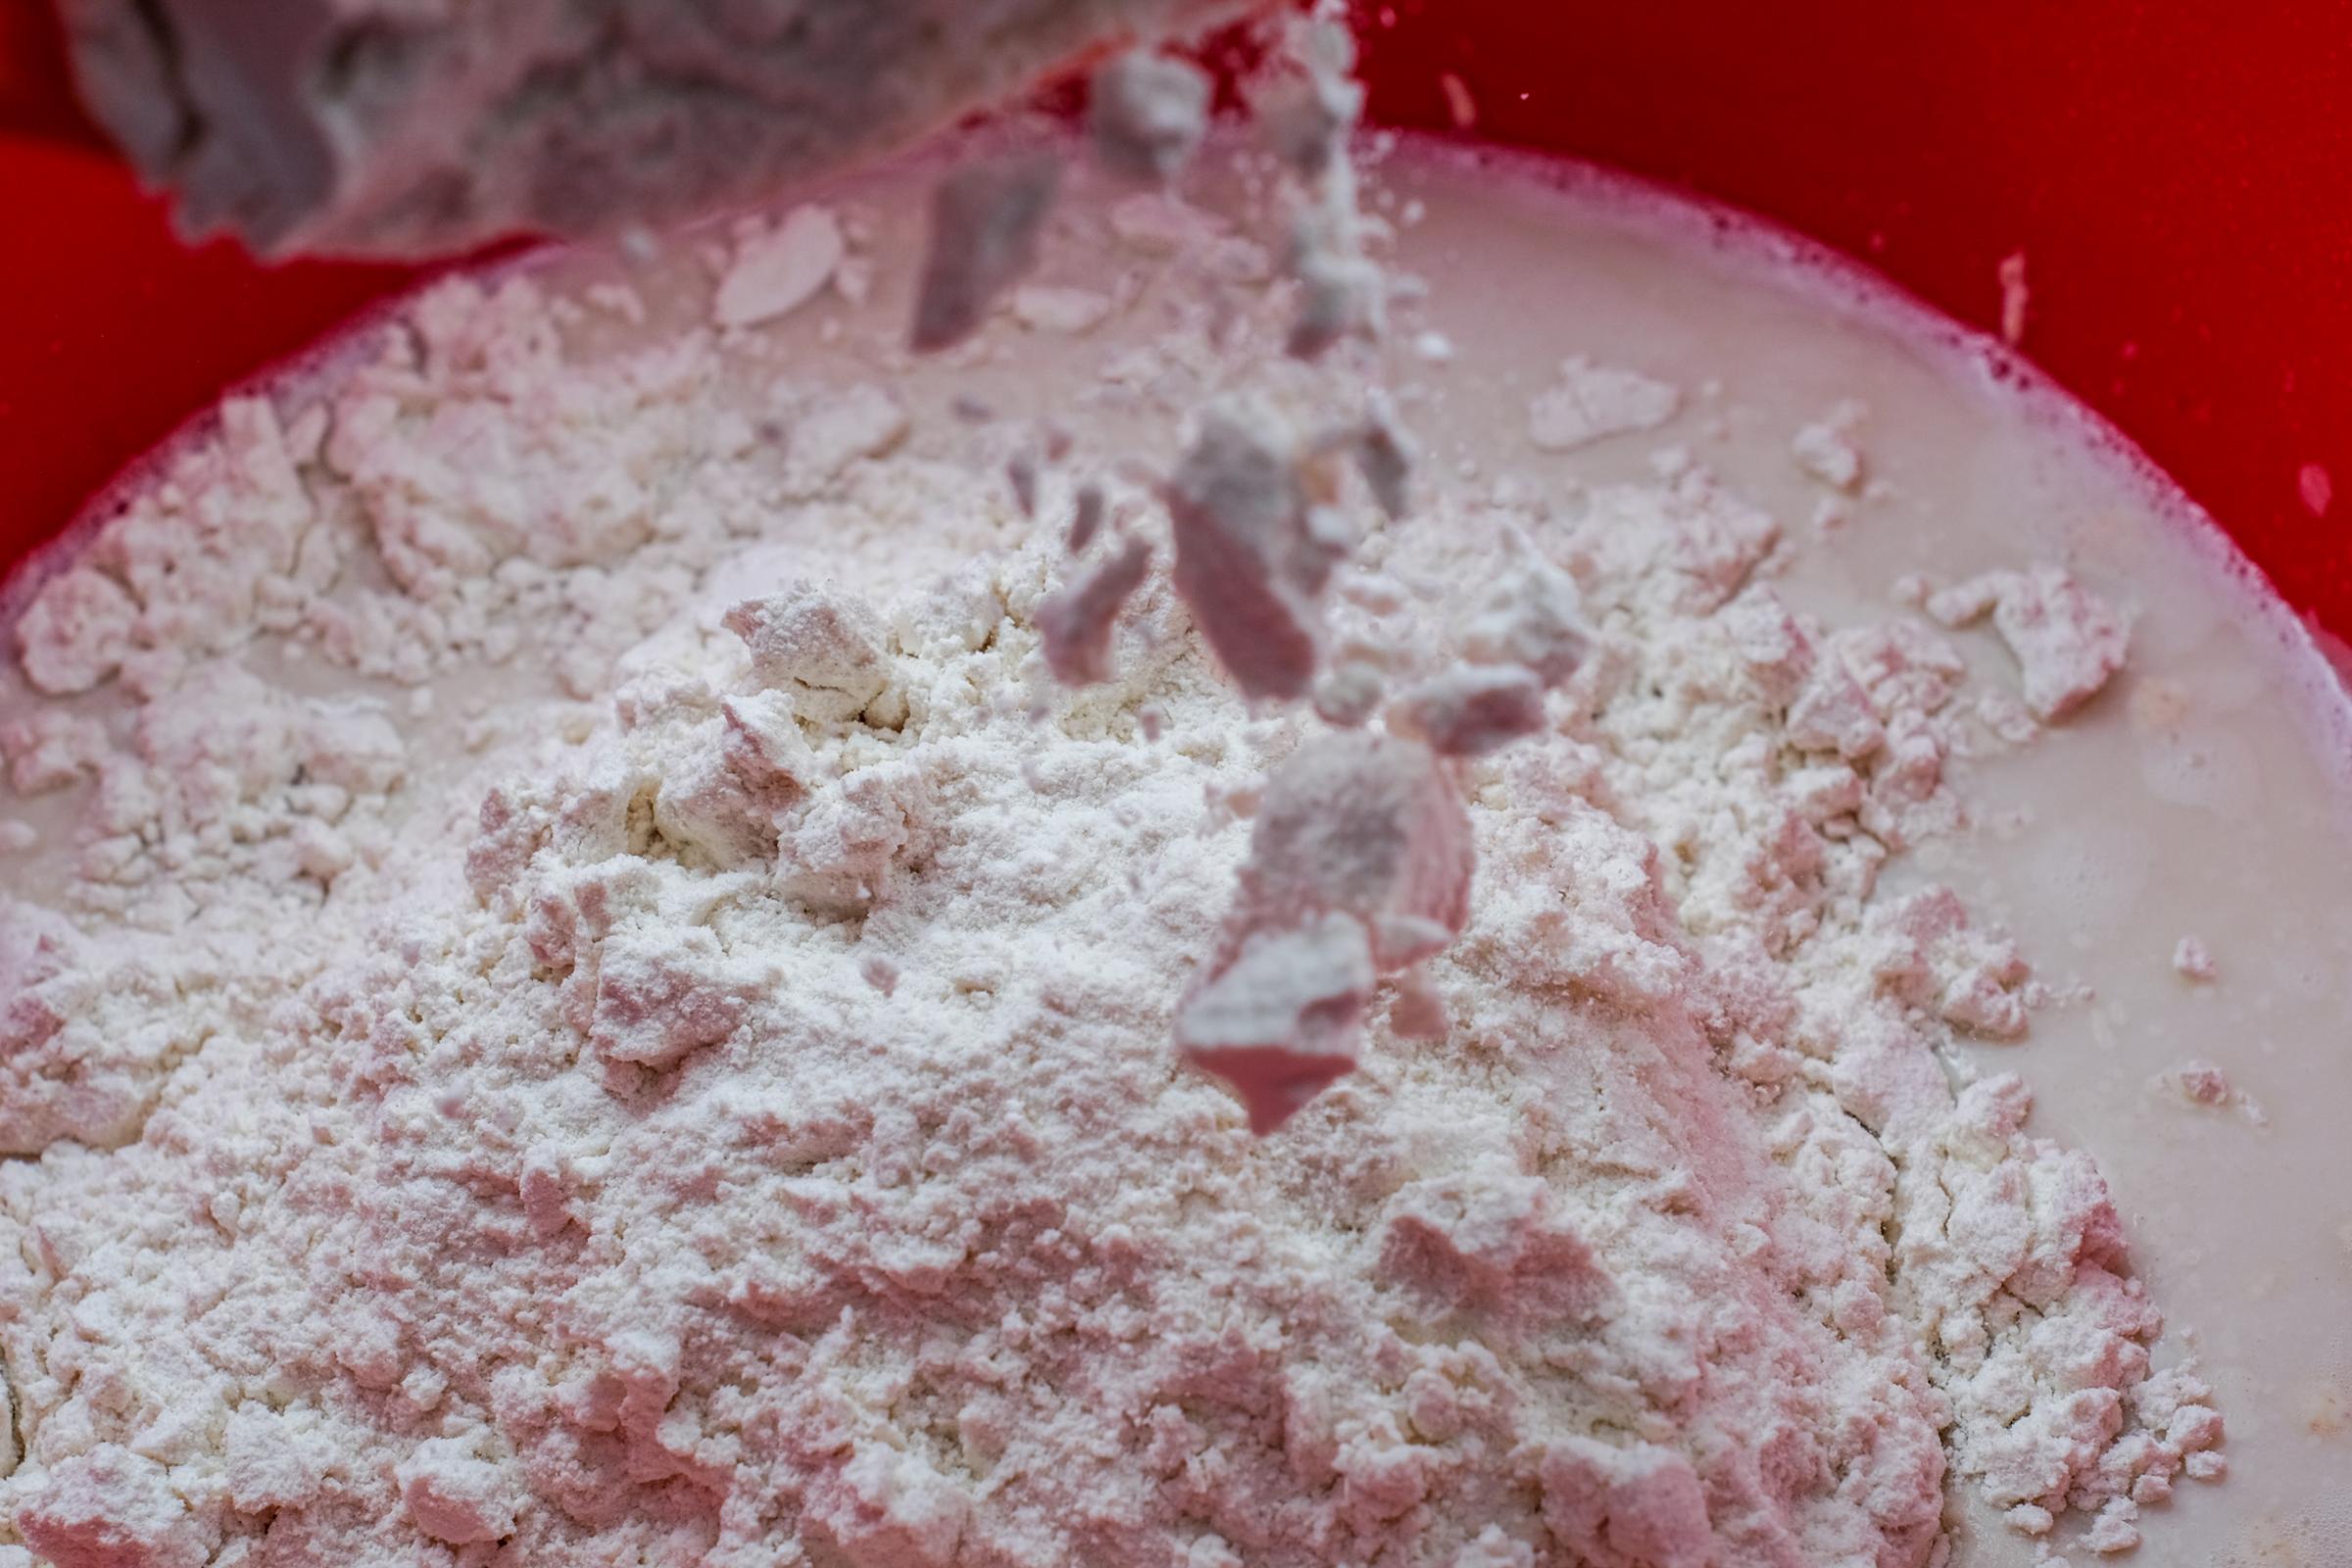
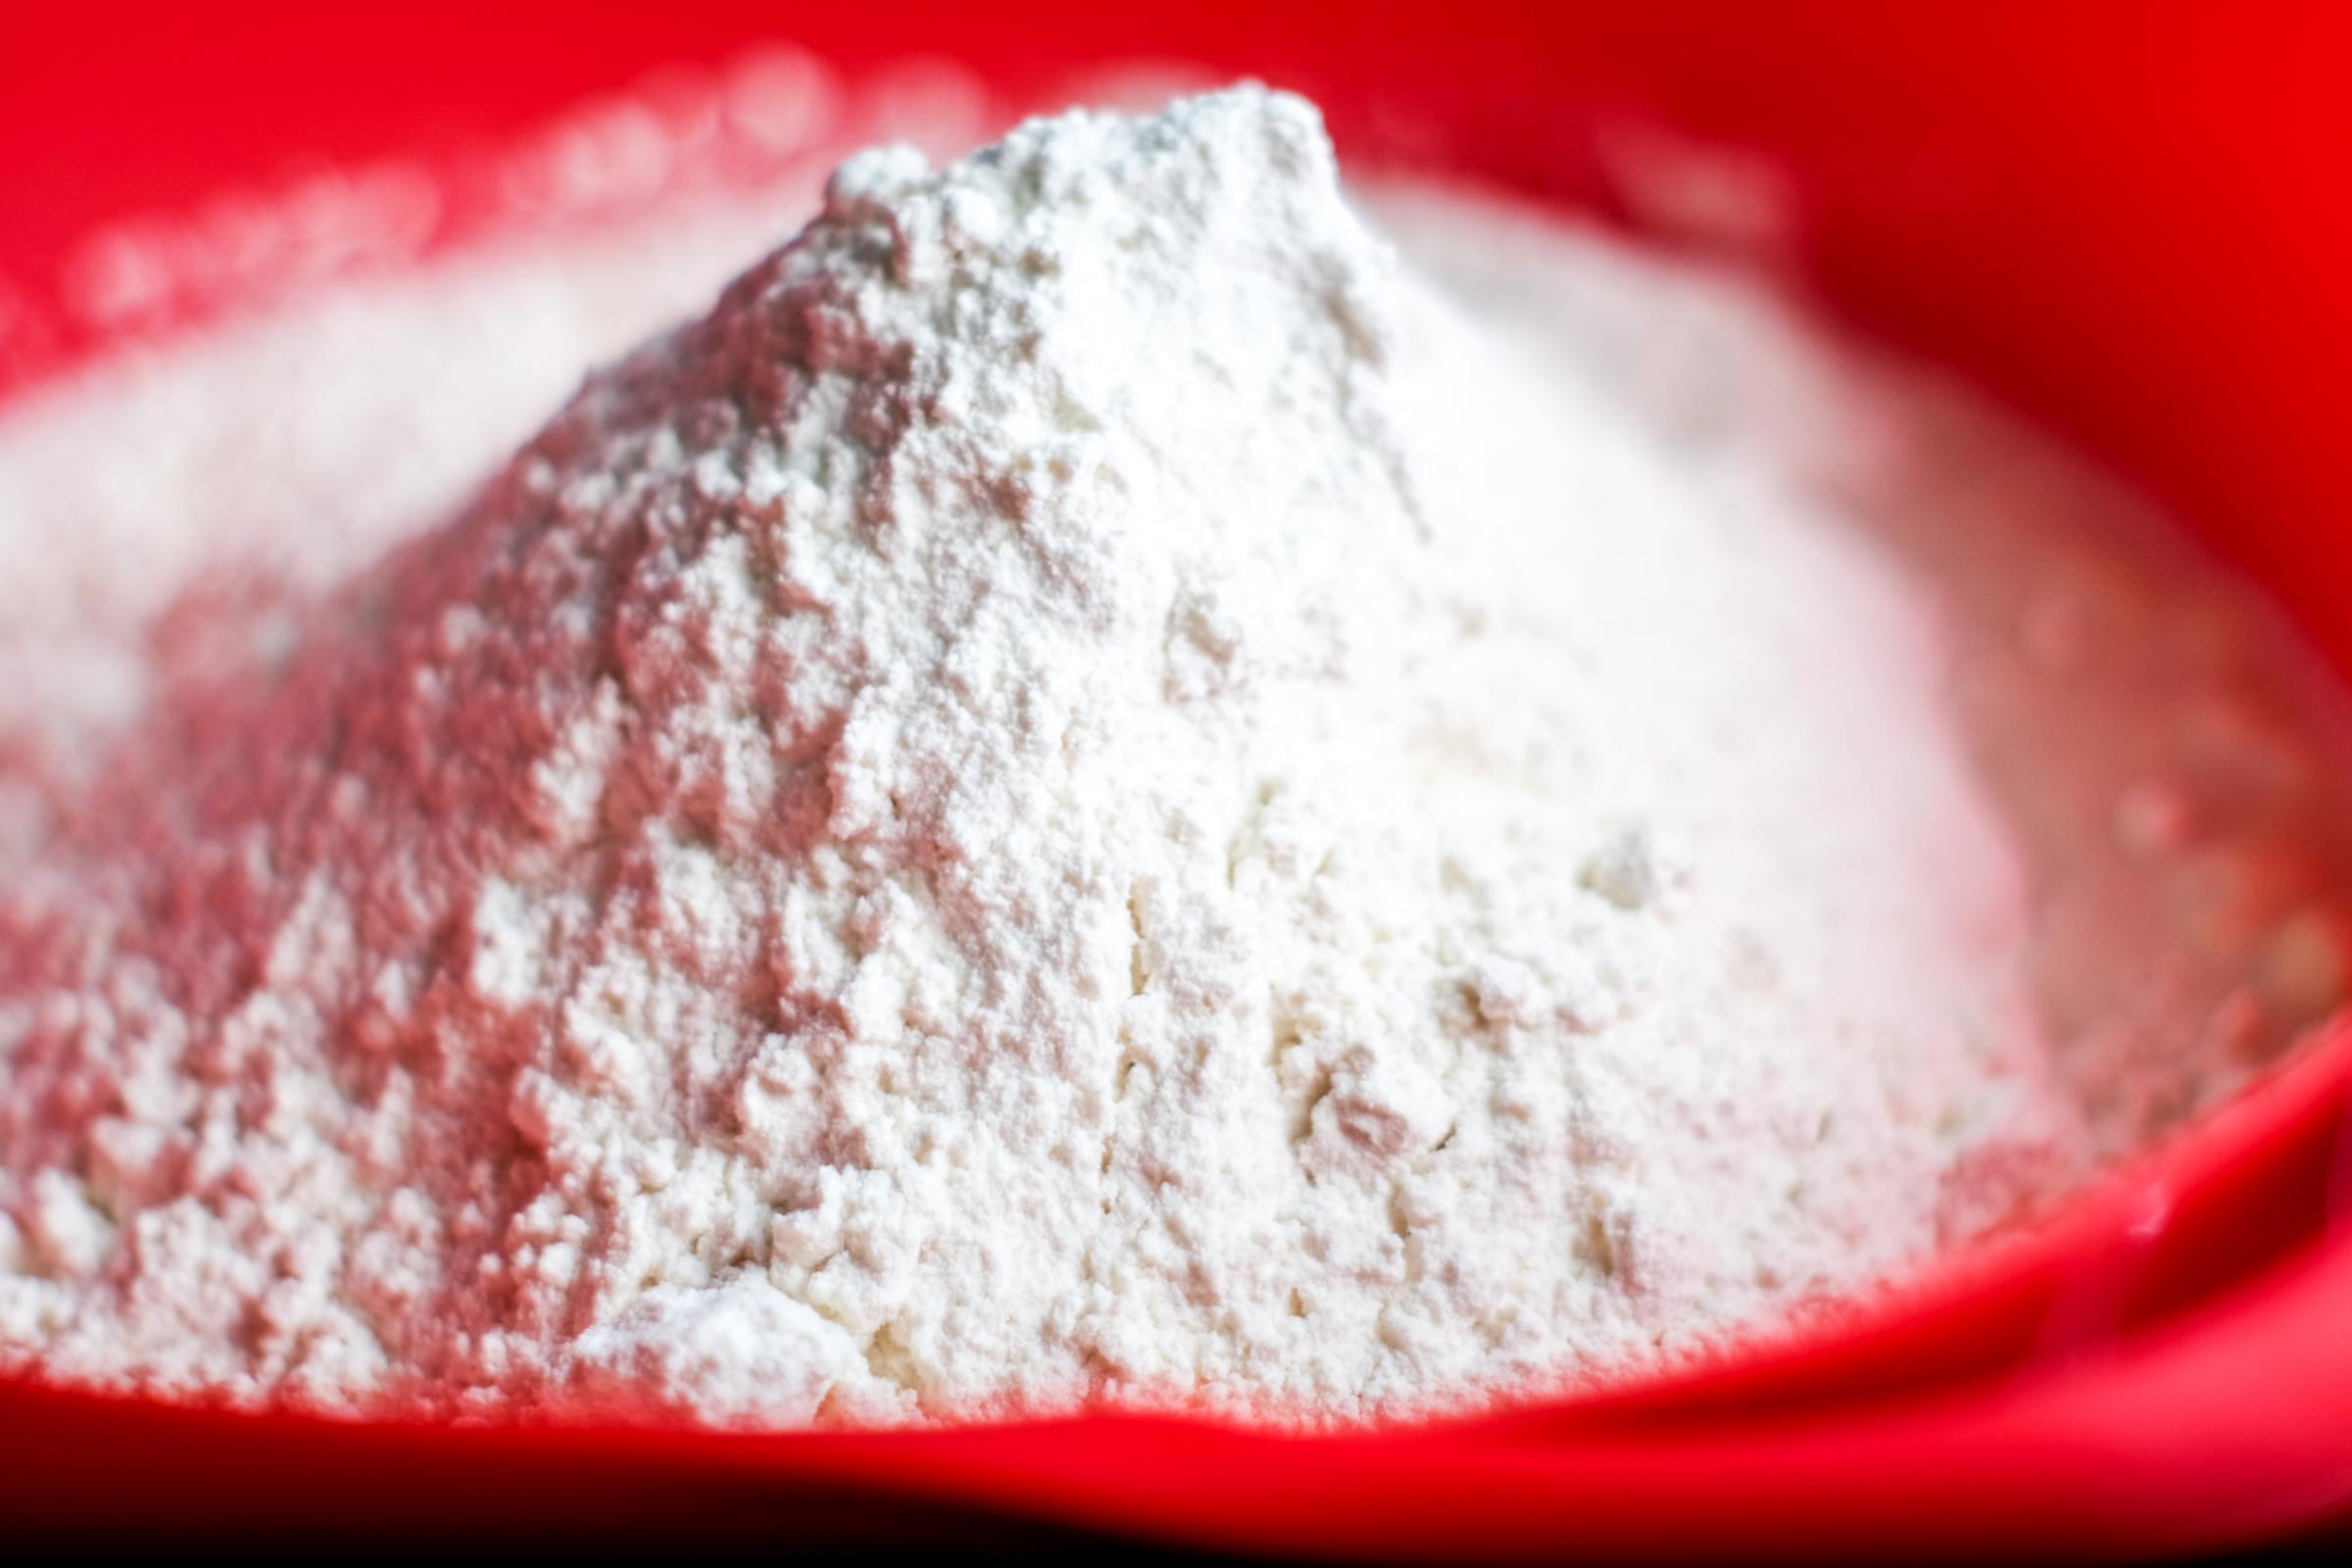
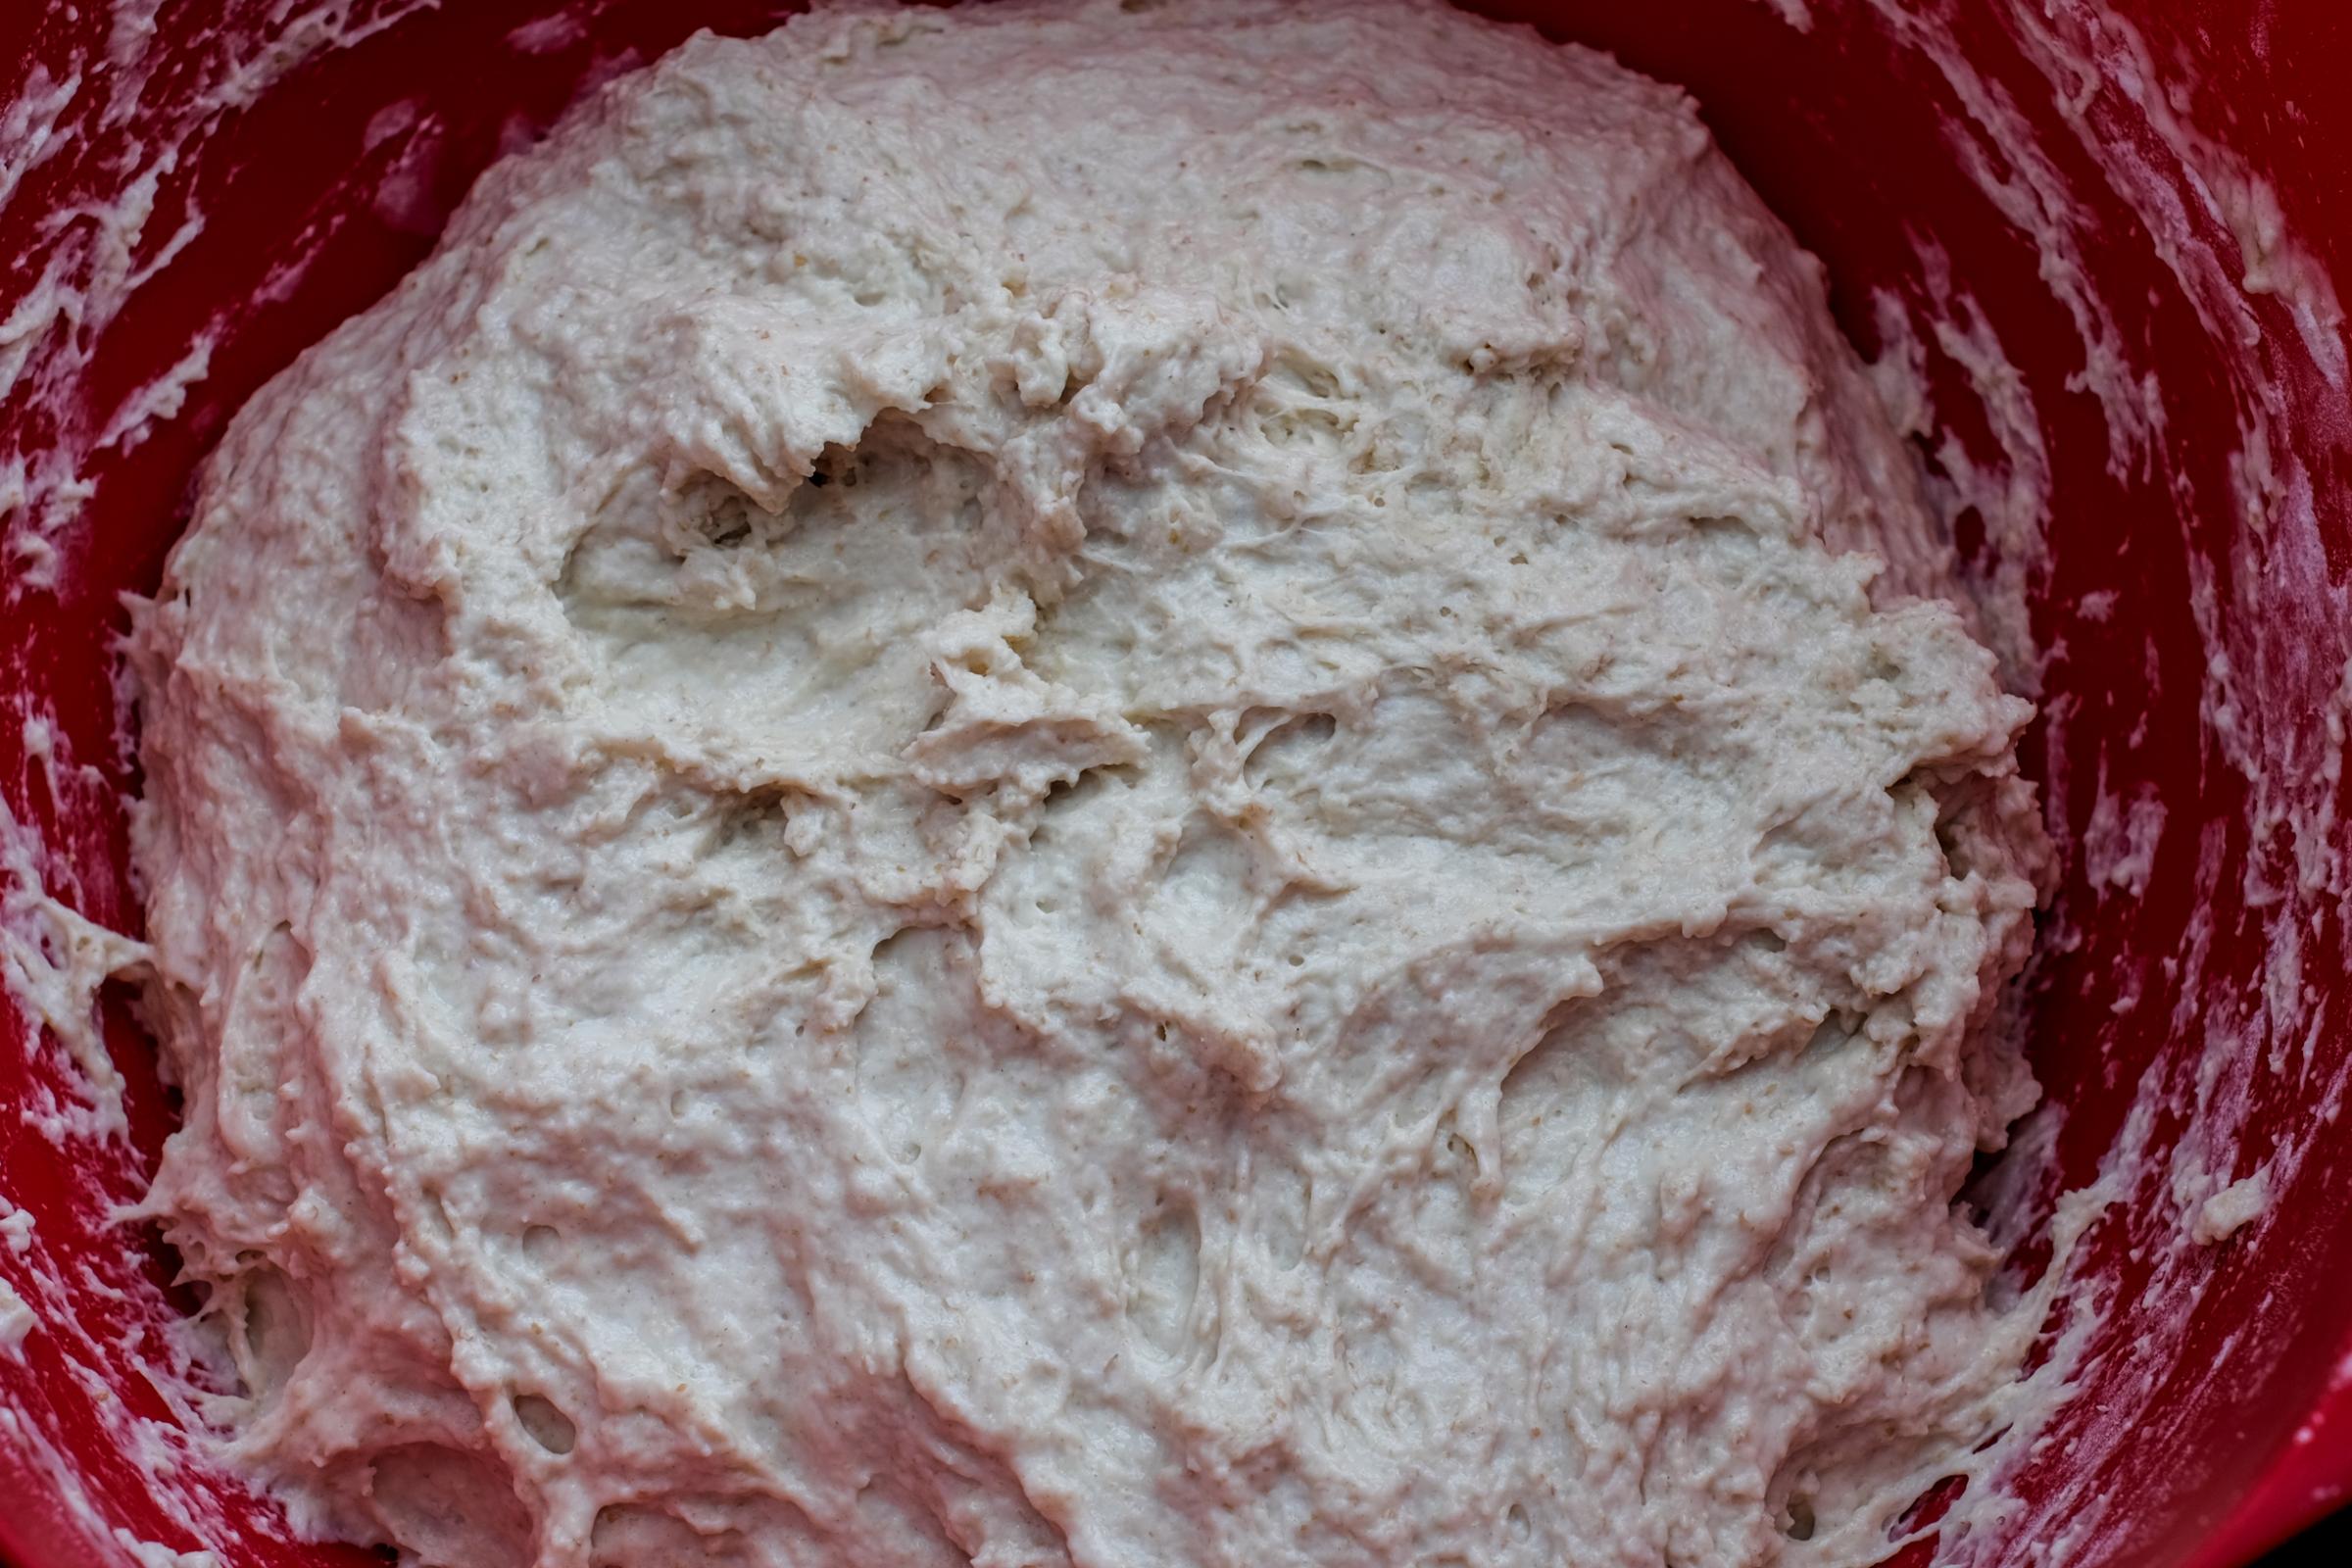
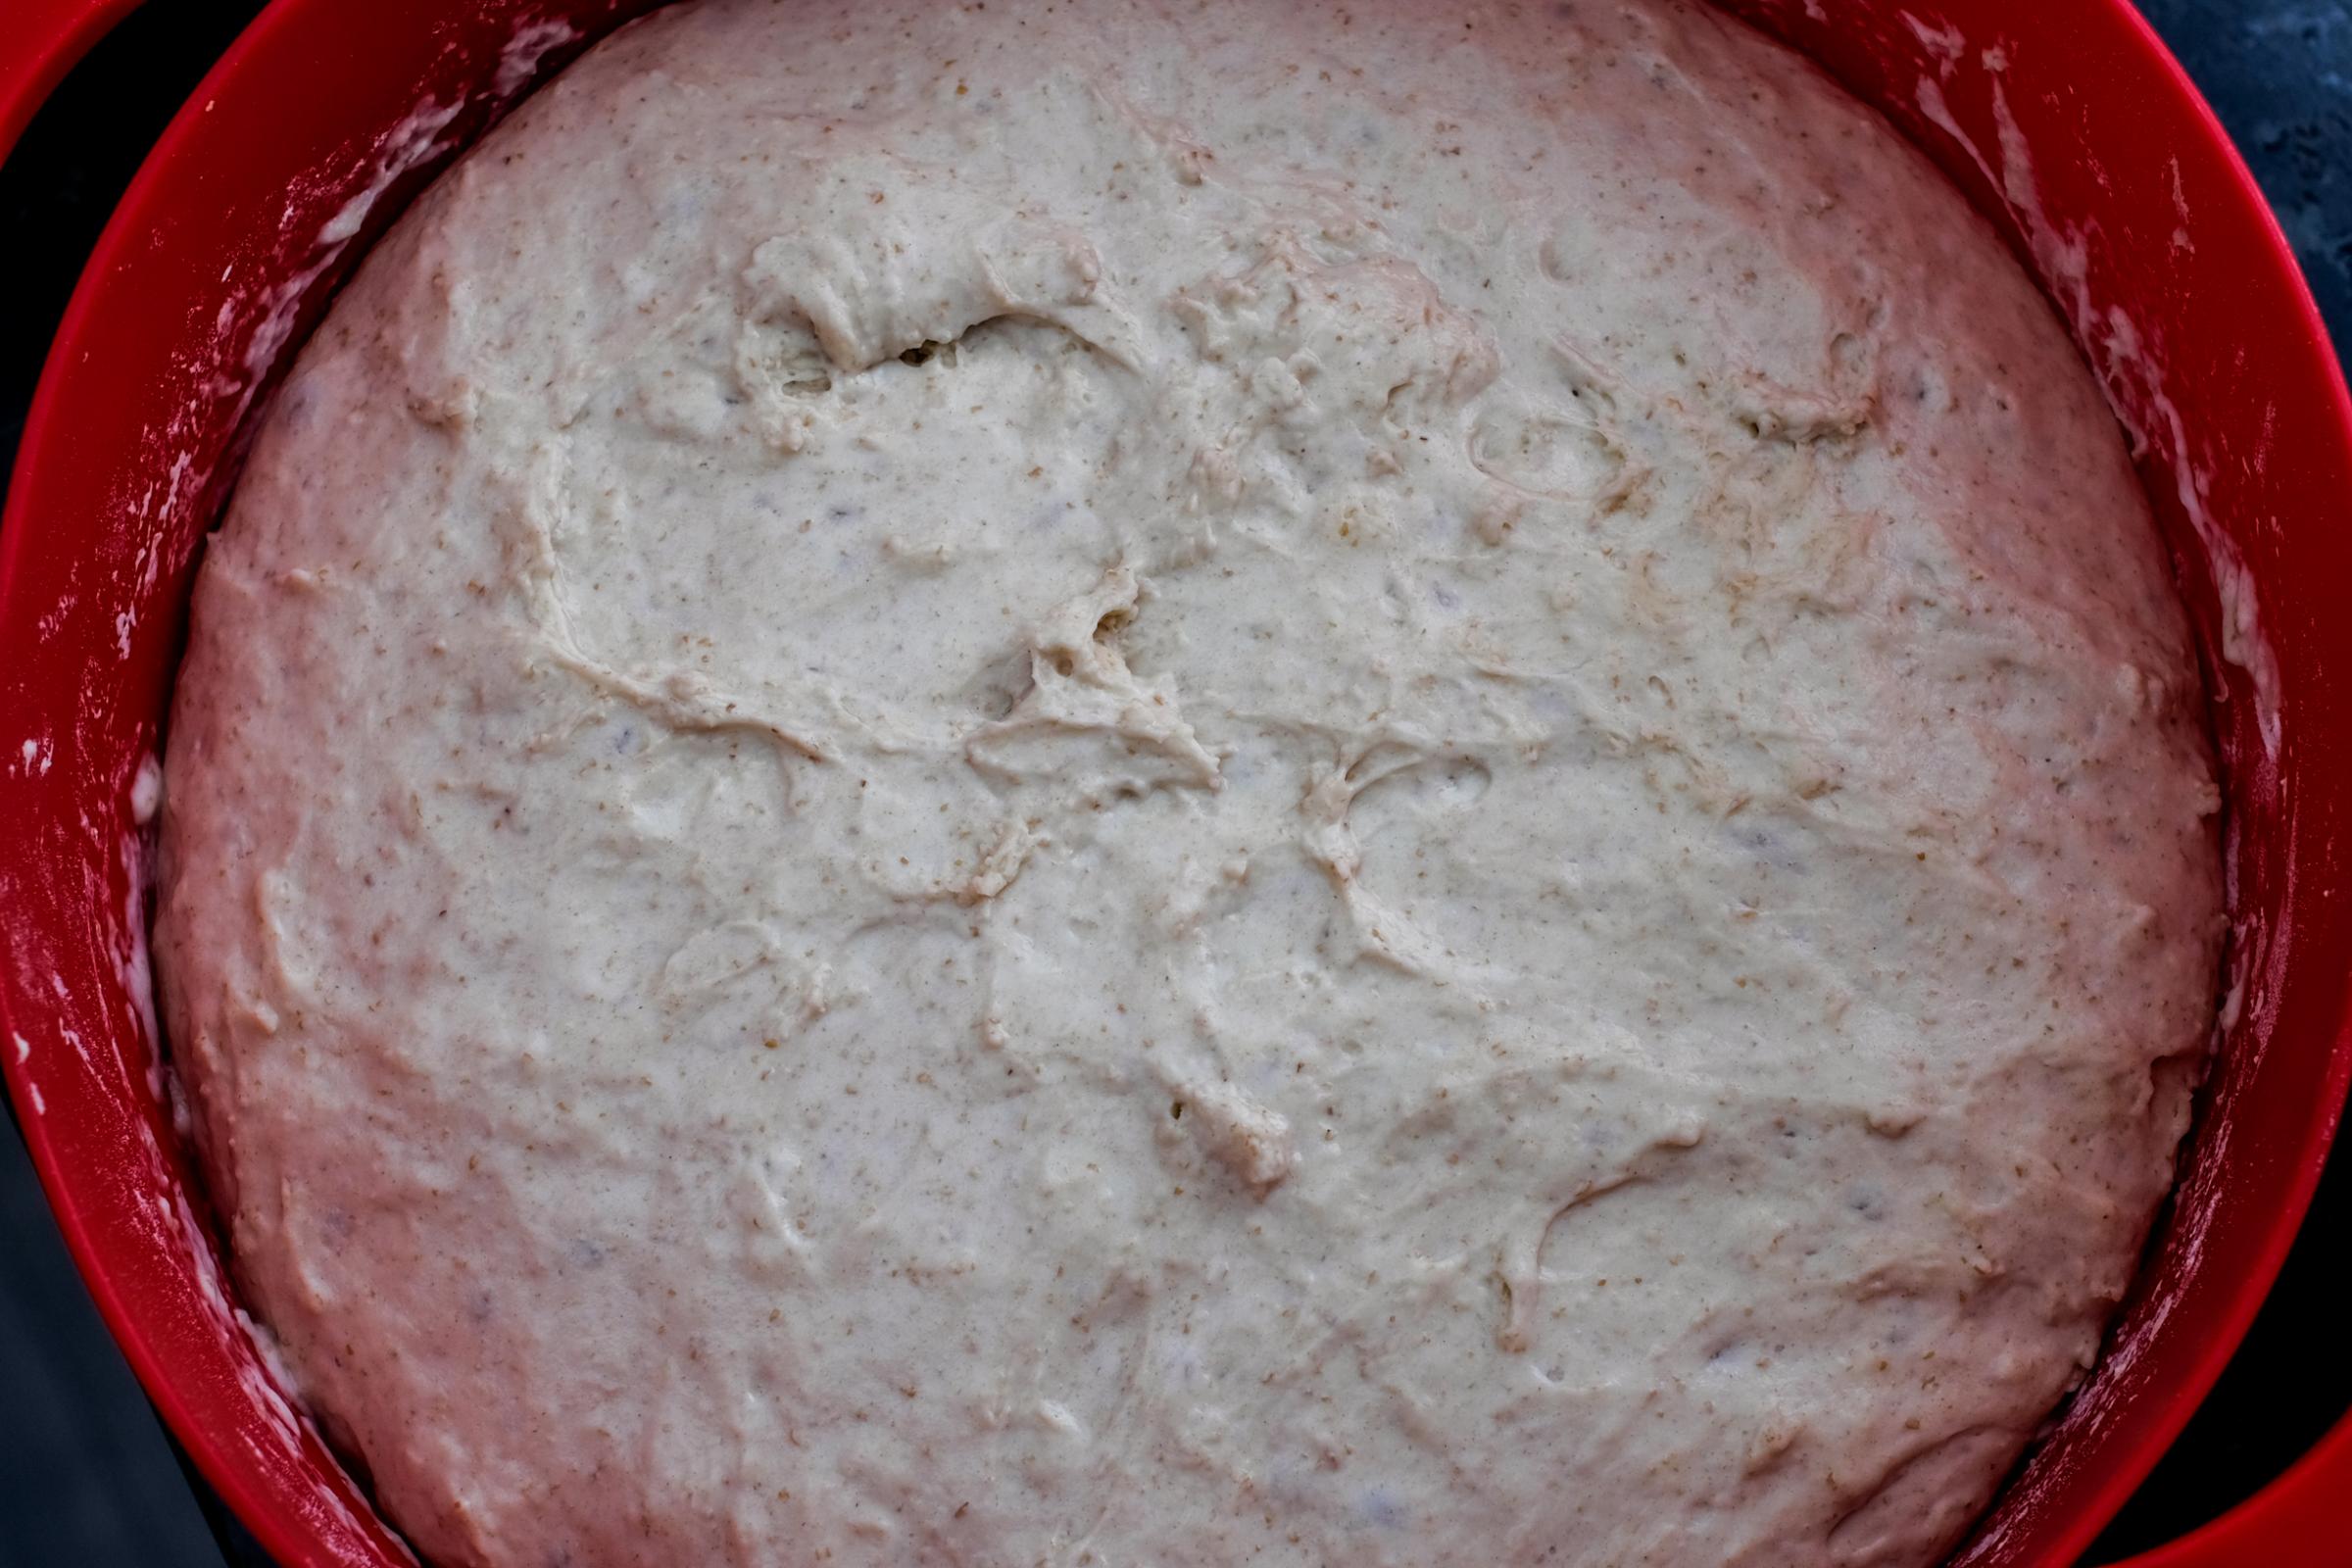
  1. In a large bowl, place 633 g of unbleached flour, 17 g vital wheat gluten, 302 g of freshly milled spelt flour, and 50 g of freshly ground flax seed, and stir well to distribute the vital wheat gluten. Add the 75 g of dried cranberries, 75 g of mixed peel, 75 g sunflower seeds (toasted in a dry frying pan), mix again and then add all of the oat porridge, 50 g of honey, 300 g of apple yeast water  and 250 g of filtered water. Mix well and let the mixture sit for a couple of hours.
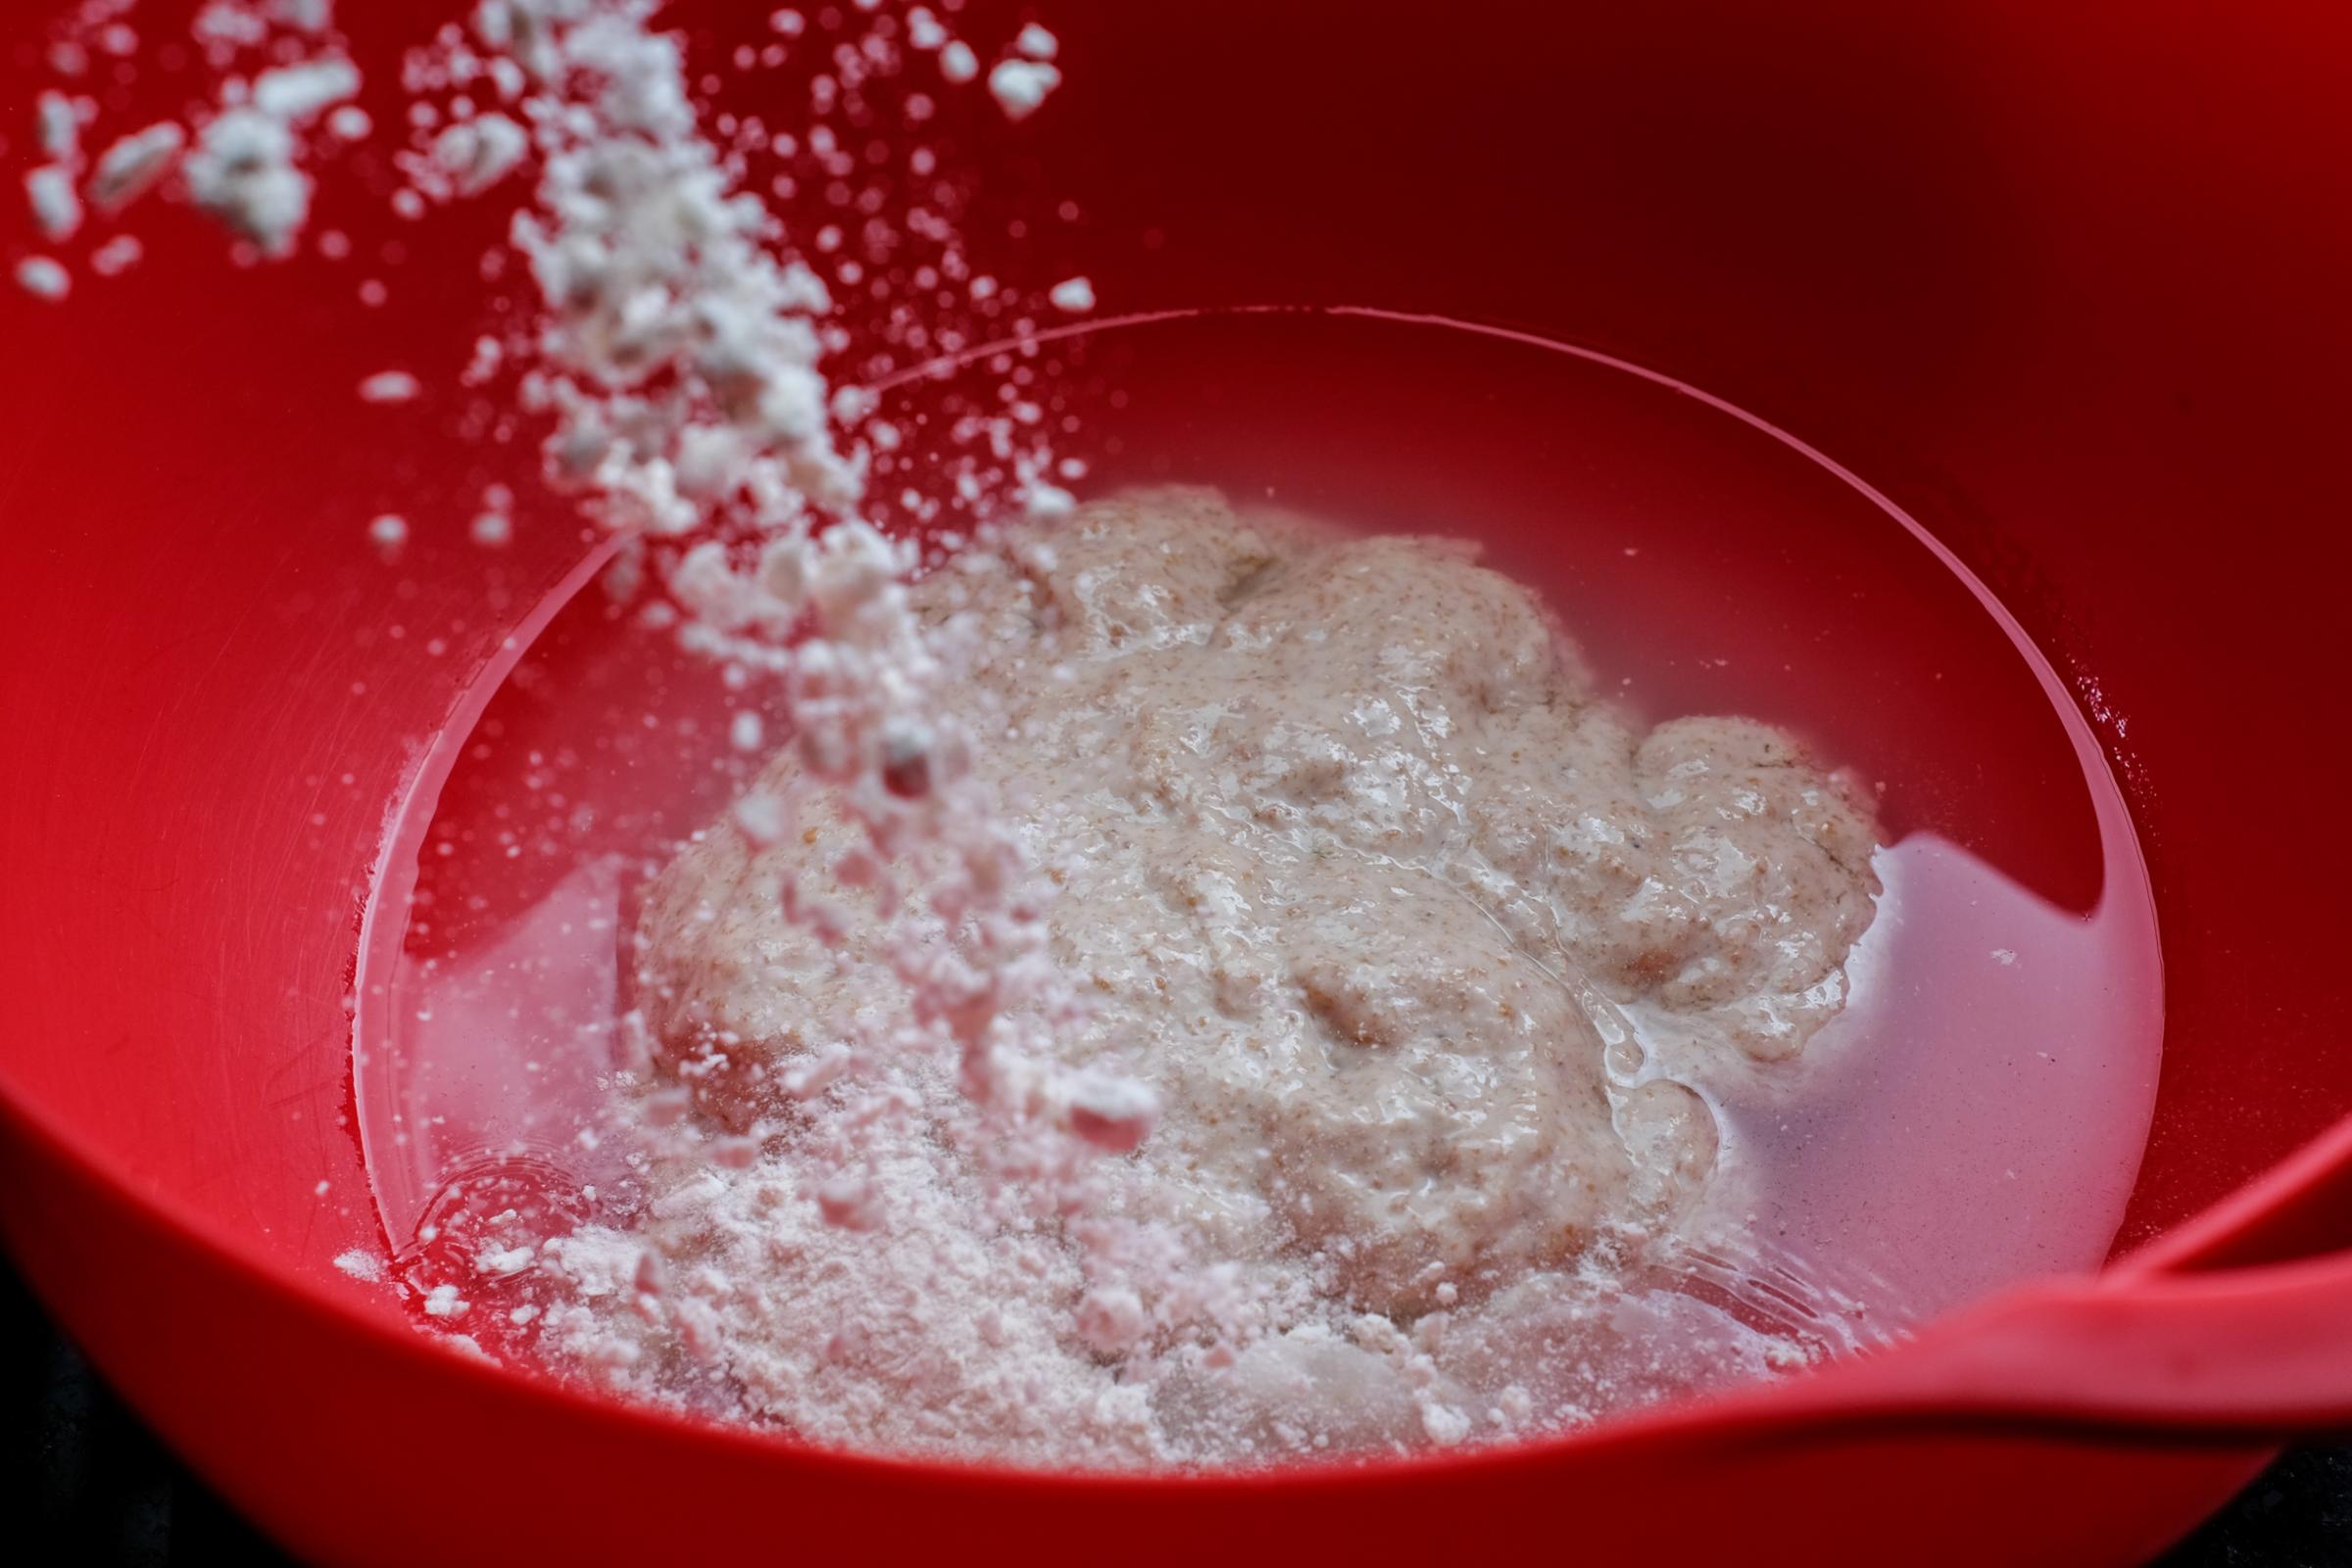
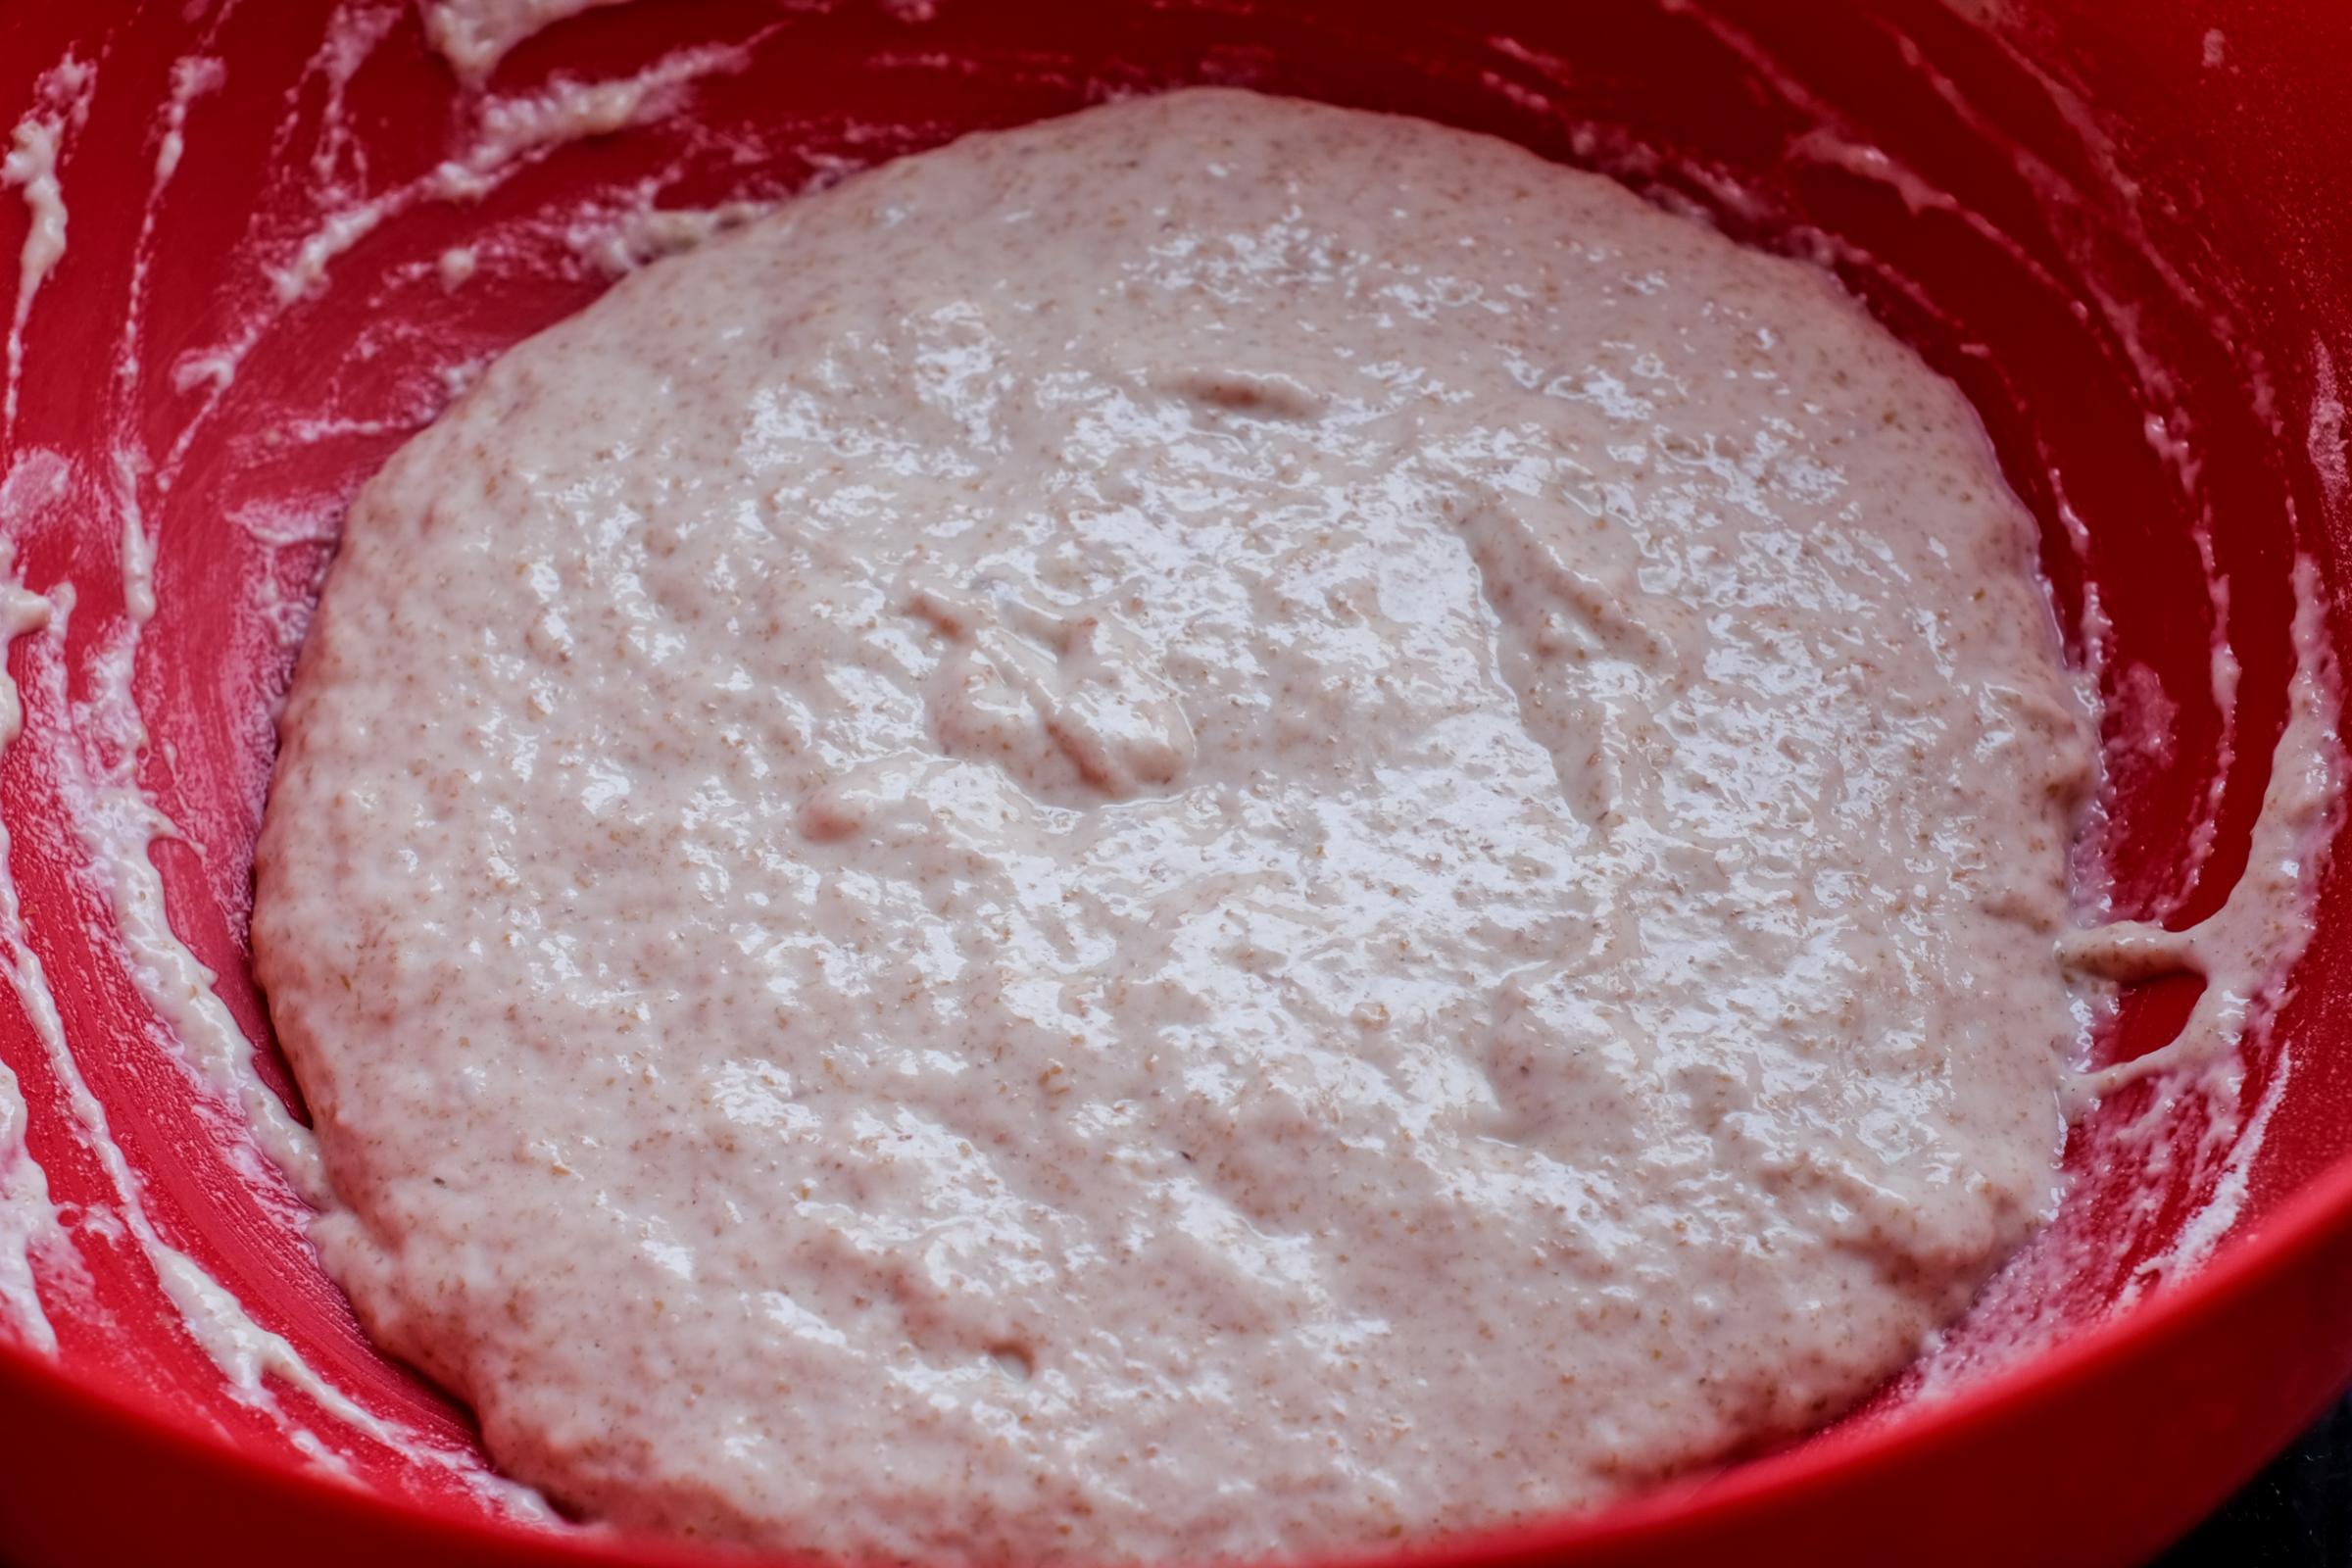
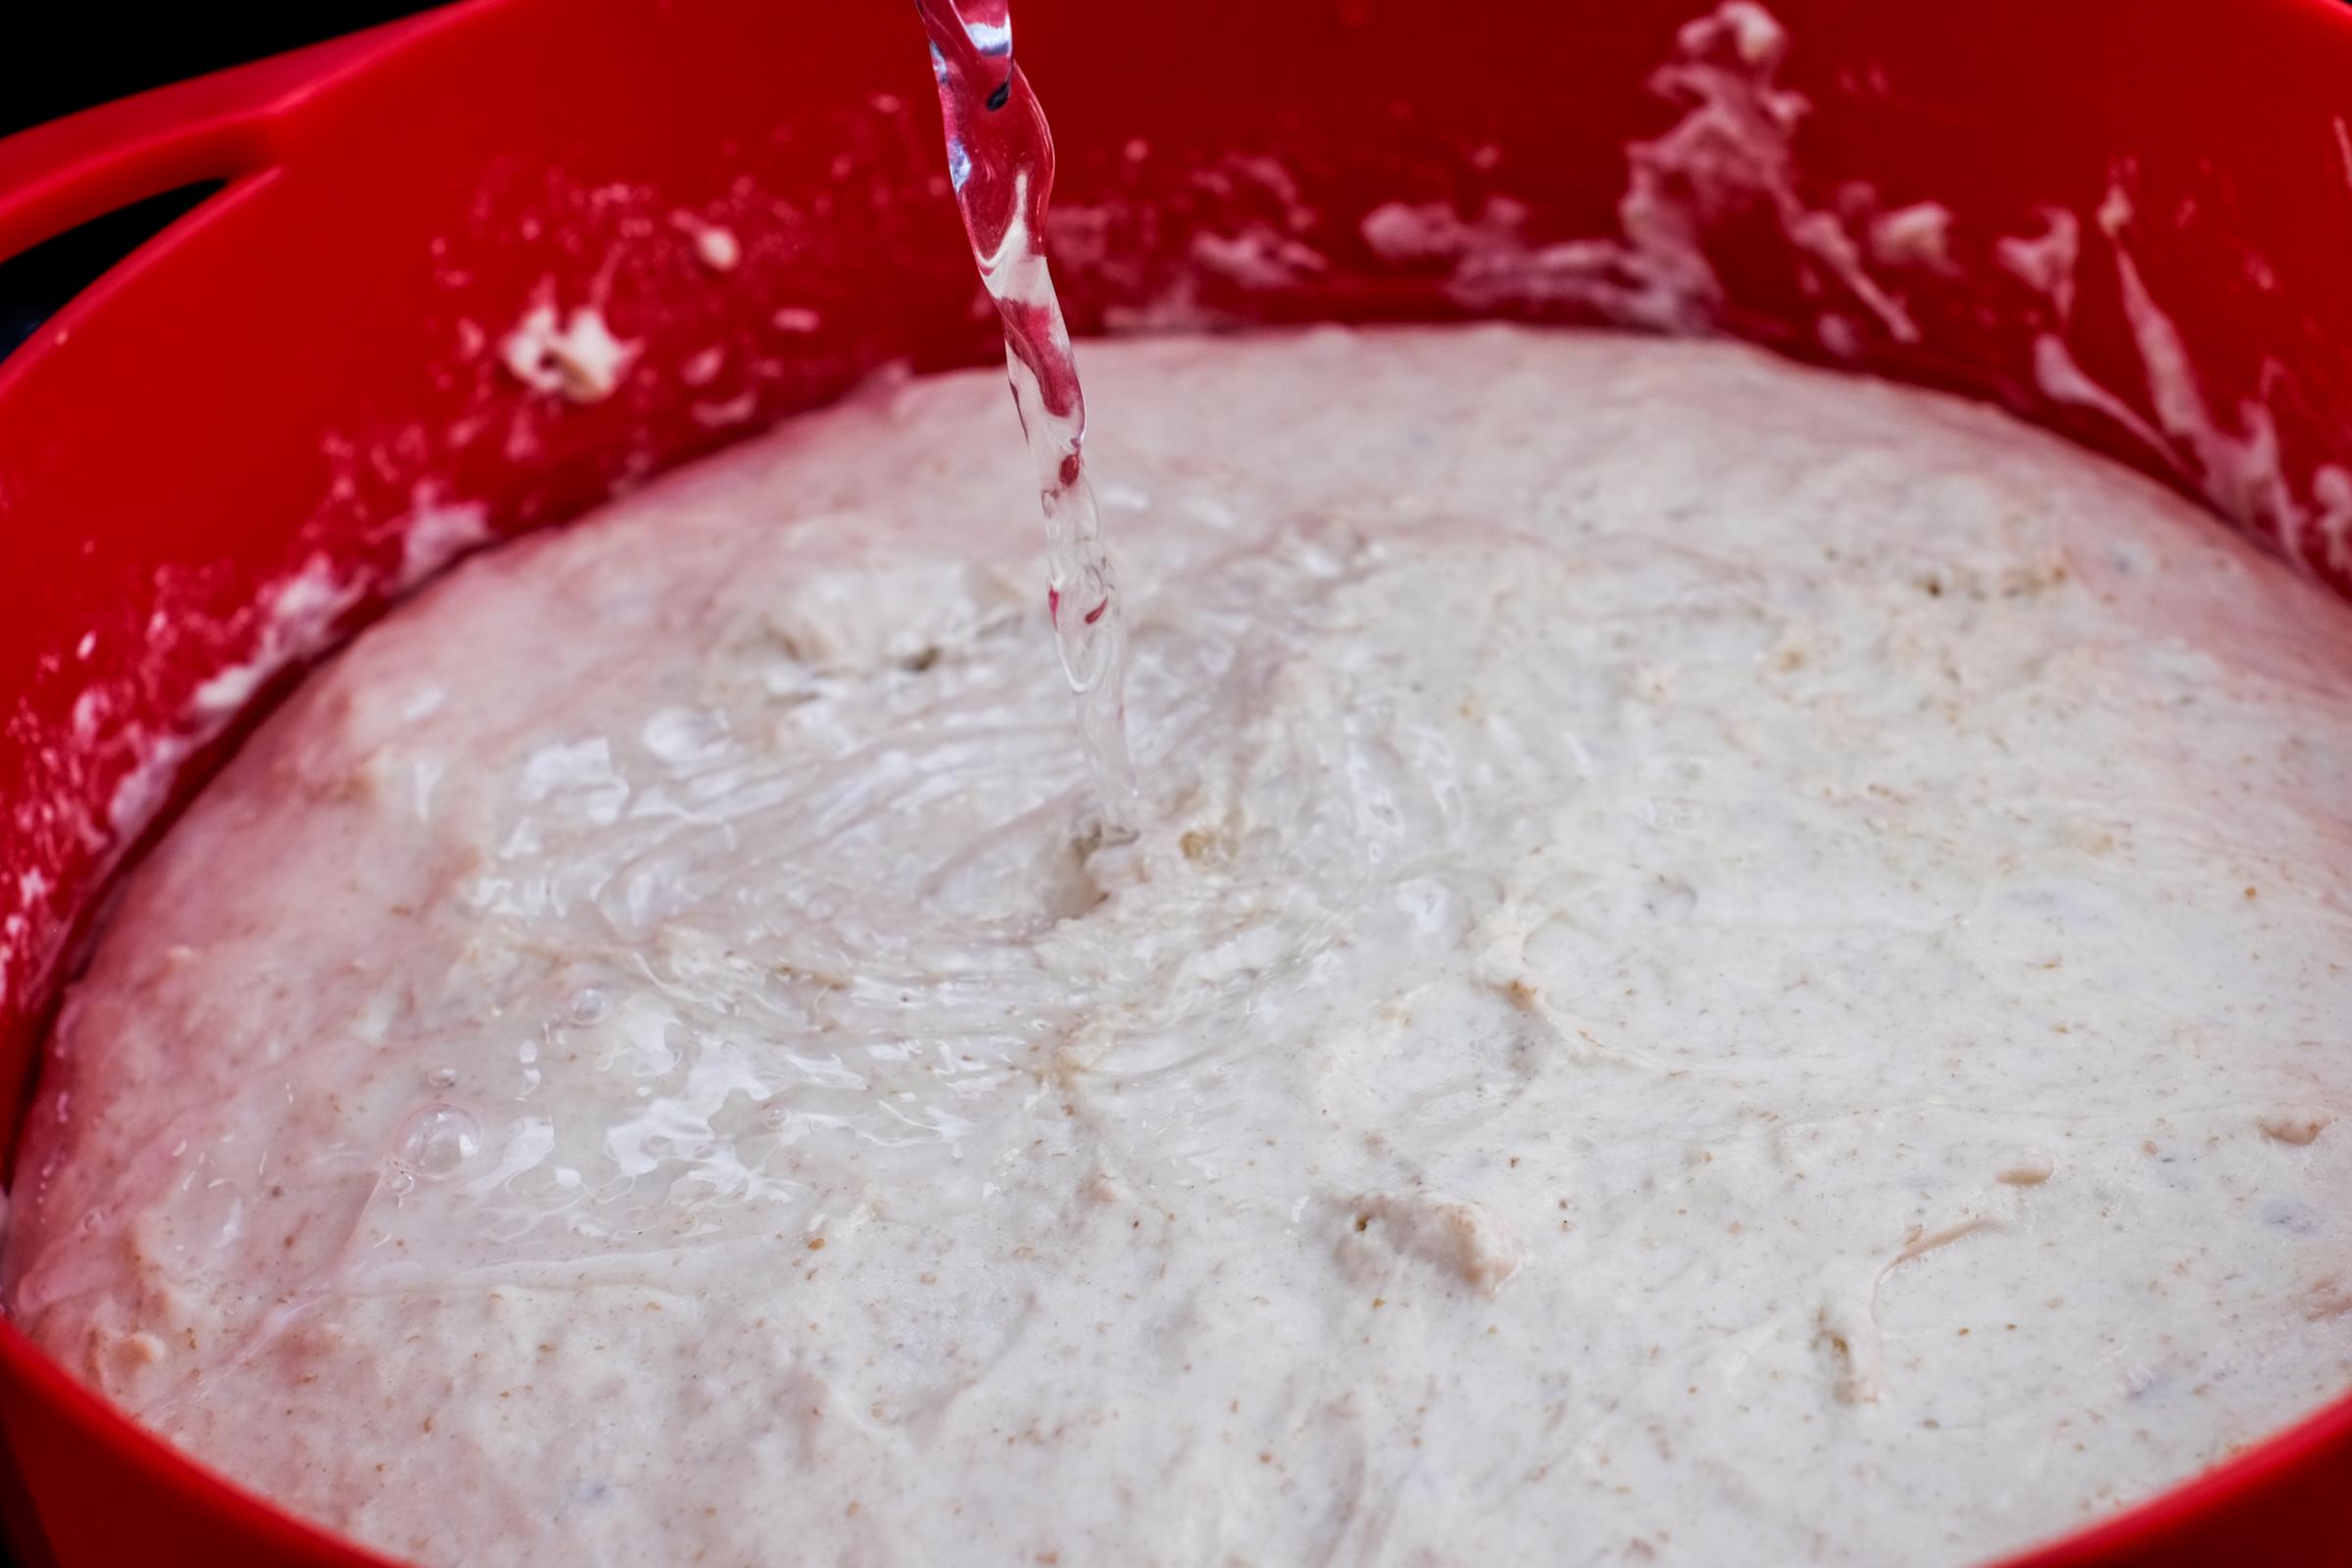
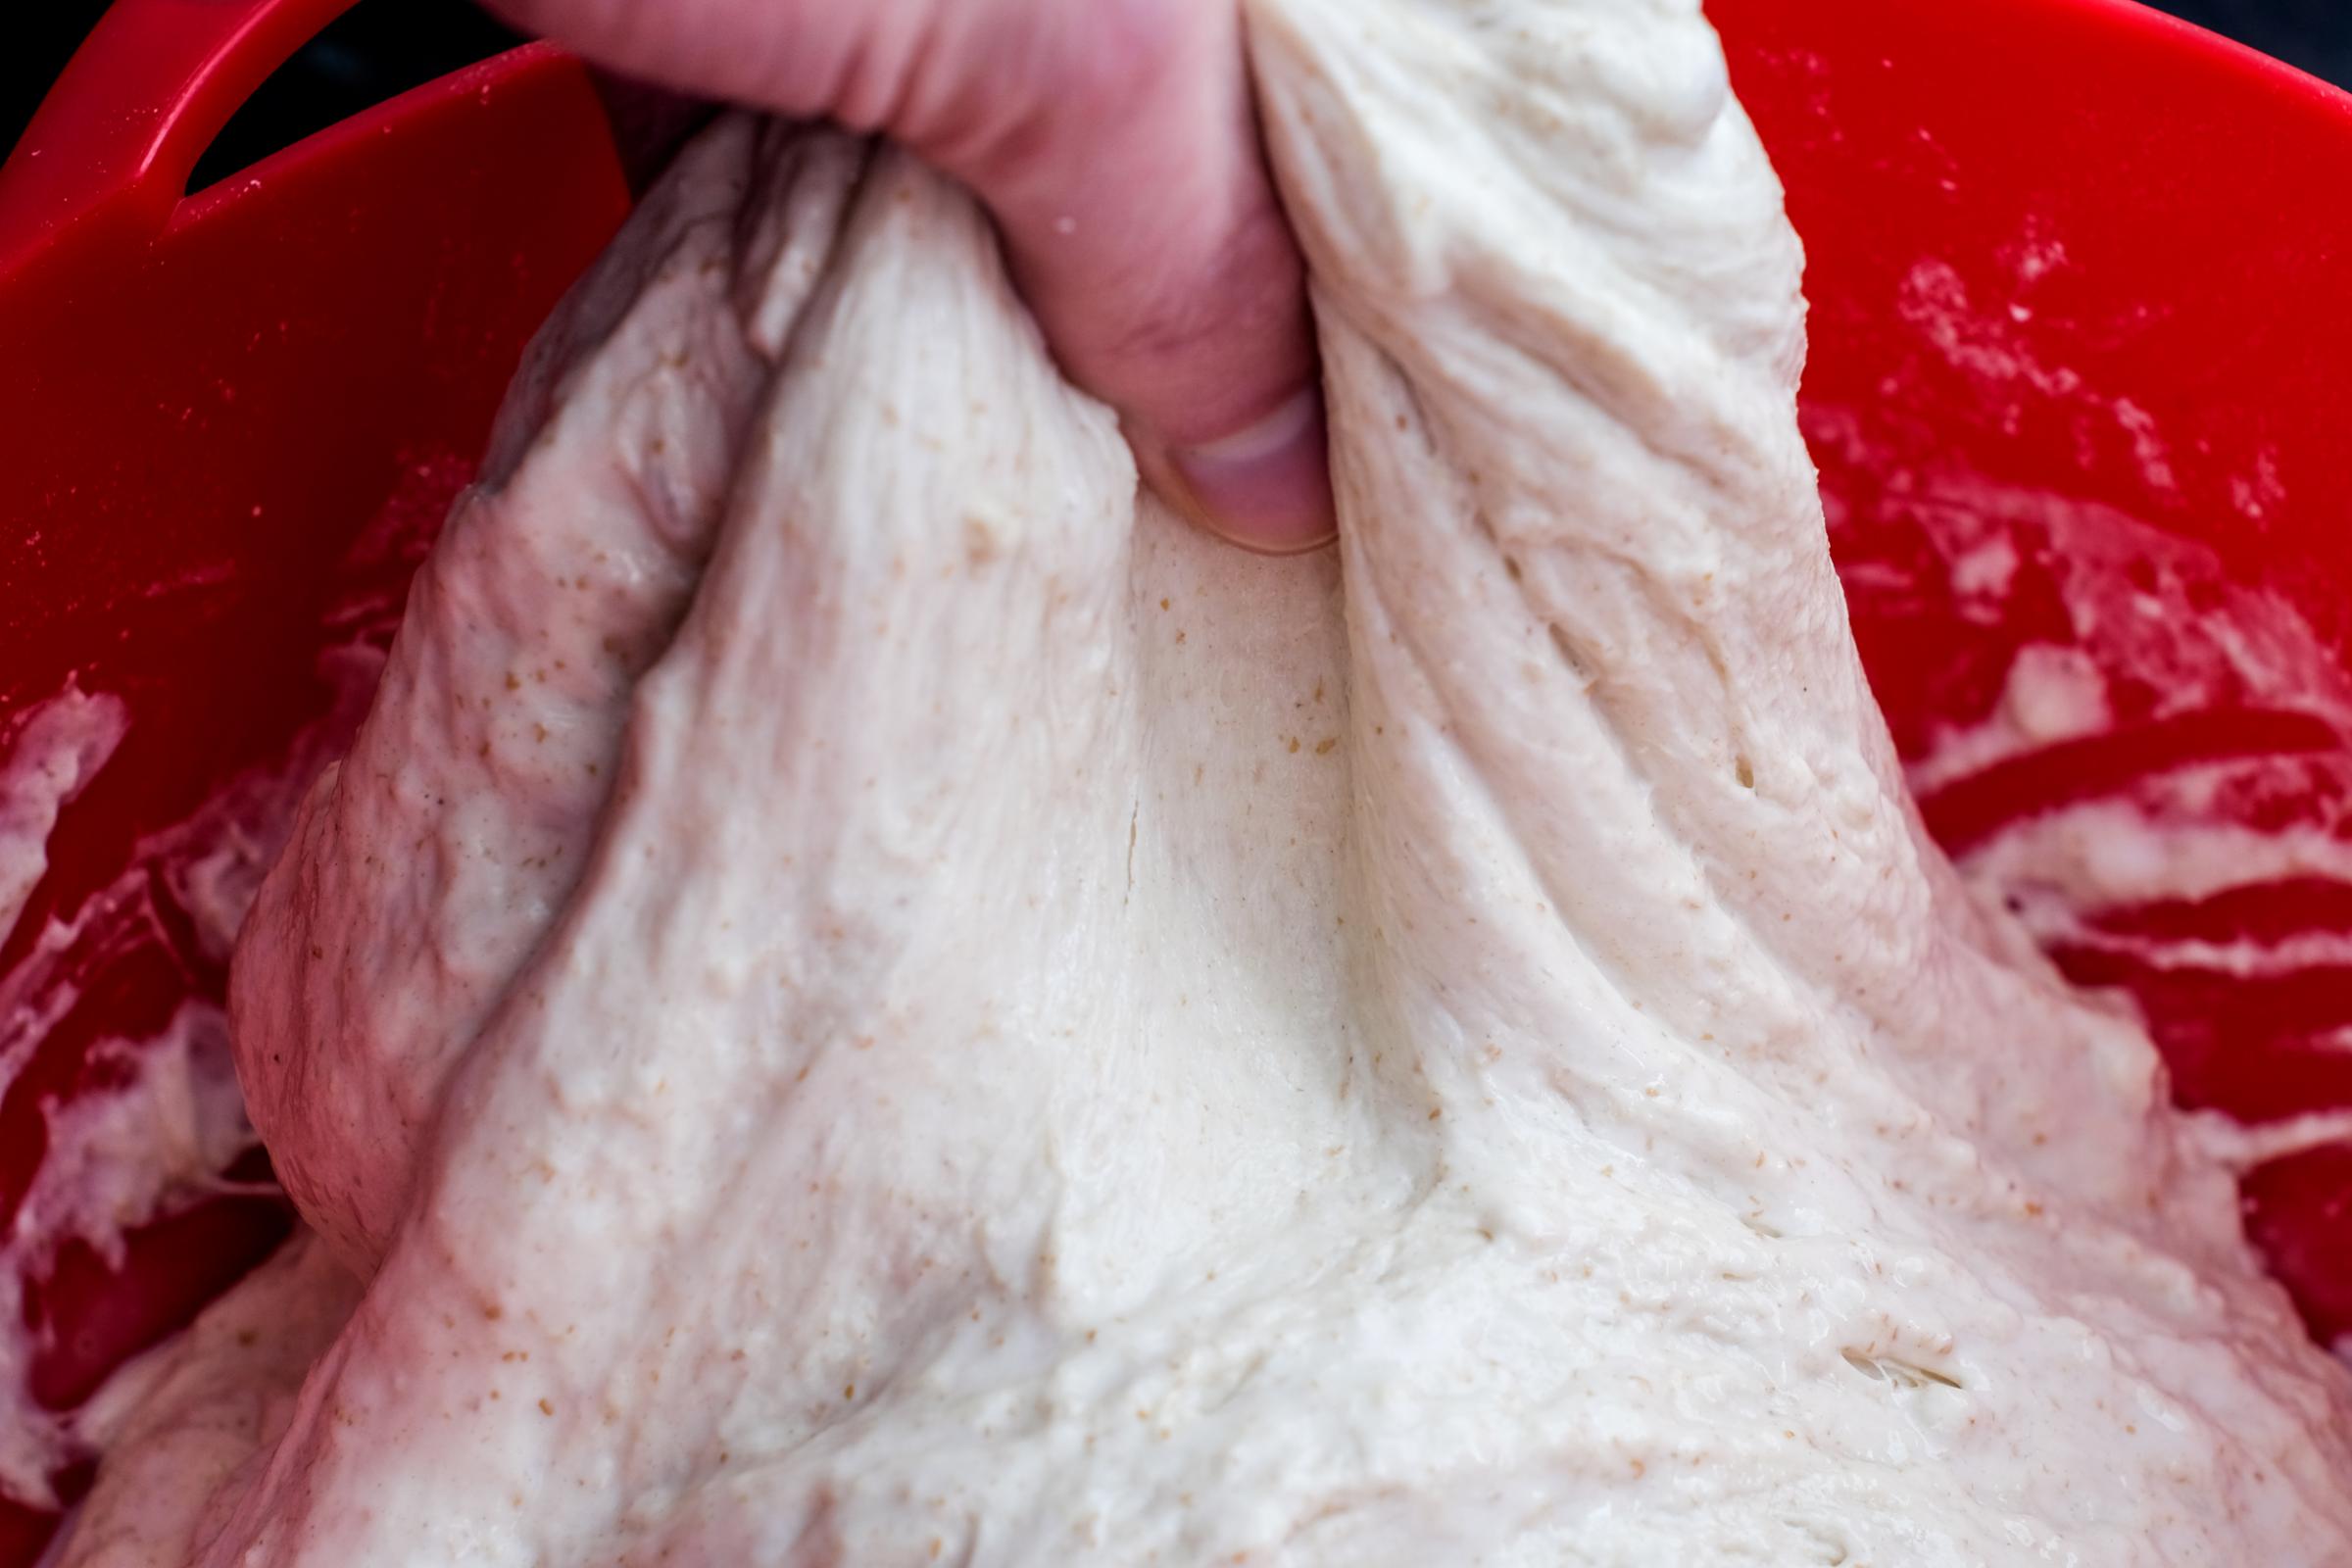
  2. Add 22 g of sea salt and 266 g of 80% levain. Mix in well using folding and pinching until you see some gluten development which takes about 5-10 minutes.
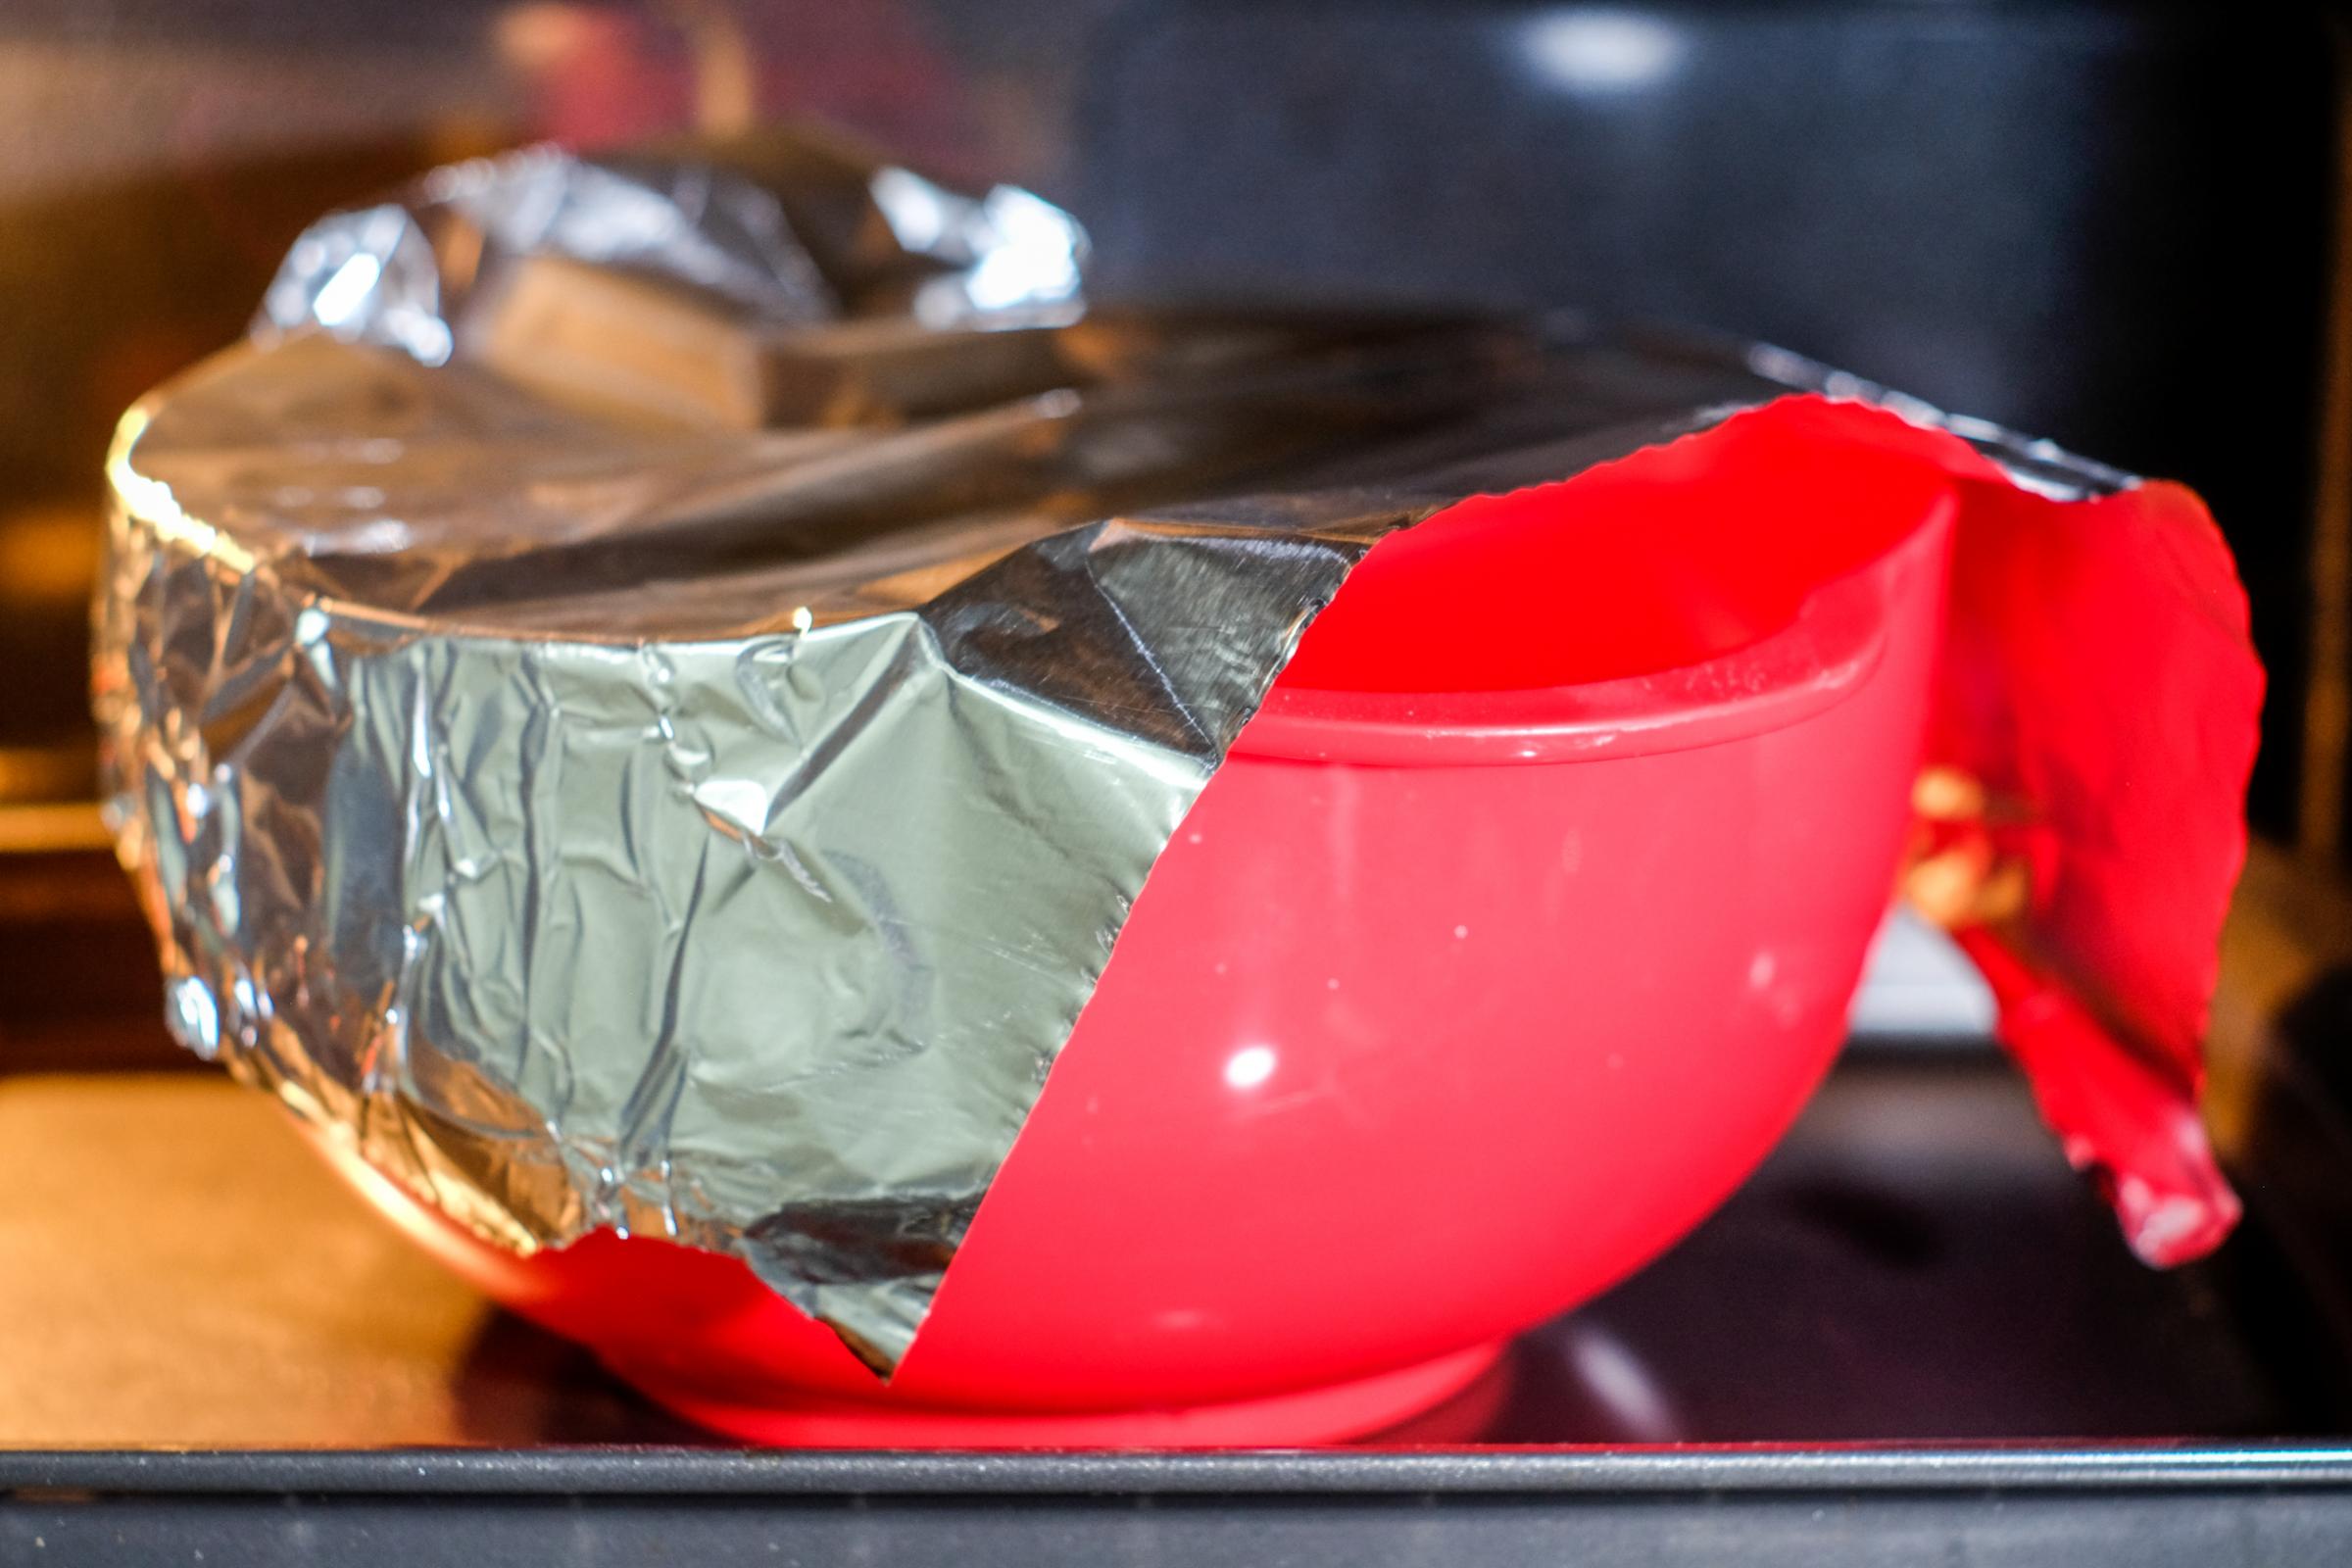
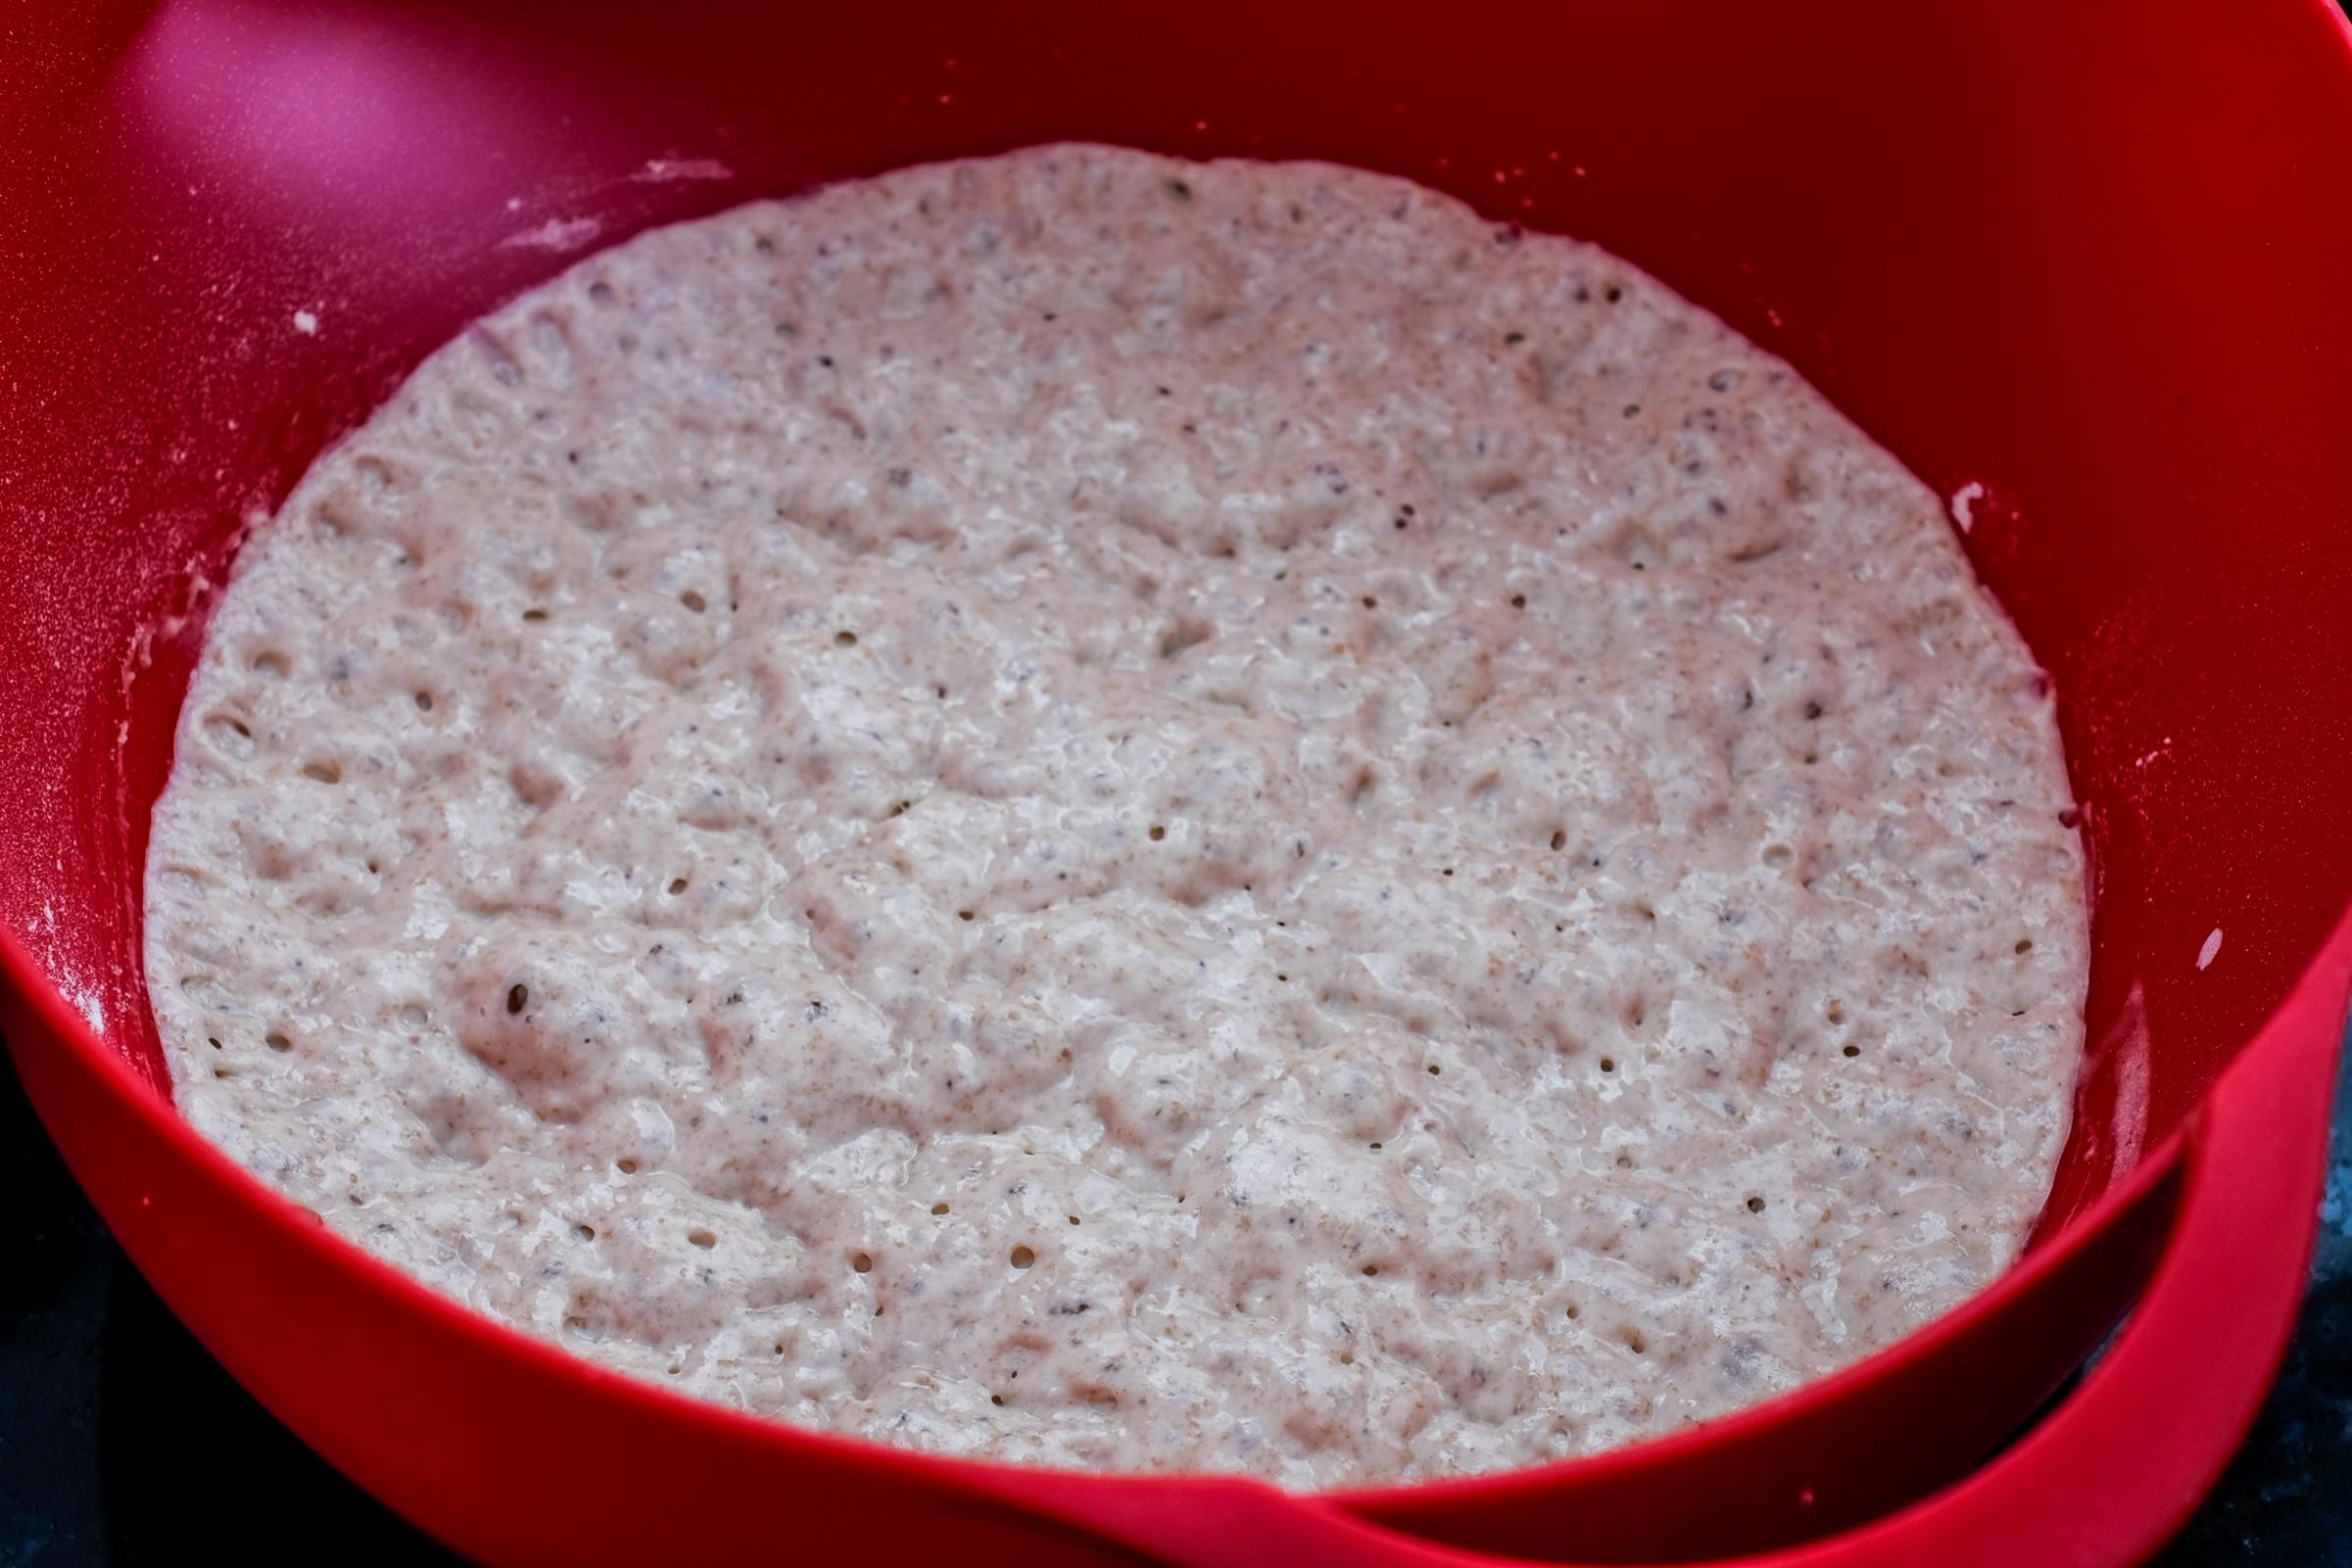
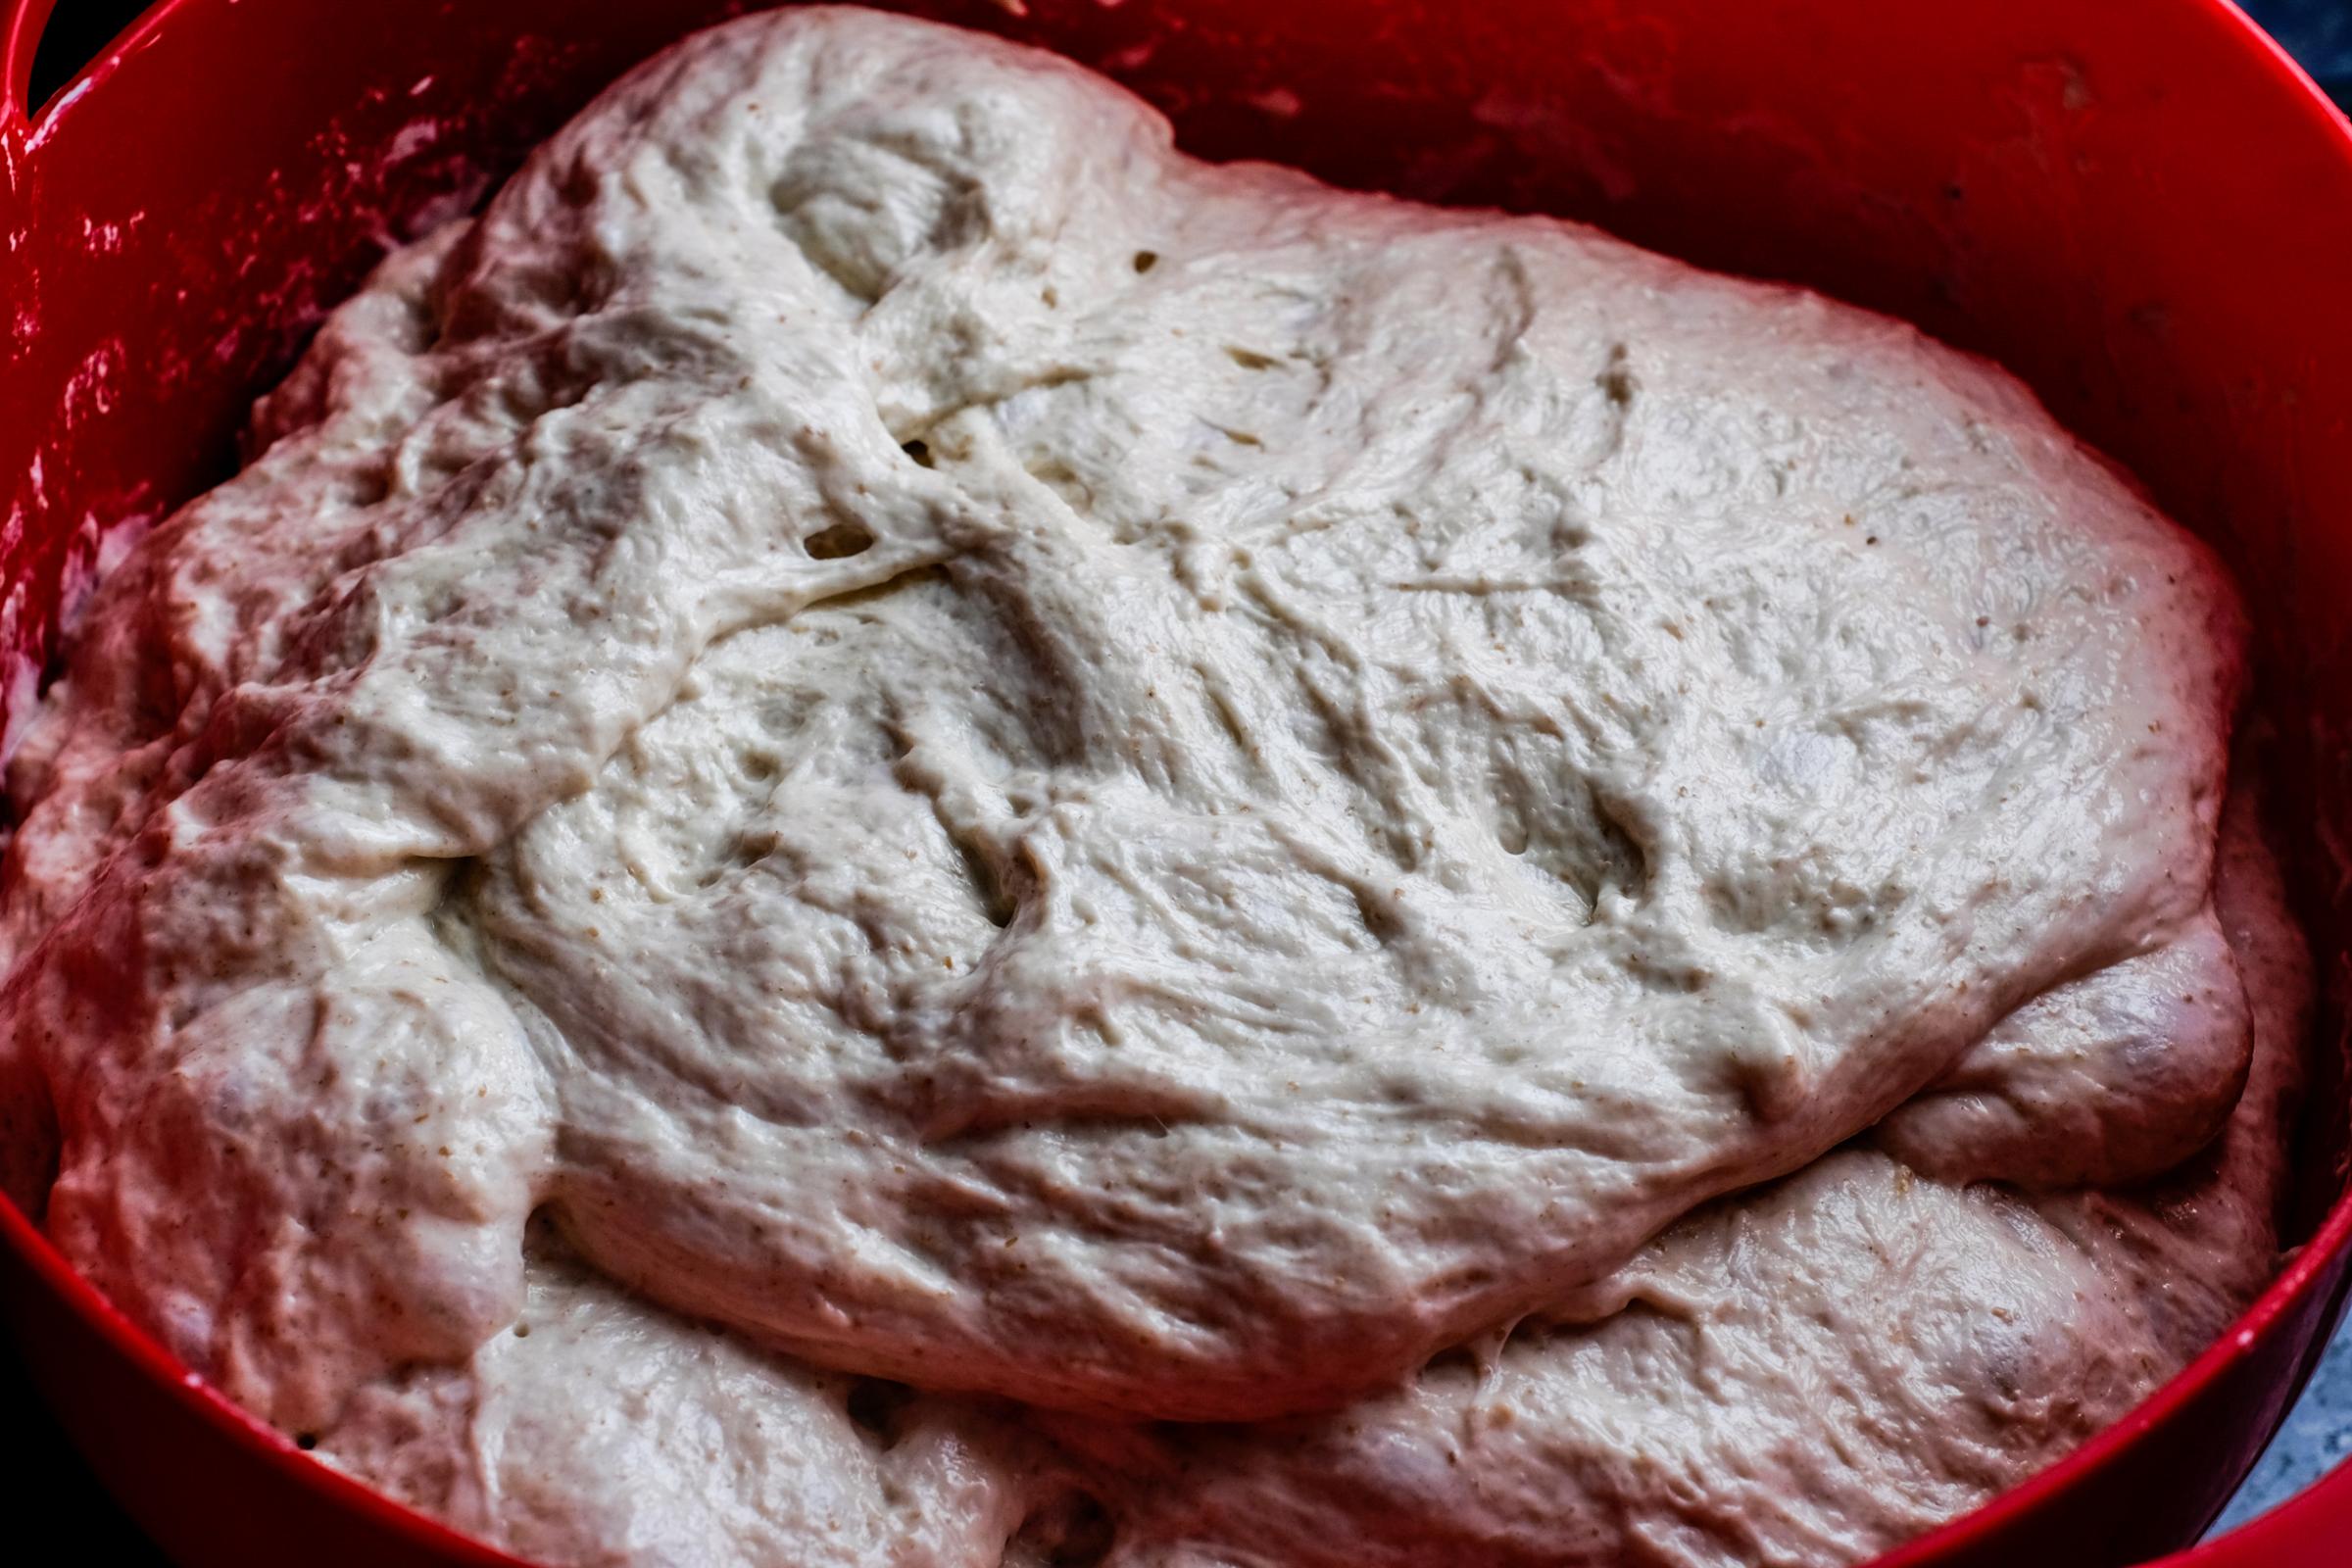
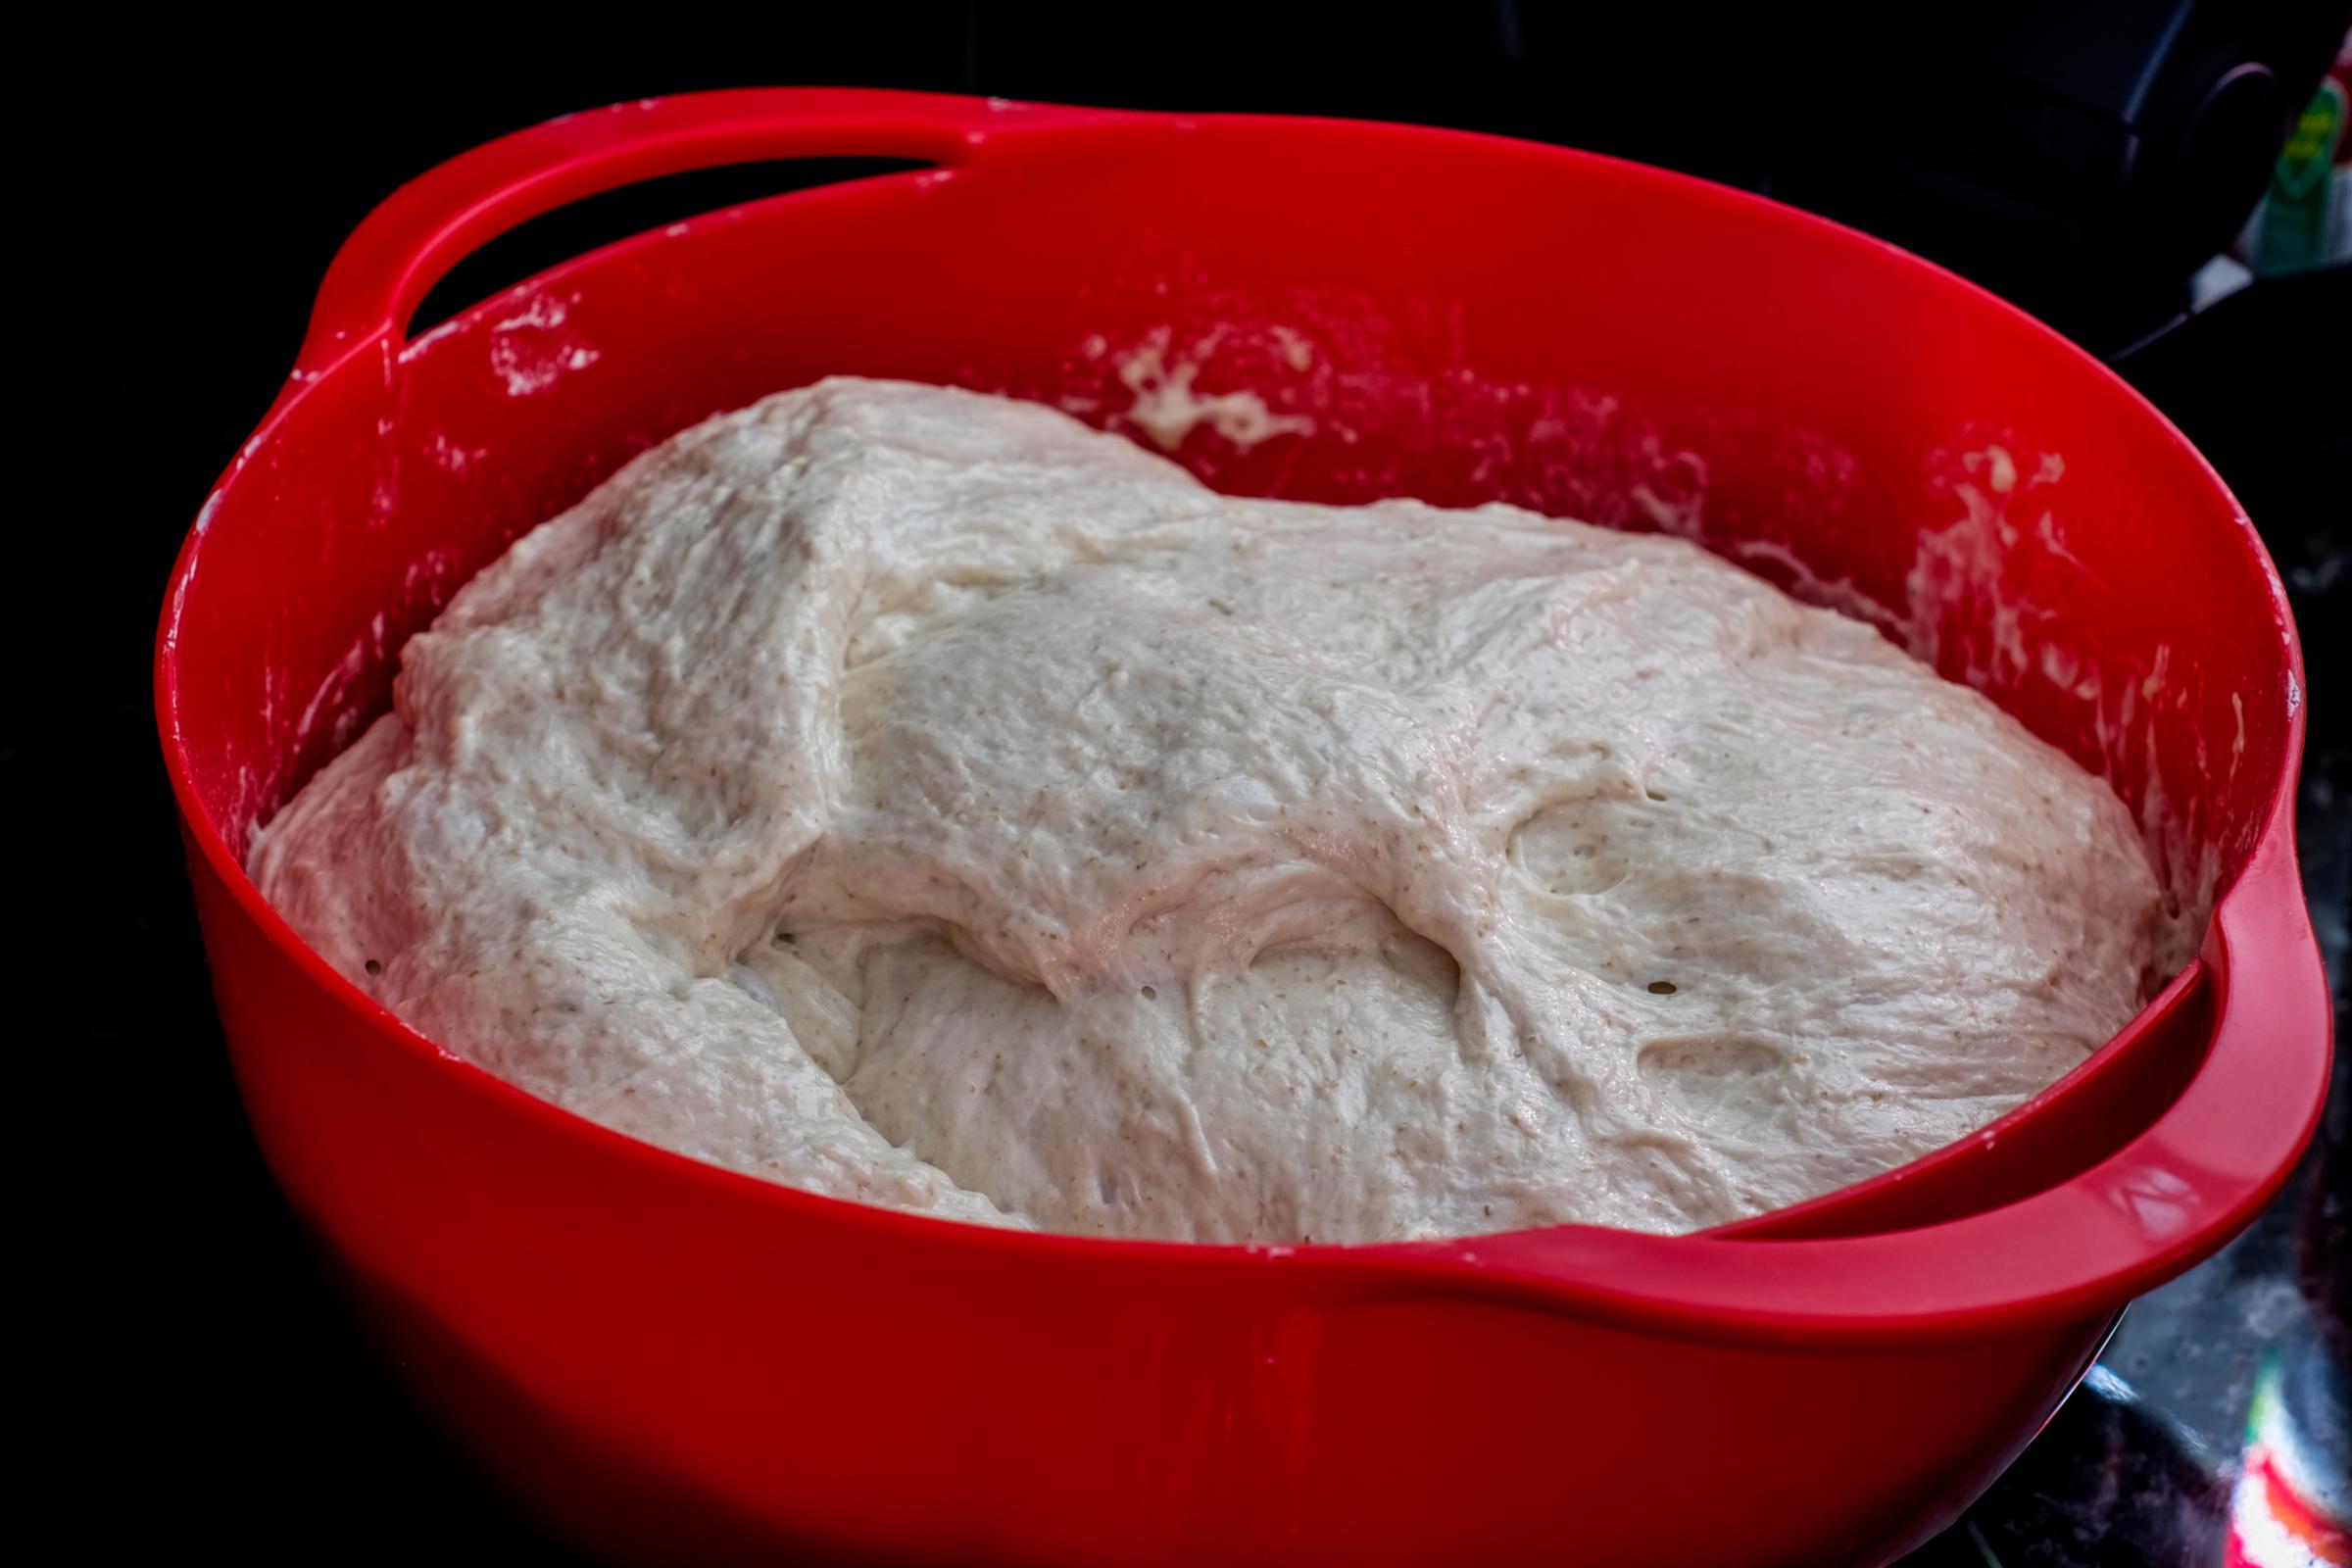
  3. Let rest 30 minutes and do a set of folds. Repeat two more times 45 minutes apart and then let sit in a warm place until risen 50-60%. There should be irregular sized bubbles visible through the walls of your container (hopefully it is transparent or translucent, otherwise, this may be a feat for Superman. ;-) ) and the dough should feel very aerated or billowy. This took about 5 hours. It probably took that long because the ayw was right out of the fridge. 
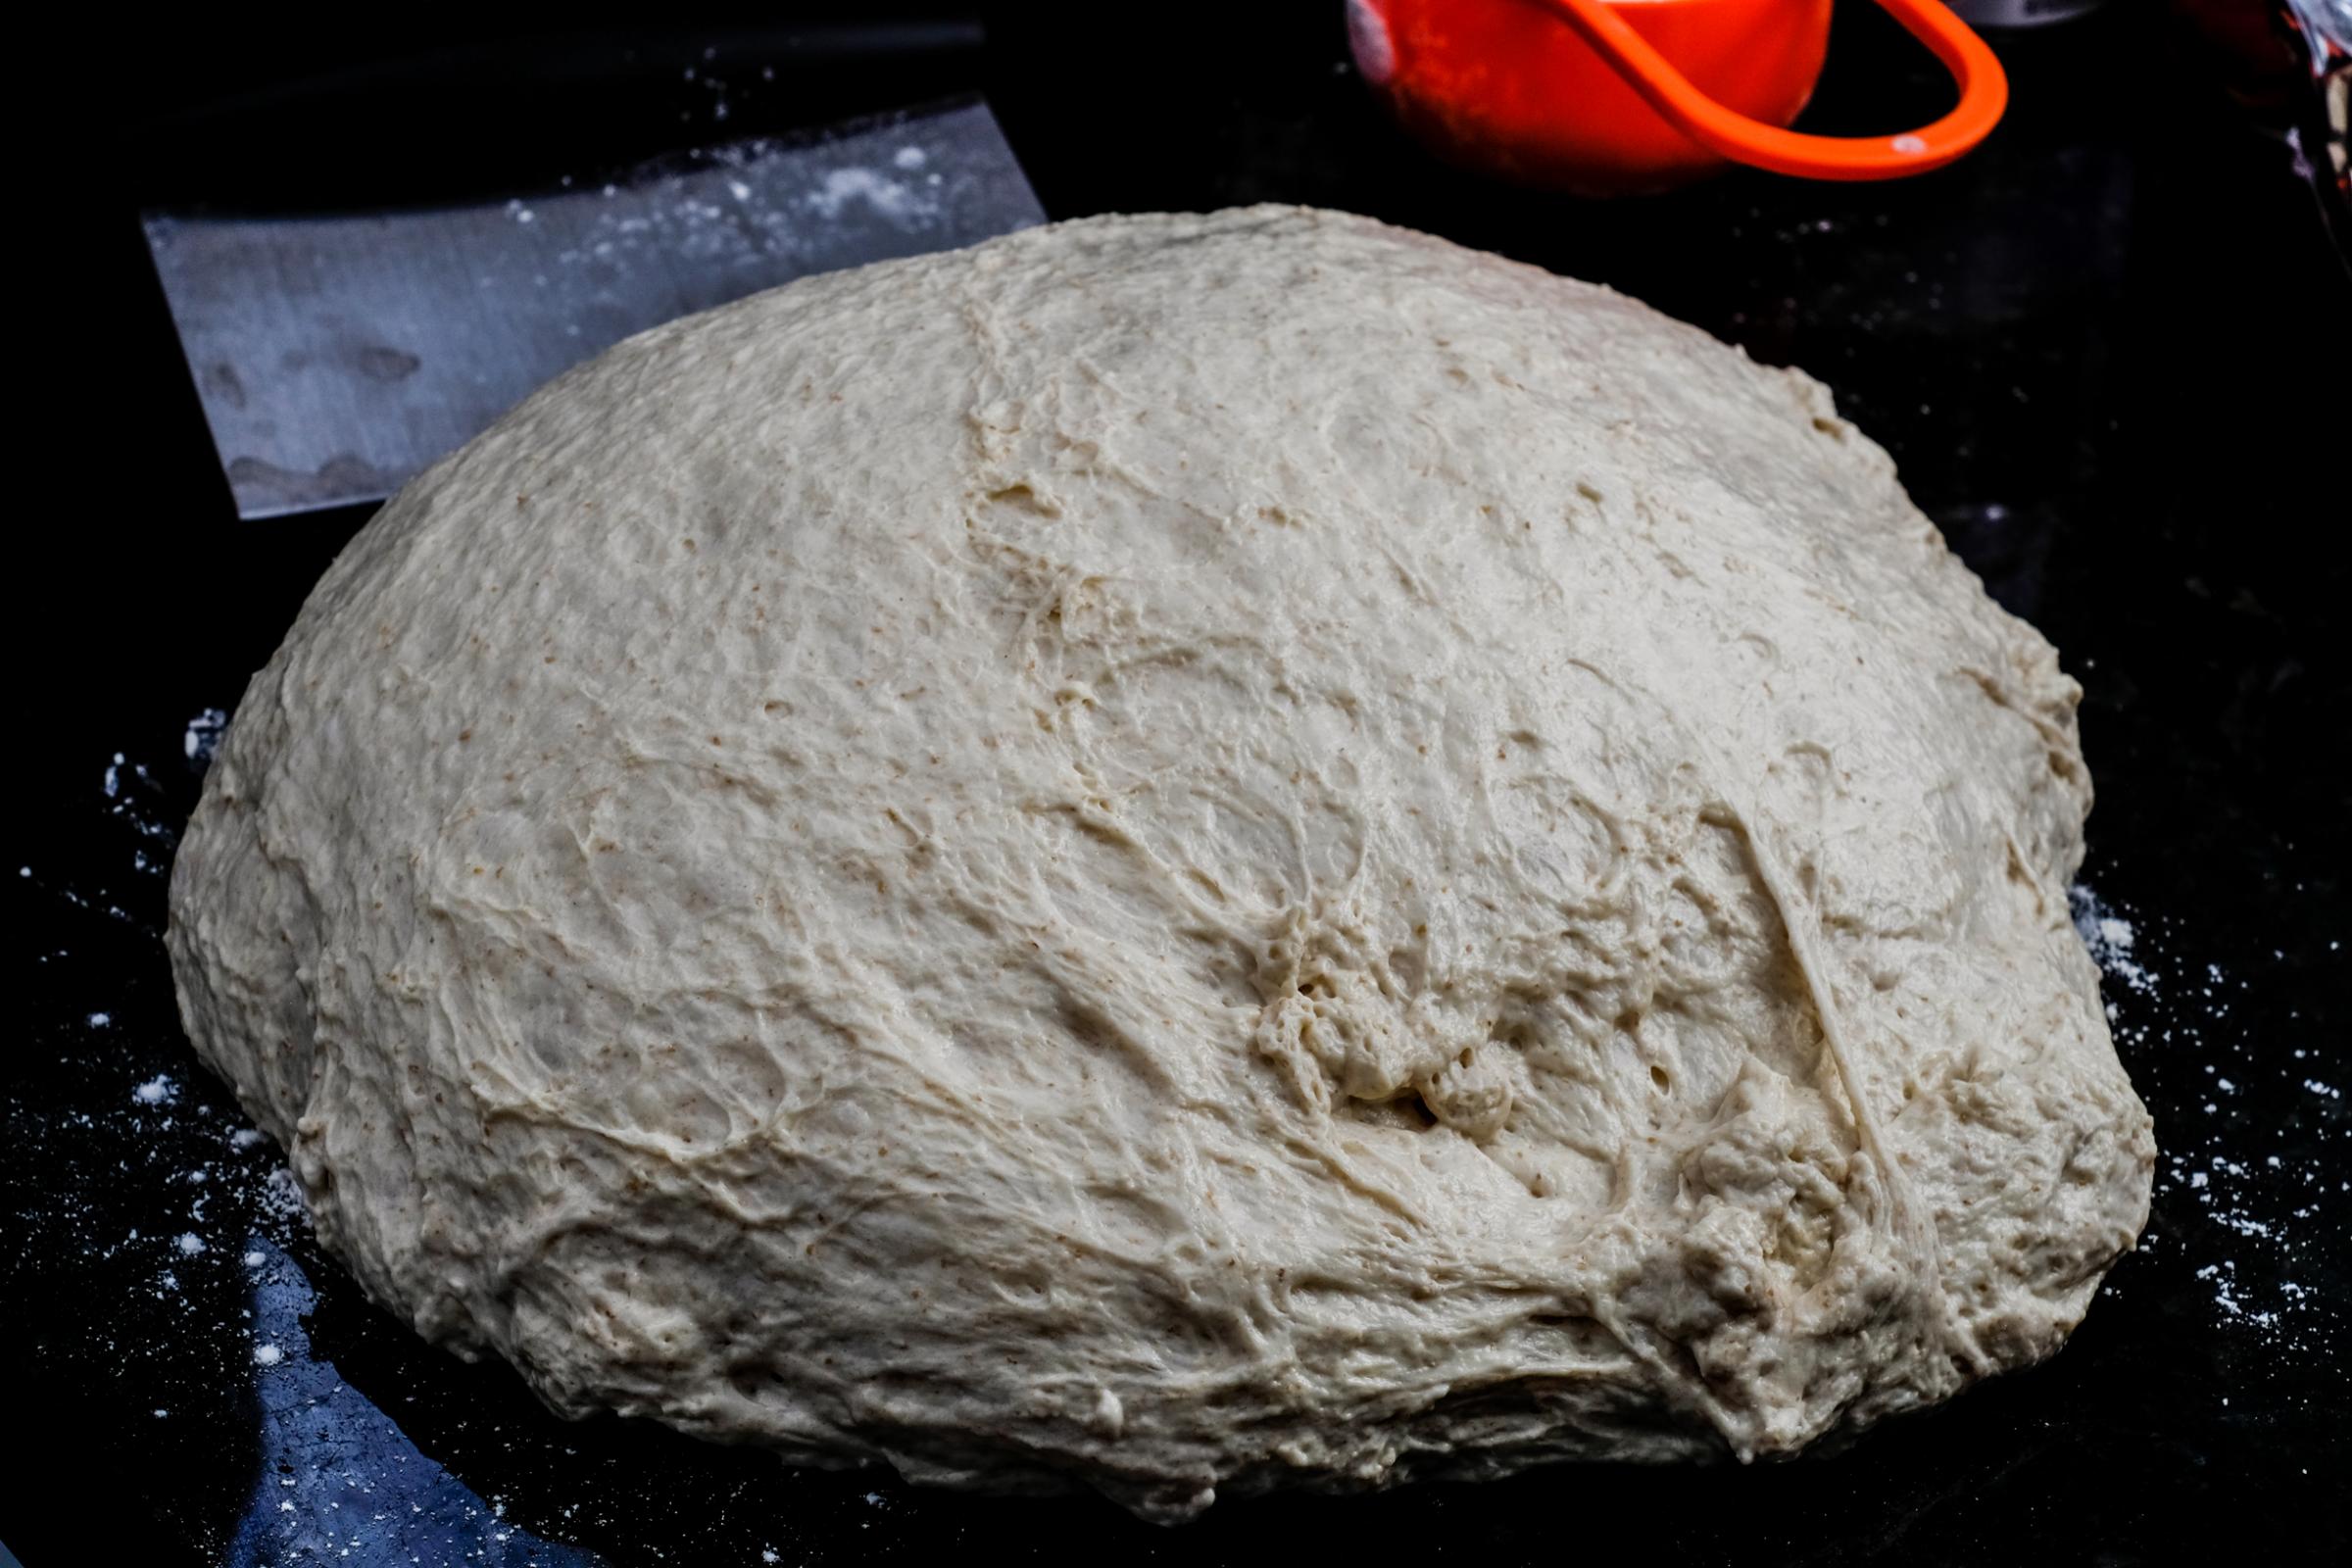
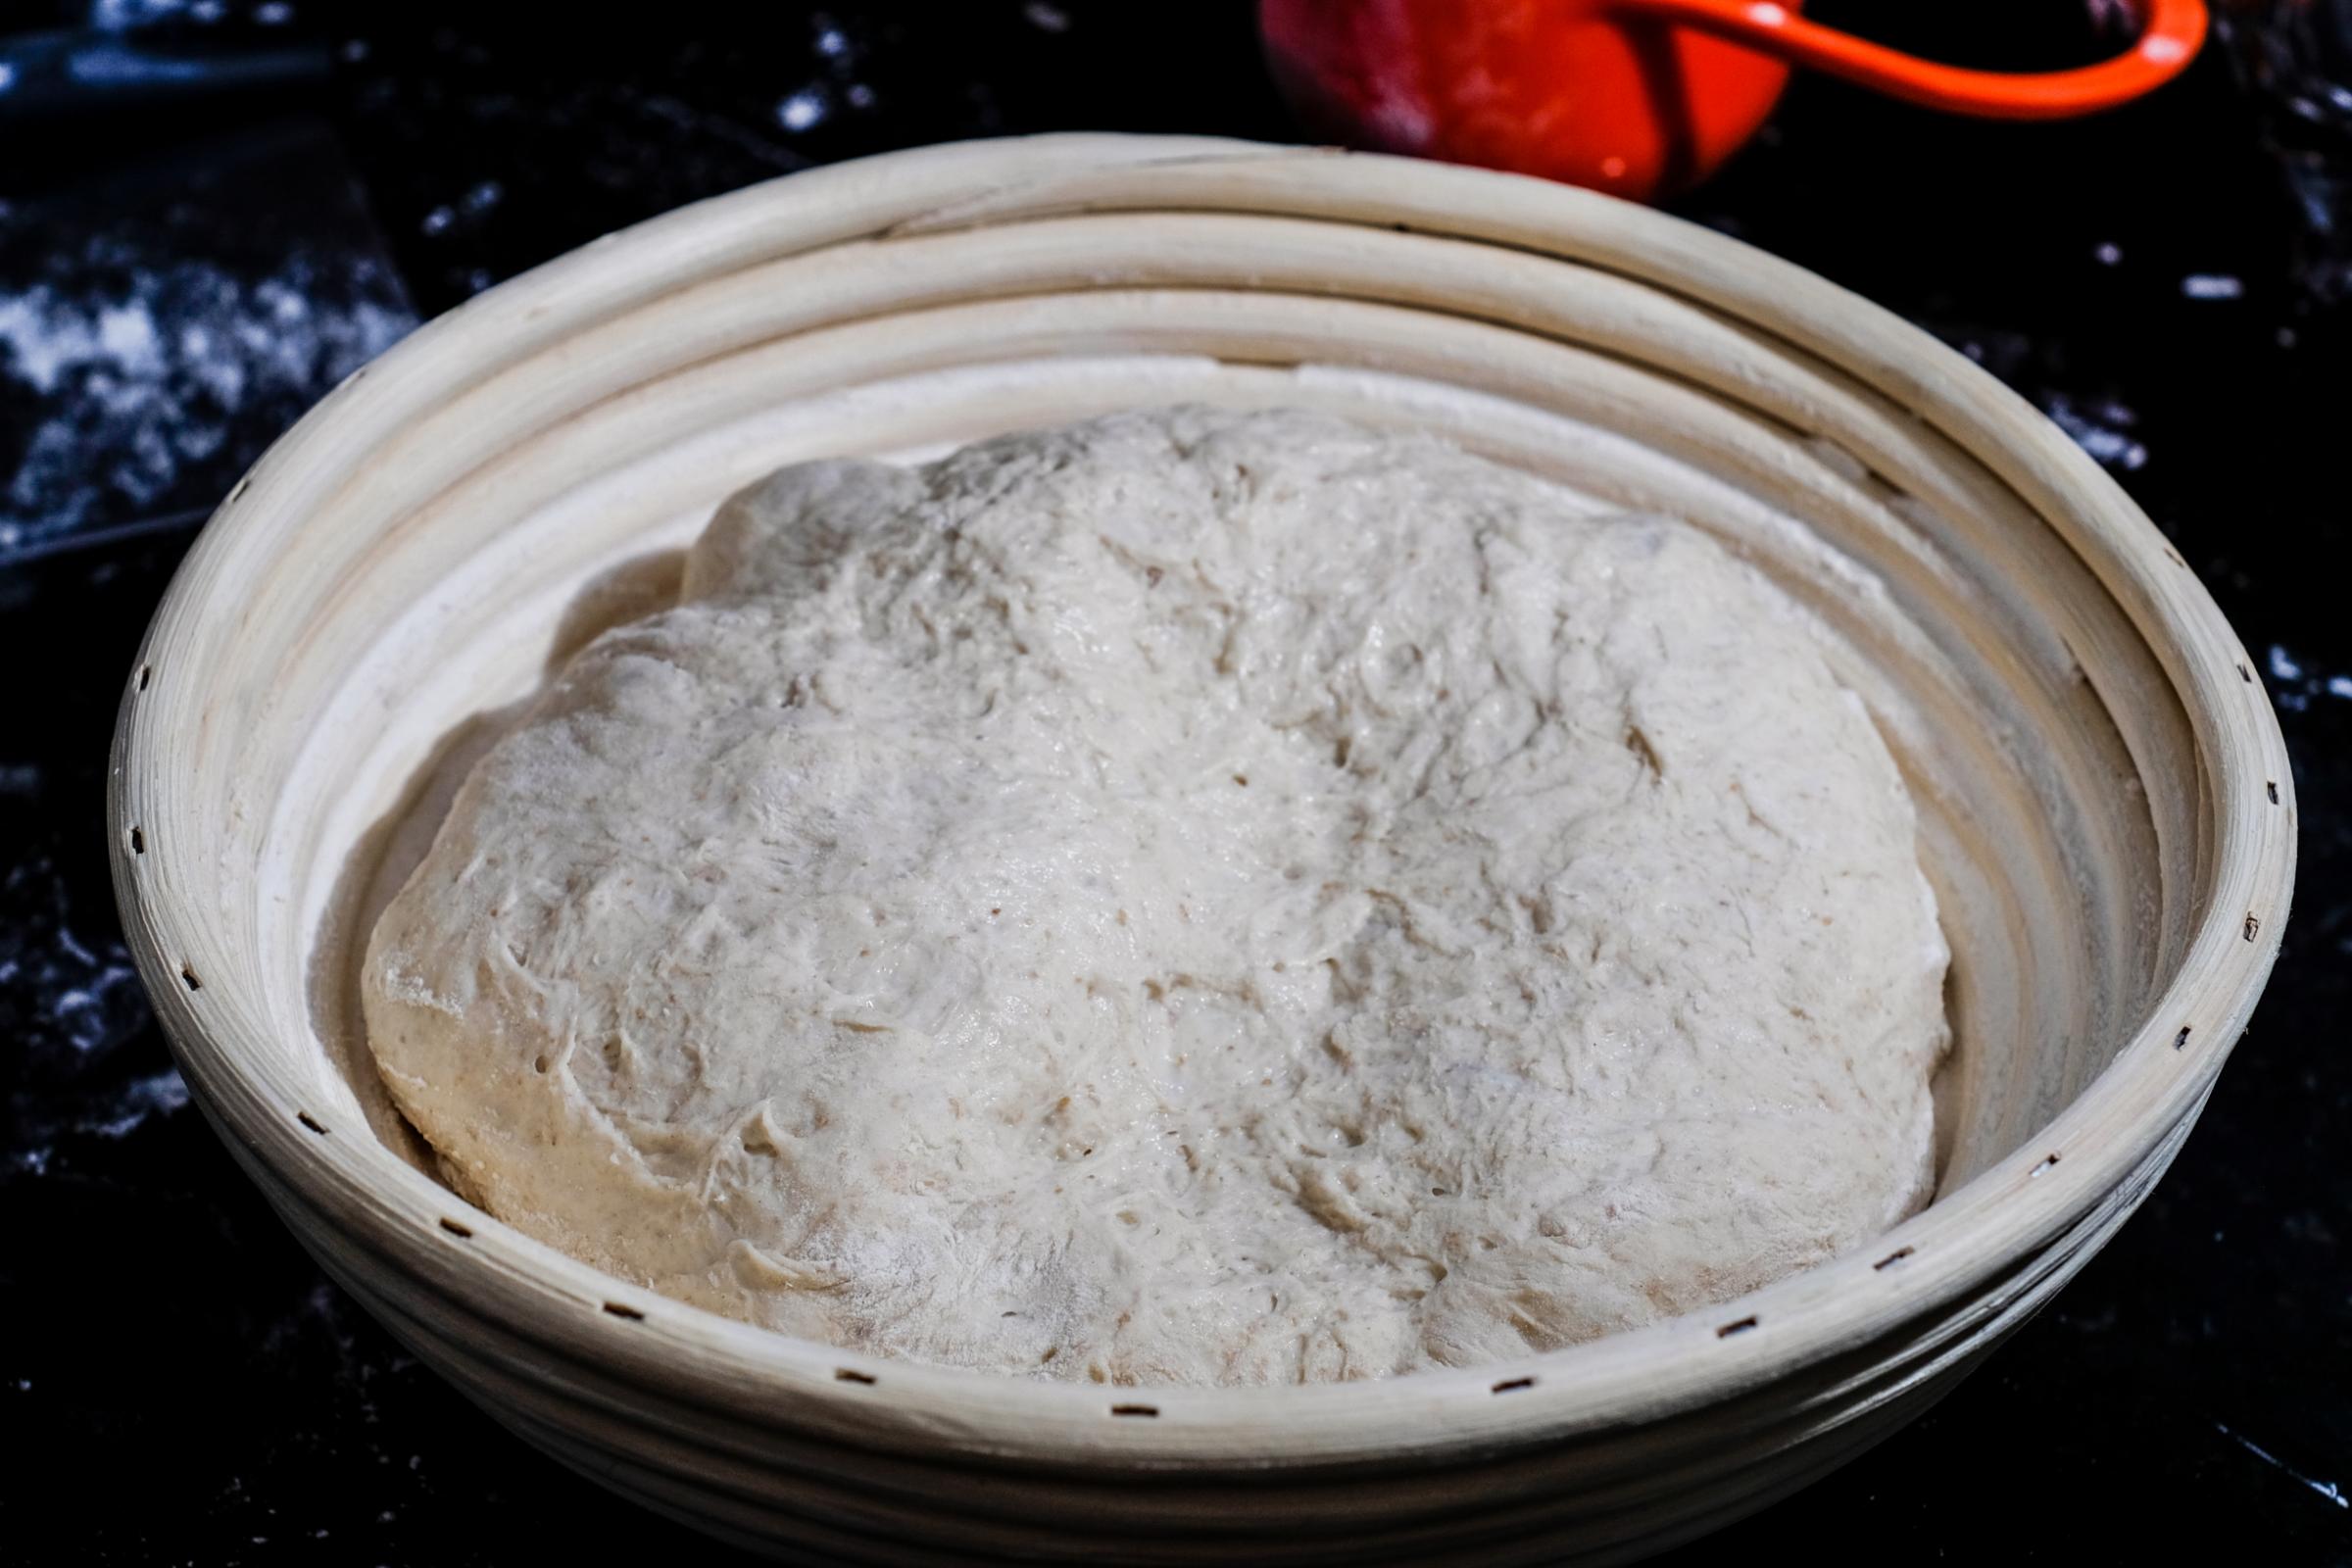
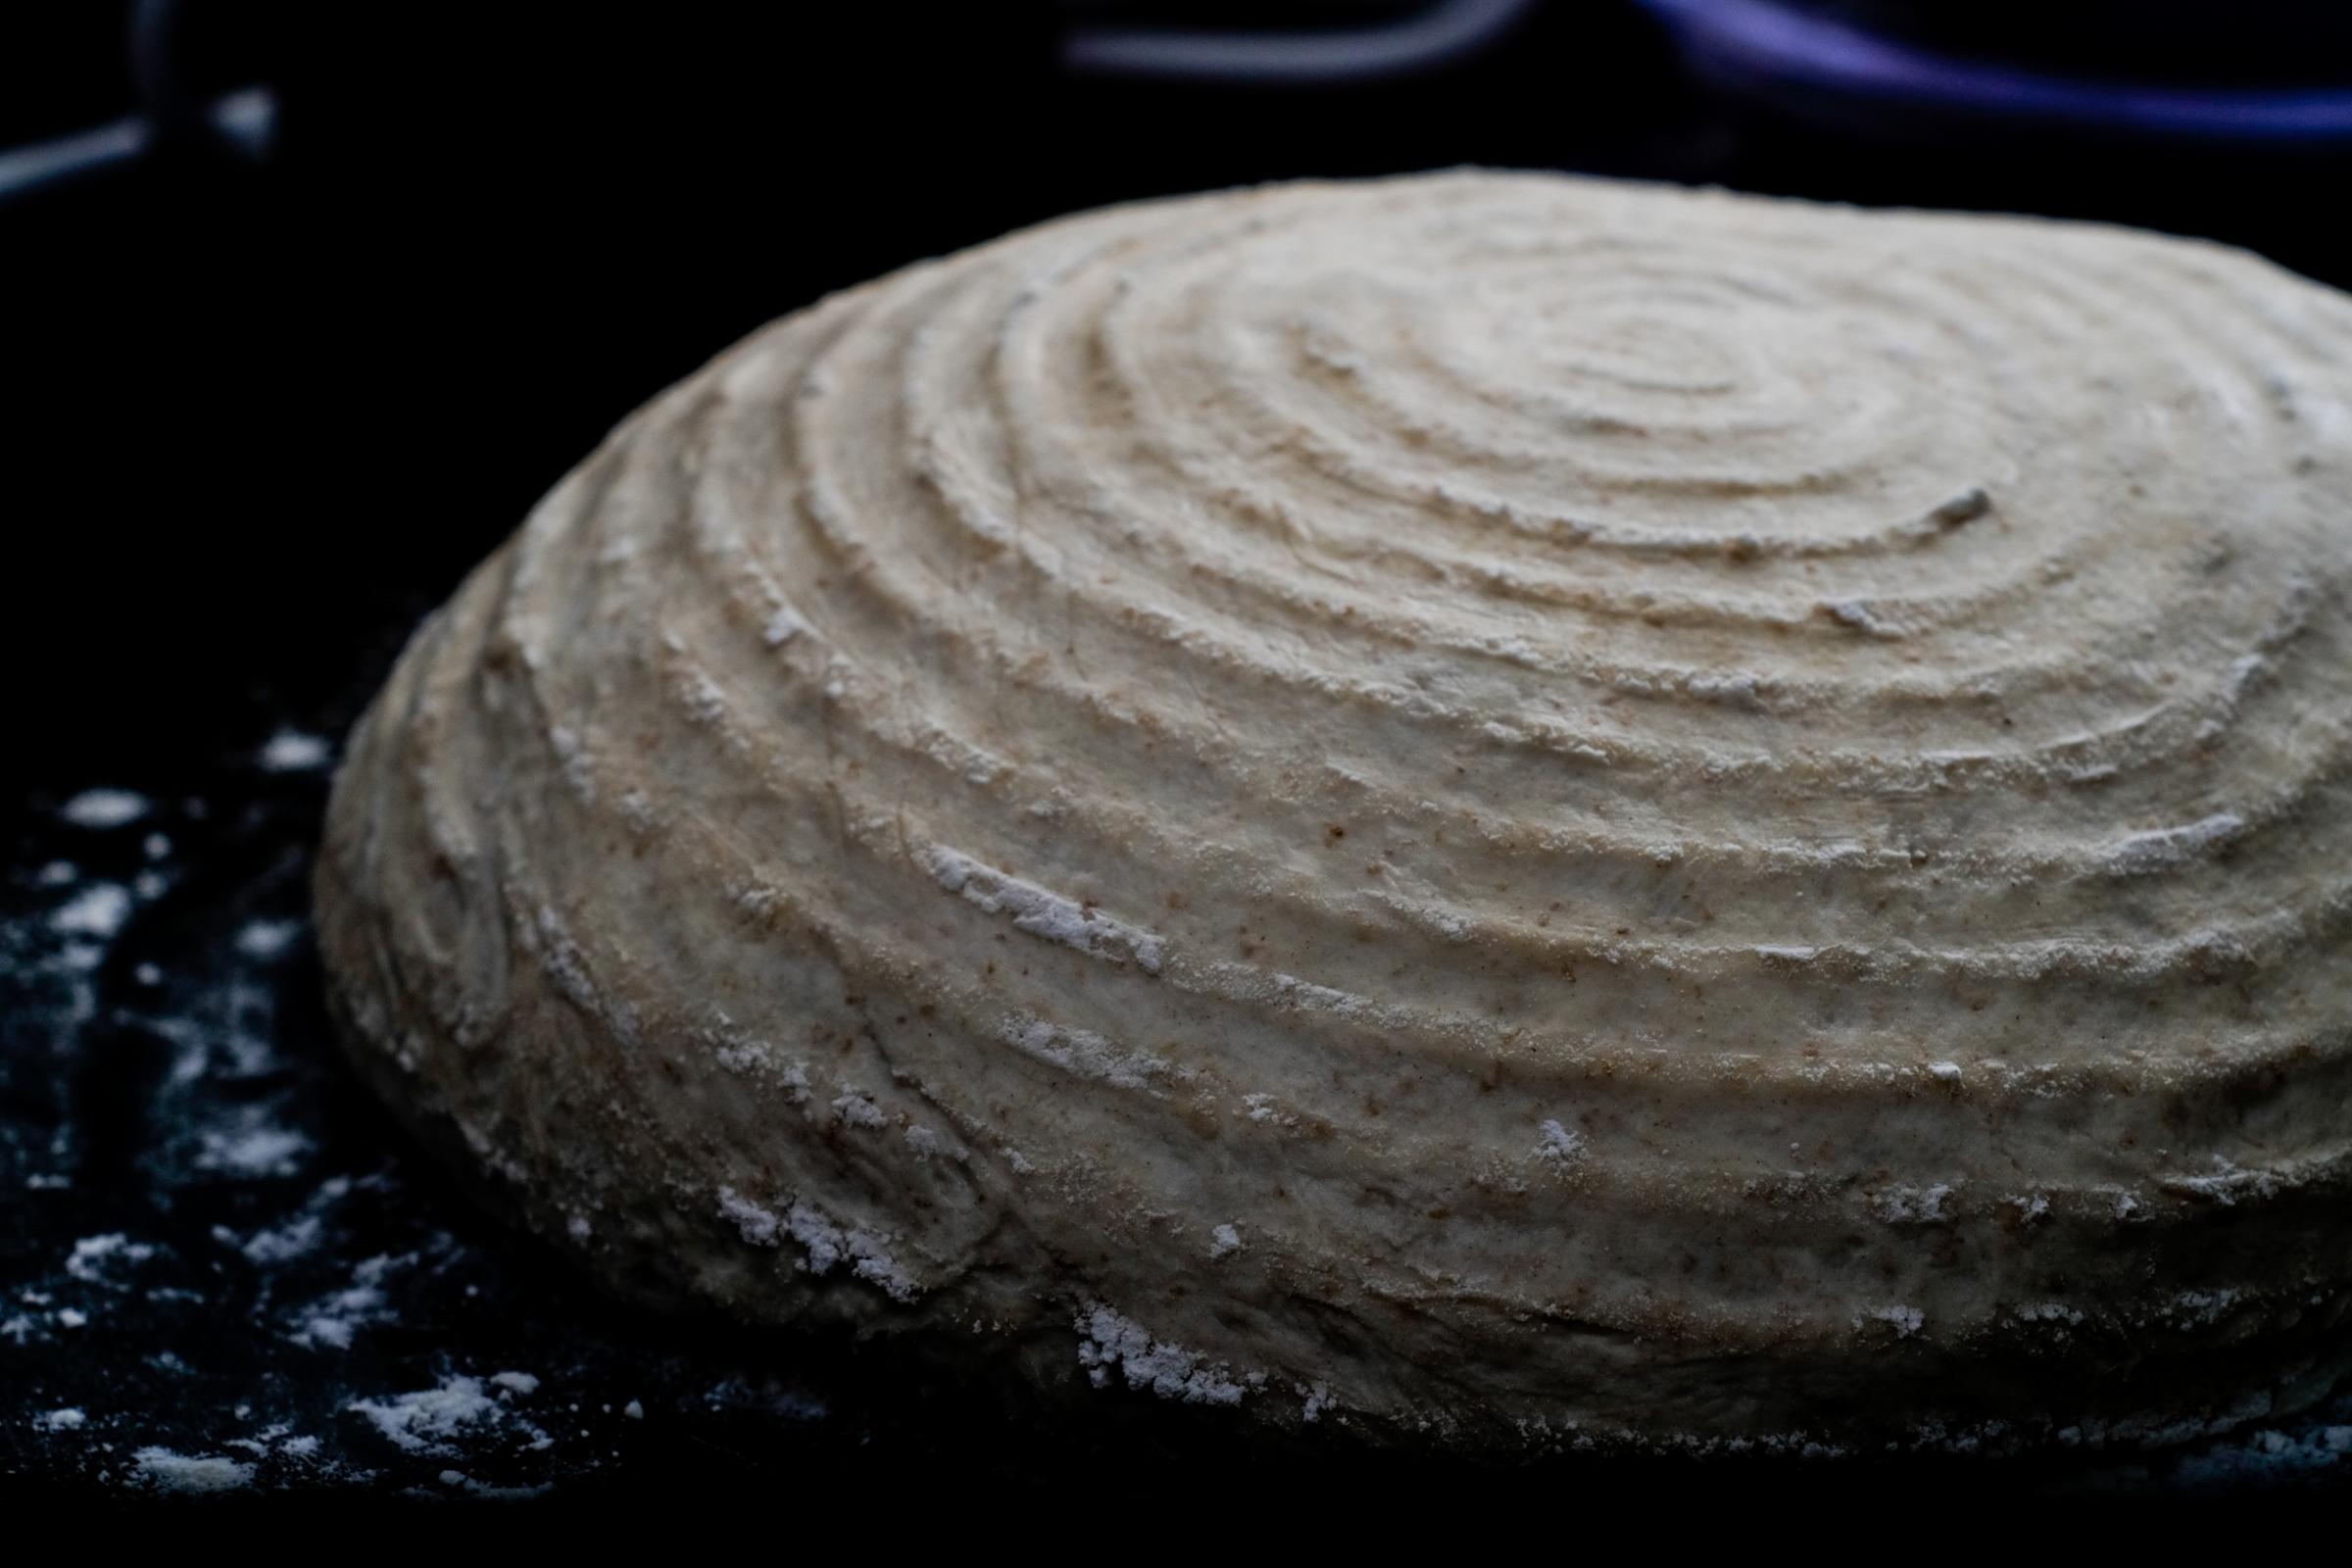
  4. Divide into 3 equal portions of about 890 grams and do a loose pre-shape. Let rest 15-20 minutes and then shape fairly tightly into a boule. Place boules seam side down in rice/unbleached floured bannetons and cover with a plastic shower cap or bowl cover. Place into fridge overnight.
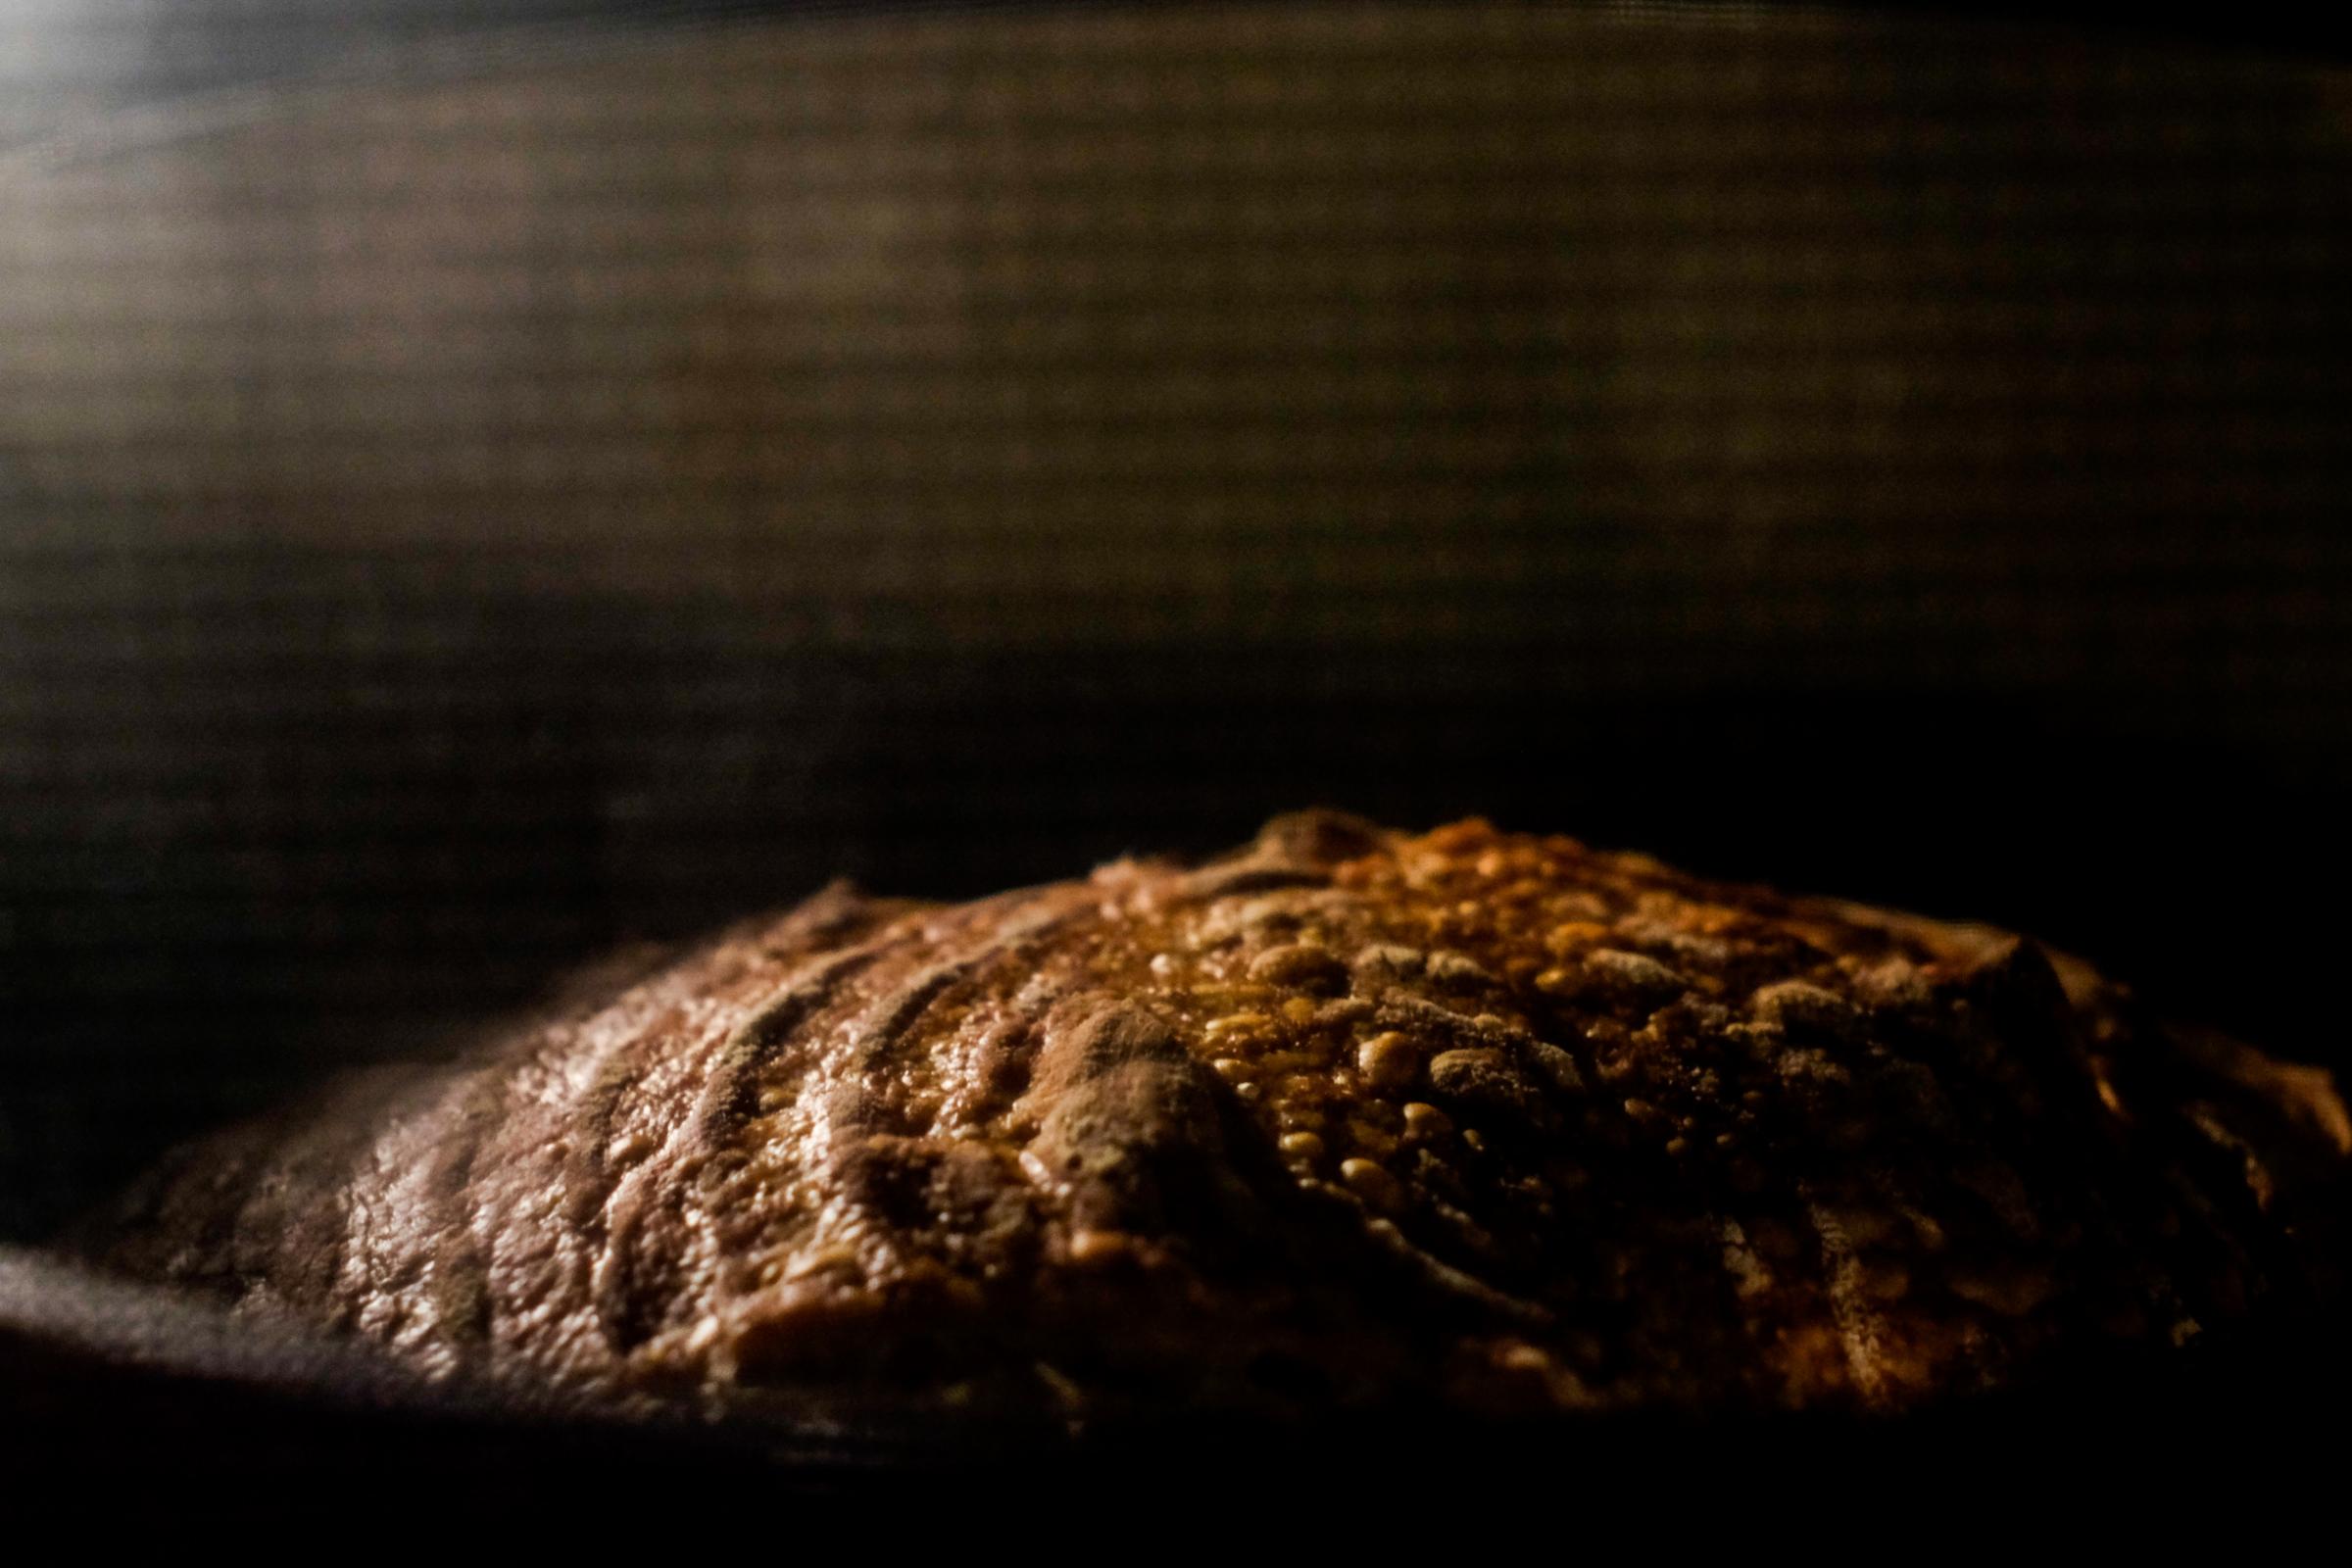
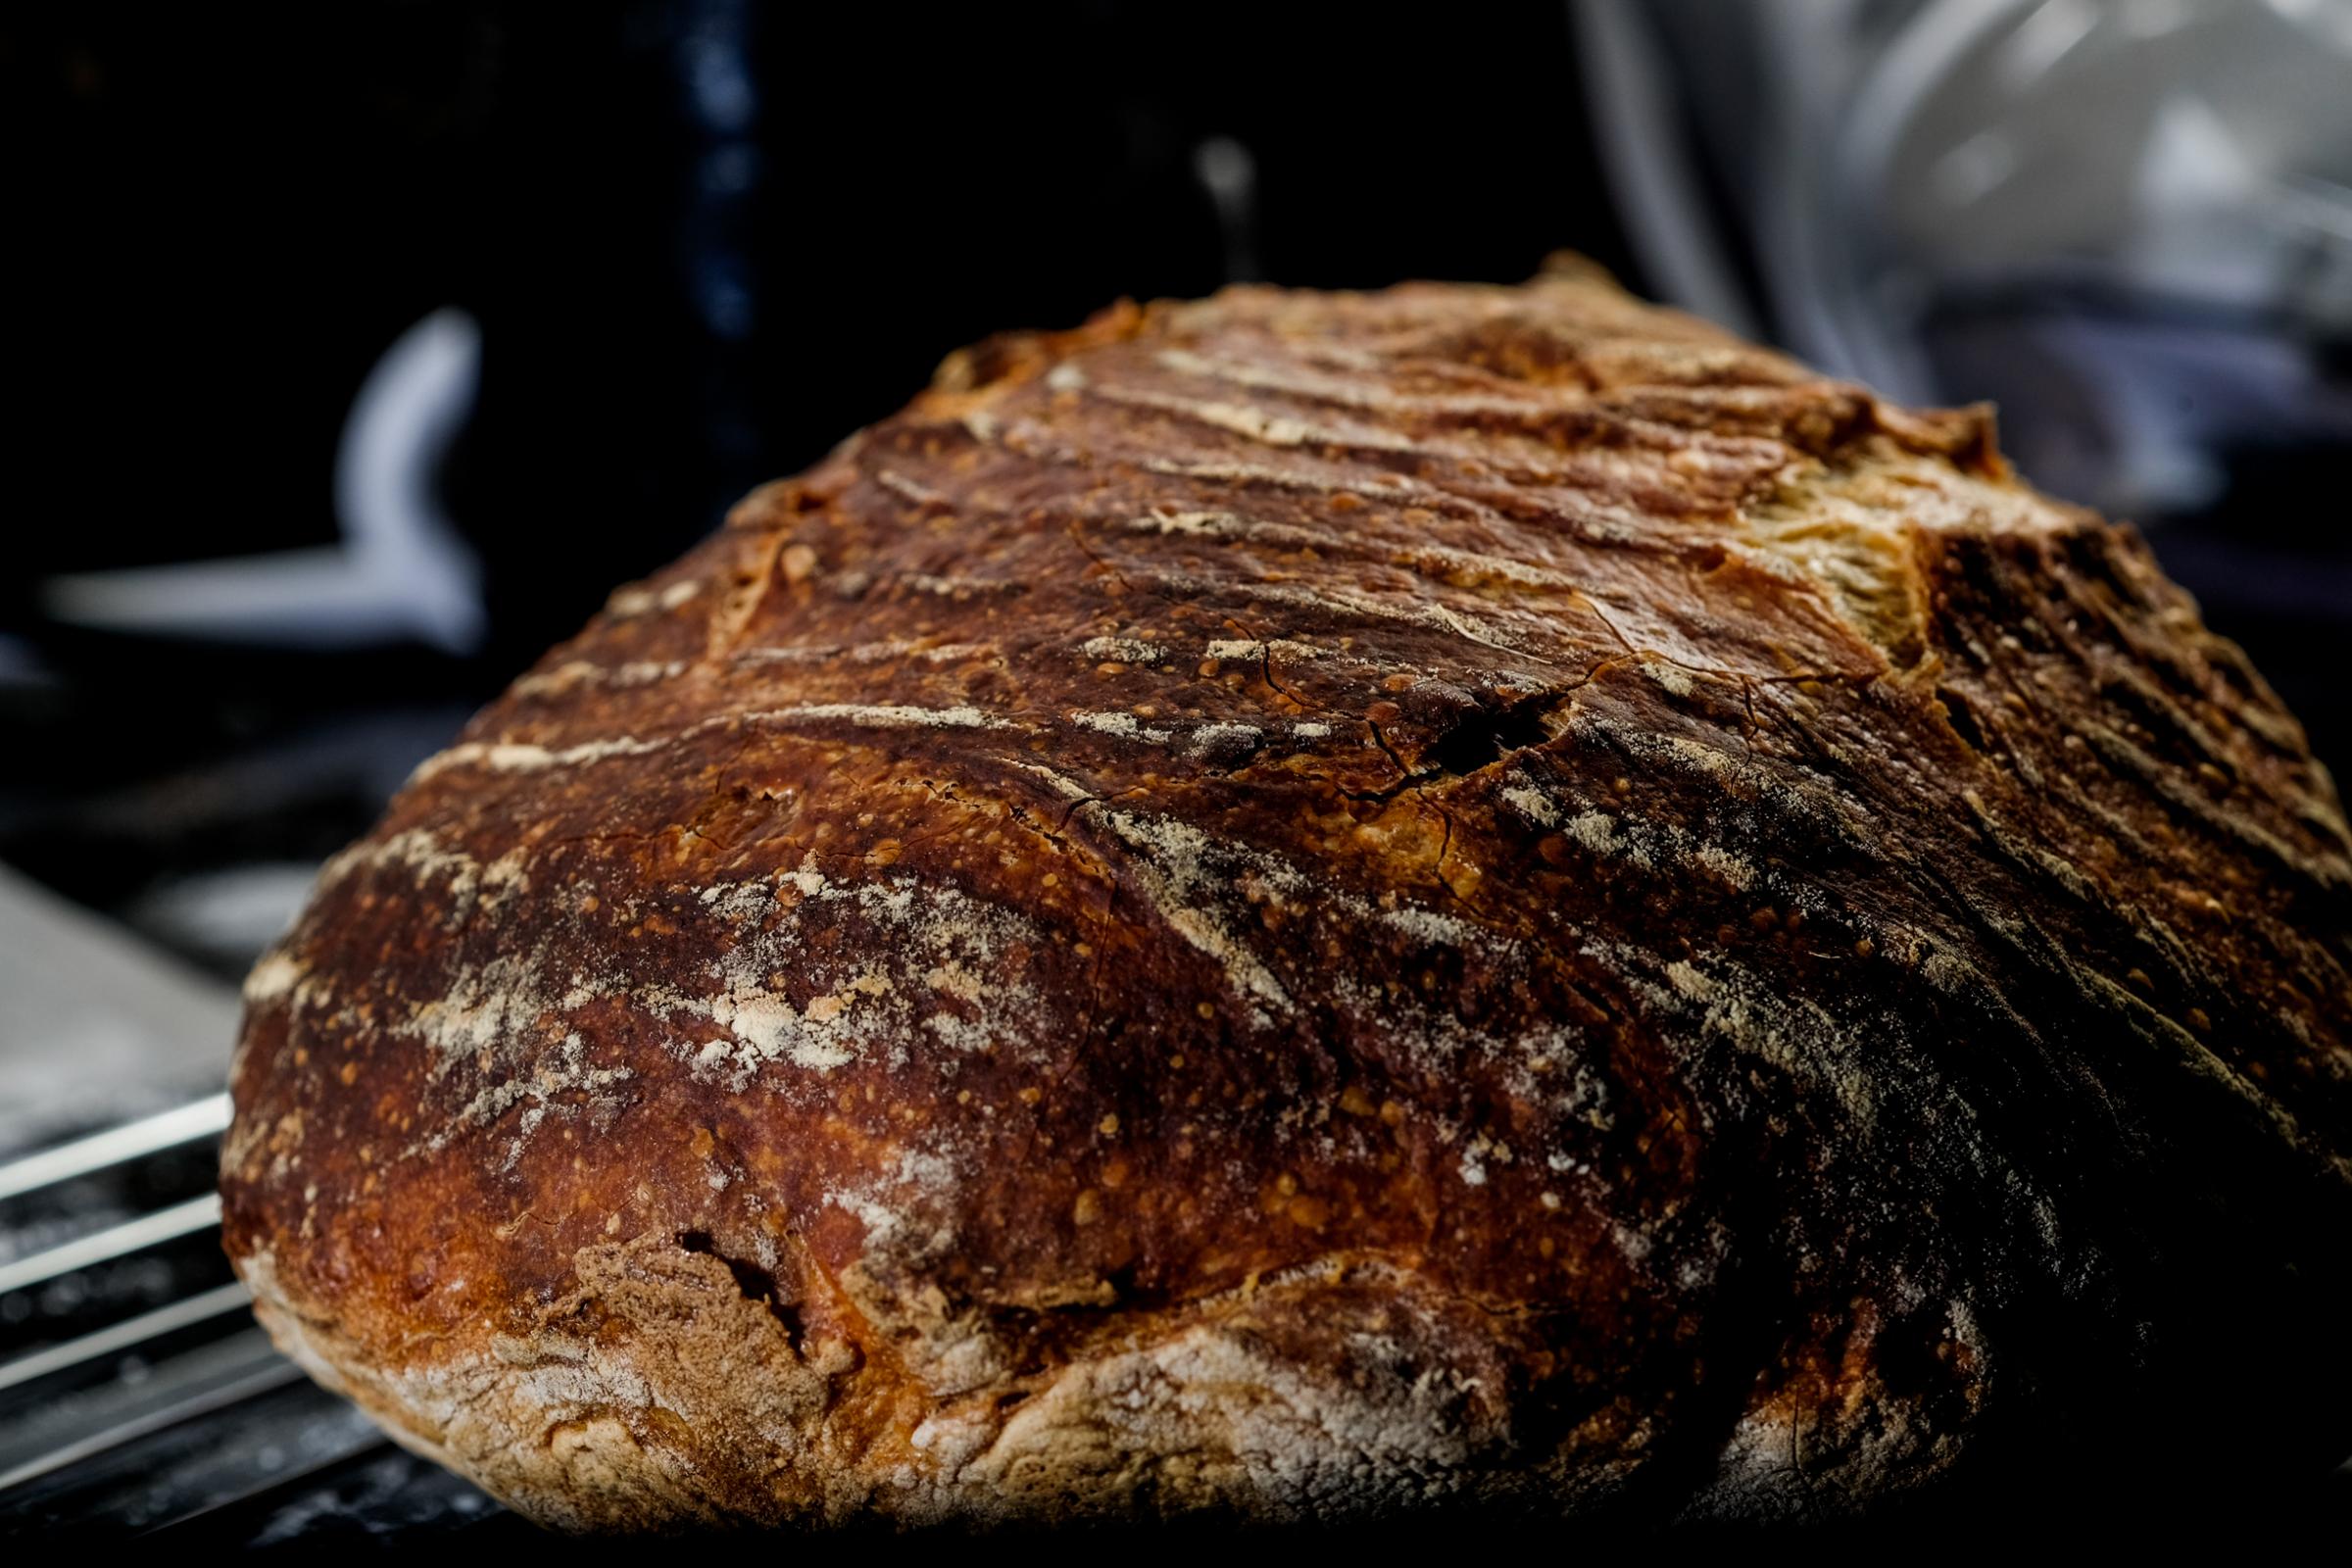
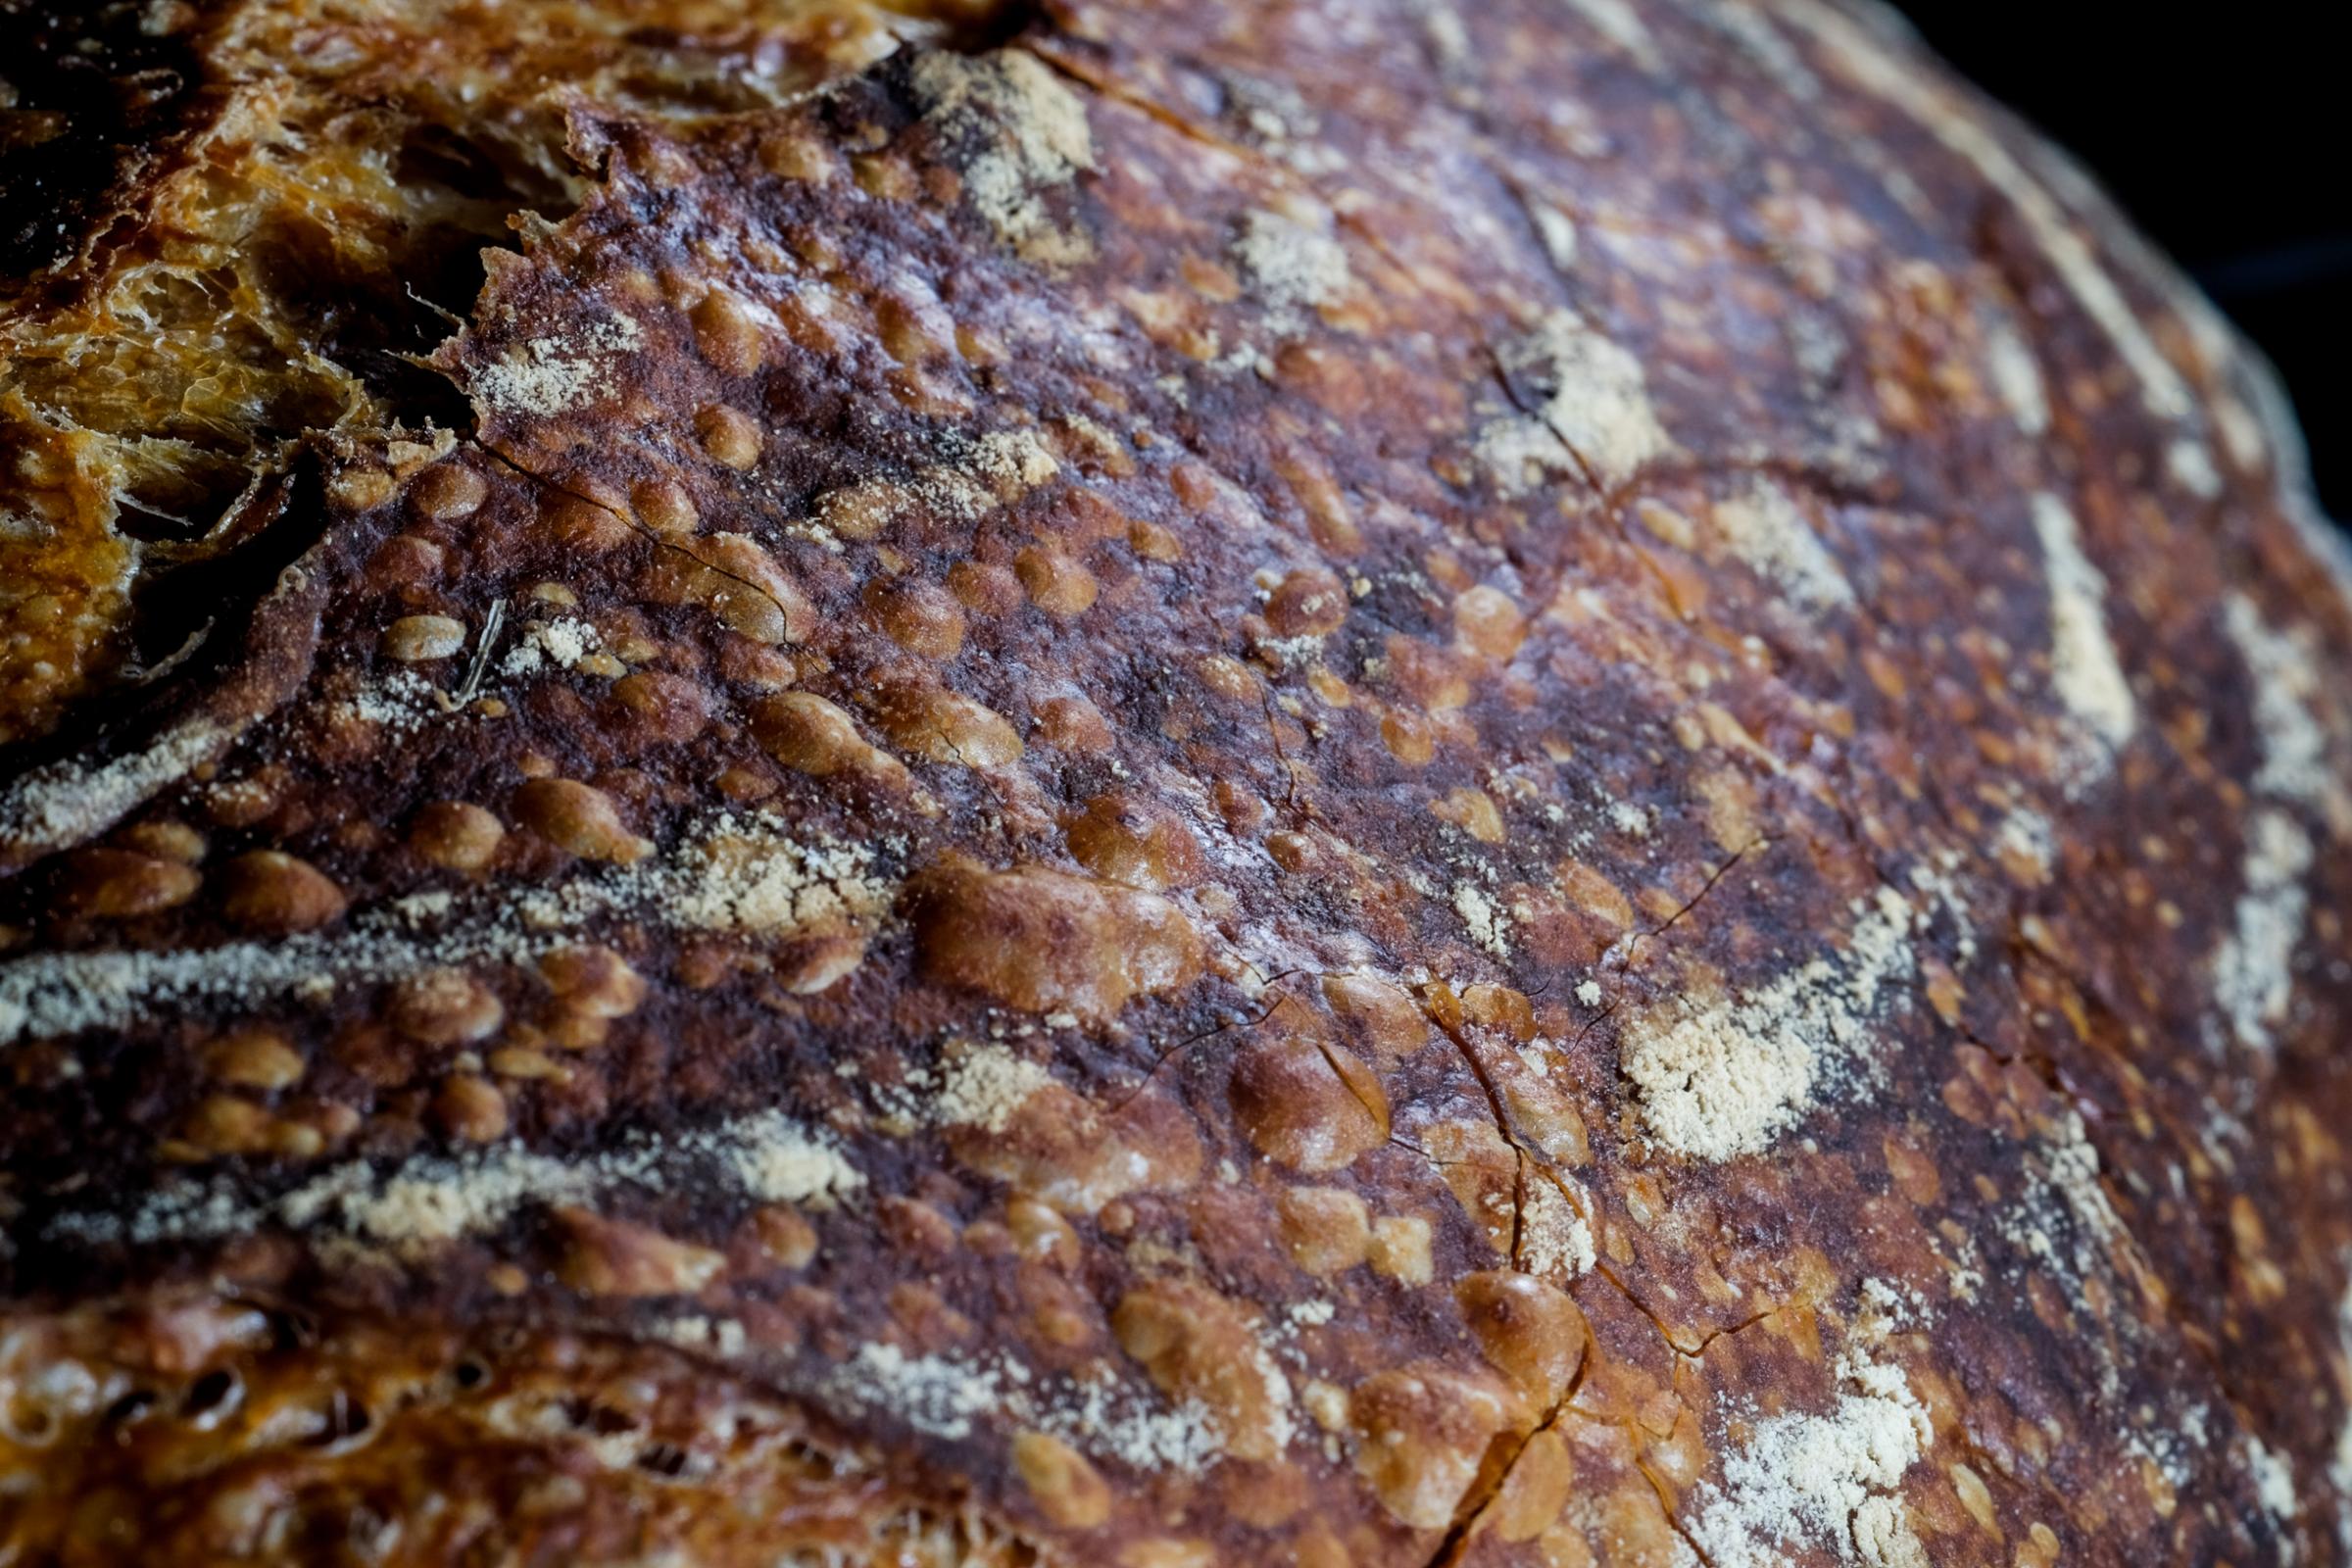
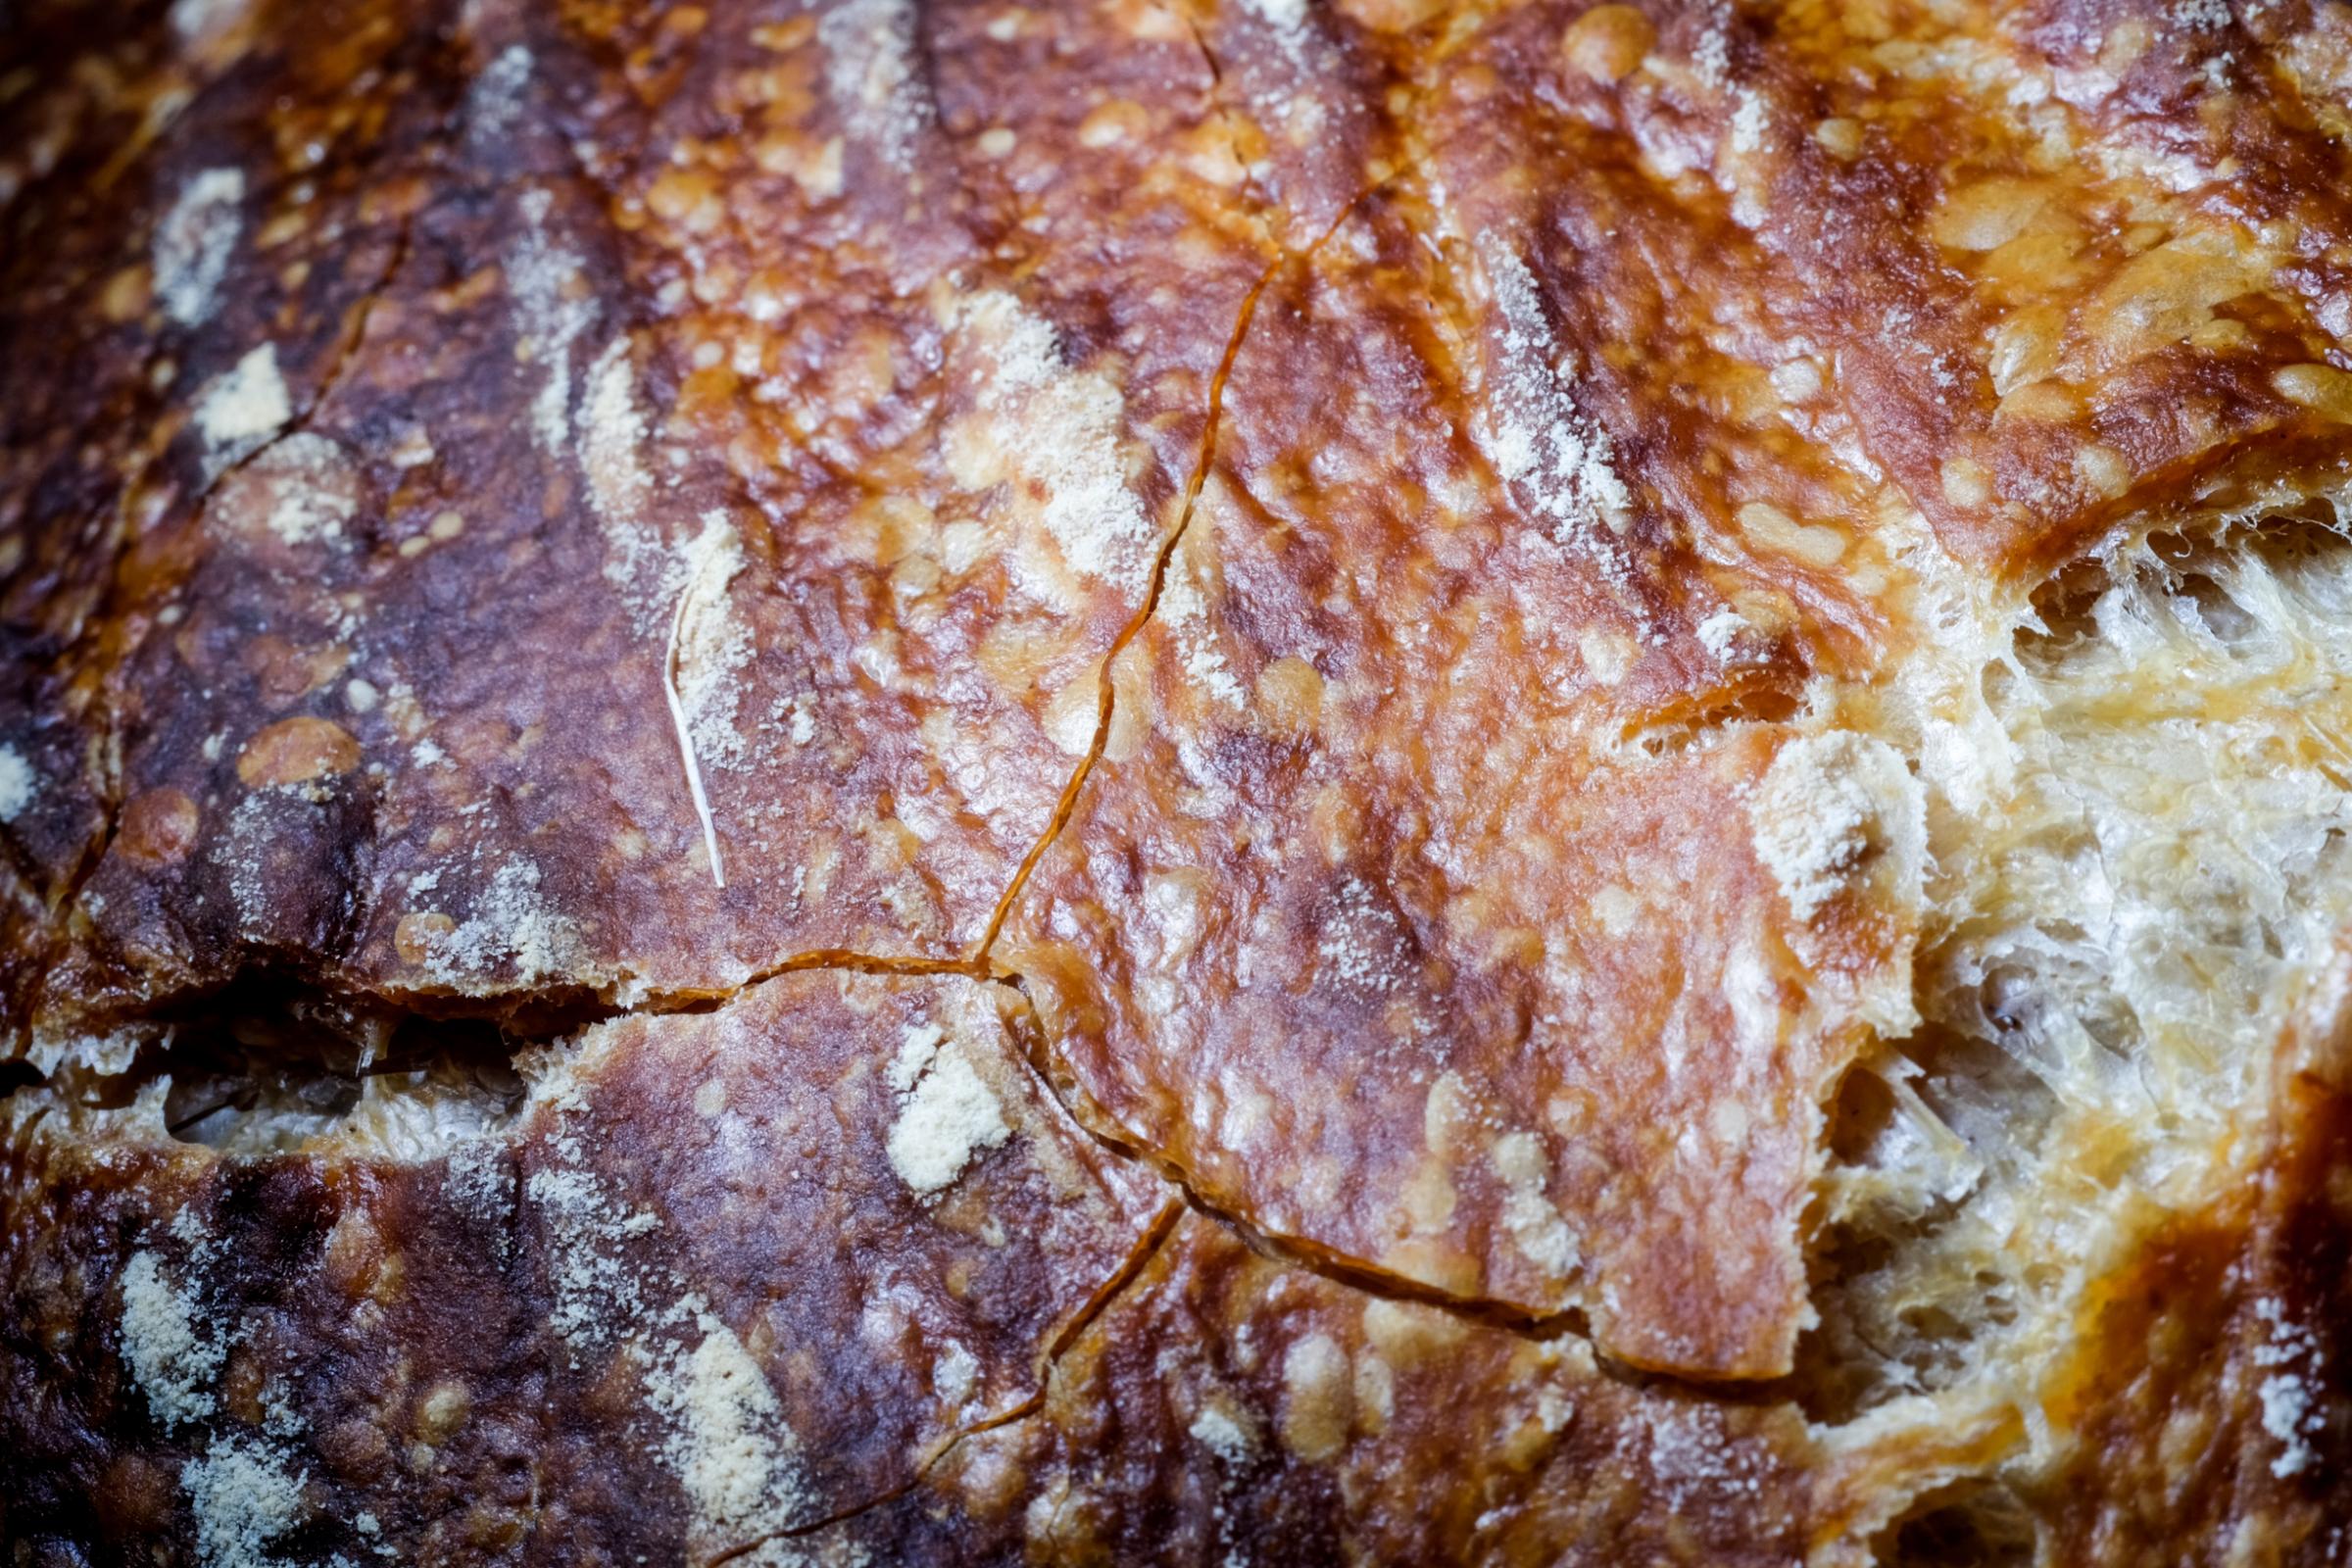
  5. In the morning, heat oven and Dutch ovens to 475 F for at least 45 minutes. Place parchment rounds in the bottom of the pots and put the loaves directly out of the fridge into the pots. You may choose to score them but this is not necessary since they are being baked seam side up. Bake at 450 F for 25 minutes, remove lids, drop temperature to 425 F and bake a further 25 minutes.


And since we are having Easter dinner with family, I said I would be bringing dessert: Carrot cake and sticky buns. The carrot cake still needs to be iced but it’s a good start. 

Elsie_iu's picture
Elsie_iu

Umami Bomb: Seaweed Shio Koji Twisted Sourdough Bagel

I have to admit, my love for sourdough and whole grain happened more recently, bagel is the one that stole my heart first. I love it for its chewy and doughy texture that’s much more satisfying than an airy slice of sandwich bread. It’s therefore not difficult to predict at all that I gradually switched from white sandwich bread to more hearty whole wheat bread and finally to whole grain sourdough. My love for bagels still lingers, though after all the flavorful whole grain sourdough, they might taste slightly less exciting. Easy solution: incorporate whole grain, sourdough and new flavours, and you get bagels with both flavour and texture!


Umami Bomb: Seaweed Shio Koji Twisted Sourdough Bagel


Soaker:

20g      7%            Toasted wheat bran

3g        1%            Coarse masa bits

23g      8%            Water


For dough including soaker:

228g    80%            Whole wheat flour (20g bran from the 228g shifted out)

57g      20%            Masa (3g coarse bits from the 57g shifted out)

220g    77%            Water (23g water taken out for soaking)

30g      10%            Starter

30g      10%            Shio koji (Japanese salty fermented rice paste)

10g        3%            Vital wheat gluten

5g        1.8%           Seaweed flakes

 ___________

300g    100%            Whole grain

250g     83%            Total dough hydration (next time I’d down it to 75%)


Combine all ingredients under soaker and let the bran to be fully moistened overnight. Roughly mix all dough ingredients including soaker and let ferment for 8 hours at room temperature.

Stretch and fold for a few times then divide the dough into four equal portions. Let rest for 10 minutes. Take one portion and dust it with flour, roll it into a 40cm strip. Fold it along the middle so you get a U-shaped strip, cross the two strips over each other and pinch the end together so that you have a twisted rope. Connect the two ends of the rope to form a O-shaped dough. Repeat for the rest of the dough.

Let rise for 1 hour at room temperature. Meanwhile, preheat the oven to 250°C/480°F with steam and boil a pot of water. Dissolve a tbsp brown sugar into the boiling water. After the 1 hour rise, boil the bagels for 30 seconds on each side and let a towel soak up excess water before placing on a cornmeal lined baking sheet.

Bake on the upper rack (I use a toaster oven) for 15 minutes with steam than bake without steam for 5 minutes more until the internal temperature reaches 190°F. 

Do note that the shio koji speeds up the fermentation process dramatically. Usually it takes 12 hour for the 10% starter to fully ferment 100-105% hydration whole grain dough yet only 8 hours are needed for this recipe even if the hydration is only 83%.

The dough is easy to handle with a moderate hydration level for 100% whole grain but I’d definitely down the hydration from 83 to 75% for a chewier texture. With this level of hydration, the bagels are a bit too soft for my liking. However, the crust is crispy and nicely developed even though there are no large blisters.

They are not beauties...but the taste compensates.

The aroma of the seaweed shines through with subtle corn sweetness from the masa. I prefer masa to regular cornmeal as the former has a much richer corn taste to me. I’ll up the shio koji to 45g next time as it is not really tasted so the bagels produced lack the complex taste profile of it and are not salty enough. (A word of caution: the shio koji I used is homemade and the salt I put is less than the common practice, do check the salt content if you use store-bought.)

Trptman's picture
Trptman

Sourdough Round Two (warning: long post with lots of photos)

Round two. I’ve had my sights set on sourdough since I started baking bread about 6 months ago. After a string of failed starters (not to mention balancing two jobs and my last year in college) I was finally able to produce a batch about two weeks ago (see my first post). There was nothing not to like, only to miss. The crust was flaky and crispy. The crumb was soft but chewy and yet, the tang of sourdough was extremely subtle. I don’t like particularly sour bread, but this was too far on the opposite side of the spectrum. Enter this batch. A few free days of Spring Break (or Spring Bake) has let me start experimenting again. As someone who has spent the vast majority of the last four years studying the natural sciences and working in labs, I appreciate the value of modifying only one variable at a time in order to isolate cause and effect. In this batch, the only modification to the entire recipe from my first attempt was the composition of the starter. For the last two weeks, I have switched from feeding purely with bread flour to a 50/50 mix of bread and whole grain flour. The loaf, although oddly shaped, is exactly what I was going for. Crust, texture, taste, crumb is all perfect. It definitely has more tang than my last attempt but not to the point of being overpowering. This post is not meant to be a recipe to follow or advice on the proper way to bake a loaf of sourdough. It is intended to be documentation (I also work part time as a wedding/portrait photographer and had a blast setting up these shots) of the process so that I can receive feedback/input from the community. Enjoy! (skip to the end if you want to see the finished product and not the whole process with cringy commentary).


Recipe: 77% hydrated dough, 11% pre-fermented flour


Leaven

200g of 100% hydration starter

75g bread flour

75mL distilled water


Main Dough

700g bread flour

500mL distilled water

1.5 teaspoon salt


Flour: such a simple ingredient leads to incredible foods


Adding the starter (my baby) to the water


Action shot of pouring flour


Leaven mixed and ready to sit overnight


I let it sit in the oven with the light on to speed up the process as I needed to get an early start the next morning


The morning after, nice and bubbly!


Another action flour shot, I just can’t get enough of these!!


This is basically Mt. Everest


More action shots, this time you get a detailed image of my hand. You’re welcome


Just before the 3 hour autolyze


It rose nicely (again let it sit in the oven with the light on)


Adding the water with salt dissolved


Mmm…that stretch


Moody shadows after the first (of 5) stretch and folds


I think this was the fourth or fifth fold (?)


Prepping the countertop for division and shaping


That’s one massive, bubbly hunk of dough


Into the fridge for the next 14 hours to be ready to bake in the morning!


Shaped and ready to bake. I really like the texture of putting it straight in the proofing basket without a towel


Coming along!!


Perfect


Just look at those blisters!!


And those cracks!!


Nice light, airy crumb with a slight sheen to it from the high hydration.


 If you've made it this far, leave me a comment/suggestion/feedback! Thanks!

katyajini's picture
katyajini

2 fundamental SD questions

I have a couple of questions about SD cultures that are talked about many times but I am not not really finding the answers.  If you have written about this somewhere, I apologize, please just give me a link.

I have been reading advice or comments such as 'if your SD culture is never getting sour enough or just too sour, no matter how you vary your culture conditions, then you just have to start over and create a new culture (till you get what you like)'.  Is this true?  The flavor and other characteristics of  every culture is different? Even in the same home?  If I make a new culture today but maintain it exactly as my previous culture, flour, water, temperature, feeding schedule, my kitchen counter, then will the two cultures will be essentially the same or could they be quite different? 

Related question, if I bring someone else's culture, developed somewhere else, into my home and maintain it my way, will this new culture eventually, maybe even soon, become like the culture I developed?  Is there a point to trying 'exotic' cultures some people are selling if they cannot be maintained? Or are they that different in the first place?


Thank you!

fthec's picture
fthec

Handy chart?

Is there a useful chart that provides a description of the differences one would encounter in a finished loaf if the bulk fermentation was underproofed vs overproofed?  It might guide me in the right direction to narrow down the potential causes of the problems I've been having with my wild yeasted doughs.

Thanks.

mike_1_berry's picture
mike_1_berry

Granola Sourdough

I saw someone post a Granola Sourdough which looked pretty good so I threw 60 grams of granola into my standard recipe to see how it would come out. I was pretty impressed as the granola added a good subtle flavor and texture which I really liked.... I will be experimenting more with this soon. 

450 grams strong white bread flour

50 grams wholewheat

100 grams starter

10 grams salt

60 grams granola

325 grams water


Cuisine Fiend's picture
Cuisine Fiend

Bun-e-ttone

How about the Anglo-Italian fusion for Easter: a combination of hot cross buns and panettone? Yes, I know, there's the properly Italian colomba di pasqua and I've made it too, but my bunettones are just a bit of fun.

I used a sourdough starter but didn't go through the faff of lievito madre, getting up at four in the morning etc., like I did back at Christmas time. Not orthodox, but ordinary, lively 100% wheat sour starter seemed to work well.

Bunettone

I made 11 mini ones and one large - like the 11 disciples plus Jesus symbolised by marzipan balls atop English Simnel cake... except I ran out of mini panettoncino cases and used an odd collection of paper cases and ramekins. Ah well, disciples weren't all the same were they? And yes, the picture features just the select few!

The detailed recipe and instructions are here on my blog site and all comments welcome. Purists - please don't shoot me.

Easter hot cross panettone


Isand66's picture
Isand66

Durum Semolina Yeast Water Bread


This is my second attempt at a similar bread.  I wanted to use my new Apple/Orange Yeast Water to make a Levain for this bread and not use any other sour dough levain.  When I did this a few weeks ago I didn't let the levain ripen long enough and the dough didn't develop correctly.  This time I let the levain go for a good 12 hours and then refrigerated and used it the next day.  No problem this time with developing the dough correctly.

I used some fresh milled and sifted Durum flour along with KAF bread flour and Caputo 00 flour.  For some extra crumb softness I added Greek yogurt and olive oil as well.  The sifted out germ and bran from the Durum flour was soaked in some of the water for the dough and added back in the final mix.

All in all I was happy with how this one came out.  I was surprised the crumb wasn't a little more open but it tastes great and made some excellent grilled bread brushed with some olive oil and topped with some sharp aged cheddar cheese.

Formula


Download the BreadStorm File Here

Levain Directions

Mix all the Levain ingredients together for about 1 minute and cover with plastic wrap.  Let it sit at room temperature for around 12 hours or until the starter is nice and bubbly.  I put it in the refrigerator overnight and used it the next day.

 Main Dough Procedure

Mix the flours , yogurt and water together in your mixer or by hand until it just starts to come together, maybe about 1 minute.  Let it rest in your work bowl covered for 1 hour.  Next add the salt, starter, and olive oil and mix on low for 4 minutes.  Remove the dough from your bowl and place it in a lightly oiled bowl or work surface and do several stretch and folds.  Let it rest covered for 10-15 minutes and then do another stretch and fold.  Let it rest another 10-15 minutes and do one additional stretch and fold.  After a total of 2 hours place your covered bowl in the refrigerator and let it rest for 12 to 24 hours.

When you are ready to bake remove the bowl from the refrigerator and let it set out at room temperature still covered for 1.5 to 2 hours.  Remove the dough and shape as desired.   Place your dough into your proofing basket(s) and cover with a moist tea towel or plastic wrap sprayed with cooking spray.  The dough will take 1.5 to 2 hours depending on your room temperature.  Let the dough dictate when it is read to bake not the clock.

Around 45 minutes before ready to bake, pre-heat your oven to 520 degrees F. and prepare it for steam.  I have a heavy-duty baking pan on the bottom rack of my oven with 1 baking stone on above the pan and one on the top shelf.  I pour 1 cup of boiling water in the pan right after I place the dough in the oven.

Right before you are ready to put them in the oven, score as desired and then add 1 cup of boiling water to your steam pan or follow your own steam procedure.

After 1 minute lower the temperature to 450 degrees.  Bake for 25-35 minutes until the crust is nice and brown and the internal temperature of the bread is 205 degrees.

Take the bread out of the oven when done and let it cool on a bakers rack before for at least 2 hours before eating.


mpace's picture
mpace

Total newbie, swiss roll sponge help?

Hi Everyone!

I am trying to teach myself to bake, I have made basic things but am trying to learn new things and get really skilled. I thought I would try a swiss roll and followed this recipe from the GBBS. 3 eggs, 75g confectioners sugar and 75g self-raising flour.

https://www.bbc.co.uk/food/recipes/blackcurrant_and_96079

But I didn't do the black licorice, just a strawberry and cream filling so I could do a really basic one and do more interesting flavors if I got this down

There is a link below to a video, my sponge came out I think, too spongey. It is kind of like the texture of the inside of a couch cushion. I wouldn't necessarily say it is dry, maybe chewy? I can't tell if it's underdone or overdone, by the color I don't think it's over and it doesn't seem moist enough to be under. I baked it at 400 for 9 and a half minutes. I have never beaten a cake this much, I beat it a lot because I know you're supposed to get it foamy and doubled before adding the flour, and once I sifted in the flour I tried folding it in but it looked a bit lumpy so i got scared and mixed it gently until everything was combined. Maybe I made a mistake?


Here is a video showing the texture. Thanks for any advice!

https://vimeo.com/261673514

alfanso's picture
alfanso

Now what am I supposed to do?

With my brother and sister-in-law in town I baked a few semolina-fennel seed-golden raisin-toasted pine nut baguettes (that's a mouthful - in more ways than one) and then followed that up with a batch of Vermont SDs.

On our way down to Miami for a fantastic dinner at Jamon Iberico Pata Negra restaurant, we stopped at the equally fantastic Laurenzo's Italian Supermarket, which I've mentioned here a few times.  Brother and wife had heard me talk Laurenzo's up and had to see it.  I packed up one of each of the baguettes to give to David, the owner.  I try to drop off a bread or 3 every time I stop in - this is the place where I get my buckets of semola rimacinata.

Against my sincere protestations, David insists on me not walking away with my hands empty.  He has recently been getting his bread wholesale from the < year old Miami outpost of the Sullivan Street Bakery.

The lineup here, parts of which have already been shorn off or disappeared completely are (from top to bottom):  Filone, Pugliese, Stirato, Ciabatta, and then my two (the semolina is already missing its right half).  The filone was gargantuan and the stirato was as long as a policeman's night stick before they were attacked in the name of peeling off some to add to what we gave to our dining out companions - my cousins.

This is a little over the top...

alan

Pages