The Fresh Loaf

A Community of Amateur Bakers and Artisan Bread Enthusiasts.

Most bookmarked

Ittayd's picture
Ittayd

How to create levain that will ripe after 13 hours

I want to prepare the levain when I wake up and start making the bread after getting back from work. The average temperature is 28 Celsius at home (average, actually more like 30 for 6 hours and then 26 as the air condition is used). 
What should be the percentage of starter to flour ? What should be the hydration? (if possible, in numbers, to get 300g levain, so there's no mixup of what percentages mean, )

Anonymous baker's picture
Anonymous baker (not verified)

Ciabatta

BIGA:

  • 26g rye starter @ 100% hydration

  • 97g water

  • 127g flour (durum/bread flour mix)


INGREDIENTS:

  • 250g flour (225g durum/bread flour mix, 25g whole wheat flour)

  • 202g water

  • 7.8g salt

  • All of Biga


This was the final recipe I've adapted for a sourdough "biga" preferment (yes, I know it's not technically a biga but it was adapted from a yeasted recipe).

Picked up a lovely pasta flour by Dove's Farm which is a bread flour and durum flour mix. It's still very yellow so the durum percentage must be very high. The protein percentage of this flour mix is 14.3%. If anyone who lives in the UK finds it difficult getting hold of durum flour but has access to Doves Farm flour then this would be the next best thing.

The final hydration came to 80% and perhaps it's the flour, me or both but I developed the gluten so well I could grab hold of the dough and lift the whole thing up. 80% hydration with a very high percentage non wholegrain flour is well into the range of handling issues but it seems to be getting easier. It's all in the developing of the gluten. If developed well it behaves better. Still sticky but not impossible.

Made a makeshift couche with a kitchen towel and when finished proofing I flipped it over onto some foil. I made two and baked them one after the other. The first one (pictured) I accidently folded the ciabatta slightly when flipping it over. Wasn't sure how to go about it and it was my "practice run". The second one I flipped it over perfectly but it was over proofed. I should have refrigerated it but my makeshift couche made it difficult to pick up and manoeuvre.

While not perfect the taste is excellent. Lovely toasted (ignore the burnt bit in the photo). This as a recipe for ciabatta is a keeper. I might even try this as a loaf of bread.

Thank you to everyone in my first post for helping me on my way.

Elsie_iu's picture
Elsie_iu

(Not) Ian’s Cream Cheese Rolls

Apparently, these are inspired by Ian aka the King of Buns as referred to by dabrownman. As I can never allow myself to follow a recipe exactly, of course I have changed things up to show my own character. Unlike Ian, who blended the cream cheese with the dough, I put in chunks of cream cheese. Also, candied orange peels and sunflower seeds are incorporated to make the rolls more interesting. Rye flours are usually used along with orange and earl grey, yet to break the tradition, I chose to use barley flour (which resembles more of Ian’s rolls as well).


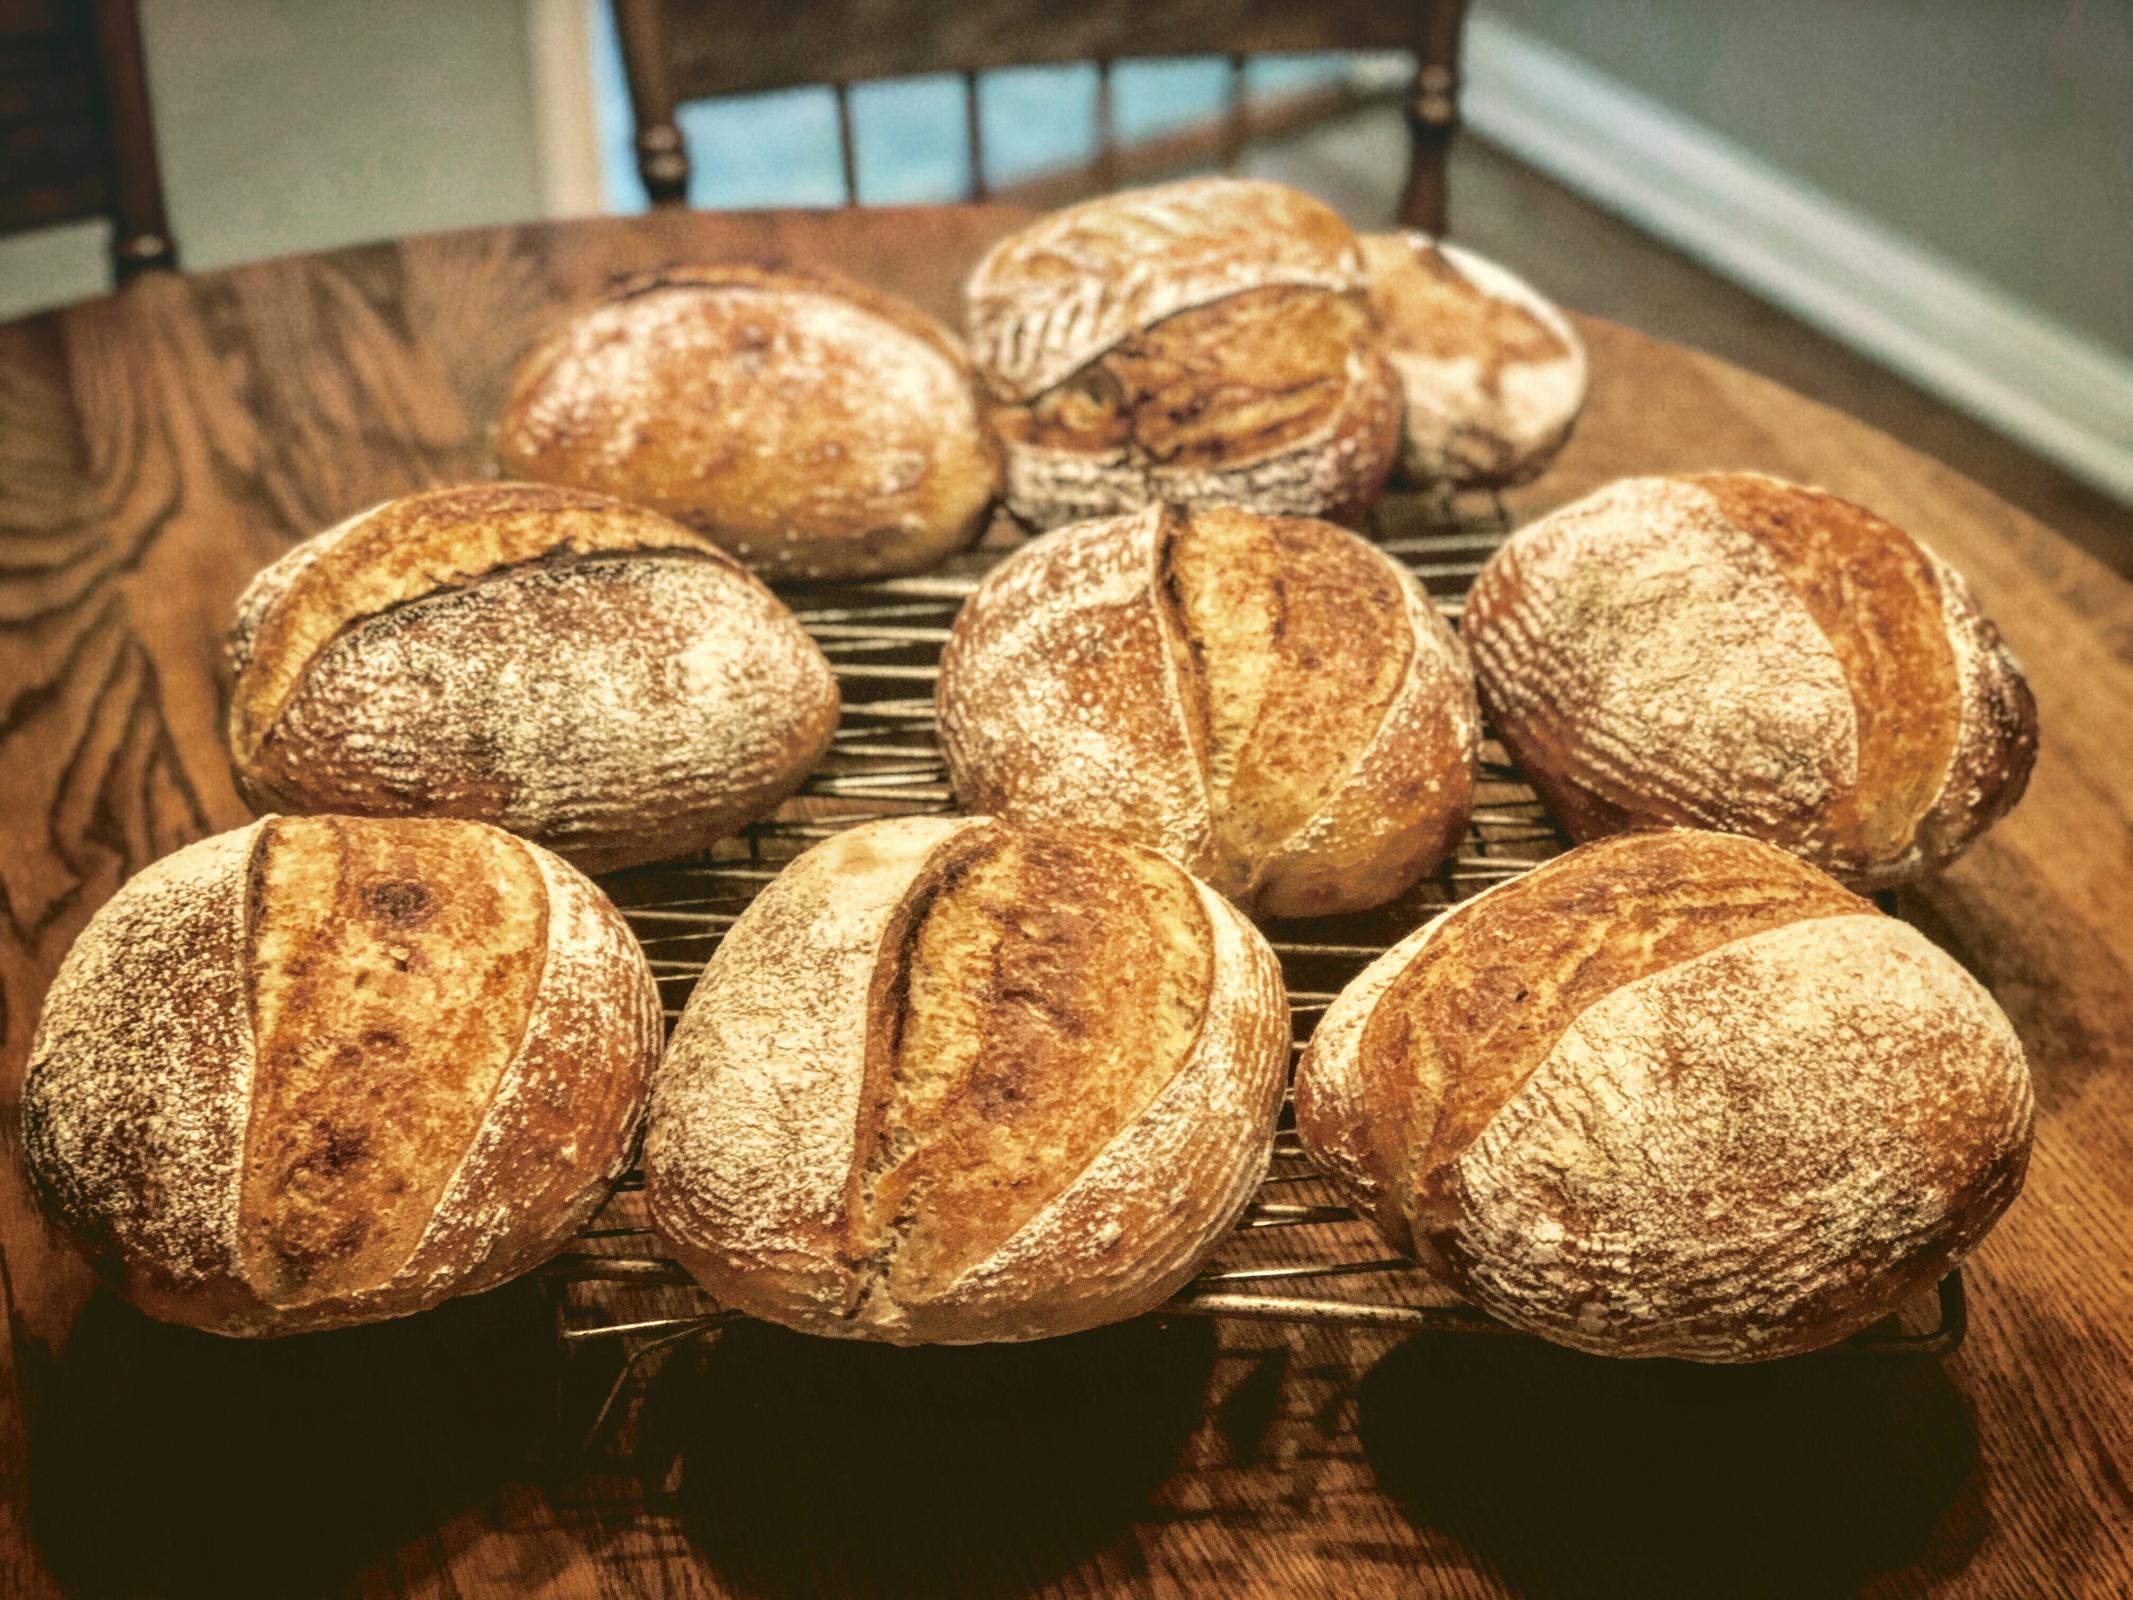
Earl grey cream cheese rolls with orange and sunflower seeds


Dough flour:

90g       30%       Freshly milled pearl barley flour

75g       25%       Whole spelt flour      

75g       25%       Whole red wheat flour

60g       20%       Freshly milled sprouted white wheat flour


For leaven:

10g       3.3%       Starter

13g       4.3%       Bran shifted out from dough flour

13g       4.3%       Water


For dough:

287g     95.7%       Dough flour excluding bran for leaven 

207g     68.9%       Water

52g       17.3%       Whey

36g         12%        Leaven

9g             3%        Vital Wheat Gluten

5g          1.7%        Salt

1g        0.33%        Ground earl grey tea leaves


Add-ins:

90g         30%       Cream cheese (I used 1/3 less fat)

30g         10%       Toasted sunflower seeds

21g           7%       Candied orange peels

___________

215g       70.5%      Whole grain

277g       90.8%      Total hydration 


Shift out the coarse bran from the dough flour, reserve 13g for leaven. Mix the rest back into the dough flour or soak them in equal amount of whey taken from dough ingredients for a minimum of 4 hours.

Combine all leaven ingredients and let sit until doubled, about 6-8 hours. Soak the candied orange peel in a little hot water to rehydrate.

Freeze the cream cheese for 1 hour. Cut into cubes and return to the freezer until needed.

Reserve 10g of the liquid and roughly combine all dough ingredients except for the leaven and salt. Autolyse for 30 minutes. Combine the reserved liquid with the leaven. Knead it into the dough along with the salt. Let it ferment for 10 hours.

Fold in the sunflower seeds and orange peels and let the dough rest for 20 minutes. Divide the dough into 6 equal portions. Fold the frozen cream cheese into the dough and shape them tightly into tiny boules. Leave it on the counter for 1 hour or until fully proofed. At the same time, preheat the oven at 250°C/480°F and pre-steam at the last ten minutes.

Score the dough and bake at 250°C/480°F with steam for 10 minutes then without steam for 15 minutes more or until the internal temperature reaches a minimum of 205°F. Let cool for 1 hour before serving.

These rolls have chewy and moist crumb but a crispy crust when toasted. The crumb is not very open probably due to over-proofing (the oven was occupied so I couldn’t heat it up in time for the rolls!) but acceptable to me for rolls.

I adore the taste of these rolls! They taste mildly sweet thanks to barley, spelt and sprouted white wheat. Cream cheese, orange, sunflower and earl grey are such a killer combo! You get sweetness from cream cheese and orange, tanginess from cream cheese, toasty nuttiness from the sunflower seeds and whatever aromatic scent from the earl grey. 


Thanks Ian for inspiring such delicious rolls!


Adam4SD's picture
Adam4SD

Baking steel vs. Lodge combo

I was happy to receive an order for 7 loaves of my sourdough bread.  I had never handled 2640 grams of dough - hand mixed - but also never spent over 2.5 hours baking bread in  two combo sets for each bake.  I would like to get a steel that will fit  in my oven - 16x20 - and try baking directly on the steel. Do you have any advice on where I can get this over sized steel and whether bread would turn out the same way as from combo sets?


Thank you!

Young Hee

stephen.c's picture
stephen.c

100% Spelt Sourdough

Hi There,

I have heard some people bake to discharge the tension and the stress after a week of hard working but this definitely did not happen to me :).

In fact I started baking with the idea of saving some money and after lots of failures, I started becoming even more stressed. As any newbie, I had been looking for the best sourdough recipe and none of the ones I tried worked for me. Surely, I told myself, people do not reveal the secrets behind a wonderful loaf nor the most popular books do. 

The Tartine Bread book and other ooks I read talk about very weird things like "feeling the dough", "watching the dough", "touching the dough" etc. like it was your beloved pet; Are they kidding me? they made me reading hundreds of pages and they didn't even share with me any secret? 

Probably those readings annoyed me so much that I decided not to follow any recipe and try to find the secrets by myself. It did not take long time to realize I was actually doing the weird things I did not want to believe were actually the best advises i was ever given :)

I still have a lot to learn but last results (attached photo) were pretty decent so I decided to share with this blog my recipe ad the method I use with the hope you can maybe improve it even more.

I have to say it was impossible to find a 100% spelt sourdough recipe on the Internet. Probably reason being spelt flour is not the best flour to make bread. This is the reason why I actually decided to add 8% Vital Wheat Gluten.

The ingredients I use are:

  • 8% VWG
  • 46% Wholemeal Spelt Flour
  • 46% White Spelt Flour
  • 66% Water
  • 1.8% Salt
  • 27.27% Wholmeal Spelt Starter/levian 100% Hydration

The above ingredients give me:

  • 12% Inoculation
  • 70% Hydration

The method I use is:

  • Autolyse 40/50 minutes (only Flour with VWG and water)
  • Add the salt and the starter and knead for 5 min just to incorporate everything into the dough
  • S&F every 30 minutes or so for 3/4 times
  • Rest for a hour or so (depends on how you feel the dough :), it should look alive, bubbling, domed at the edges etc.)
  • Shape and put in the banneton to proof (I use 100% rice flour to dust the bannetons)
  • Proof up to the point the dough springs back when poked (I failed the poke test several times as I was kind of mislead by what I read on the many forums. If the dough does not try to push your finger back that is too late and you wont have any oven spring)
  • Slash & Bake. I tried with both a dutch oven and a clay pot. The former gives you a better crust while the latter is probably more flexible as for example it allows me to cook 2 loaves at the same time. In both cases I do pre-heat them and spray the top with water. Cook 25 minutes at 250 Celsius and 30/35 minutes at 220 Celcius.

There are several things I need to improve

  • Slashing: the lame sticks to the dough and never get a clear and sharp cut :(
  • Crumb: they are getting better but I am looking for bigger holes hence a loaf which appears to be lighter
  • Taste: although the taste is great, probably I will try to retard the BF or the PF process in order to achieve a more sour bread
  • Crust: I am looking for more crunchy crust. Especially for the loaves cooked in the clay pot, unless I overcook the bread a bit, the crust is quite soft which is disappointing

I hope you found this post useful, any advice on how to improve any of the points above would be much appreciated.

Baking is an experience everyone should do at least once in their life. The only drawback is that you can become addicted and you start eating bread just to have the excuse to bake even more :D

Best regards!

Stefano


nmygarden's picture
nmygarden

Who's up for a Solstice Challenge?

It has been a while since our last challenge - if you'll recall it was a 'Don't Need No Stinking Rules Challenge', and it was loads of fun. I'm thinking we should pose a 'Celebrate the Sun' Solstice 2018 Challenge, to honor the coming solstice on June 21st - Summer, for those in the Northern Hemisphere, and Winter for those in the Southern Hemisphere.

We don't need a bunch of rules, but entries can represent the hemisphere from where they are posted? And tell us a bit about where you're from, what you've made, and why it was your choice.

Reply to this post, so we can keep the thread together. And may the best entry be delicious!

Cathy

PHOTOGRAPH BY OGNEN TEOFILVOVSKI, REUTERS

Danni3ll3's picture
Danni3ll3

CedarMountain’s Multigrain Bread


Quite a while ago, I had saved a number of recipes that CedarMountain had posted and I was looking for inspiration when I came across this one in my recipe app. It sounded intriguing with using a sprouted rye berry, ground toasted millet and flax porridge.


Recipe:


Makes 3 loaves


210 g rye berries divided into 100 g and 110 g portions

110 g spelt berries

110 g red fife berries

770 g unbleached flour

700 g water (main dough)

50 g flax seeds

60 g millet

205 g of water (for porridge)

30 g full fat yogurt

23 g sea salt

245 g 100% hydration levain (procedure in instructions)


Sprouting the rye berries

  1. Soak the 100g of rye berries in filtered water for about 8 hours. Drain and rinse.
  2. Leave on counter rinsing every 6 to 8 hours until you see rootlets that are about the same length as the berry. This took a couple of days. 
  3. When the rootlets are as long as you want, rinse again, dry as much as possible and refrigerate until needed. I started mine on Wednesday night and they were ready Friday night when I cooked the porridge. 


A couple of nights before:

  1. Mill the spelt, red fife and the remaining 110 g of rye berries. Sift all the flours through a #24 sieve and reserve the bran for the levain. I got a total of 34 g of bran. I reserved 87 g of sifted rye flour for the levain which left me with 5 grams that went into a cambro bucket. 
  2. Add the remaining sifted flours and the unbleached flour to the bucket. Cover and set aside.
  3. Toast the millet and let cool. When cool, grind in a Bullet and set aside.
  4. Grind the flax in the Bullet and add to the millet.


The morning before:

  1. After having revived your starter for a couple of days, feed 30 g of it with all of the reserved bran and 34 g water. This will make for a very thick mixture. During the day, give it a couple of stirs when you think of it. I didn’t think of it and it was still smelling quite nicely by the evening.


Before going to bed the night before:

  1. Add the reserved rye flour and 87 g of water to the levain. Let sit overnight on the counter. It should have doubled by the morning. If you aren’t ready for it, stir it down and let rise again. Mine seemed to sit at peak for several hours so I didn’t have to stir it down. It was still smelling nicely about 10 hours later.
  2. Take the sprouted rye berries and mash them up in a food processor. There will still be a lot of chunks. Place them in a pot with the ground millet and flax seeds. Add 205 g water and the 30 g of yogurt. Cook into a thick porridge. This took 20 minutes on medium low heat. Place in a cool spot for the night. You can place it in the fridge but bring back to room temperature or use warm water for the dough in the morning.


Main dough:

  1. Loosen the porridge with the dough water (I had to use my hand as a spoon wasn’t breaking it up), and add to the bucket with the flours. Mix well. The dough felt a lot wetter than what I usually mix at this point (Uh, oh! High hydration dough! Hope I don’t end up with bricks which is what usually happens when I have dough this wet. Oh well, I forged on!). Sprinkle the sea salt on top. Let autolyse for 90 minutes to a couple of hours.
  2. Add the levain and mix well. This was very easy due to the well hydrated dough. Do 50 in bucket folds to ensure that gluten development is well on its way. The dough started pulling away from the sides of the bucket so maybe not all is lost! Cover and place the dough in a warm spot to rise.
  3. Do sets of stretches and folds about 30-45 minutes apart for the first 3 sets then go to hourly folds for the remainder span of bulk fermentation. Bulk fermentation took 3 and a quarter hours and the dough rose about 40%. The dough moved really fast even though it was a rainy and dreary day. I had bubbles on the edge of the container right from the second set of folds. 
  4. Wet the sides of the dough with your hand to loosen from the bucket, and dump out onto a bare counter. Lightly flour the top of the dough again and divide into 3 equal portions of about 825-830 g.  Pre-round the portions with a scraper. I am getting much better at this!
  5. Let rest for 30-40 minutes and then shape into a fairly tight boule. This was a bit tricky with high hydration dough but after cinching, I used the scraper to help tighten the boules as best as I could. Place seam side down in rice/ap floured bannetons, cover, and put to bed in the fridge for the night. This turned out to be 17+ hours. 


Baking day:


  1. The next morning, heat the oven to 475 F with the dutch ovens inside for at least 45 minutes. Place rounds of parchment paper in the bottom of the pots and gently place the dough seam side up inside. The boules felt really soft and I was afraid they were over proofed. I usually don’t let proofing go that long, even in the fridge, but due to commitments, I had to prepare the dough earlier in the day than I would normally so it had a much longer nap in the fridge. 
  2. Cover the pots and bake the loaves at 450 F for 25 minutes, remove the lids, be pleasantly surprised at the oven spring, drop the temperature to 425 F and bake for another 22 minutes or until nice and dark. I had a bit of a minor panic when I realized I didn’t hear the timer and that the loaves were still in the oven. Thankfully, they were just fine with no burnt bottoms! 
BakerNewbie's picture
BakerNewbie

Autolyse with milk or substitute the milk?

I have a sweet dough recipe that calls for milk powder, heavy whipping cream, and whole milk. It also calls for water, but all of it is used in a tangzhong formulation. I would still like to autolyse the remaining flour, but I'm not sure how to do that since I don't have any water left. How can I autolyse?

1. Combine flour, heavy whipping cream, and whole milk - then let it rest for 20-60 minutes?
2. Scald the heavy whipping cream and whole milk, combine with flour - then let it rest 20-60 minutes?
3. Replace the heavy whipping cream and whole milk with UHT milk, combine with flour - then let it rest for 20-60 minutes?
4. Replace heavy whipping cream and whole milk with powdered milk, then combine the water that should be added to the powdered milk to the flour instead - then let it rest for 20-60 minutes?
5. Should I add the tangzhong during the autolyze? I'm concerned that there won't be enough hydration unless I do so.

BONUS QUESTIONS:

A. Generally, what is the hydration level when doing an autolyse?
B. When a recipe calls for milk powder, is it asking for non-fat milk powder?
C. Why would a bread recipe call for heavy whipping cream? Does it have something to do with fat content?

Beatrice's picture
Beatrice

Sift and scald

Hi bakers!

Today I want to share with you my first experience with a loaf made with the "sift and scald" method; here it is the recipe:

150gr whole wheat flour (you have to sift it 12 hours before starting to mix the other ingredients, the bran that remains has to be soaked in 75gr of scalding water 12 hours)

350gr white bread flour

350gr water

10gr salt

100gr leaven (I made mine with 20gr starter, 40gr white bread flour and 40gr water and let it sit overnight)


I prepared the soaked bran the night before and in the morning I mixed water and leaven, than flour (both the white and the sifted one)
and let it sit covered for 1 hour.

I added salt and the soaked bran and worked the dough until all the ingredients were well incorporated; I let it sit for 3 hours and an half for the bulk fermentation and did 4 round of stretch and folds (as this dough was really wet).

Than I let it rise until it nearly doubled in volume, and I started the preshape. I let it rest on the bench for 20 minutes after the reshape and than shaped in a boule shape.

I put the dough in a proving basket and let it sit at room temperature covered for 1 hour and an half.

I then transferred the dough in the fridge for the retarded fermentation until the next morning (circa 18 hours).

I baked it with my Lodge: 20 minutes covered and 35 minutes without the lid.

I am happy with the result and the crumb but I have to admit that it was very difficult to work with and that the oven spring didn't happen. I think that maybe my bran was less dry than I thought (or it was less in quantity) and I added too much water to it, and than this amount of water (350 for the dough and 75 for the bran) was too much to handle properly (as I am a beginner). 

Let me know if you had some experience with this method or if you try my formula!

Keep baking,

Beatrice

RichieRich's picture
RichieRich

Amazing skills shaping and kneading dough

The first one minute of this video.


https://youtu.be/y-FUGG94n0A

Pages