Another summer gone, and another summer away from baking. Prior to taking my bake break, I mentioned to my Barcelona friends that upon return, I would also return to complete some unfinished tritordeum business. That being to use the grain in a ciabatta. My recent go-to ciabatta formula is a modified version of Scott MeGee’s biga based dough.
Two runs, two types of tritordeum used. Each was a mix of 50/50 AP/tritordeum, employing the Hamelman-like AP levain at 125% hydration. With bassinage and 3% olive oil, the overall hydration of the total dough stands at 79%. In both cases, the water and the levain are kept refrigerated until mix time, owing to the mixing friction of my old Kitchen Aid planetary mixer raising the temperature as it developed the dough.
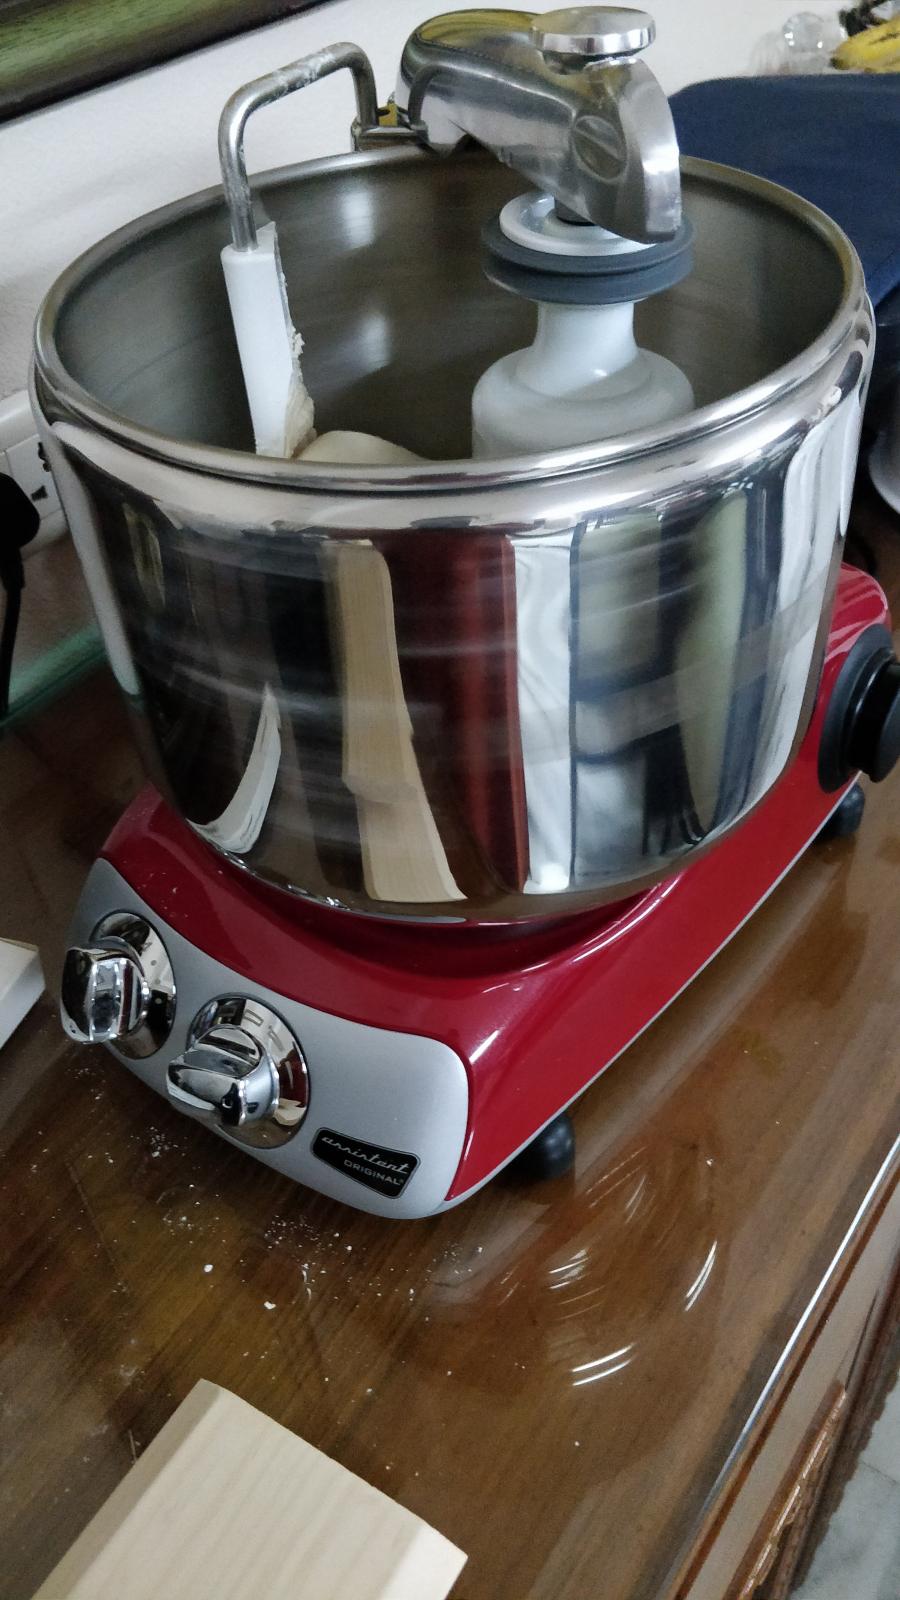
As with other ciabatte formula mixes, as the speed of the mechanical mixer increases, I seek two distinct signs that the dough is sufficiently developed. Not only do I listen for the slapping sound of the dough against the sides of the mixing bowl, but I also wait to see the dough being intermittently picked up off the bowl onto the dough hook and then re-deposited onto the bowl. Once these two qualifications are met, the dough has gained sufficient strength, and the mix is over.
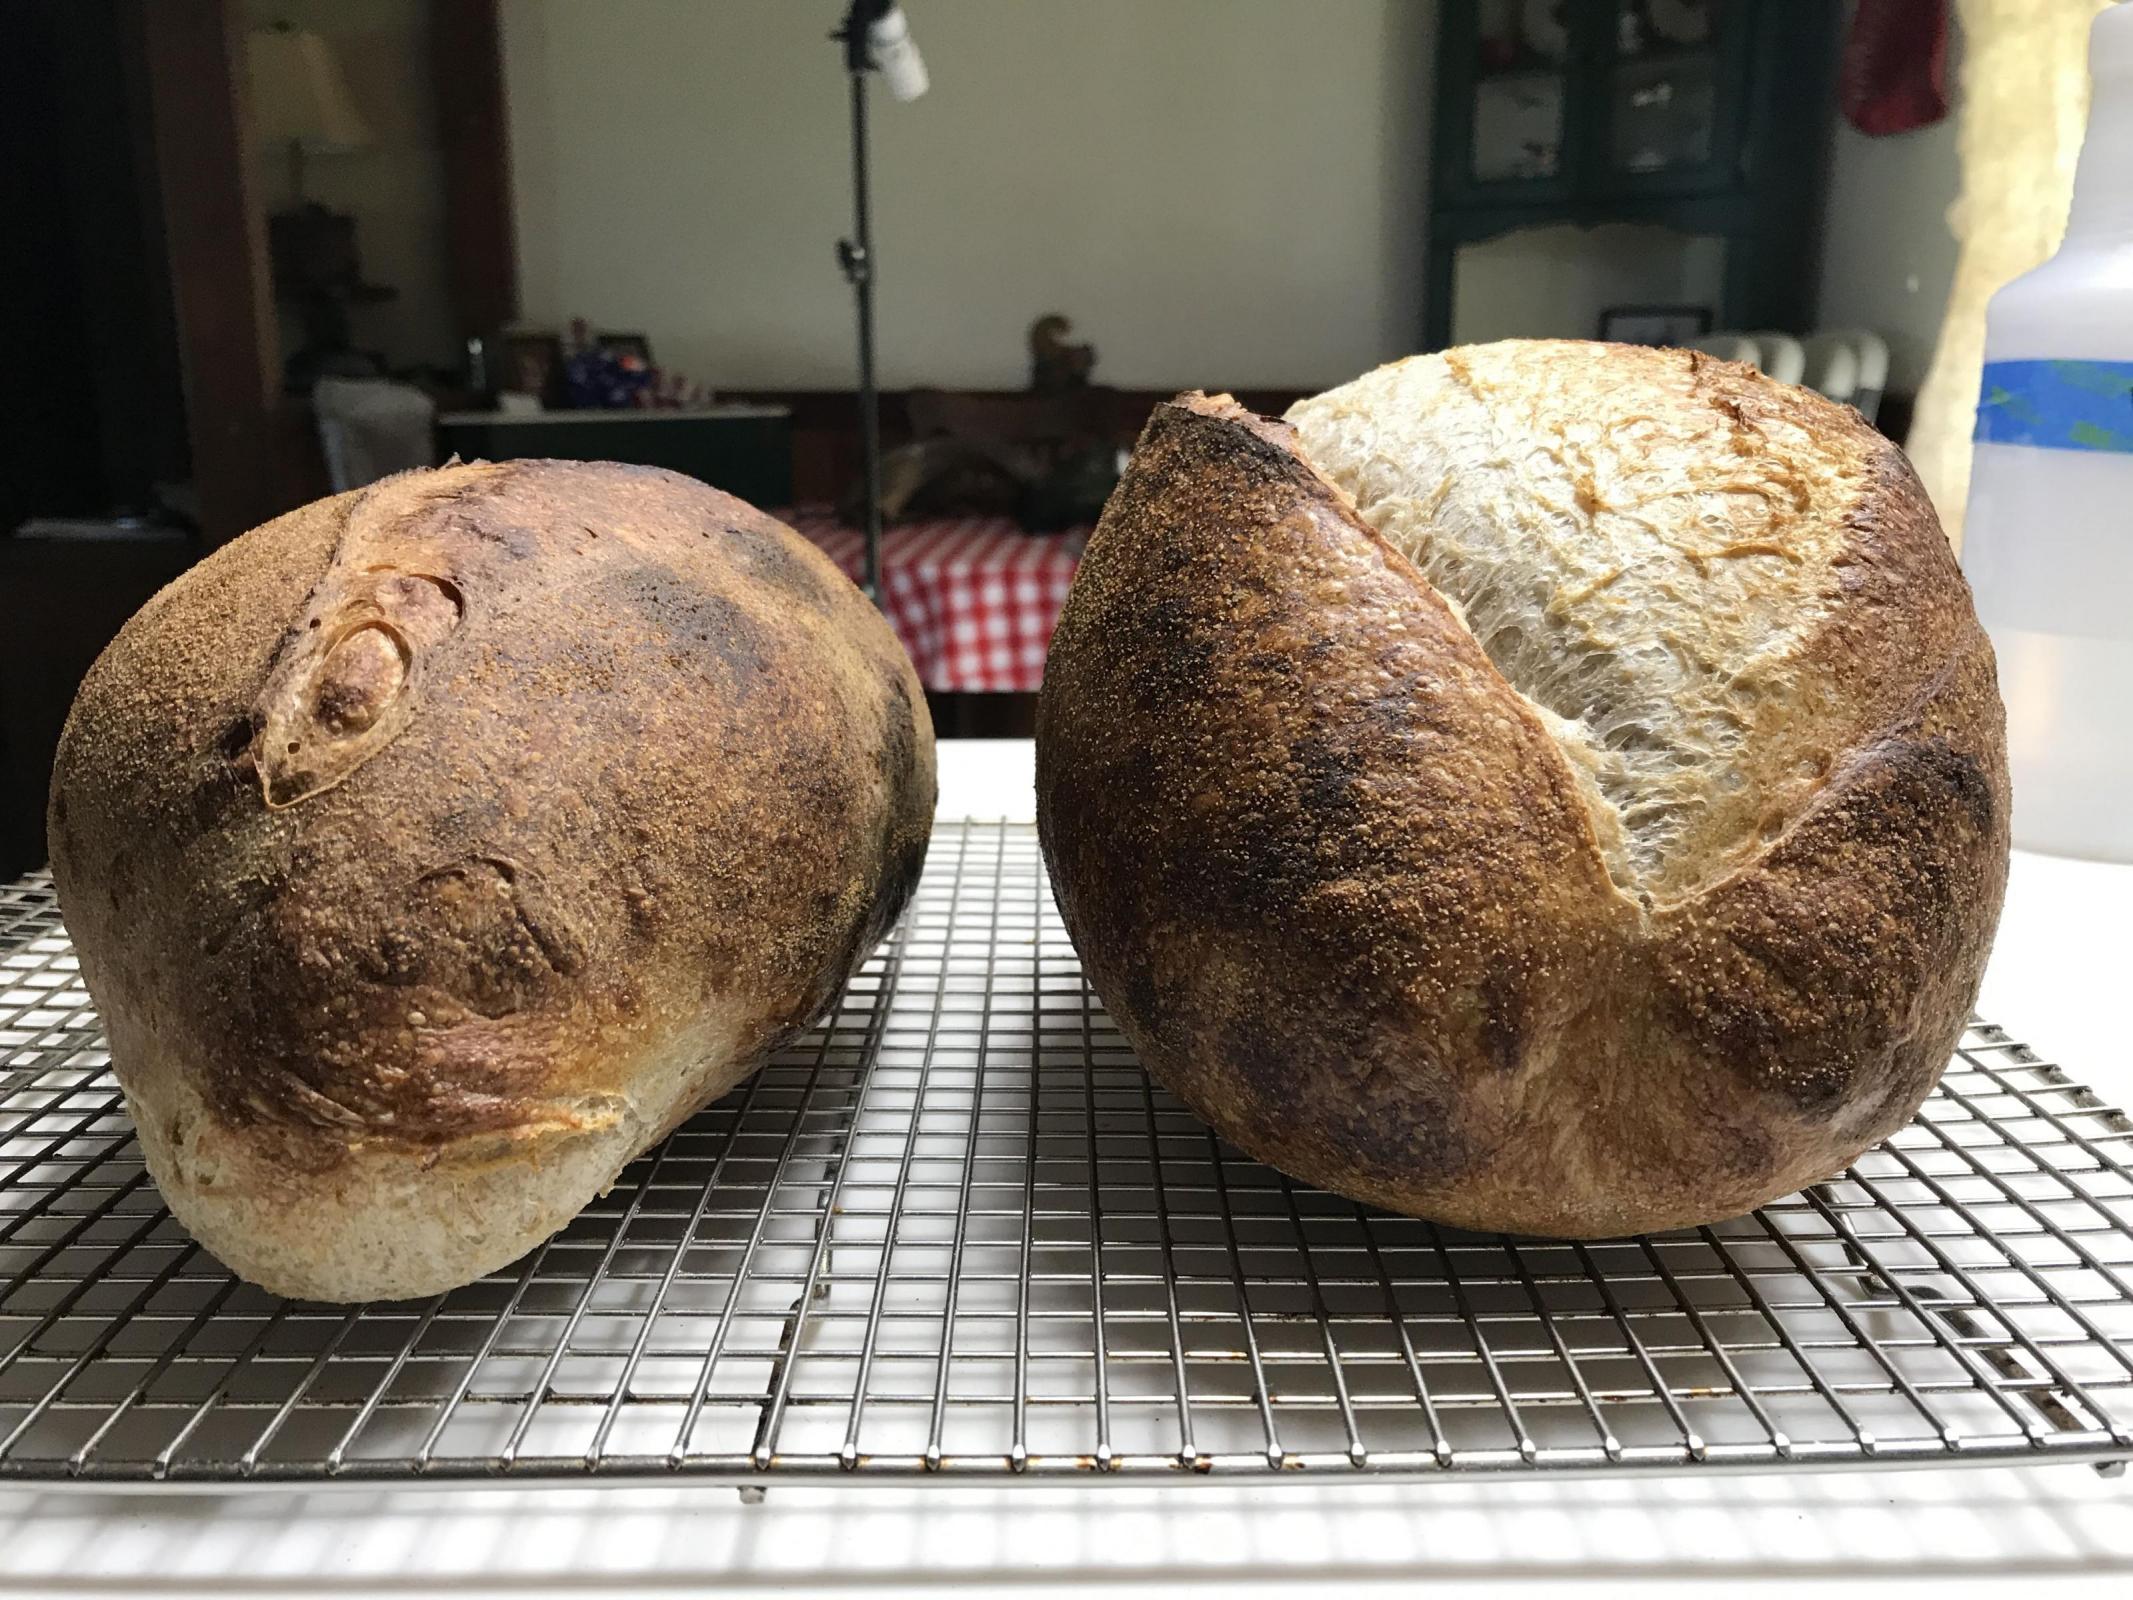
The first bake used the 'T150’ flour. The result was a relatively handsome set of loaves although the crumb, while tasty, left a lot to be desired as far as open structure - especially for a ciabatta. I will attribute this to three culprits. 1) Tritordeum is referred to as a low gluten flour in the online literature, 2) the ‘T150’ is akin to whole wheat flour, which will “consume” more of the hydration and also contribute to a tighter crumb, and 3) to my being away from the baking craft for a few months and therefore this served as my refresher bake. I’ll pretty much dismiss the last point as I’ve stepped away before and found little to no degradation in my skill set.
The second bake was with the ‘T65’ tritordeum, and I had just enough of that flour to fashion two 500g loaves before my store of the grain was depleted. On this run, one can see that the crumb is more open and fairly close to when I use 100% KA AP flour at ~11.7% protein. I also decided to allow for a rest time of 20 minutes between the initial incorporation of water and the final mix.
In both cases the shaping was decent, but fell short of being as consistent as I would like. The girth of the loaves also didn't equal what I’ve produced before with all AP flour - the barrel just wasn’t big enough in circumference.
My opinion is that while the ’T150’ version creates a pleasing and tasty bread, it would be hard pressed to pass muster as a ciabatta from the crumb alone and delivered a heavy and dense character to the bread. I would not recommend this as a ciabatta bread. It was quite tasty - just don’t sell it as a ciabatta to avoid disappointment.
The ’T65’ version has more of the ciabatta open crumb characteristic with a crumb that is open enough for what one might expect from a ciabatta at the lower end of the hydration scale. And I think that this version could very easily please most palates and not disappoint when presented as a ciabatta.
This was just furthering my experimentation and knowledge of the grain itself and what it potentially can and cannot do well. And I feel that the 'T65' version holds up quite well to an AP flour with the added benefits and enhanced flavor profile of the tritordeum grain.
In each run all loaves were ~500g.
'T150' Tritordeum

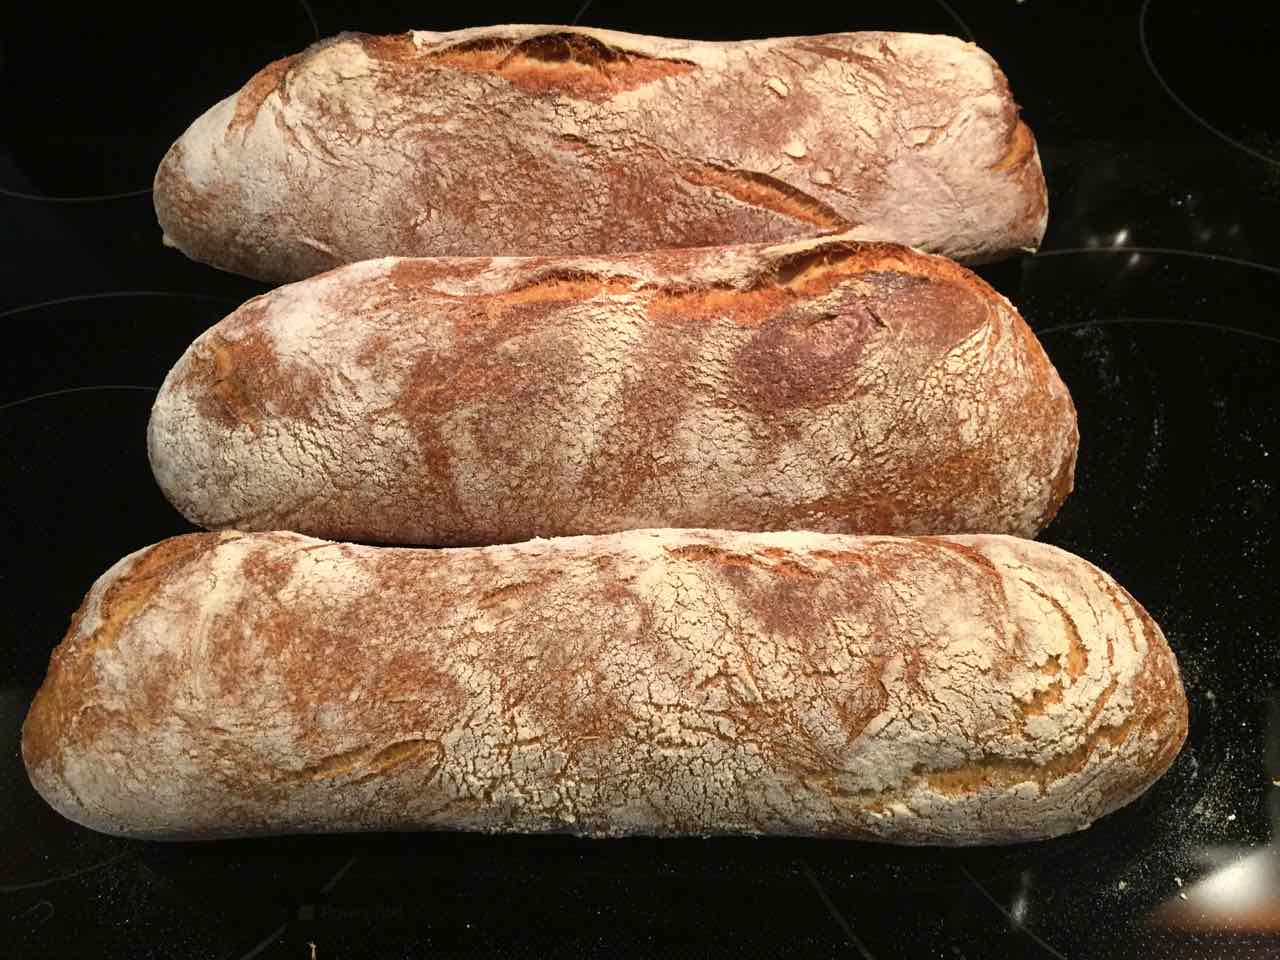

'T65' Tritordeum


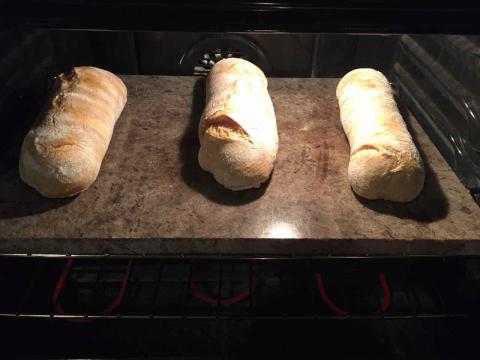
And for comparison, here is what the all AP version of this bread looked like from two previous bakes...


 for today for a needed procedure, after which I would be on soft foods for a bit. Quickly browsed my bread books and decided on Hamelman’s 5-grain bread (p. 281) as a base. I wanted a soft, high-protein, high-fiber multi-grain breakfast bun that would freeze well. It’s a straight dough. No time for a pate fermentee as my 2nd choice recipe called for, and I need to make a new starter. This recipe has a much higher percentage of whole grains. I made the recipe as written EXCEPT: