Please Note: This tutorial has been updated extensively with additional material and new and improved videos. Here is a link to the updated Bread Scoring Tutorial: Scoring Bread: An updated tutorial
Scoring Bread
What is scoring?
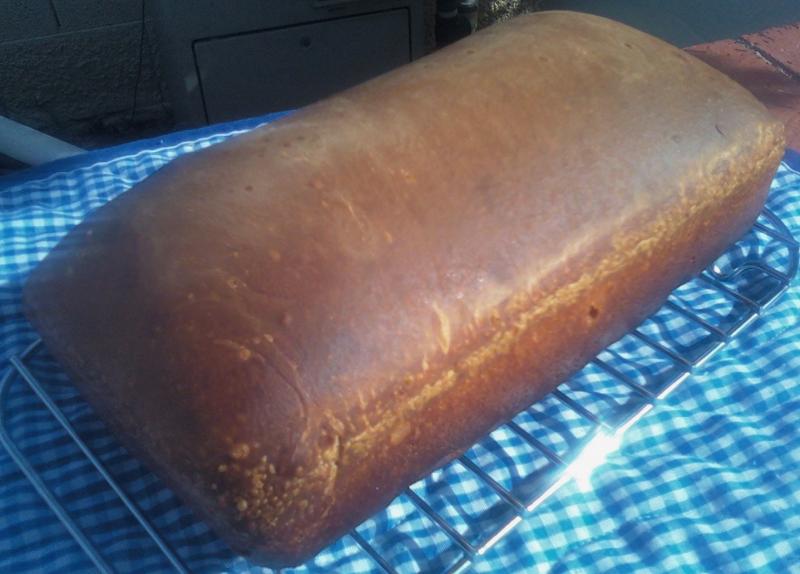
“Scoring” is the word used to describe the cuts made in a loaf of bread before it is baked. Some breads are not scored. For example many loaves baked in pans are not. However, almost all free-formed “hearth breads” are scored.
When is scoring done?
Scoring is generally performed just prior to loading the loaves in the oven.
Why are breads scored?
The purpose of scoring is primarily to control the direction in which the bread will expand during “oven spring.” Intentionally creating a weak spot on the surface of the loaf prevents the loaf from bursting at weak spots created during shaping.
The pattern of cuts made, the angle at which they are made and the depth of the cuts also influence the rate of expansion and the formation of an “ear” - a raised flap of crust at the edge of a cut.
The pattern of cuts also can create a pleasing visual pattern on the surface of the loaf. While there are some very traditional patterns, for example for baguettes, the baker can use the scoring pattern to identify the type of bread or to create an unique pattern that identifies the loaf as coming from his or her oven.
The effects of scoring on loaf shape are discussed in more detail below.
How are breads scored?
Breads are scored with very sharp cutting implements. These may be straight or curved razor blades, which may be held in the hand or mounted on a handle. Scoring may be performed with other sharp, straight blades, even with a straight razor. Some bakers prefer serrated blades. Some examples are pictured below:
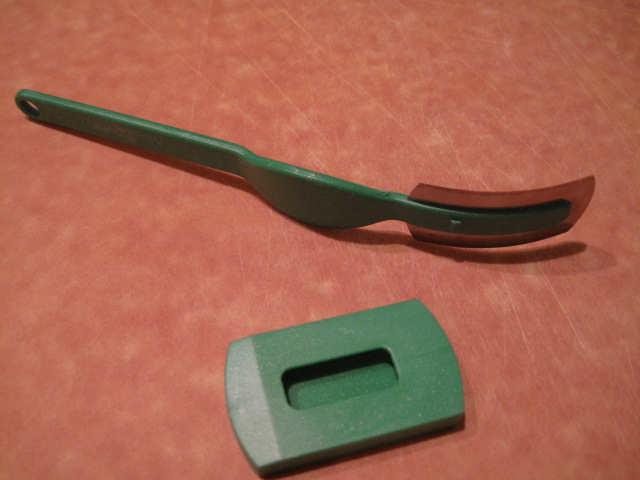
This is a “lame,” the French term for a razor blade used to score bread. This one is permanently mounted on a handle. Others are made with replaceable blades.
This lame holds the blade in a curved position. Others hold the blade straight. The curved lames are generally used for long breads like baguettes which are scored with cuts parallel to the long axis of the loaf. The cuts are made with the blade held at a shallow angle to the surface of the loaf, about 20-30 degrees or so. The blade is held with the concave surface facing up (away from the loaf). A flap of dough is created that will lift up to create an “ear” as the loaf expands and, by lifting gradually, slows the expansion of the loaf. This prolongs the time during which new areas of dough are exposed to the direct heat of the oven and results in greater overall expansion – a larger “bloom.”
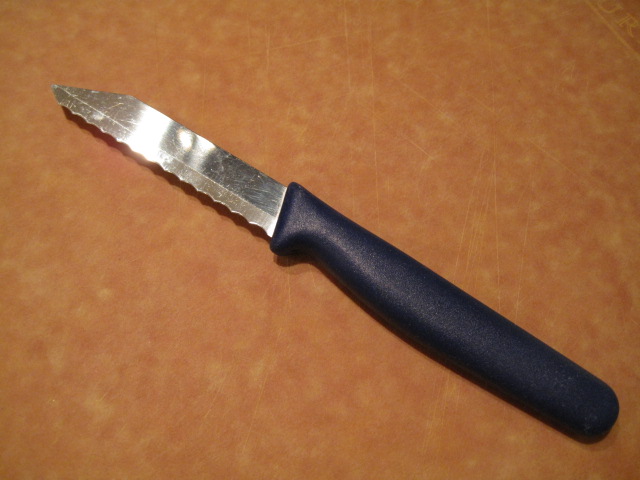
Serrated knife
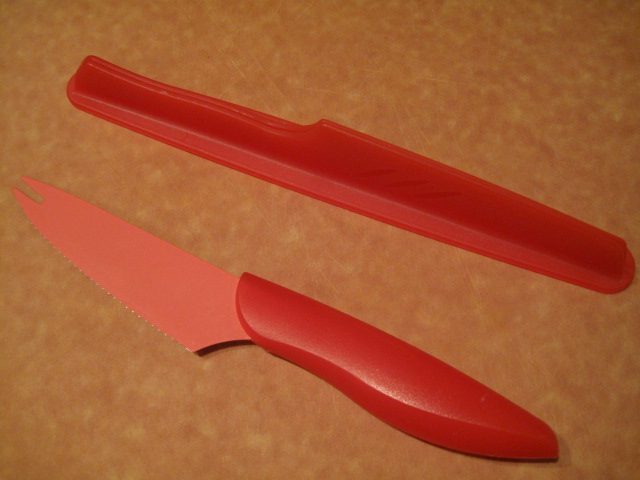
Tomato knife
These are examples of serrated, straight bladed knives. The first one is made expressly for scoring breads. The second one is manufactured as a “tomato knife,” but it is very sharp, holds its edge well and has been found to work very well for scoring bread.
Straight bladed knives are preferred for cuts made with the blade held perpendicular to the loaf's surface. This sort of cut is generally used for round loaves (“boules”). However, they can be used for the same kinds of cuts described above as well.
The angle the blade of the knife makes with the surface of the loaf is important in determining how the cut will open up. If you want the cuts to spread equally from the cut and to open quickly, the knife should be held vertically – at 90 degrees to the surface of the loaf. This type of cut is usually made ¼ to ½ inch deep.

If you want the cuts to spread more slowly and create an “ear,” the knife blade should be held at a shallow angle with the surface of the loaf, like this:
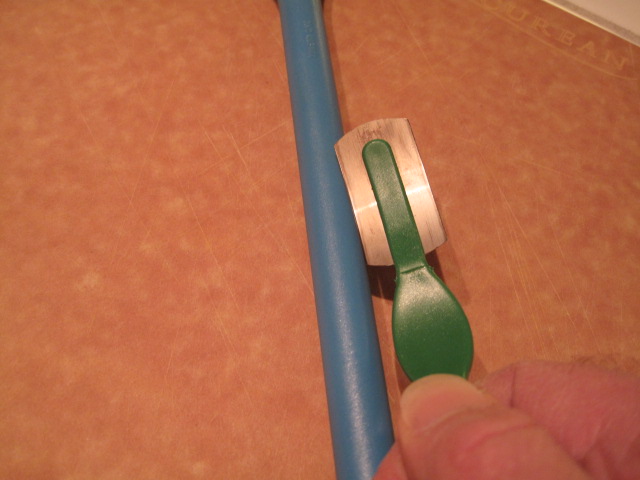
This type of cut should be shallower than the cuts made with the blade vertical to the loaf – about ¼ inch deep. A deeper cut will result in the flap closing from its own weight rather than separating from the surface of the loaf to form an “ear.”
The scoring stroke should be firm, rapid, smooth and decisive. For the beginner, it may help to take “practice swings” or to visualize the movements and totally focus one's attention before making the cuts. Understanding the functions of scoring and the effects of the variables described can help, but there is no substitute for experience. In this respect, scoring bread is no different from an athletic skill or any other art or craft. (Tourist: “Please, sir, can you tell me how to get to Carnegie Hall?” New Yorker: “Practice, practice, practice.”)
The effect of scoring on loaf shape
Michael Suas, in his book "Advanced Bread & Pastry," provides some information about how scoring patterns influence loaf shape. Scoring is not just to make a visually pretty design on the top of a loaf. It is also how the baker controls the direction in which the loaf expands. This impacts the shape of the loaf cross section (rounder or more oval), the height of the loaf and, for a boule, whether it stays round or ends up more oblong.
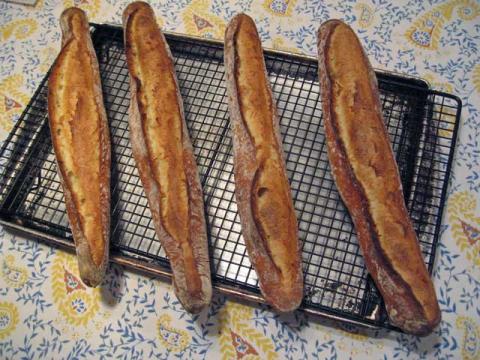
According to Suas, long loaves like bâtards and baguettes are traditionally scored parallel to their long axis. This may be a single long cut or multiple cuts that are almost parallel and overlap somewhat (for ¼ to 1/3 of their length, generally).
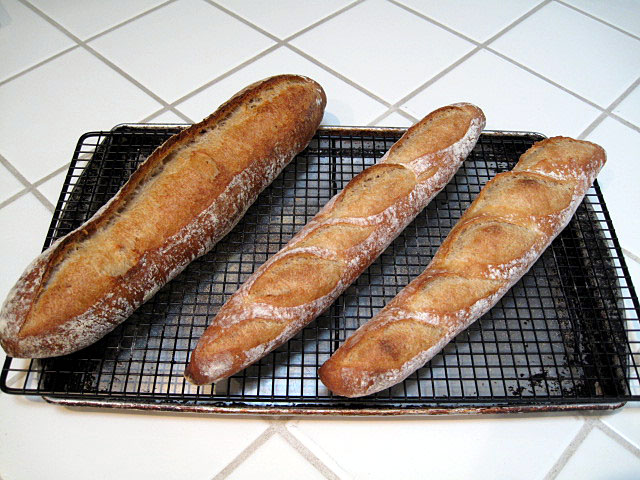
Classic Cut – Single and multiple cuts
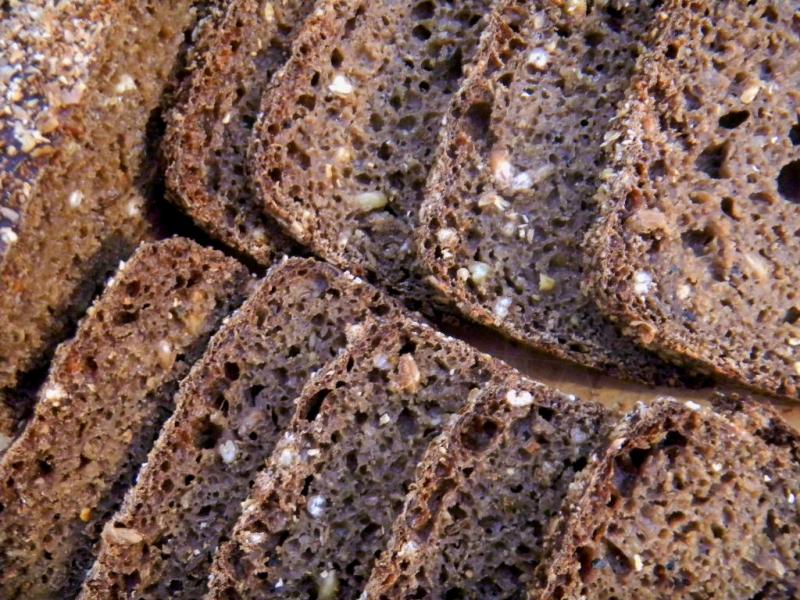
However, for breads with high-rye content which have lower gluten and less oven spring, the traditional objective is to encourage a higher rise in the oven spring resulting in a rounder cross section. This is achieved by "sausage" or "chevron" cuts.
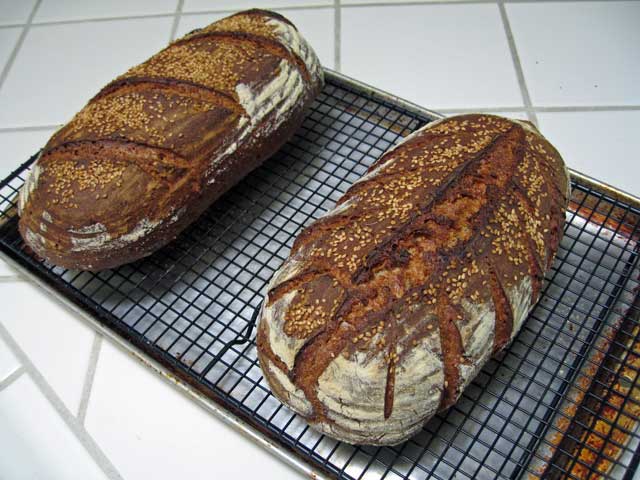
Sausage cut (on the left) and Chevron cut (on the right)
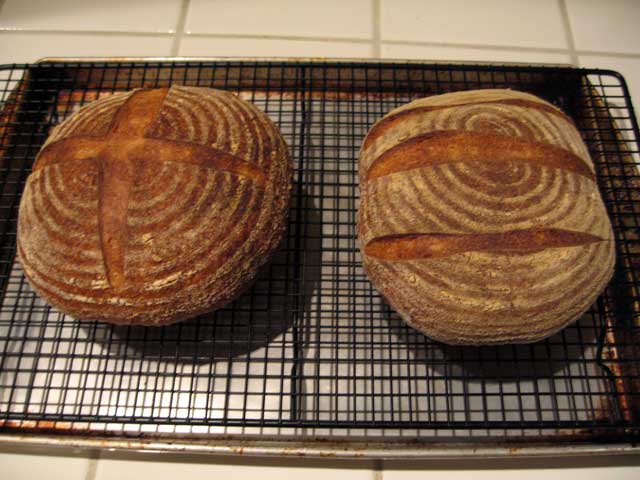
Boules are scored in a variety of patterns, again with differing effects on how the loaf expands. The common "tic-tac-toe" pattern and a simple cross will direct the expansion upward. More complex patterns like diamonds result in a relatively flatter loaf.
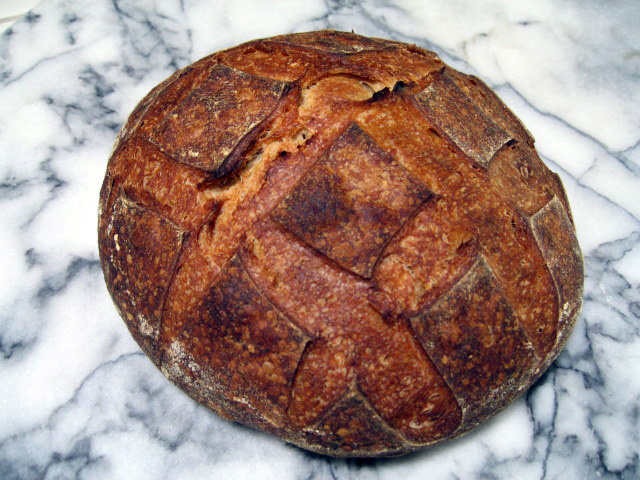
Boule scored with “tic-tac-toe” pattern
One of most interesting effects is that scoring a boule with multiple parallel cuts encourages expansion at a right angle to the cuts. This results in an oblong loaf shape.
What's the point of an ear? Controlled bloom!
This topic is not about the auricular anatomy of elves (or Vulcans). It's about scoring breads.
Scoring loaves creates a visually pleasing pattern, and it helps control the expansion of the loaf as it bakes.
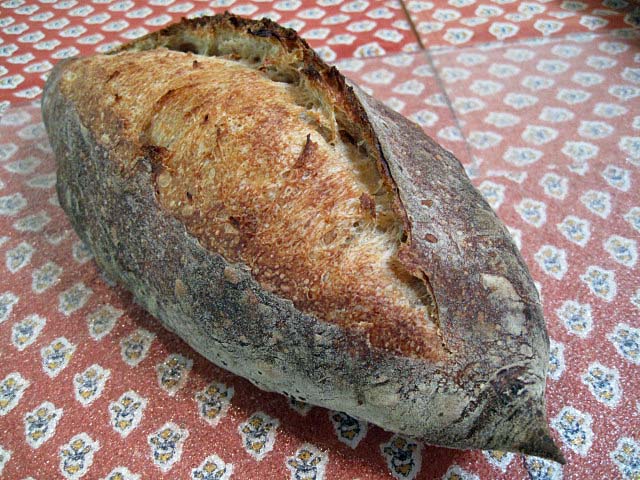
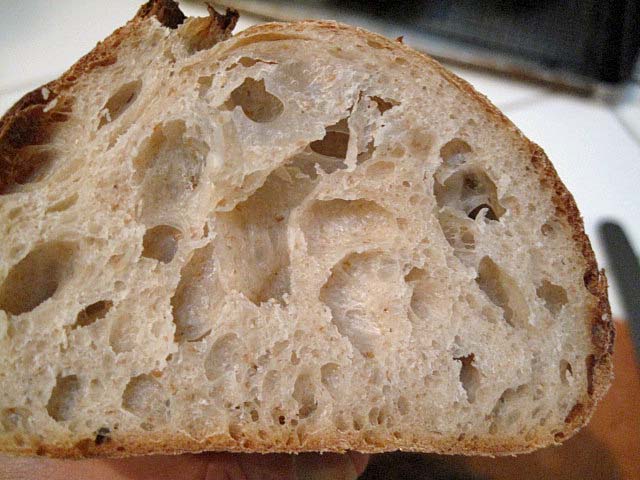
These San Francisco Sourdough breads illustrate a more "advanced" aspect of scoring that is alluded to by both Hamelman (in "Bread") and Suas (in "Advanced Bread & Pastry.")
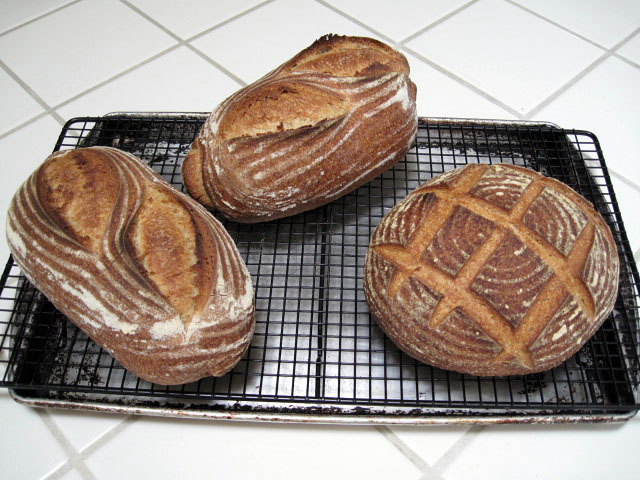
San Francisco Sourdough Breads (from Peter Reinhart's "Crust & Crumb")
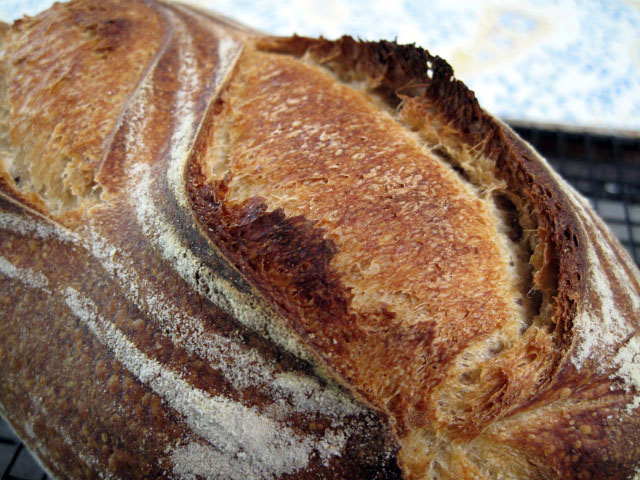
Detail of bâtard crust, with "ear," grigne" & "bloom."
What Suas called "the classic cut" is parallel to the long axis of a baguette or a bâtard. The cut is made with the blade at a shallow angle to the surface of the loaf. The cut should be shallow - about 1/4 inch deep. Paradoxically, this shallow cut results in the flap lifting better than a deeper cut would, thus forming a nice "ear." Hamelman (pg. 80) points out that "a deep cut will simply collapse from its own weight."
The angle is also important. "If the angle is not achieved and the cut is done with the blade vertical to the loaf, the two sides of the dough will spread very quickly during oven spring and expose an enormous surface area to the heat. The crust will begin to form too soon - sometimes before the end of oven spring - penalizing the development of the bread. If the cut is properly horizontal, the sides of the loaf will spread slower. The layer of dough created by the incision will partially and temporarily protect the surface from the heat and encourage a better oven spring and development." (Suas, pg. 116.)
The second photo, above, illustrates a fairly nice "ear," but it also shows that the bloom occurred slowly, as it should. Notice that the color of the crust in the opening has 3 distinct degrees of browning, decreasing from left to right. The darker part on the left obviously opened first and was exposed to the direct heat of the oven for longer. If the bloom occurred too rapidly, it would have a more even coloration.

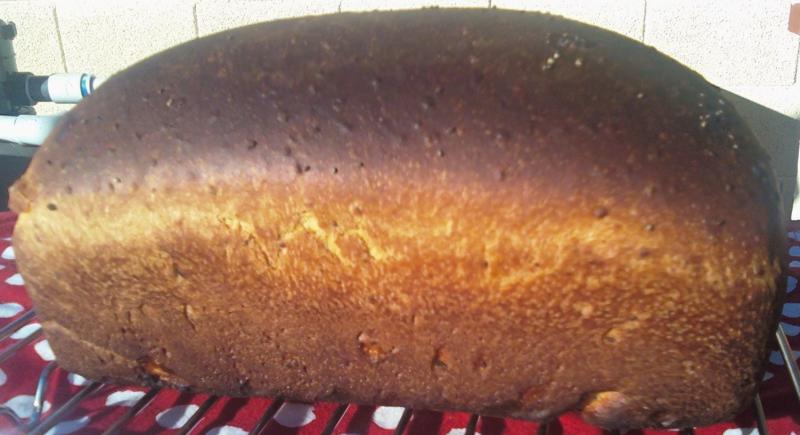
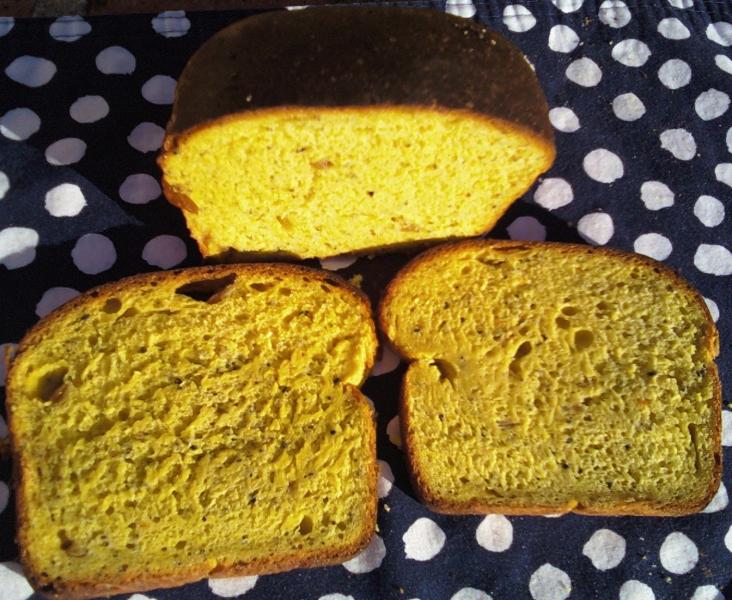
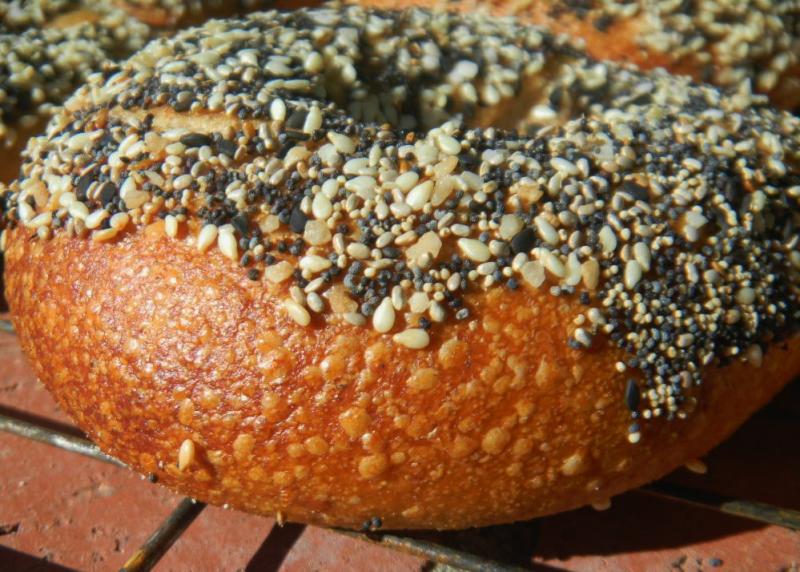
This boule was slashed with the blade held at 90 degrees to the surface of the loaf. Note the even coloration of the bloomed crust.
In summary, in order to achieve an optimal bloom in baguettes and bâtards, one must attend to 3 variables when scoring them:
The cuts should be almost parallel to the long axis of the loaf.
The blade should be held at about a 30 degree angle to the surface of the loaf.
The depth of the cut should be shallow - about 1/4 inch.
Variable shading of the bloomed crust confirms that the desired slow but prolonged opening of the cut during oven spring occurred.
Happy baking!
David
P.S. I have made a video version of this tutorial. It was my first attempt at editing a video. I am not delighted with the quality, but I hope I can show it and, maybe, get some help improving it. Here is the link:
http://video.google.com/videoplay?docid=-4381896920195658969&hl=en (for slow connections)
http://video.google.com/videoplay?docid=6866686363544546201&hl=en (for broadband, e.g., DSL or cable)