Please see here and here to learn more about concentrated lactic acid sourdough (CLAS).
Inspired by Jo_en's post, I've started making 100% wholegrain noodles with CLAS and various grains. Buckwheat (soba) noodles are the easiest to make - the dough has no gluten, so running it back and forth in the pasta maker is unnecessary. The key is to make it fast - the longer it takes to run the dough through the pasta maker, the more likely it is to crack.
My noodle-making experience is limited to making spaghetti twice. If I can make 100% whole buckwheat noodles with CLAS in less than 30 minutes, so can you. The entire process is indeed as simple as 1-2-3! Let me show you the magic of CLAS again!
I've made buckwheat noodles with water or a whole egg as the liquid. Both work just as well with CLAS, but more flour is usually needed when using whole eggs because it determines how much flour I must add to mix the dough to the right consistency. If I don't use egg as the liquid, I can use less flour and add water accordingly.
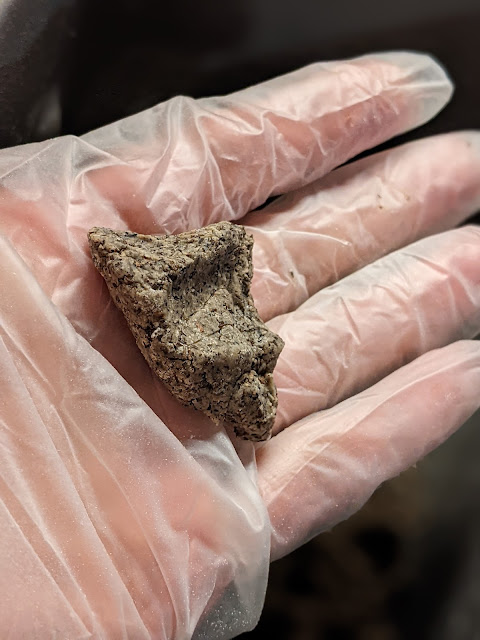
Ideally, I would substitute hulled buckwheat groats for a smoother texture, but the whole buckwheat is all I have.

Soba noodles with water
Ingredients
A.
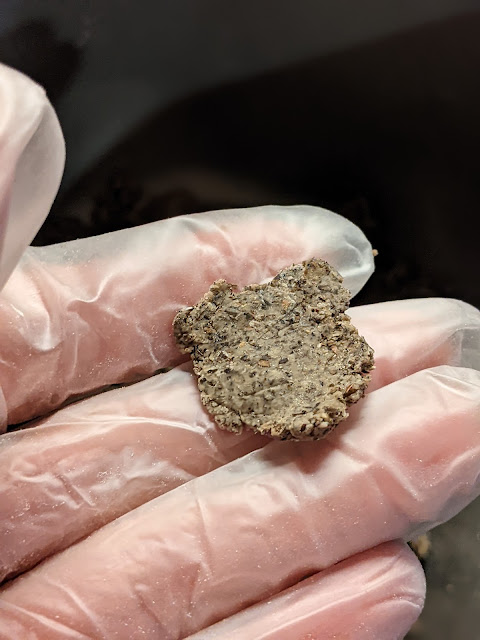
13% whole buckwheat flour from whole buckwheat CLAS 
25% water from whole buckwheat CLAS
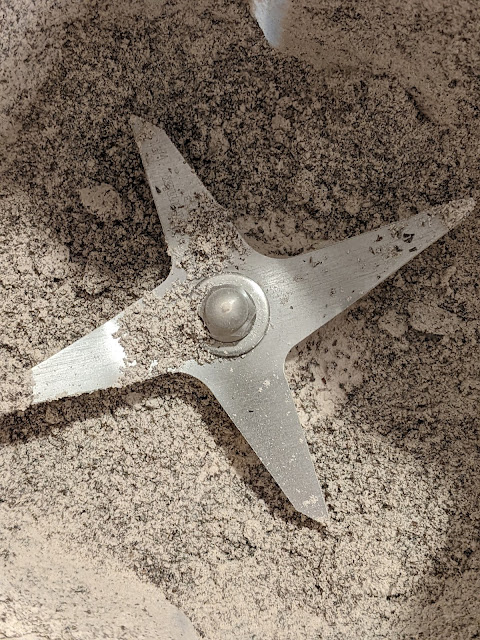
87% fresh whole buckwheat flour, ground by Vitamix
season the dough to taste
I use
3% shaved bonito, ground with the whole buckwheat


2% Kirkland no-salt spice mix, ground with the whole buckwheat
B.
24% water
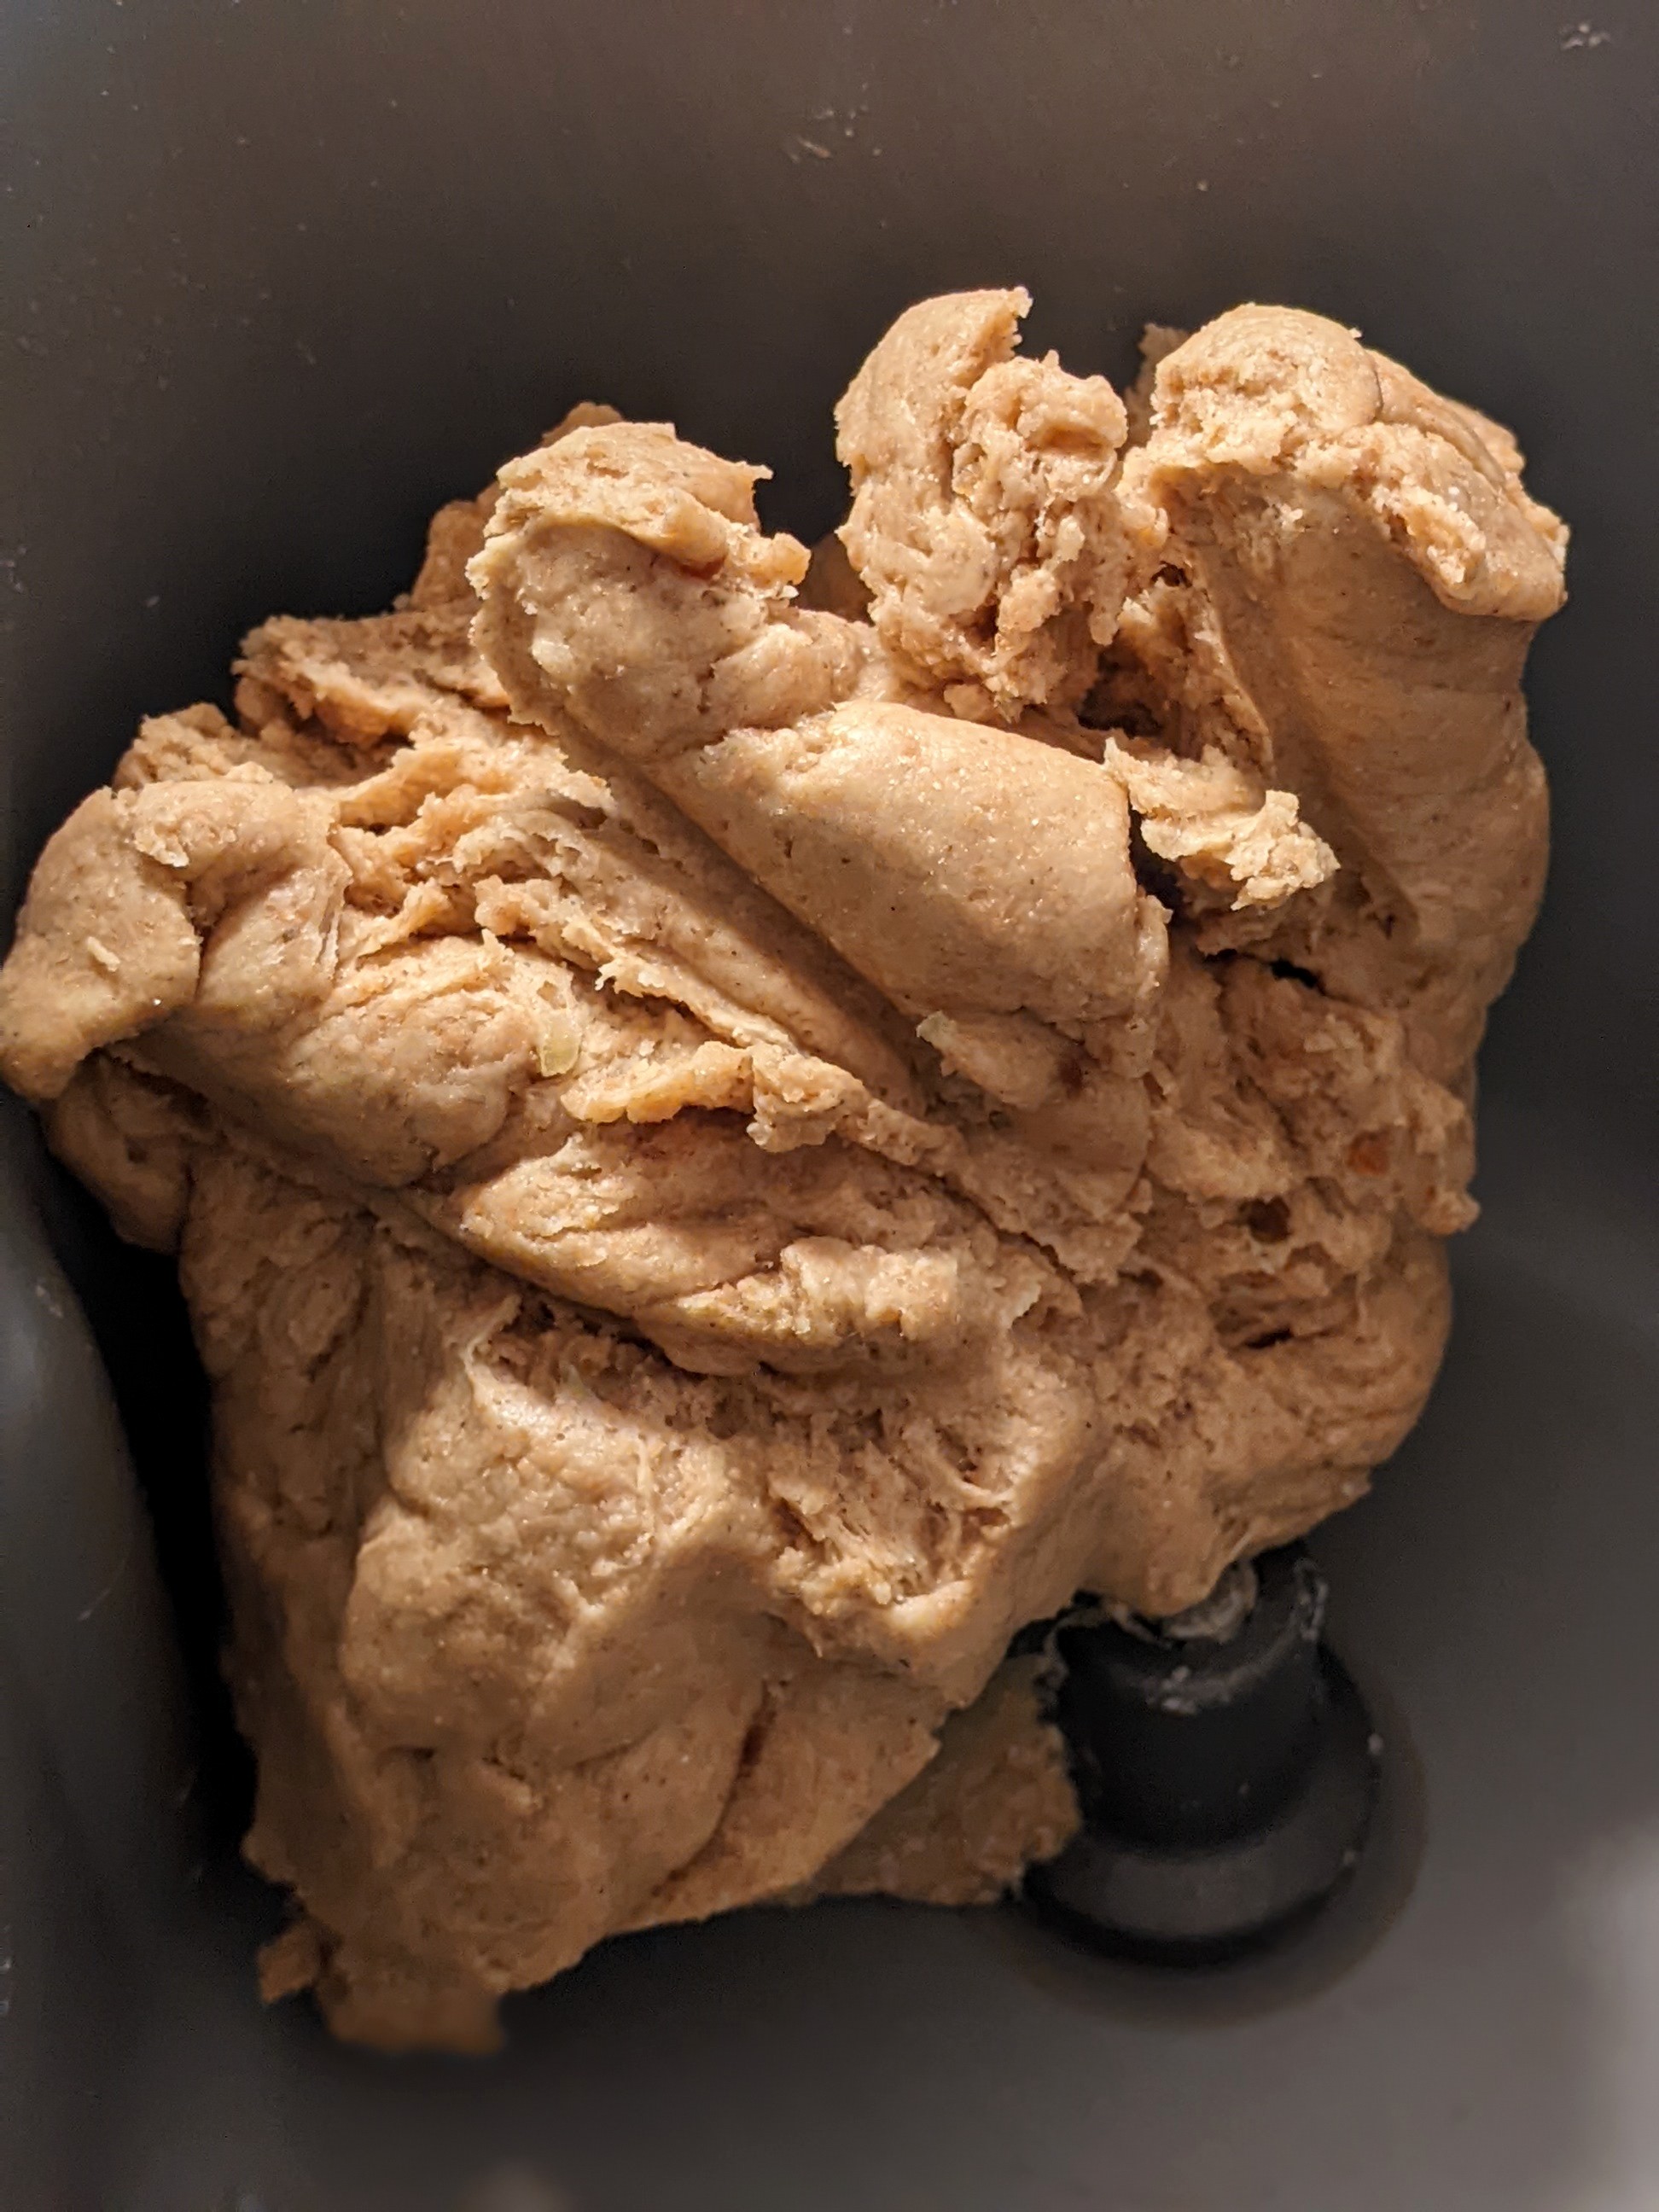
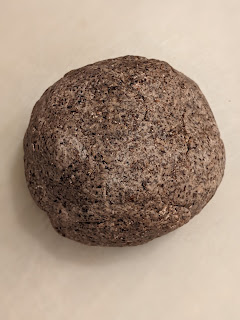
Mix
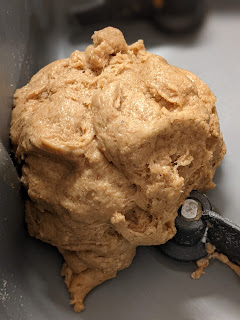
This is probably the easiest dough I've ever mixed! As you drizzle the water into the dough, keep feeling the dough and imagining how well it will pass through the pasta maker.
dough texture when done mixing

not sticky at all

Total dough weight ~ 200g
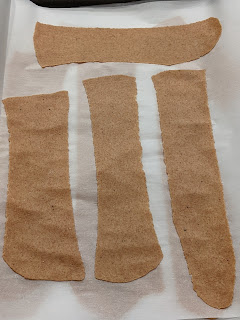
Divide into 4 x 50g dough balls

No rest; start rolling immediately after mixing.

pasta roller #1 x 1
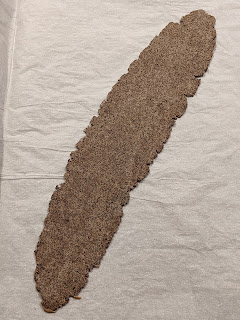
halve the dough

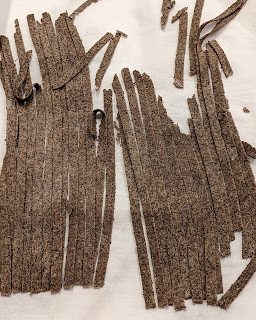
pasta roller #2 x 2
pasta roller #3 x 1

fettuccine cutter x 1
You see, all done within 30 minutes by a newbie! It certainly doesn't take ten years of training to master making 100% soba noodles as some people have claimed!
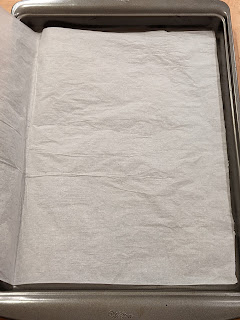
Place the noodles between parchment paper before boiling them.
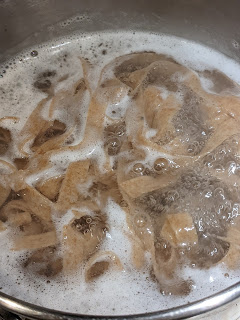
 Cook
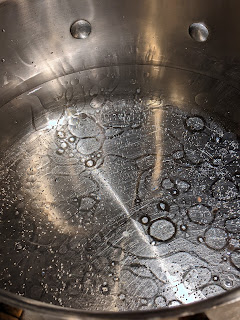
CookHave three pots ready: #1. with water, oil, and seasoning (to taste) to boil the noodles for 2 minutes
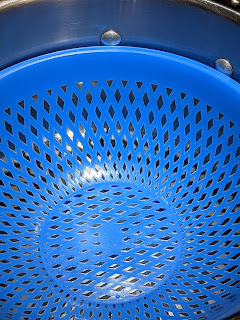
#2. place a strainer inside and pour the contents of pot #1 here. Use this pot alternately with pot #1 to cook the noodles.
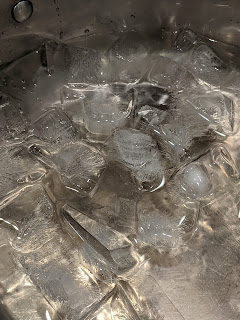
#3. with ice water. Take the strainer out of pot #2 and put it here to cool the noodles.
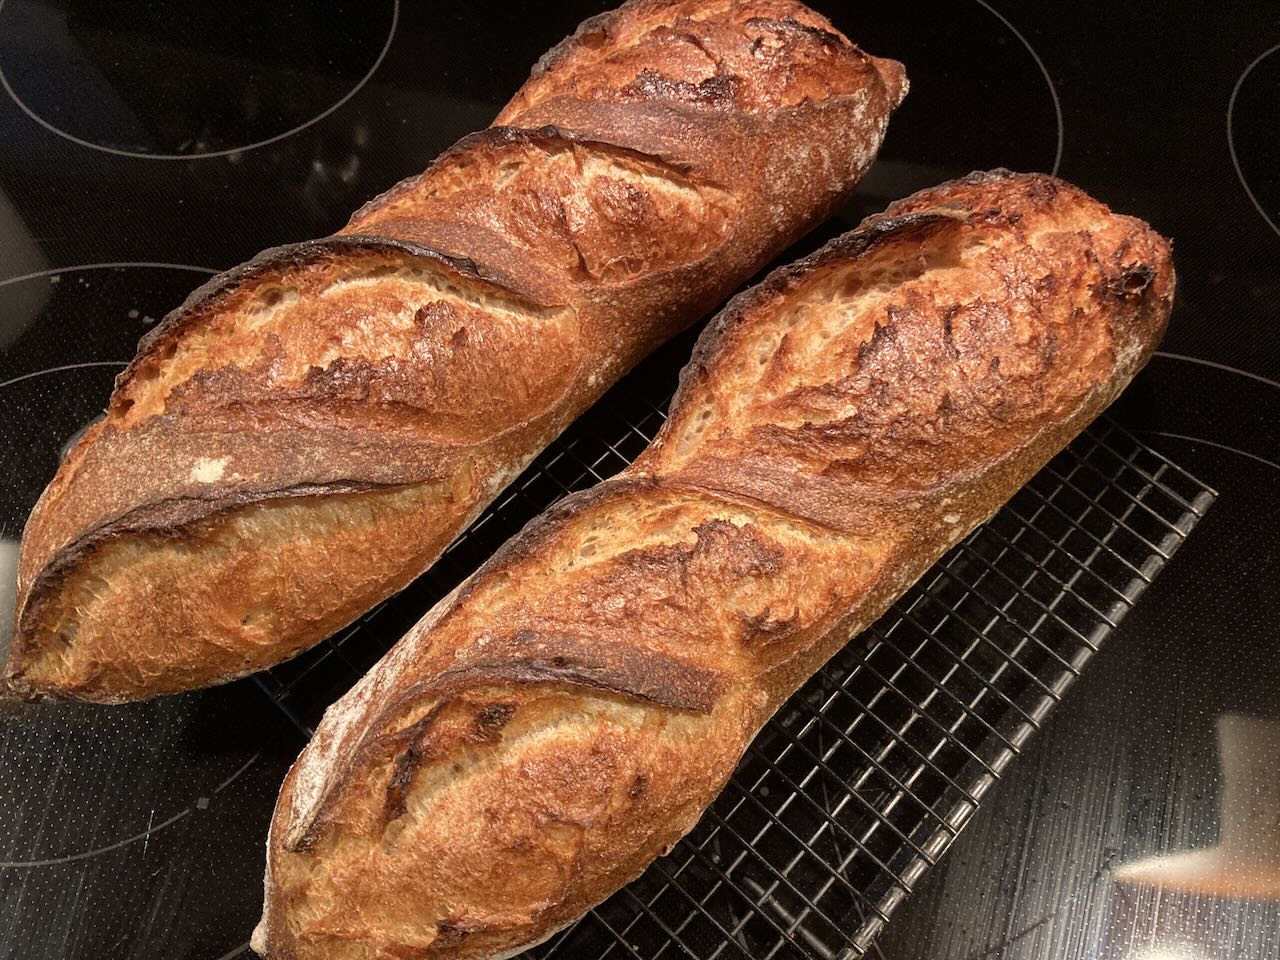
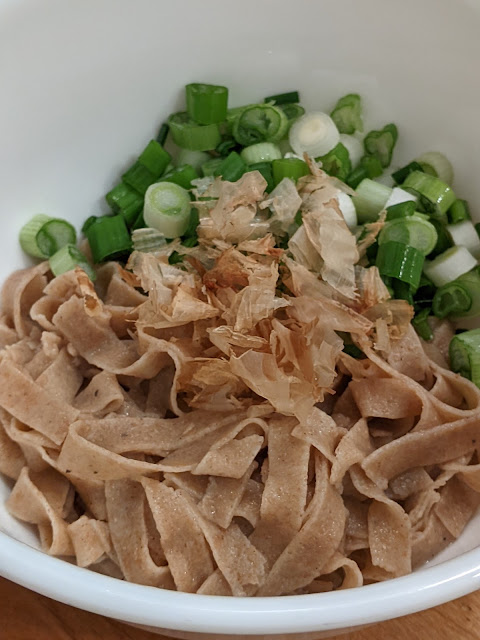
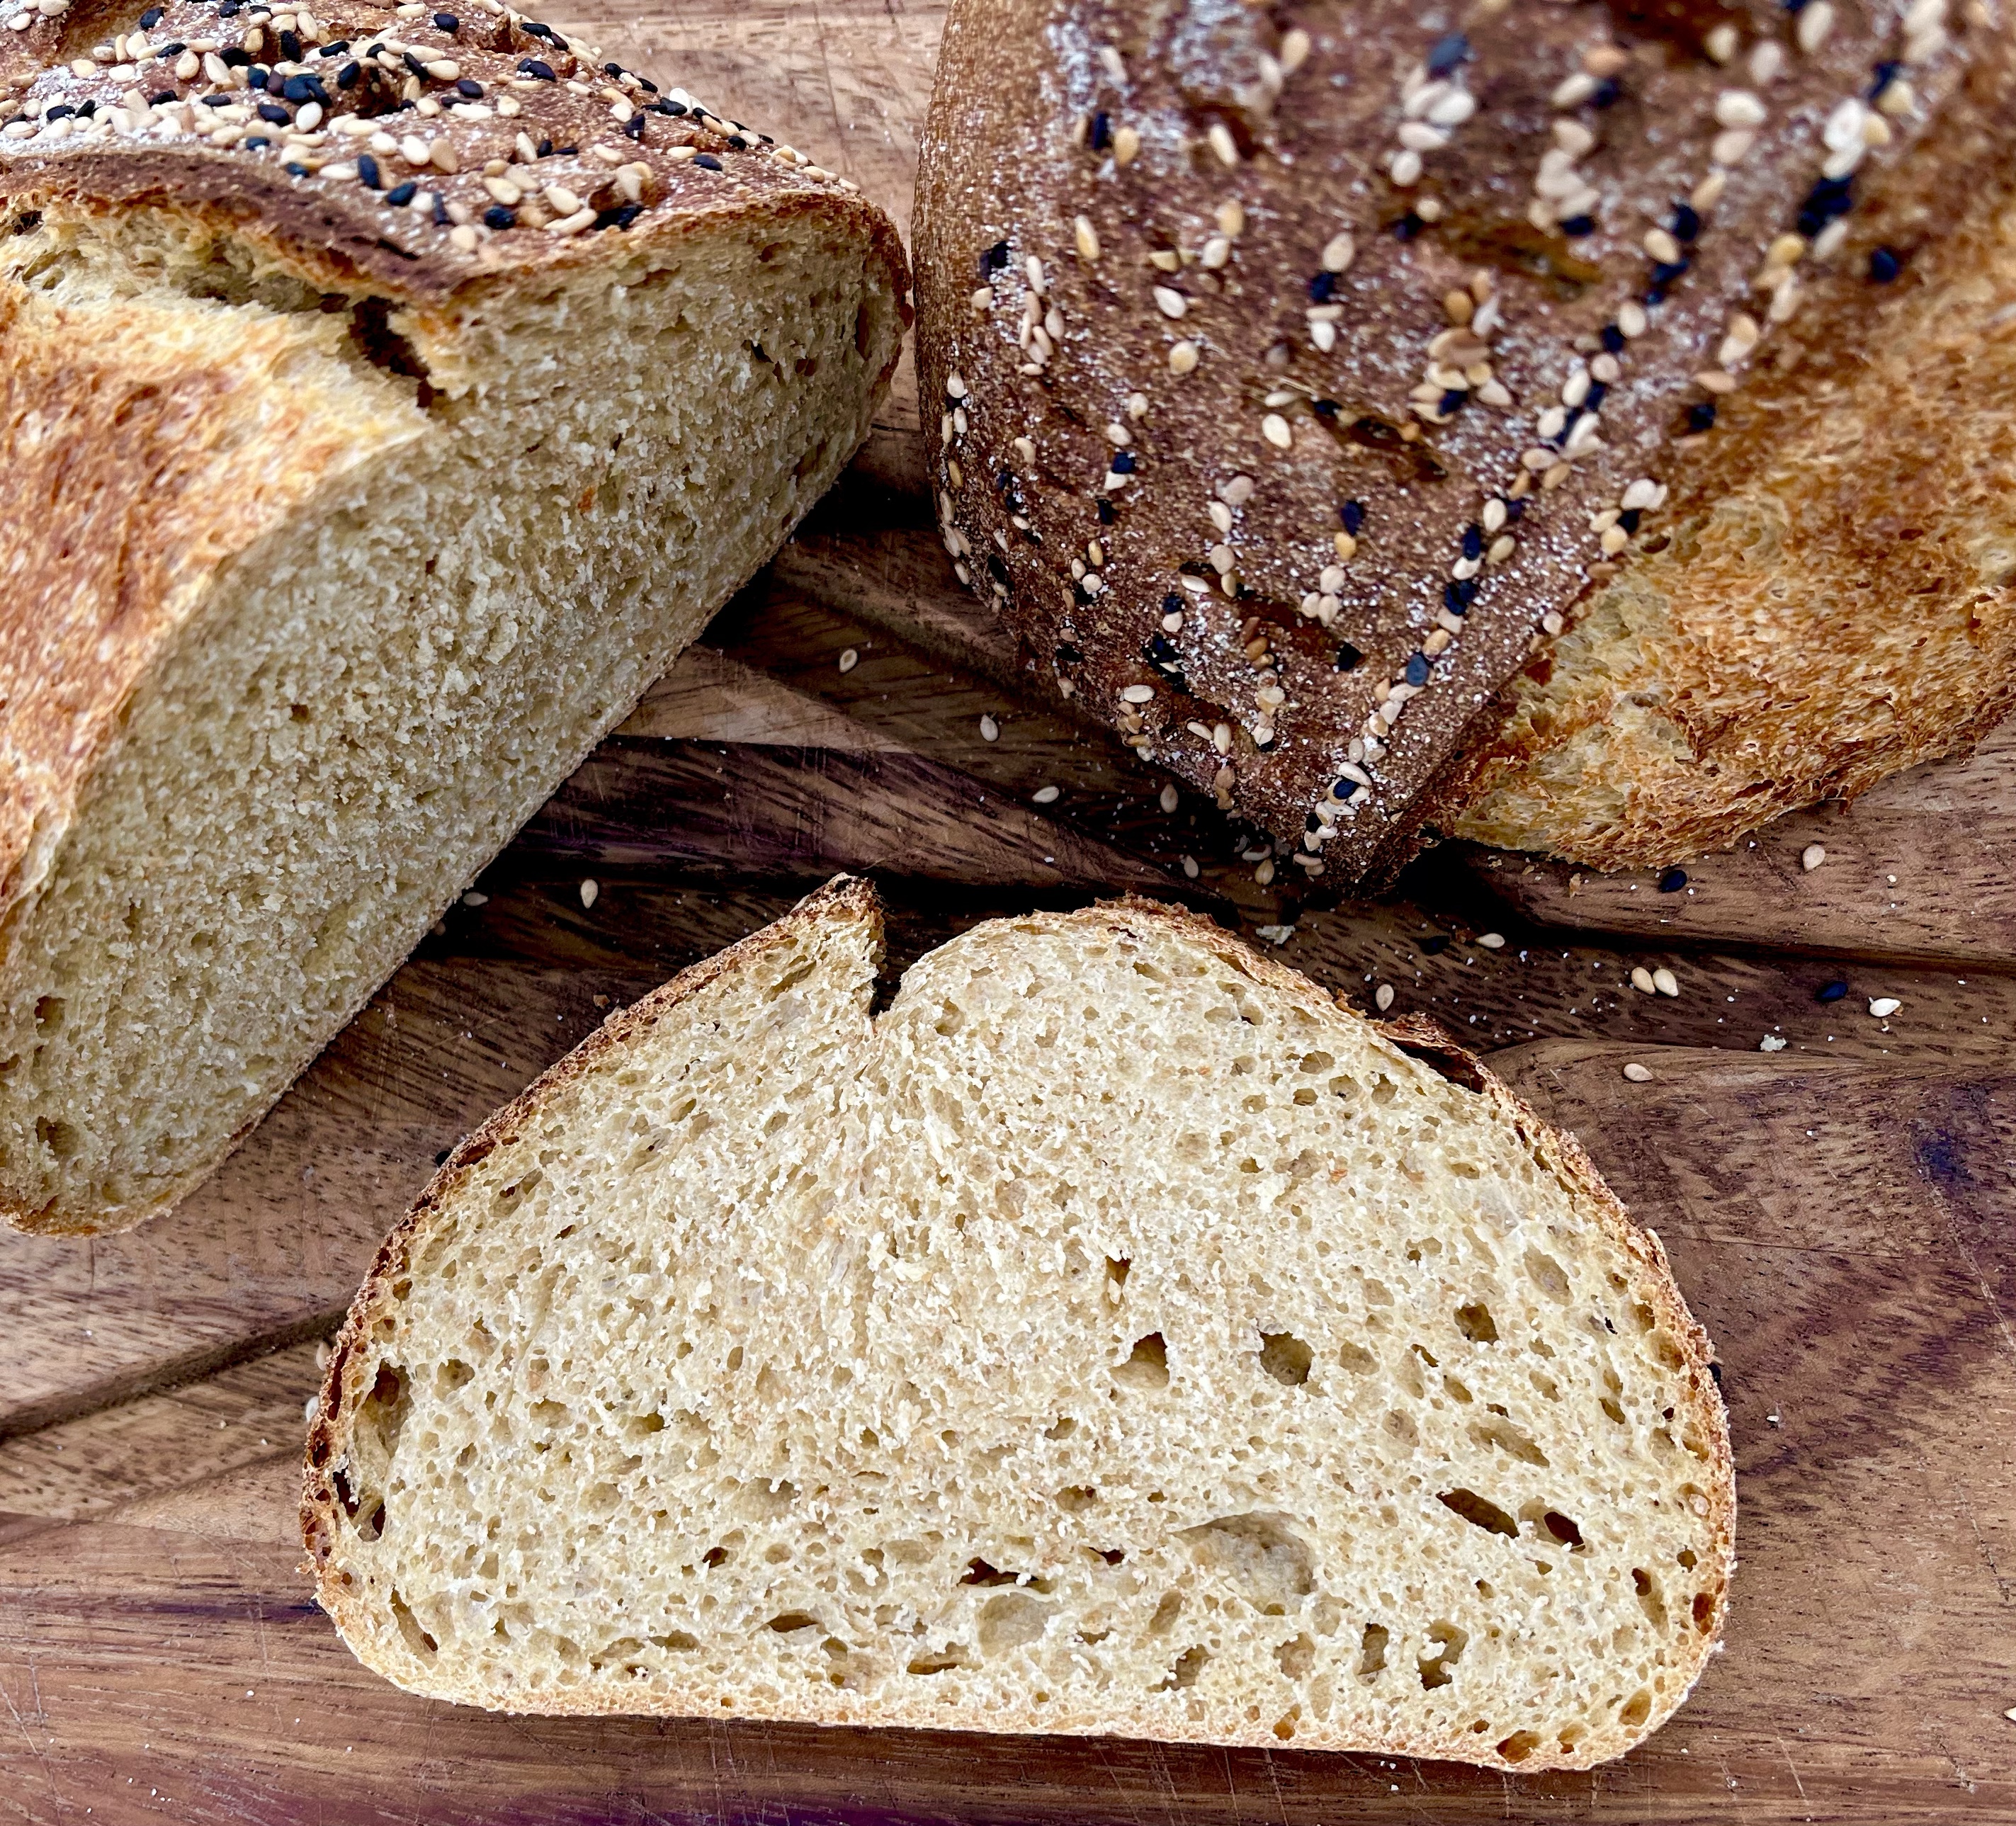
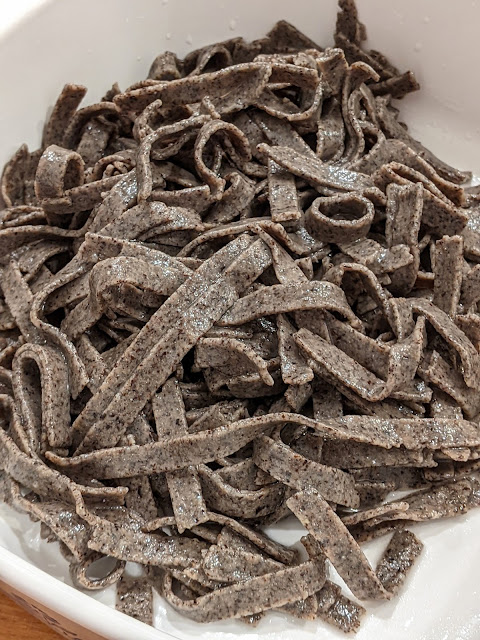
soba noodles made with flour and water
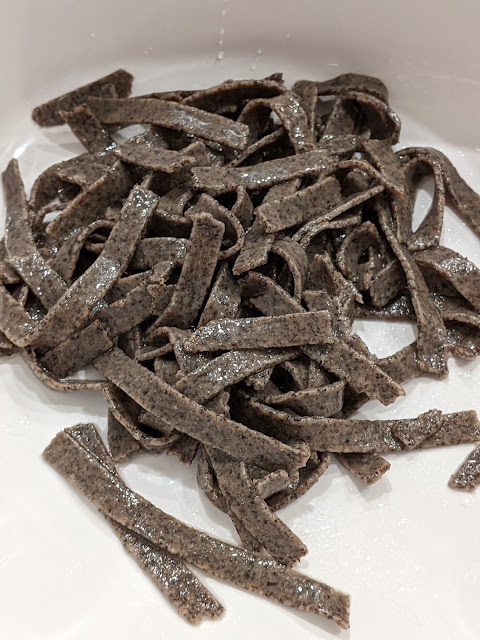
soba noodles made with flour and egg
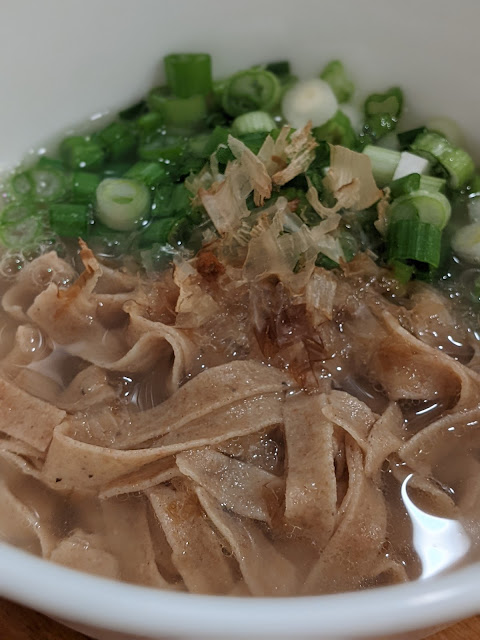
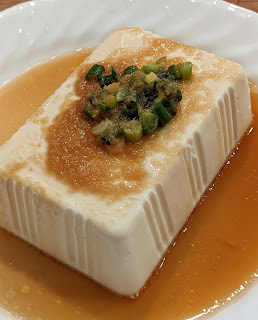
Soba noodles with bonito kombu broth

A simple dinner.
-------------------------------------------------------------------------------------------------------------
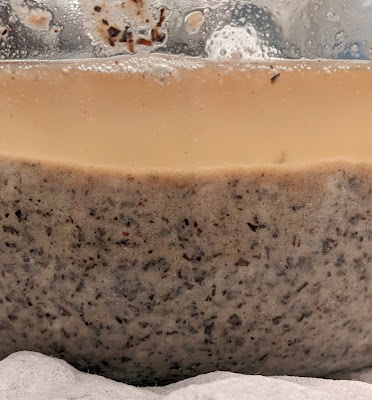
 How to make whole-buckwheat CLAS
ground barley malt: 25g
Whole grain buckwheat flour: 75g
Water T. 45°C: 180 ml
Vinegar (5% acidity): 10 ml
Fermentation temperature: 40°C±2°C
Fermentation time: 24-36h
Hydration: 190%
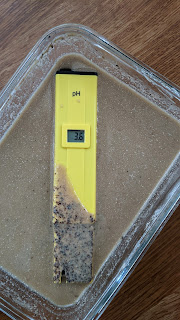
End pH: around 4
To refresh buckwheat CLAS
1:9 (buckwheat flour in CLAS: new buckwheat flour), no vinegar needed
190% hydration @ 40°C±2°C x 12 hours
I set up a water bath (~low 40s C) in the Instant Pot, support the container with a trivet, and use the Instant Pot's yogurt feature to make CLAS:
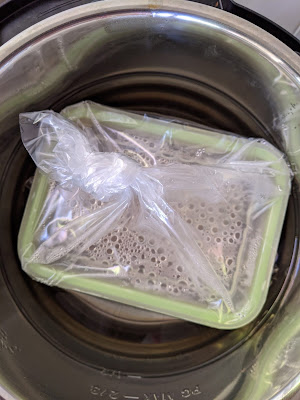
Then cover it with the lid.
Bye-bye, pH meter!