The Fresh Loaf

A Community of Amateur Bakers and Artisan Bread Enthusiasts.

Most bookmarked

Benito's picture
Benito

Poppyseed Yorkville Sourdough Baguettes

I want to maintain my skills in making baguettes.  Unlike Alan and Don who has really developed their skills for the long haul, I find unless I make them every few months my skills backslide.  I haven’t made baguettes with inclusions in a long long while so decided to add a handful of poppyseeds to the dough.

I have continued to use stiff levains as they ferment more slowly so I can better control the fermentation in the heat of the summer.  For the organic T55 flour that I have, I have settled on 75% hydration.  At this hydration, the dough has enough strength and extensibility to shape nicely.  One of the baguettes still turned out a bit longer than my tray that holds them shaped in the couche.  I had to release the dough on that one before flipping it out onto the transfer board and then do a bit of reshaping, I don’t think it was any worse for the wear.  

We had one baguette tonight shared as a ham and Swiss sandwich with Dijon mustard, Kewpie mayo and sliced dill pickles.  I also made a little tomato and roasted red pepper salad with sumach.

Added 43 g poppy seeds


In the morning, to your mixing bowl add 347 g water, 10 g salt and diastatic malt 5.2 g to dissolve.  Add levain to water and cut the levain into small pieces in the bowl.  Next add 475 g AP flour to combine.  Allow to saltolyse for 20 mins.  Slap and fold x 100 then add hold back water 21 g gradually working in until fully absorbed by massaging and then Rubaud kneading the dough, then slap and fold x 200.


Bulk Fermentation 82*F until aliquot jar shows 20% rise.

Do folds every 20 mins doing 3 folds

Could do cold retard at this point for  up to overnight. (Aliquot jar 20% rise)


Divide and pre-shape rest for 15 mins

Shape en couche with final proof until aliquot jar shows 60% rise then (optional) cold retard shaped baguettes en couche for at least 15 minutes for easier scoring.  I often do this for convenience as the oven is pre-heating.


Pre-heat oven 500*F after 30 mins add Silvia towel in pan with boiling water.

Transfer baguettes from couche to peel on parchment

Score each baguette and transfer to oven, bake on steel.

Bake with steam pouring 1 cup of boiling water to cast iron skillet dropping temperature to 480*F. 

The baguettes are baked with steam for 13 mins.  The steam equipment is removed venting the oven of steam.  Transfer the baguettes from the baking steel to next rack completing baking directly on a rack to minimize the browning and thickening of the bottom crust.  The oven is dropped to 450ºF but convection is turned on and the baguettes bake for 10 mins rotating them halfway.  The baguettes are rotated again if needed and baked for another 3 mins to achieve a rich colour crust.

My index of bakes.

Borqui's picture
Borqui

Help, bread is flat.

Please help. I have been baking no knead sourdough breads in bread pans for years, but I am very new at baking freestanding loaves in a Dutch Oven. The bread in the picture is 80% strong wheat bread flour / 20% whole wheat, hydration around 80+%, 45 min autolyse, 5 min kneading, three stretch and folds, bulk fermentation ca. 5 hrs in ca. 78 degree temperature to about 50% volume increase, 400g total flour plus 80g whole wheat levain hydrated at 100% (my 10+ year old starter is whole rye at 50% hydration). This is probably my fourth or fifth take on this bread, I think it may be over fermented (dough is very, very wet in the preshaping/final shaping phase, to the point I can't really stretch a good "skin" tension, because it's creeping out from under my fingers), that's why I am progressively decreasing bulk ferment time/volume gain; while I am relatively happy with the crumb and flavor, I keep turning out progressively flatter loaves with less and less ear/grigne even though there is about a couple of inches of stretch at the score line, but no ear (used to be some with longer fermentation, but dough was still way too runny during shaping). My loaves are at least in part so flat due to the fact that they visibly spread out when I take them out of the banneton.

I am starting to think perhaps my starter is not suitable for this, I am thinking now of a white bread flour stiffer starter. Mabe more kneading and stretch and folding? But how much? during kneading and stretching and folding my bread resists pretty well and when I start bulk fermentation it's tight and springy.

Would anyone have any ideas? Please help!

Lila's picture
Lila

best source for specially flours

I'm generally a straight white flour sourdough baker. But I'm looking to expand my horizons and try this awesome sounding spiced scalded rye bread recipe I came across. Flours called for include

Whole grain rye flour

High extraction red wheat flour (such as yecora rojo)

Whole grain spelt flour

(And maybe also black barley malt powder)

I'm based in Southern New Mexico, US. There are no mills nearby and no place to source such flours. I'm not looking for organic, just high quality,  although I understand many of these might end up being available only as organic. I'm also a baked goods vendor at the local farmers market, so if this recipe works out (and I can source ingredients at a reasonable rate) I might need to buy these in quantity. Which will probably cost in delivery fees.

What is your favorite source to mail order such and similar flours?

Thank you!!

BreadDeadRevolver's picture
BreadDeadRevolver

Beginning with Ankarsrum (I messed up my Shokupan Recipe)

I screwed up my usual Shokupan recipe with my new Ankarsrum this morning.   I've always made this in a KA before, so mixing in the Assistant was a very new process, and I royally messed it up.   The recipe usually does take a long time to start clearing the bowl in the KA, and I had read and seen videos that the Ank took a long time to fully develop, so I went a long time with the roller/scraper, but it never started fully clearing the bowl and was very very sticky.   I was able to get a good windowpane at one time and the dough was very extensible, but it remained sticky, smearing on the side of the bowl even after quite a long time.   In a bit of a panic I messed up further and switched to the dough hook and tried that, but again the dough just kept sticking to the hook and smearing on the sides of the bowl, never cleaning the sides at all, and I ended up letting it go so long that it overmixed, getting even stickier and no longer producing a window pane and losing most of it's extensibility.  I know I'm probably misreading signs as to when the dough is ready.   It's about 71% hydration all told and it always came together into a smooth ball eventually in the Kitchenaid, so I was confused.   I'm a relatively new baker as it is, unfortunately my KA has some serious issues, and I hadn't really perfected the process there I don't think.  The other thing was I had made my Tangzhong a few days before, but that never really caused a problem for me previously.   Any help or advice would be greatly appreciated as I adapt to using this new machine.

The dough ingredients are:

174g Tangzhong Flour(20%)

348g Tangzhong Water(40%)

696.2g Bread Flour(80%)

180g whole milk (3.5%)(20.7%)

150g egg, whole(17.2%)

43.5g butter, salted(5%)

87.1g sugar(10%)

16.8g Salt(1.9%)

5.5g Instant Yeast(0.6%)

Benito's picture
Benito

Walnut Sesame and Poppy Seed Whole Spelt SD Hokkaido Milk Bread

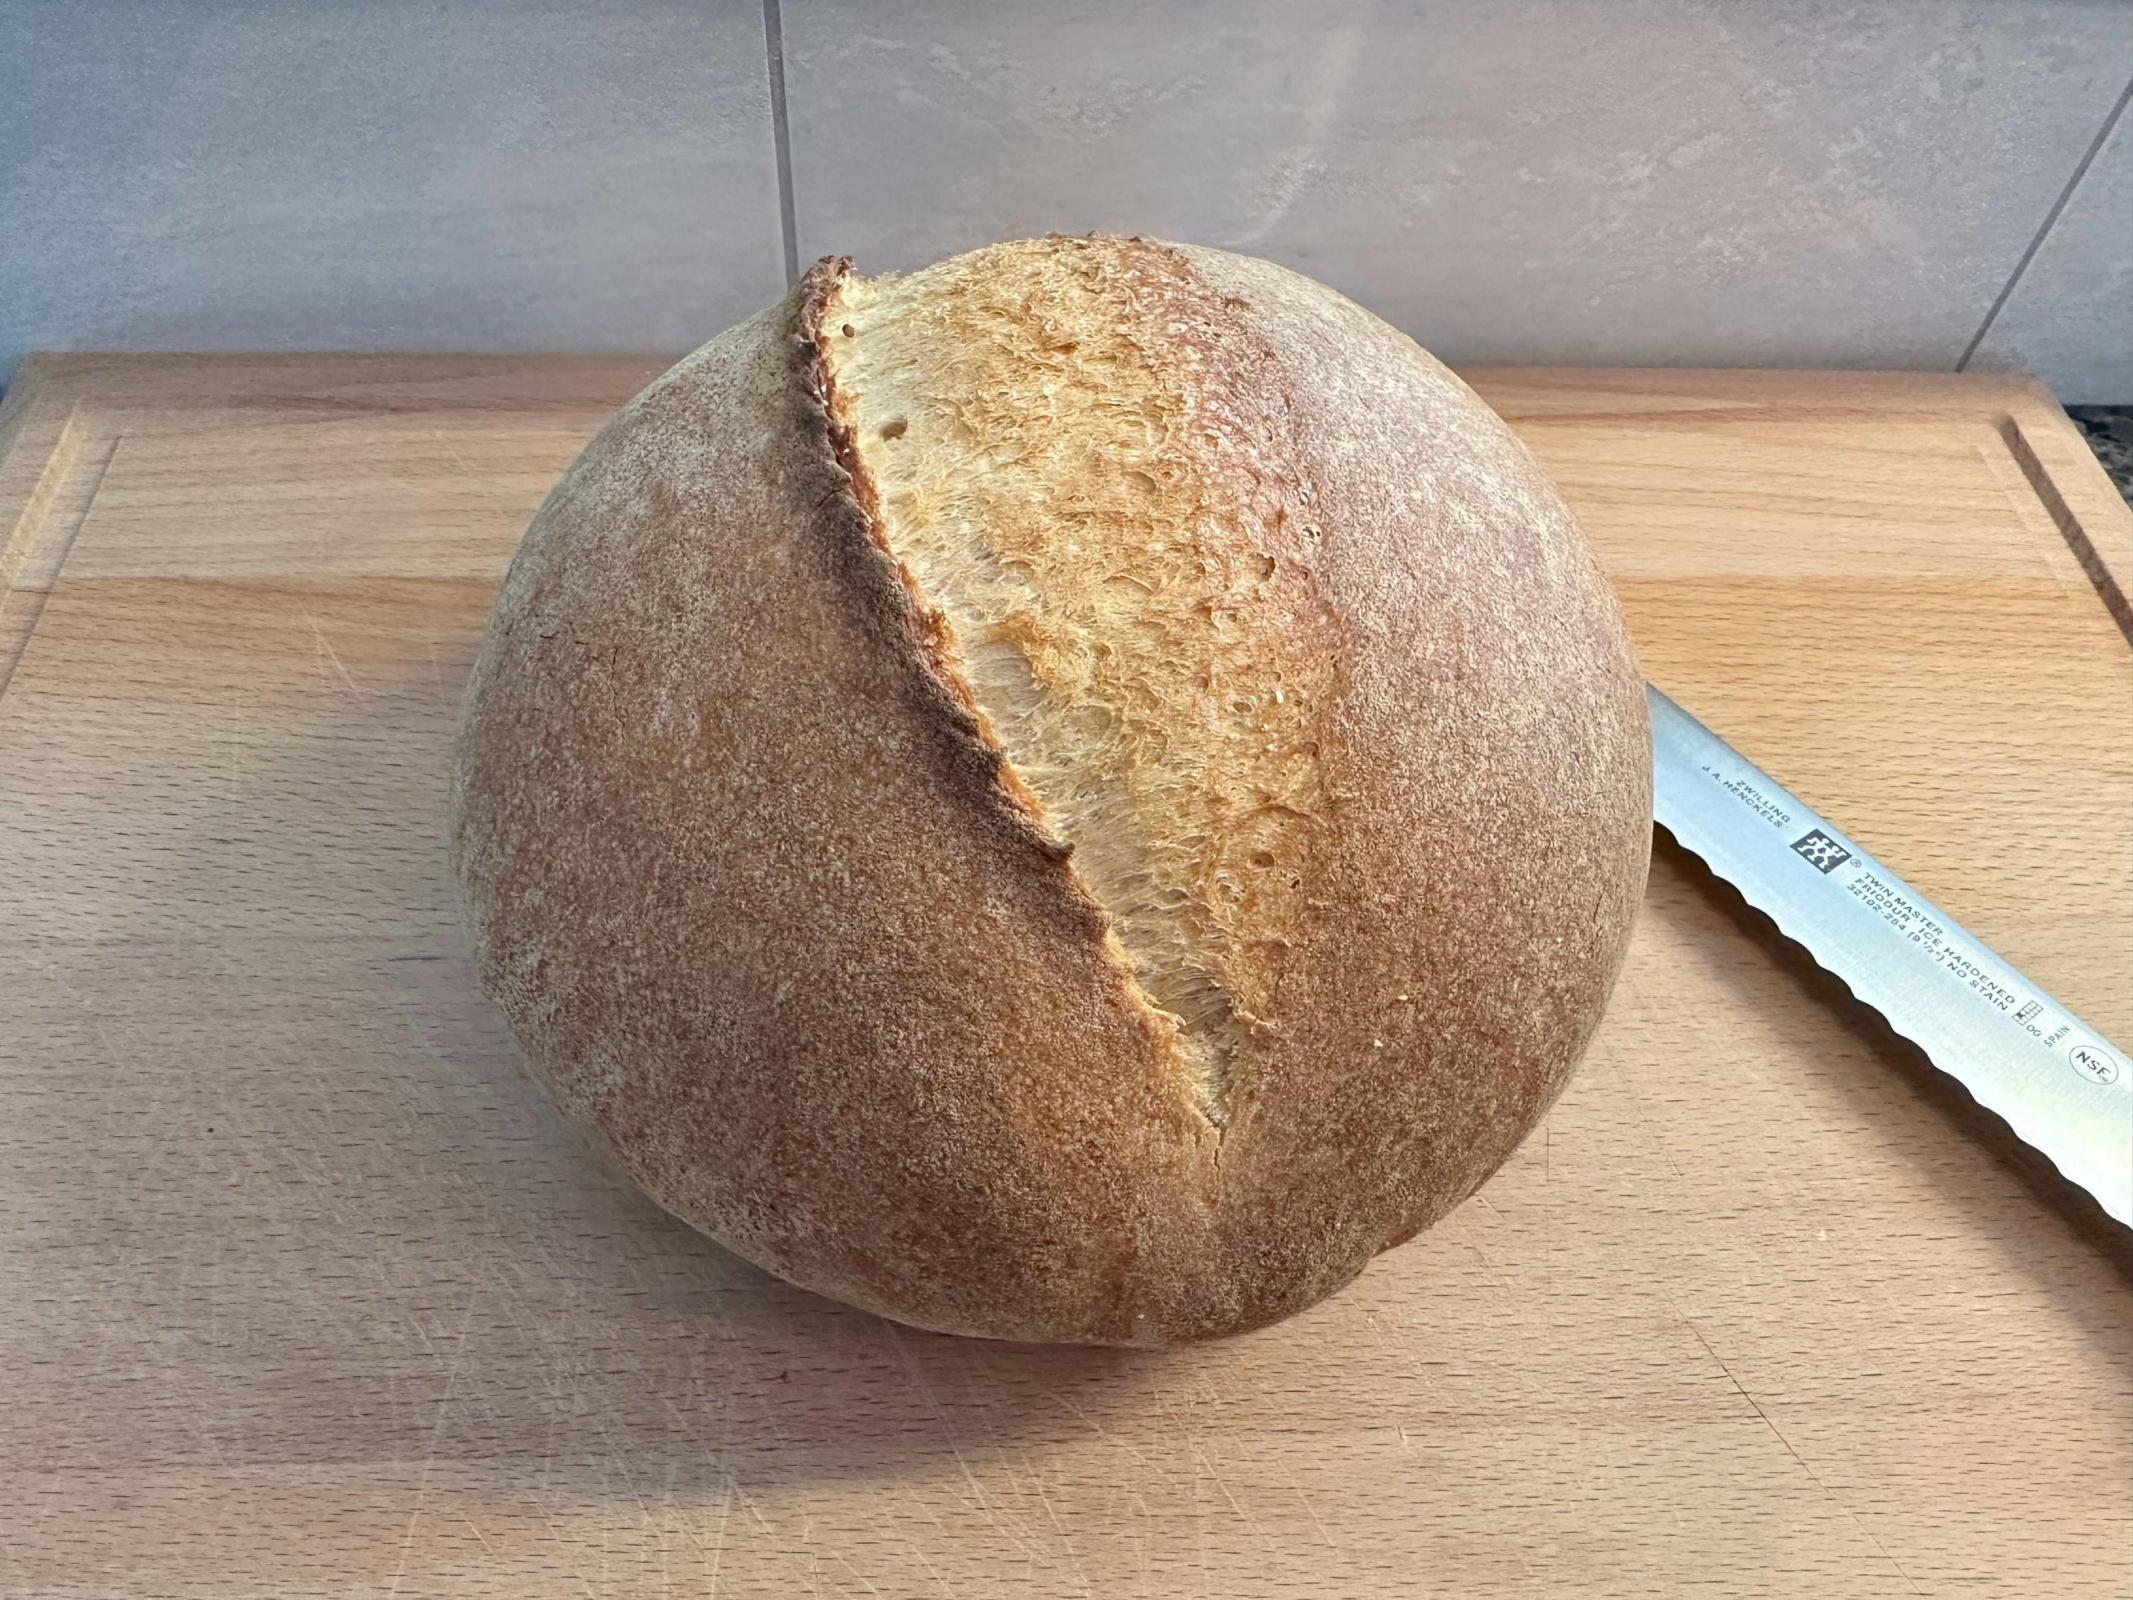
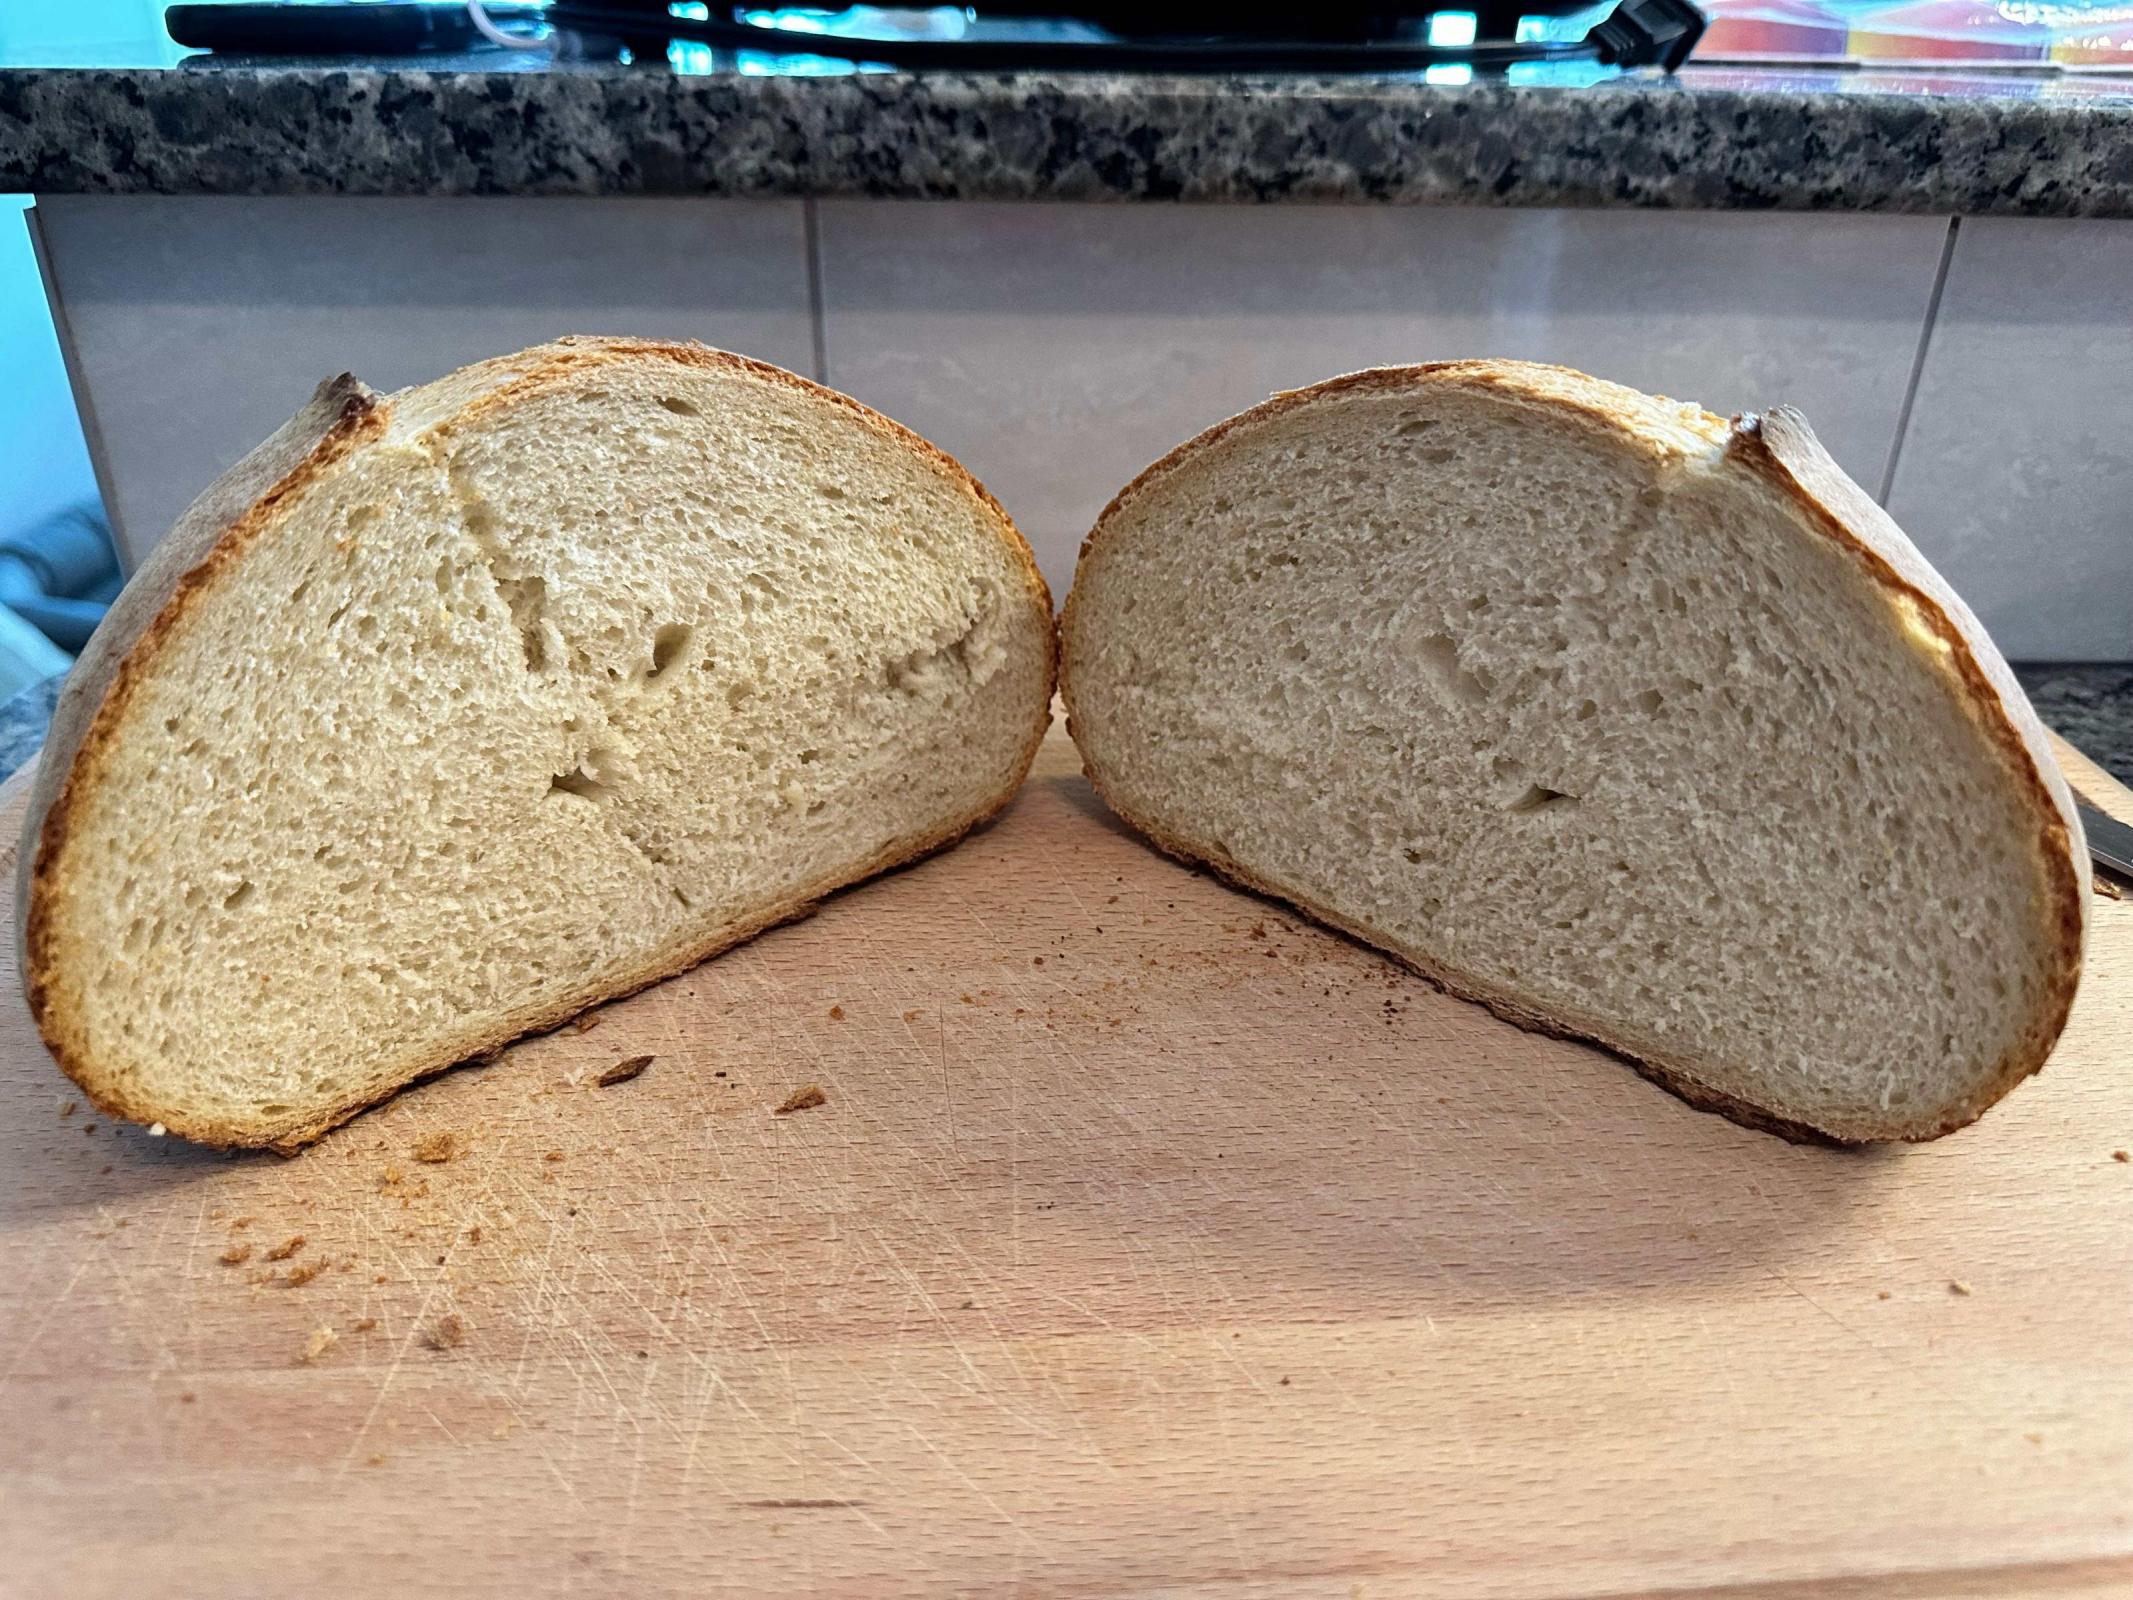
Finally home and had a chance to bake a loaf of bread.  We are really enjoying this particular blend of whole spelt and whole wheat along with a combination of nuts and/or seeds.  I decided to use walnuts, sesame and poppy seeds this time and I’m glad that I did, the flavour from these inclusions really enhance the flavour of this milk bread.

I usual I used a stiff sweet levian to reduce the LAB population in the levain and thus reducing the acidity of the bread.  I also continue to be pleased with using 200% hydration in the tangzhong and using a 20% of the total four in the tangzhong.  One would think that this might have a negative impact on the rise of this bread since the gluten forming proteins are denatured during the cooking of the tangzhong, however, I have found that if anything, making the tangzhong stiffer and at a higher proportion of the flour has had a positive effect on the oven spring.  I no longer use any VWG in making these breads even when they are 100% whole grain as it seems that the changes to the tangzhong have compensated for not using VWG.

For one 9x4x4” Pullman pan loaf.


Instructions

Levain

Mix the levain ingredients in a jar or pyrex container with space for at least 300% growth. 

Press down with your knuckles or silicone spatula to create a uniform surface and to push out air.

At a temperature of 76-78ºF, it typically takes up to 10-12 hours for this sweet stiff levain to be at peak.  For my starter I typically see 3-3.5 times increase in size at peak.  The levain will smell sweet with only a mild tang.


Tangzhong 

In a sauce pan set on medium heat, stir the milk and whole wheat flour until blended. Then cook for several minutes until well thickened, stirring regularly with a spoon or heat-resistant spatula. Let cool in the pan or, for faster results, in a new bowl.  Theoretically it should reach 65ºC (149ºF) but I don’t find I need to measure the temperature as the tangzhong gelatinizes at this temperature.  You can prepare this the night before and refrigerate it, ensure that it is covered to prevent it from drying out.


If you plan on using a stand mixer to mix this dough, set up a Bain Marie and use your stand mixer’s bowl to prepare the tangzhong.


Dough

In the bowl of a stand mixer, add the milk (consider holding back 10 g of milk and adding later if this is the first time you’re making this), egg, tangzhong, salt, sugar and levain.  Mix and then break up the levain into many smaller pieces.  Next add the flour.  I like to use my spatula to mix until there aren’t many dry areas.  Allow the flour to hydrate (fermentolyse) for 20-30 minutes.  Mix on low speed and then medium speed until moderate gluten development this may take 5-10 mins.  You may want to scrape the sides of the bowl during the first 5 minutes of mixing.  Next add room temperature butter one pat at a time.  The dough may come apart, be patient, continue to mix until it comes together before adding in more butter.  Again, knead until well incorporated.  You will want to check gluten development by windowpane during this time and stop mixing when you get a good windowpane.  You should be able to pull a good windowpane, not quite as good as a white flour because the bran will interrupt the windowpane somewhat.  Add the nuts and seeds, then mix again until they are well distributed.


On the counter, shape the dough into a tight ball, cover in the bowl and ferment for 2 - 4 hours at 82ºF.  There should be some rise visible at this stage.


You can next place the dough into the fridge to chill the dough for about 1.5 hours, this makes rolling the dough easier to shape.  Remember, if you do so the final proof will take longer.  Alternatively, you can do a cold retard in the fridge overnight, however, you may find that this increases the tang in your bread.


Prepare your pans by greasing them with butter or line with parchment paper.  


Lightly oil the top of the dough. Scrape the dough out onto a clean counter top and divide it into four. I like to weigh them to have equal sized lobes. Shape each tightly into a boule, allow to rest 5 mins. Using an oiled rolling pin roll each ball out and then letterfold. Turn 90* and using a rolling pin roll each out to at least 8”. Letterfold again from the sides so you have a long narrow dough. Then using a rolling pin, roll flatter but keeping the dough relatively narrow.  The reason to do this extra letterfold is that the shorter fatter rolls when placed in the pan will not touch the sides of the pan.  This allows the swirled ends to rise during final proof, this is only done for appearance sake and is not necessary.  Next roll each into a tight roll with some tension. Arrange the rolls of dough inside your lined pan alternating the direction of the swirls. This should allow a greater rise during proof and in the oven.


Cover and let proof for  4-6 hours at a warm temperature.  I proof at 82°F.  You will need longer than 4-6 hours if you chilled your dough for shaping. I proof until the top of the dough comes to within 1 cm of the top edge of the pan.


Preheat the oven to 350F and brush the dough with the egg-milk wash.  Just prior to baking brush with the egg-milk wash again.


Bake the loaves for 50 minutes or until the internal temperature is at least 190ºF, rotating as needed to get even browning. Shield your loaf if it gets brown early in the baking process. After 50 mins remove the bread from the pan and bake a further 10 mins by placing the loaf directly in the oven on the rack with the oven turned down to 325ºF

loaflove's picture
loaflove

Kitchenaid mixer

Hi Everyone,

Sorry it this topic has already been discussed, but I'm shopping for a new KA mixer and would like to know what factors to consider in terms of power.  And what the wattage and HP really means.  On their website, they state on one model that the HP doesn't all translate into the bowl. But they don't state the power on all of their models so it's hard to compare.  There's one model where the wattage is 590 but it doesn't say how much translates into the bowl. 

Thank you

LL 

applesaredarkerthanithought's picture
applesaredarker...

Feedback for a Beginner

Hello, I recently decided to start baking bread and would really love some feedback. This is my third loaf so far and I used the "French Bread" formula from "The Bread Baker's Apprentice" book, the only difference being that this was done in a dutch oven-like baker. At least in my oven, his steaming method gave a thinner, softer, and more pale crust; it also was a little bit flatter, but I'm sure many more factors were at play there.

Well, here is the loaf:

whole loaf

cut open

Give me any visual criticism you can; I just want to know how to improve. I expected a more open crumb, although I wouldn't really call it 'dense'. How could I go about doing this? I also wished the crust had a more rich, beautiful color. Does it look like I got enough oven spring and had enough steam?

Thanks so much guys!

jkandell's picture
jkandell

Young vs Mature Starter: Misc Questions

I am struggling with the difference between young and mature starter.

A young starter is when it is still growing, but to the point when it is usable for making bread.

A mature starter is when reached or just past its peak, just starting recede, the acid is increasing, but is still usable for making bread.

(The two other stages,  in which the starter can't be used for making bread, are: prior to Young when it doesn't have enough yeast or bacteria etc, and too old a starter where acidity has increased to the point it's killed too many of the yeasts.)

Some miscellaneous questions:

1) What is the best way to tell in terms of appearance/odor/taste/float test/doming/doubling etc (for both liquid and stiff) when a starter has reached the viable young stage? What is the best way to tell when that young stage has crossed into (for both a liquid and stiff) the mature stage?

2) Hamelman calls for "mature" starter for the seed/chef that builds the levain.  Since it's just the seed, why does it need to be "mature" given it will be elaborated into the levain a tout? Wouldn't young starter work just as well.  Isn't it the final levain itself that matters more?  

3) For a typical pain au levain or country style loaf or miche, should the final levain be young or mature?  

4) How do any of the answers to the above change for rye or for other whole grain flours?

5) Does any of this change by nationality? For instance do Italian lievito vs German Vollsauer vs French  traditions favor a Young or Mature final levain  (in the definitions at the top)?

Sour_Baker's picture
Sour_Baker

Starter Struggles

I can't figure out what my starter needs...

Stater will be 2 months old on the 20th.

So my starter has always been on the sluggish side since he was born. I started out with using KA bread flour. Even though he has shown activity by small bubbles everywhere, he would refuse to rise. No matter is fed a ratio of 1:1:1, 1:2:2, 1:3:3, he would always be very slow to rise (if at all. Maybe 1/2 an inch) and smell very vinegary by the next day. I switched to KA all purpose and that got rid of the pungent vinegar smell so now it has a lactic acid smell. I've tried feeding at 12 hour intervals but he was slow that he never peaked at 12 hours and then I would be getting rid of the yeast activity that Im trying to get started.


At 24 hours he would just be foamy and starving, but again no matter what 100% ratio I gave he would not peak until maybe 3 a.m so I would never catch it. I just recently did 85-90% hydration and that certainly changed things. Now instead. of rising 1/2 an inch at 24 hours he will rise almost halfway to double. 


But he's extremely slow still. Not peaking til in the early morning. And if I try to use him for a recipe but the recipe calls for 100% ratio, he won't do anything. I'm just stuck what to do.


Right now he is - 

90% hydration

AP flour

24 hour feedings starting in the morning.

Internal temp around 75-76 F with a thermometer (house is set to 72/73 with the a/c on and I keep him in my closet away from it)

Lives in a glass Ball jar.

In a tropical state if that makes any difference.

clazar123's picture
clazar123

A new adventure with soda bread-who knew?


SODA BREAD RISE


SODA BREAD CRUMB

New adventure with soda bread

A while ago, I posed a question about what happens if I develop a soda bread dough to windowpane? How does that affect the texture of the crumb? Will it strengthen the texture so it can be used as a flexible, non-crumbly sandwich bread? HERE is the link to that post.

 I started out with a recipe I had been working on that started out life as a traditional Irish Soda Bread. Everyone knows that Irish Soda Bread is rarely kneaded and if it is, just a little bit. The result is a texture that is generally dense and somewhat tender-crumbly-more like a biscuit. My original Soda Bread recipe used 25% buckwheat or rye flour but I wanted a higher protein percentage in my experimental loaf so I modified my Soda Bread recipe for this experiment to be all AP flour-the same flour I use to make sandwich bread with and that gives me a decent loaf and crumb whether it is yeast or SD leavened. I also weighed the ingredients for easy scaling later.

SODA LEAVENED SANDWICH BREAD

300G AP FLOUR

3 G BAKING SODA

6 G BAKING POWDER

4 G SALT

4 G NUTRITIONAL YEAST (OPTIONAL-JUST FOR FLAVOR)

Mix all dry ingredients together in large bowl.

¾-1 C BUTTERMILK (THIS TOOK A FULL CUP)

1 TBSP OIL

1 TBSP HONEY

Mix wet ingredients together and then mix into dry ingredients. The idea is to achieve a kneadable consistency. Make minor adjustments to flour/liquid as needed. I used a KA and mixed with the dough hook until an early windowpane was achieved. It took about 8 minutes and I was afraid I’d lose my chemical lift if I went too long. Very sticky dough-shaped into a small boule with damp hands, slashed the top and put onto a parchment paper.

Preheated the oven to 375F with a preheated cast iron pan. Placed the parchment paper and boule onto the preheated iron frying pan and baked about 40 minutes. Rose and cracked around perimeter. Browned nicely.

EVALUATION:

Obviously needed more aggressive slashes. I was surprised but pleased at the amount of rise.

Crumb:yellow (from the nutritional yeast) and even but when cooled and sliced, made a nice sandwich base. Flexible and pleasant chew & mouth feel. I think an even crumb is probably what you get with a chemical leavener. A little cakey looking but not crumbly..

Taste: I can taste the baking powder a little bit but not overwhelming. The nutritional yeast imparts a nice, yeasty flavor. A small amount of an aromatic would help- cinnamon? Onion? Other spice?

Proposed change to future bakes with this recipe: Deeper slash, develop a full,thin windowpane. 


Advantages of a chemically leavened bread: It took 45 minutes to make and bake-start to finish. Some days that is a real advantage. Not the fine-wine taste of a well-fermented yeast/SD loaf but a reasonable taste for a quick loaf. Add more sweetener,fruit and spices and a dessert loaf emerges. 

A fun,delicious experiment. It opens a whole new potential of fun experiments.


Pages