
Fresh Fig Bread - And other fig things
Sending this to Yeastspotting.
After a long summer of record high temperatures, I am so very ready for fall. Fresh figs in store, that's surely a sign of good things to come right? Like double digit "cool" weather? No matter how hot it is, I know fig season is fleeting, better hurry up and make the best of them.
First some fig jam.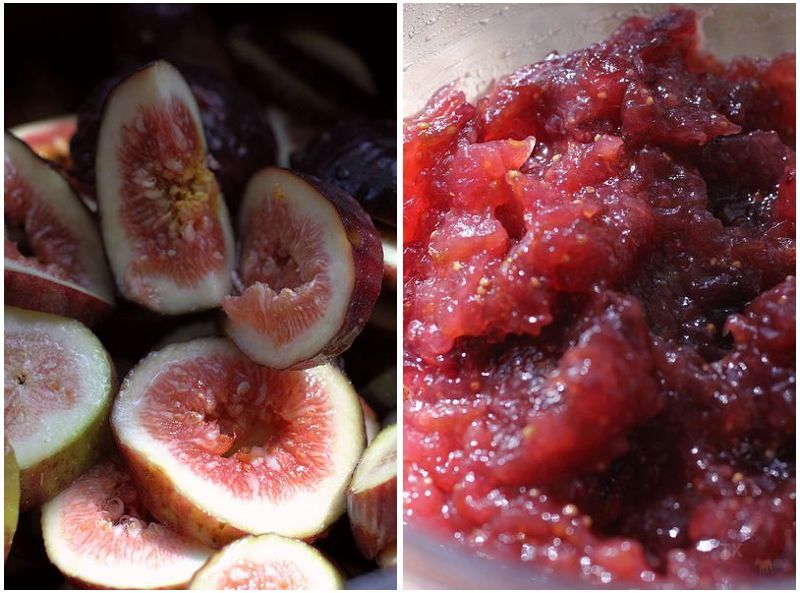
Then a fragipane fig tart with pine nut crust.
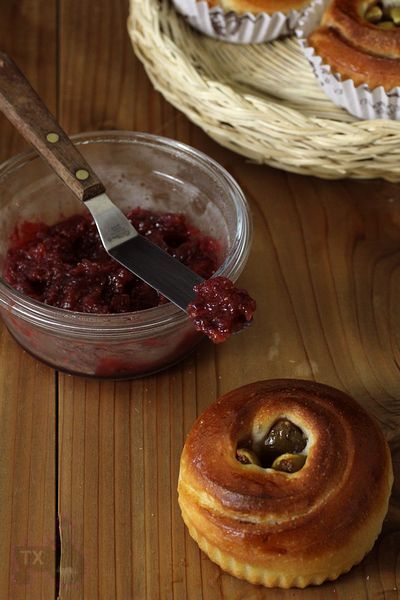
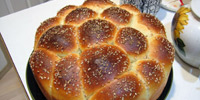
Finally with the last 8 figs I have on hand, and that delicious fig jam, I made some bread rolls.
Note: makes 8 bread rolls
Note: total flour is 250g
- levain
starter (100%), 13g
water, 22g
bread flour, 41g
1. Mix and let fermentation at room temp (73F) for 12 hours.
- Final Dough
bread flour, 203g
sugar, 10g
salt, 5g
butter, 15g, softened
powdered milk, 13g
milk, 50g
water, 107g
levain, all
fresh fig, 8
fig jam, some
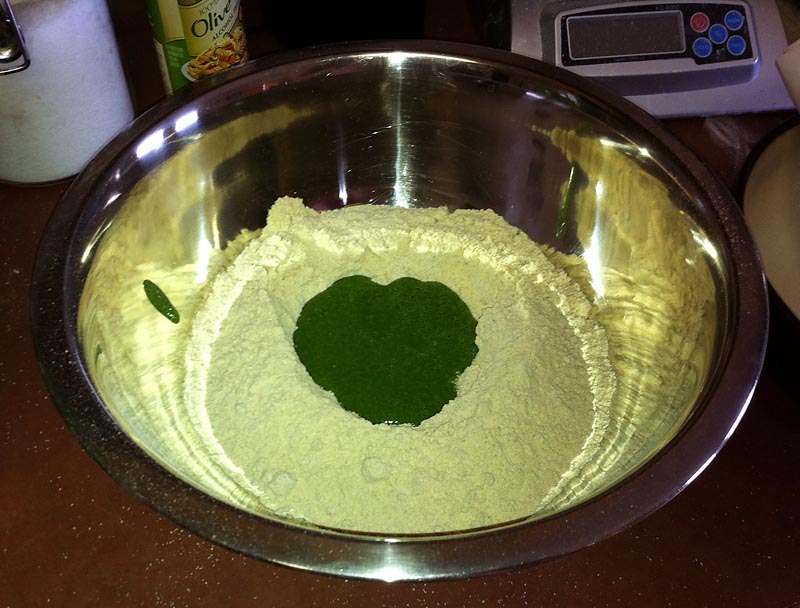
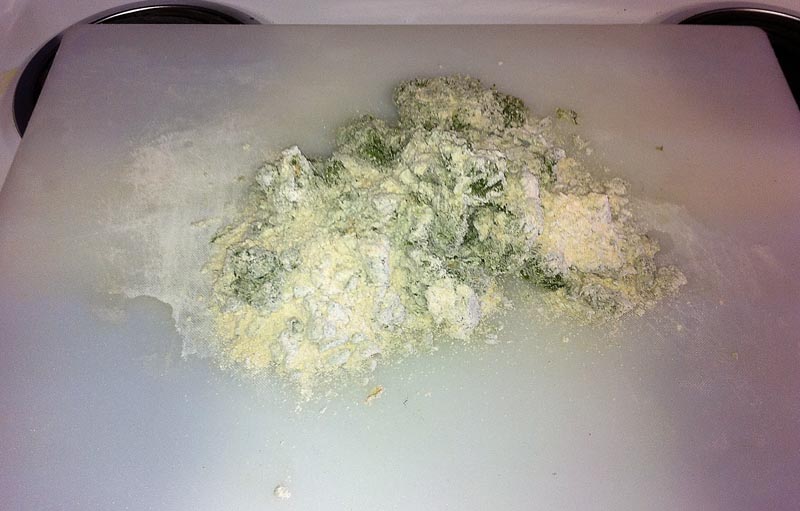
1. Mix everything but fig and fig jam until stage 3 of windowpane (-30sec), see this post for details.
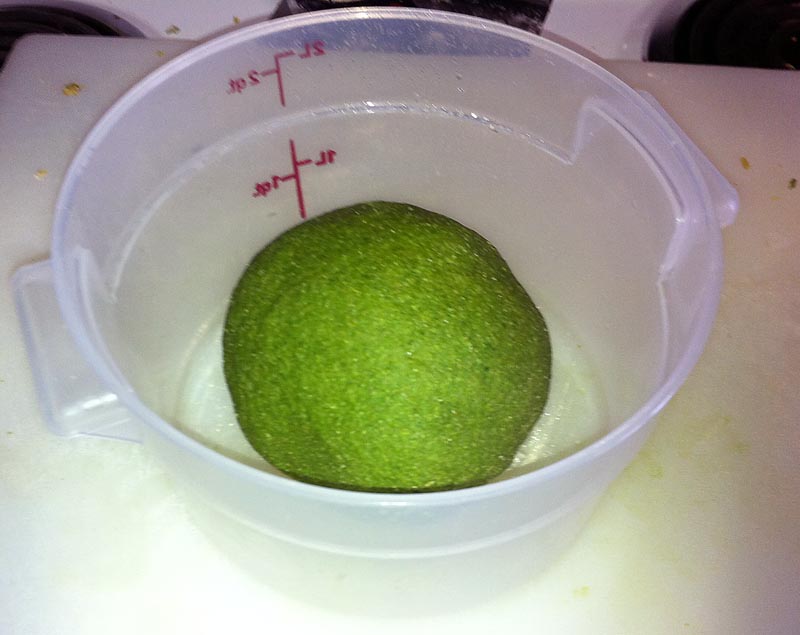
2. Rise at room temp for 2 hours, punch down, put in fridge overnight.
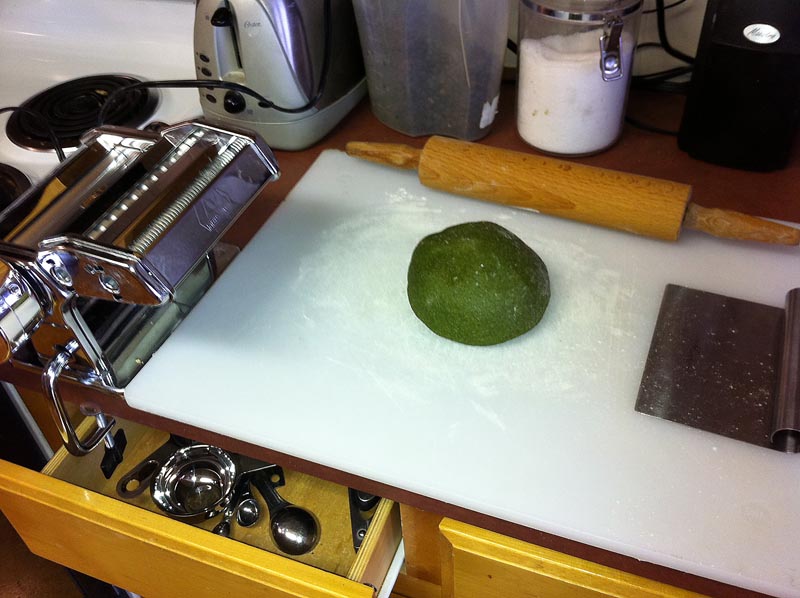
3. Takeout, round, rest for 1 hour.
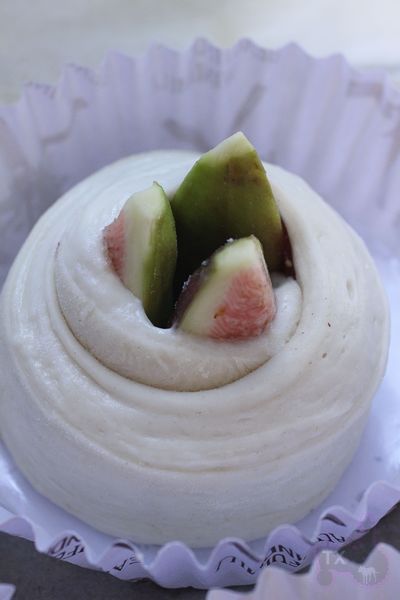
4. Roll out into 10X12inch rectangle, cut into 8 stripes along the short side, each is 10X1.5inch. For each stripe of dough, spread fig jam, then roll up with a fresh fig in the middle. The fig in the middle can be left whole, or peeled, or cut and put into patterns.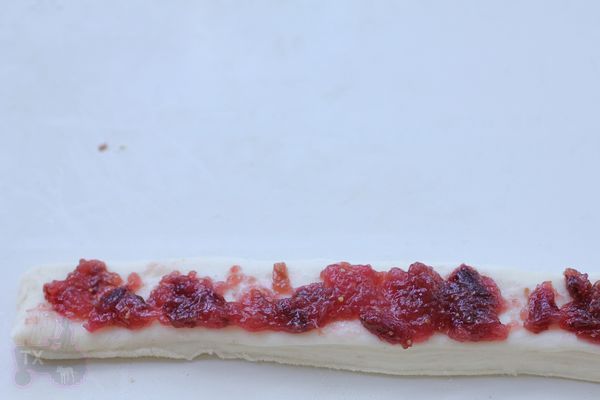
4. rise at room temp for about 5 hours. The dough would have double or even tripled by then, if it can't, your kneading is not enough or over.
5. Bake at 400F for about 25min. 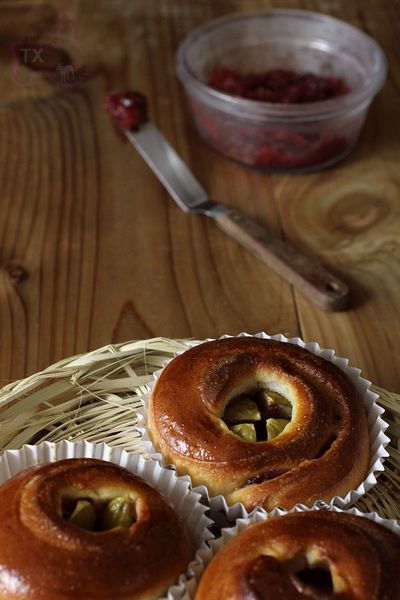
Soft and fluffy bread dough matches well with the clean sweet taste of fresh fig.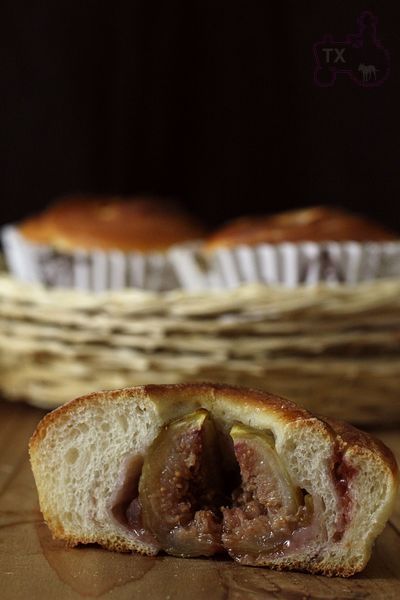
I don't like it too sweet, so the amount of fig jam in the rolls was pretty modest. I figure that I can always add more jam when I eat it.


 Buttermilk Cluster
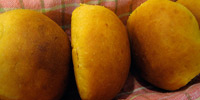 Sweet Potato Rolls
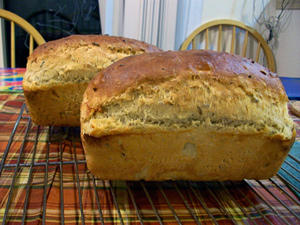 Wild Rice & Onion Bread