Today's Bread
Forums:
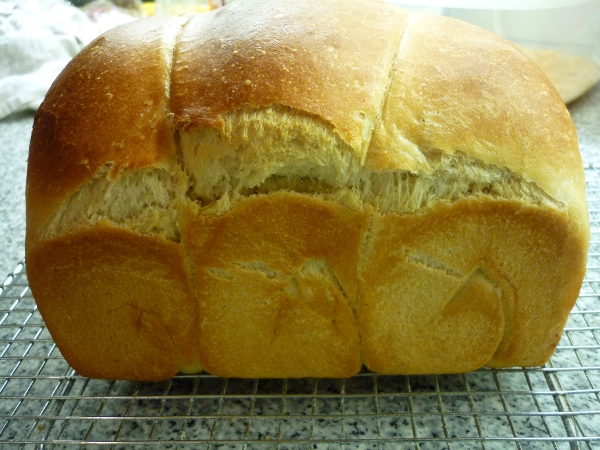
Just a simple loaf of white. I'm no Artisan by any means but the family loves it.
The first slice went to me.
Steve

Share
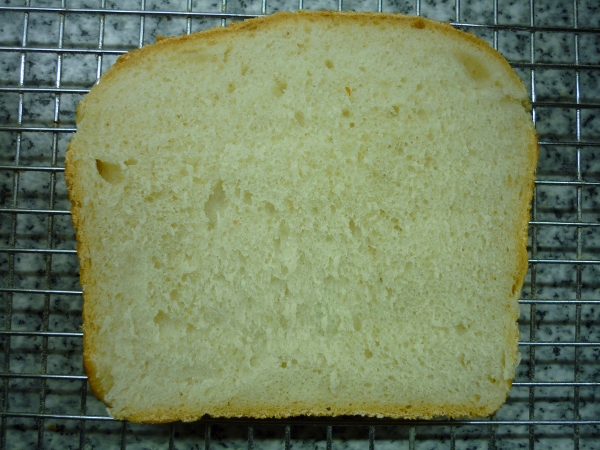
Just a simple loaf of white. I'm no Artisan by any means but the family loves it.
The first slice went to me.
Steve


Hi Chet, I'm new here. Floyd helped me register as I am sometimes computer-challenged! Your recipe looks interesting and I'll certainly try it . Experimenting with a good basic recipe for white sandwich bread is fun. You might try using canola oil or butter instead of lard or Crisco. Peter Rinehart uses butter in his basic white bread recipe, and he adds an egg too. It sure is fun to tweak a recipe and have it come out great! Good luck. cp3o

... just got more complicated, at least in East Sussex, UK.
This is the sign put up at the duck pond outside my son's school:
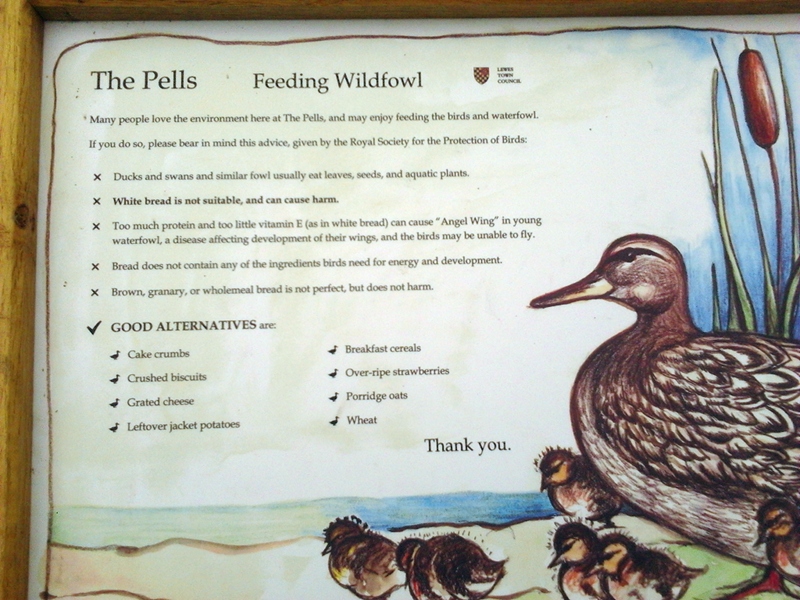
I knew feeding bread wasn't too good for the environment, introducing a lot of nutrients into the environment and essentially helping algae to grow (and I now know that angel wings might be caused by malnutrition), but:
White bread, not ok (the community officers are watching you!) - cake crumbs ok?
Hm, makes me think...
Juergen
So I have been baking all my life, but have never ventured into the land of bread (other than sweet breads, doughnuts etc.) and yesterday I decided to make the plunge and bake my first loaf of white bread.
My recipe made enough dough for two loaves, so I baked one loaf and put the rest of the dough into the fridge so I could make it today (after I had tried my first loaf). My first loaf was tasty and gorgeous but sadly super dense, which was okay for a first try but not perfect by any means.