Artisan / Sourdough starter
Forums:
If you love Sourdough/Artisan bread baking,you will want to check out www.northwestsourdough.com
Share
If you love Sourdough/Artisan bread baking,you will want to check out www.northwestsourdough.com


After reading the articles by SourdoLady I have a question about using a cool rise in the fridge after shaping the loaves:
Would a rise at a cool room temp, say 50 degrees F, be food safe and achieve the same long, flavor developing rise as in the fridge at colder temperatures?
I simply don't have room in my refrigerator to store two loaves of bread rising on a large sheet pan. But I have an unheated laundry room off the kitchen that stays between 40 and 50 if I don't leave the door open to the kitchen.
Any advice is appreciated.
Teresa

I really like Samartha's way of making a starter: no throwing out
anything.
The "usual" way of making a starter is throw out the half of previous
one and then add flour and water.
Repeat several times and then you have your own active starter.
Just as mention here,
you may toss out about 83% of flour to make a starter. Even though
flour is cheap, you don't need to throw anything out and you can make a
~500g starter ready for making a sourdough bread by following Samartha's
method.(step by step with photos)

Certified Executive Pastry Chef and Certified Culinary Educator carltonb has provided some wonderful information on baking with sourdough. There are three parts:
There is a pictoral essay on the steps involved in the development of a starter culture.
Next there is a feeding chart that provides details behind the pictures in his essay. Scaled down, this provides an excellent formula that a home baker could use to create a starter culture.

The following schedule is a guide for starting a starter from scratch.
During this process the starter should be held at 70 to 75 F to encourage fermentation.
A mature culture will be able to multiply 2 to 3 times in volume every 8 to 10 hours.
| Schedule | Flour | Water | Starter | Time Before Next Feeding |
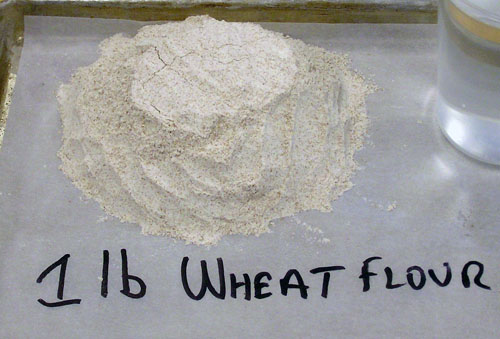
| *Day One AM | 1 lb Whole Wheat Flour 1 lb Bread Flour |
2 lbs | 24 hours | |
| Day Two AM | 1 lb Bread Flour | 1 lb | 1 lb | 6-8 hours |
| Day Two PM | 1 lb Bread Flour | 1 lb | 1 lb | 16 hours |
| Day Three AM | 1 lb Bread Flour | 1 lb | 1 lb | 6-8 hours |
| Day Three PM | 1 lb Bread Flour | 1 lb | 1 lb | 16 hours |
| Day Four AM | 1 lb Bread Flour | 1 lb | 1 lb | 6-8 hours |
| Day Four PM | 1 lb Bread Flour | 1 lb | 14 oz | 16 hours |
| Day Five AM | 1 lb Bread Flour | 1 lb | 14 oz | 6-8 hours |
| Day Five PM | 1 lb Bread Flour | 1 lb | 14 oz | 16 hours |
| All additional days AM | 1 lb Bread Flour | 1 lb | 14 oz | 6-8 hours |
| All additional days PM | 1 lb Bread Flour | 1 lb | 14 oz | 16 hours |
This is a pictorial process for created your starter. You can follow the attached chart to see the
feeding schedule I use for a two-a-day feeding.
I like this method because it meets my particular work needs.
In this example the starter was kept between 74 and 80° F for the entire process except for Day Four PM to the AM schedule on Day Five. This time I left it in an area that was at least 84° F. You
can see how the fermentation "got away." This will be corrected by returning the starter to the 74
and 80° F range.
Day One
Your ingredients