In October, 2011, I baked a bread I called “pugliese capriccioso.” The formula was based on my best understanding derived from reading formulas in American books of what typical breads from Apulia are like. I baked another version, differing in the use of a firm starter (biga), in February, 2012. I remain unbiased by personal experience of the authentic bread, but the breads were good. Several other TFL bakers have made these breads, and all those reporting found them good as well.
More recently, I baked Hamelman's “Durum Bread,” which is 100% durum flour. I didn't like it as well as my pugliese, but my posting stimulated some interesting discussion regarding this type of bread and has prompted me to try a re-formulated pugliese capriccioso, using a higher percentage of durum flour.
My new formula uses a stiff biga made with bread flour (12.7% protein). Fifty percent of the flour is “fancy (finely milled) durum.” Forty percent of the flour is pre-fermented. Hydration is 80%
Total Dough Ingredients | Wt (g) | Baker's % |
Bread flour | 180 | 36 |
AP flour | 70 | 14 |
Fine durum flour | 250 | 50 |
Water | 400 | 80 |
Salt | 10 | 2 |
Active starter (50% hydration) | 36 | 7 |
Total | 946 | 189 |
Biga Naturale Ingredients | Wt (g) | Baker's % |
Bread flour | 180 | 100 |
Water | 90 | 50 |
Active starter (50% hydration) | 36 | 20 |
Total | 306 | 170 |
The day before baking, mix the biga.
Ferment for 8 hours at 70ºF.
Refrigerate overnight
Final Dough Ingredients | Wt (g) |
AP flour | 70 |
Fine durum flour | 250 |
Water | 310 |
Salt | 10 |
Biga naturale | 306 |
Total | 946 |
Method
Take the biga out of the refrigerator and let it warm up for about an hour.
Mix the water and flours to a shaggy mass, cover and autolyse for 20-60 minutes.
Sprinkle the salt over the dough and add the biga in chunks.
Mix at Speed 1 for 1-2 minutes until the ingredients are well-mixed.
Mix at Speed 2 for about 10 minutes. The dough will be quite slack. It will almost clean the sides of the bowl and form a ball on the dough hook, but a large portion of the dough will still be on the bottom of the bowl.
Transfer the dough to a lightly oiled bowl with a tight-fitting cover.
Ferment at 76ºF for 2 1/2 to 3 hours with a stretch and fold at 40, 80 and 120 minutes.
Divide the dough into two equal pieces. Pre-shape into balls and let the dough rest for 10 minutes to relax the gluten. (This wasn't much of an issue. The dough was extremely relaxed and extensible.)
Shape the pieces as tight boules and place them seam-side down in floured bannetons.
Place the bannetons in a food-safe plastic bag or cover with a damp towel. Proof the boules at 85ºF until the dough springs back slowly when you poke a finger into it. (About 2 hours)
45 minutes before baking, preheat the oven to 500ºF with a baking stone and steaming apparatus in place.
Transfer the loaves to the baking stone, seam-side up, steam the oven and turn the temperature down to 460ºF.
After 12 minutes, remove the steaming apparatus. Bake for another 14 minutes or until the loaves are done. The crust should be nicely colored. The internal temperature should be at least 205ºF.
Leave the loaves on the baking stone with the oven turned off and the door ajar for another 10 minutes to dry the crust.
Transfer the loaves to a cooling rack. Cool completely before slicing.
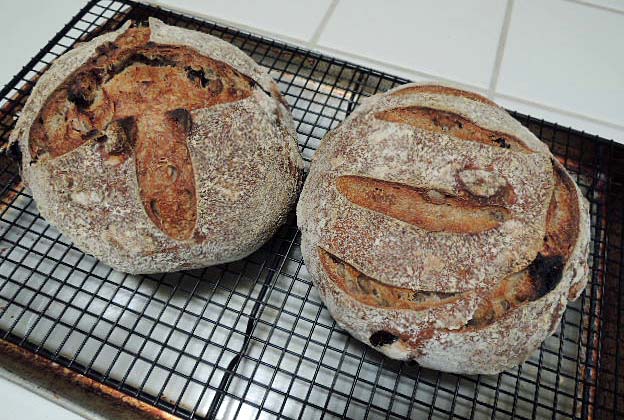
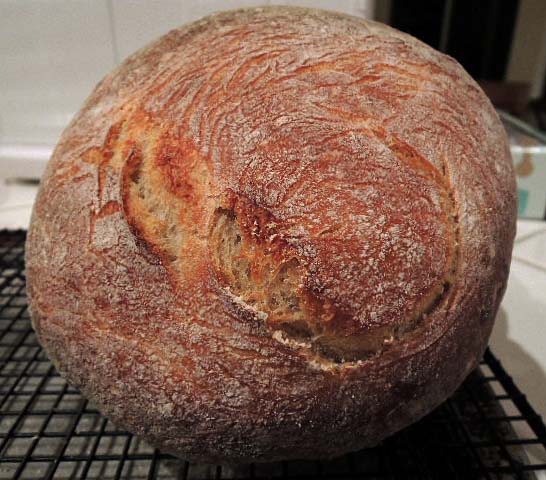
These loaves are about half the size of my previous pani pugliesi. One will be gifted to my Italian language teacher who grew up in Palermo and loves bread, I am told. I'm eager to hear her assessment of my pugliese's authenticiy.
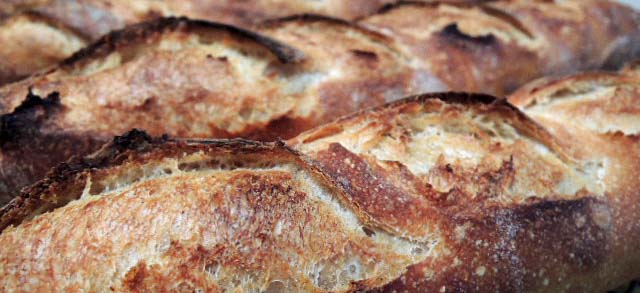
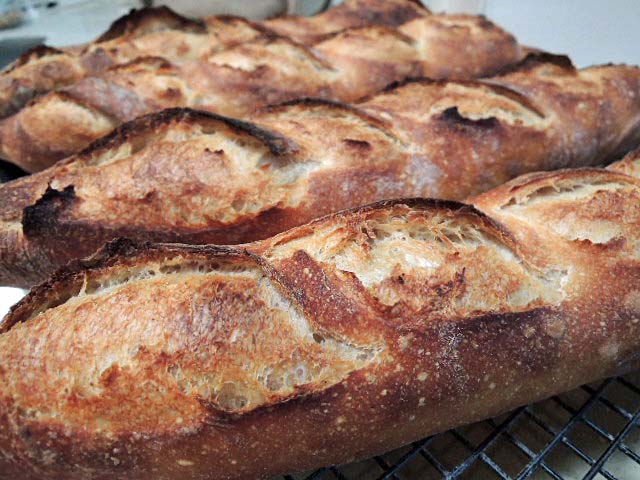
These smaller loves have the appearance of miniature versions of the larger ones, with similar crust color and texture. The crust was firm when they were first taken out of the oven, but it softened as the breads cooled. I was hoping the folds would open some with oven spring. That's why I baked them seam-side up. They opened up a bit on one loaf. They probably would have opened more if I had under-proofed a bit.


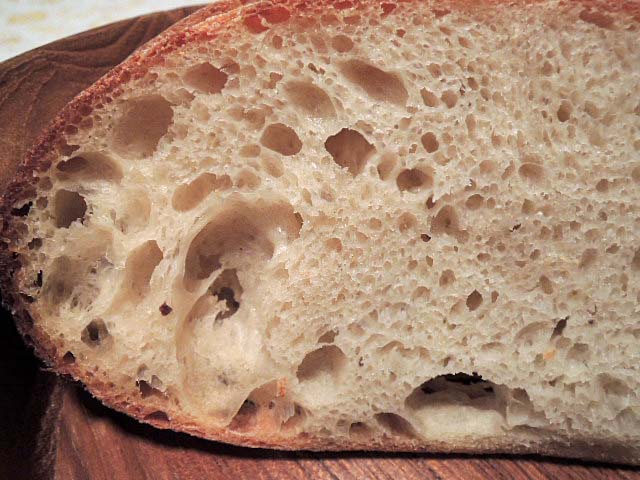
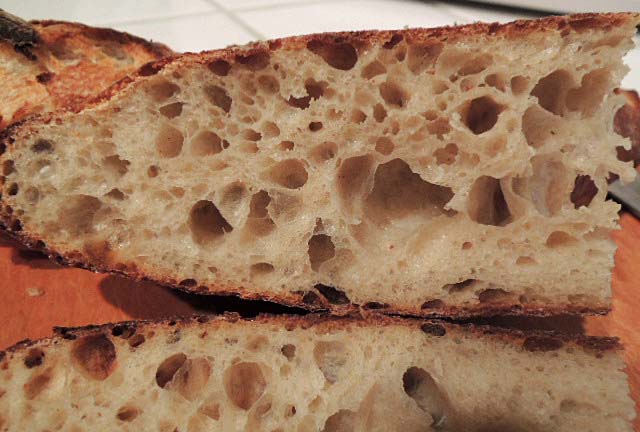
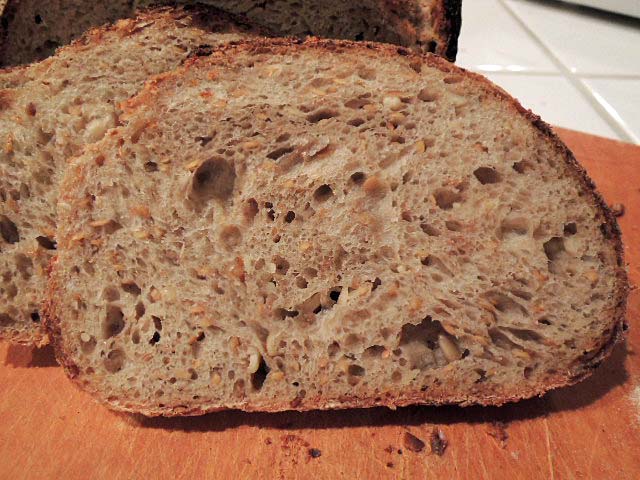
Slicing revealed the crumb was moderately open – less so than the pugliesi made with 25% durum, more so than the 100% durum loaf, although that had lower hydration also. The dough had been quite yellow, but the baked crumb was less yellow.
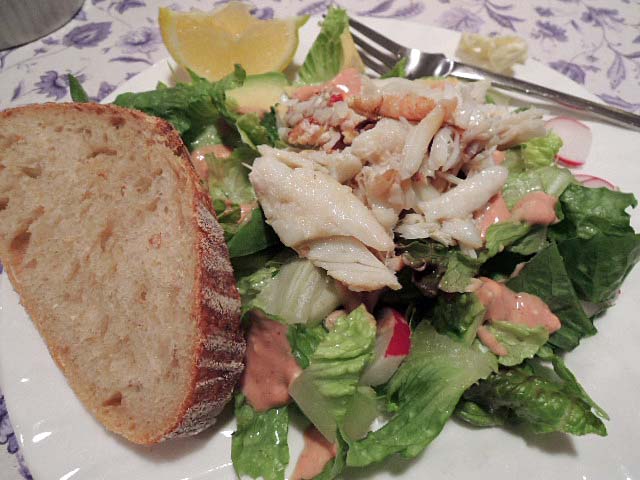
The crust was thin and chewy. The crumb was tender and cool-feeling. The flavor was not as sweet as the previous pugliese versions, but the crust in particular had a nuttier flavor. This bread was more enjoyable eaten with other foods than alone, in my opinion. I am curious how the flavor will develop over the next couple days.
David
Submitted to YeastSpotting