It’s been a while since my last post. I didn’t post anything because I was lazy… I did bake, a lot. From bread, flat bread, pizza and more (next blog entry will be on one of them).
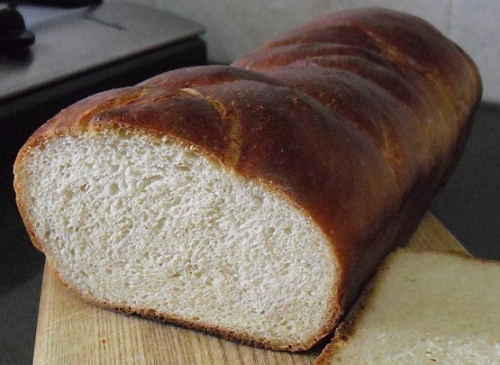
Today, I will continue with my sandwich bread. The recipe is not so different from the previous one, but this time I reduced the amount of yeast by half, added more sugar, and changed the ratio of water & milk. Nothing fancy here, but it taste good.
I love sweet basil, and a pesto made out of it is an excellent addition to a lot of dishes.
So bread filled with it, will be fantastic to eat with a tomato salad with some mozzarella cheese.
In the past, I did add pesto to my dough during kneading, but the bread was not as good as I expected.
This time I decided the filling will go into pocket in the dough.
What I did is basically braided bread and each of the braids is filled with my pesto. This time, to fulfill my curiosity, I went for 2 halves, each is braided out of two strands and then shaped into a circle. Both halves were placed together to create one bread.
The Recipe:
The filling:
A bunch of fresh sweet basil leaves
1 claw of Garlic
Few pine nuts
A walnut or two
A pecan nut or two
2 tablespoons of grated Parmesan cheese
¼ cup of Olive oil
Salt and paper (prefer the coarse salt – will help grinding the other ingredients)
Crush all ingredients in a food processor (or pestle and mortar) until you have a smooth mixture.

The bread:
- 3 1/4 cups flour
- 1 ½ teaspoons of yeast
- 1 tablespoon sugar
- ½ cup of milk
- ¾ cup of water
- 1 egg
- 3 tablespoons of olive oil
Mix the yeast, milk and sugar, wait 5-10 minutes
Add the flour and water and kneed for 5 minutes, add salt, egg and olive oil, kneed for another 5 minutes.
Let rise for 60 minutes
Mix the flour, yeast, sugar, egg and water (or milk) into a unified mixture and let rest for 20 minutes.
Add the salt Pecans and Pumpkin seeds knead for 10 minutes. Let rise for 60 minutes.
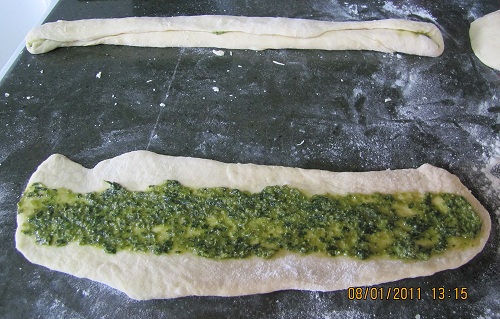
Cut the dough into 4 equal pieces, form a long strand from each.
Use a rolling pin to spread each strand (make some room for the filling), fill each with the pesto and roll (see pictures below).
From each pair of rolled strands, form a braid, and then roll it like a snail.
Put both parts in the form, let them touch, we want them to become a single bread.
Let rise for 40-60 minutes or until it doubles in size.
Bake in high temperature with steam for 15 minutes (240c)
Reduce the heat (180-170c) and remove the steam, bake for another 40 minutes.
The process:

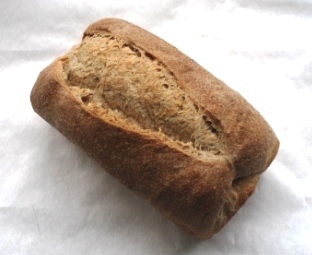
The outcome:


Until the next post
Ilan


 Add water to the bowl and stir for about 1 or 2 minutes (it won’t look that good but that doesn’t matter).