Sometimes you just have to admit it: you messed up. My turn! Again...
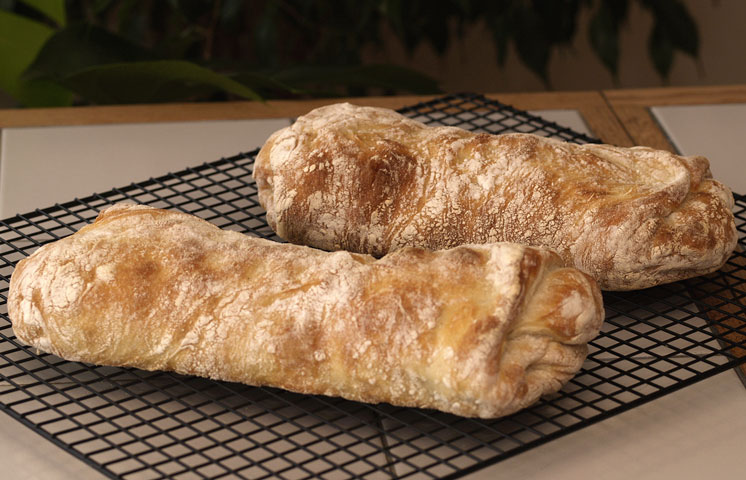
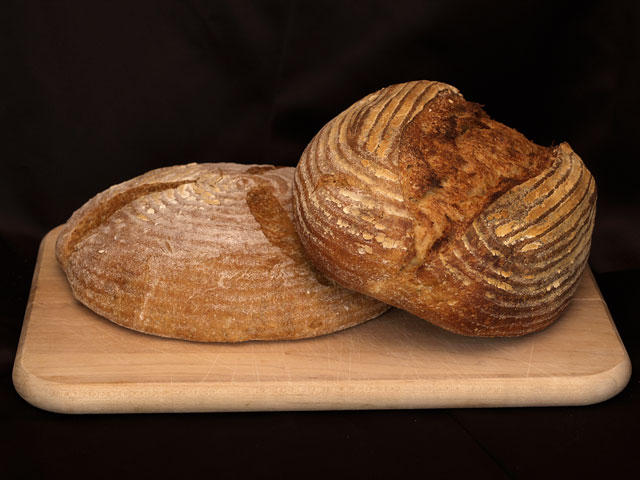
This time it was this sad loaf of Pugliese, sitting along side the boule of sourdough that is my redemption for the day's baking. Here they are together.
Resuscitation: I had another go at Rose Levy Berenbaum's "Brinna's Pugliese" Friday night, but this time I tried it with a 20% substitution of semolina flour. I started the biga on Thursday night and let it ferment in a back room cupboard (about 60F) till Friday afternoon. Then I put all my things in place (Ha!) and prepared the dough. Everything was going along just fine until, about 90 minutes into the bulk fermentation I noticed... nothing. The dough had not grown at all. I had it in a warm spot, so I left it for a while, until I realized the truth: Except for the biga, I had not put in the yeast. I had gotten distracted with rechecking the flours after the semolina substitution, and never even got the yeast out of the refer. So much for "everything in place"! Oh, no, now what?
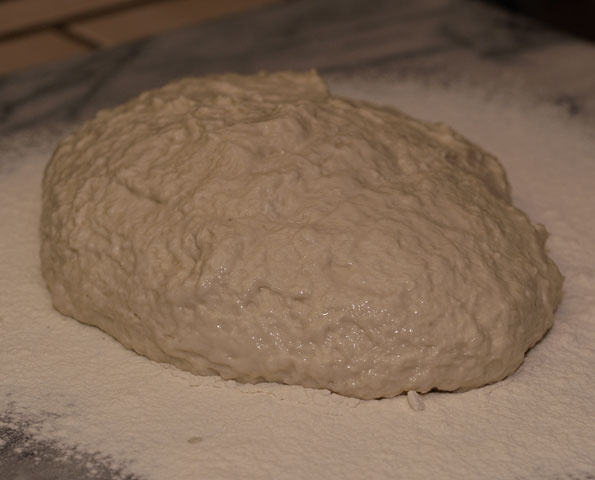
I opened up the container and sprinkled the yeast (IDY) over the top, and folded it in. I got out my board and did several folds to incorporate it as well as I could, but this dough was wet, slack, super-sticky and gloppy. I had to continually wet my fingers to handle it at all without becoming part of it myself. I managed to get the yeast worked into it, and got the dough back into the bowl where it immediately took off. I could not believe it, but it nearly doubled in an hour. I formed it into a boule as well as I could and turned it upside down into a very well floured banneton. It filled the banneton and topped out in just another hour.
I could not resist compounding my errors. The recipe says to bake on a sheet with steam added, but I had already baked the sourdough that follows below, and my La Cloche baker was in the oven already hot. I was determined to make this baby jump after having made such a mess of it. So I turned it out onto my superpeel ( a mistake), slashed it (another mistake since it was so fragile) and then "dropped" it off the superpeel into the preheated La Cloche (final insulting mistake for this poor loaf). It collapsed. It fell, flatter than one of my plain flour pancakes. As soon as I saw it I realized my error(s), and knew they were all my own. I put the cover on and baked it.
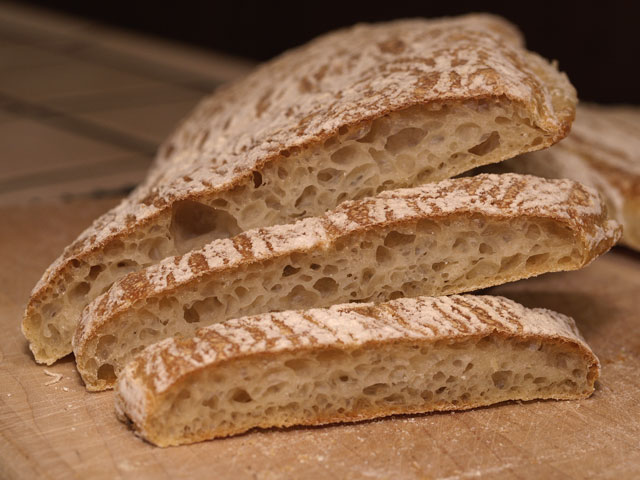
The good news about baking for a hobby is that, most of the time, you can eat your errors. That will be the case with this pugliese. As you can see in the crumb shot here:
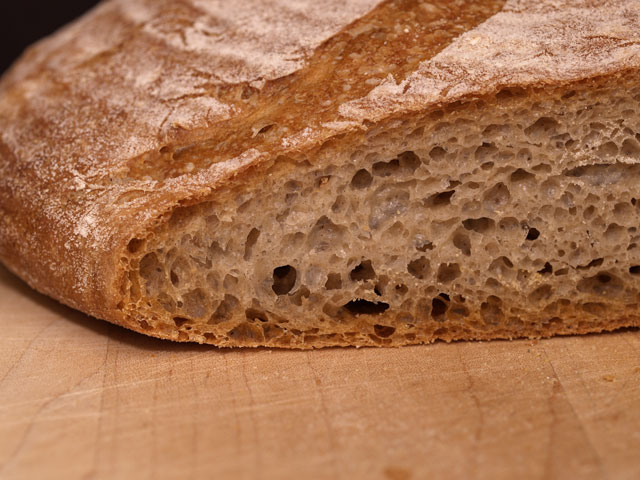
this loaf only turned out poor, not really bad. It forgave me more than I deserved here I think. The La Cloche pumped some spring into it so that it has a little bit of loft and a nice tender crust. The crumb is pretty dense for pugliese, but as you can see, there is a nice gelling of the starches, and it came out okay considering all the insults. The flavor is quite excellent, and the semolina addition has really had a positive impact on the taste. I will certainly be revisiting this loaf again with even more semolina in the dough. In the end this loaf resuscitated me after my near apoplexy at the glaring chain of mistakes.
I'll learn from my mistakes and go on. After all, in a couple of days nearly all the evidence will be gone anyway!
Redemption: The sourdough loaf was actully baked first. This is another of "my" sourdough loaves, but this time I was determined to proof more fully than last time. This formula is one that I've been using to break in and get used to my new willow proofing baskets, and I'm quite happy with the results so far, considering the low 64% hydration. Here is the loaf:
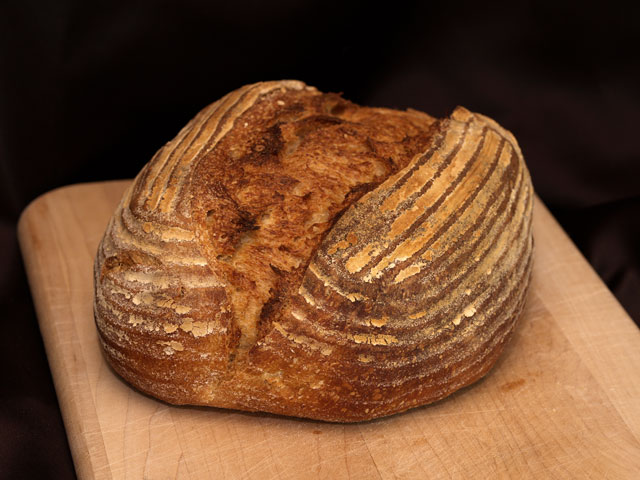
As you can see, I'm still not doing a proper job of preparing the banneton before I put the loaf in for proofing. I'm hoping that as I use them more, things will level off. Right now there are sticky spots where lots of flour stays, and there are dry spots where very little to no flour at all will stay. I'm currently layering on AP flour first, then white rice flour lightly on top of that. The flour that remains on this loaf is dry in places, and pretty oily in others. The oil is from the initial spraying of Baker's Joy flour/oil spray I used to "season" the banneton initially in accordance with the instructions. Since then I've just been applying the flours, proofing the dough, then letting the bannetons dry out on the counter. When dry, I brush them thoroughly and put them away till next time.
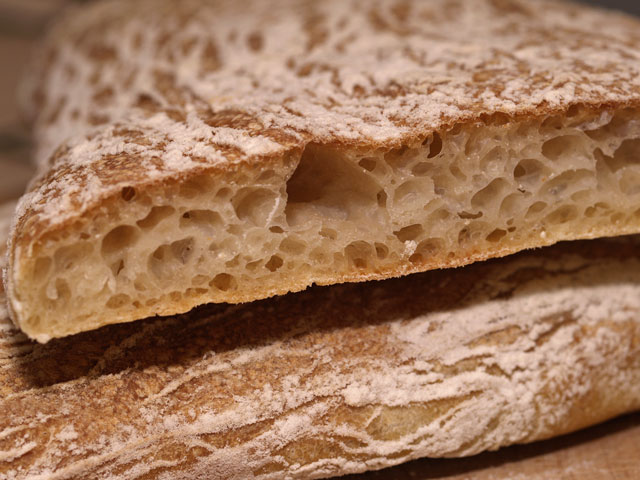
The crumb of this loaf is better than my last effort thanks to better proofing, and the loaf did not explode so much in the oven when baked. It was baked in La Cloche for 15 minutes covered, with the temperature at 500F for the first 10, then down to 460F for the rest of the bake. The cover came off at 15 mintues, effectively ending the steaming time at that point. I let this loaf bake a little extra long because I was trying to darken the crust. I got most of what I wanted, but ended up with an internal temperature of 209F when I finally gave in and declared it done. It is not the least bit dry though, and the crumb is very tender. Here is the shot:
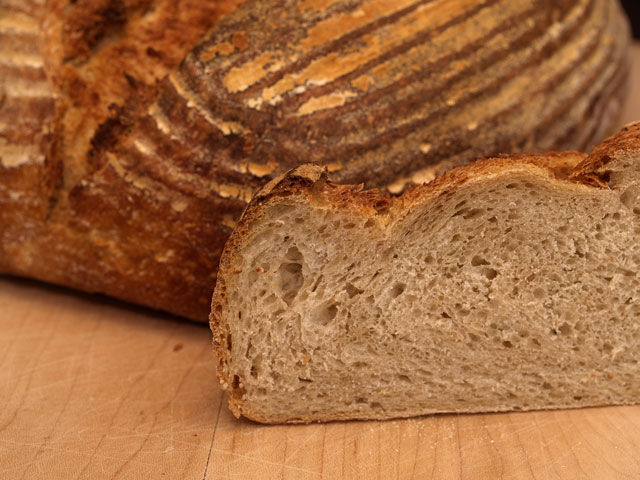
There were really two loaves, and the crumb shot is of the "other" one. The cut loaf is already gone, and the uncut loaf was gifted to a neighbor. I'll just have to try again I guess. Darn. :)
OldWoodenSpoon