Digital Photography, Tips and Methods for the Baker
One of the wonderful things about the digital cameras we all have today is that we can share the look of the wonderful things we bake. It’s one thing to write a recipe and describe how things should be but as someone once said, “A picture is worth a thousand words”.
The scope of this blog will be limited to product photography and how to achieve the best results from commonly available equipment. I will try to avoid complex explanations that are better suited for advanced or professional photographers. The beginning baker need not take a magazine quality image to show for the purpose of asking for help. However, all of us want to show our work in the best possible light. We all are proud of our achievements and progress in this hobby of bread making and I am sure all of us want our pictures to reflect the beauty of our success.
NOTE: If you want to stay apprised to the updates to this blog you can subscribe below. Please feel free to post questions and I will try to be as helpful as possible.
The camera:
The myth that you need a 10.2 mega pixel camera to take good pictures has become accepted by the public as put forward by the camera makers. The simple truth is that an inexpensive camera with a good lens from 10 years ago will do just fine. Our computer monitors display images at a resolution of 72 or 96 dots per inch. All digital cameras record images at the size or resolution set in the camera settings. That means that the image saved by your camera is a whopping 3872x2592 pixels if you are using a 10 megapixel camera set on Large. That is a 10 Mb file that will display as 42X27 inches on your monitor. Displayed full size, you would only see a small portion on your screen. The file size of an image saved at any resolution is way way larger than you need for uploading to the forum or emailing. As a general rule if you can re size your image to 4X6 inches at 72 dpi or there about, the file size will be small enough you can email it quickly and it will be uploaded easily to the image editor at the forum.
If you are thinking about buying a new camera, my advice is to purchase the best quality lens you can afford in your budget. Nikon has some very nice SLR’s in the range of $400 with wonderful optics that are good general use lenses. Canon I am sure also has a competitive line with similar pricing. Remember that your image first has to pass through the optics on the camera. Everything that follows the lens is electronics. Mass production of plastic lenses has gotten um better, but a good glass lens will deliver sharp images on the collector plate. Yes, there are good quality smallish size cameras with plastic lenses. If size isn’t a consideration, an SLR that allows you to change lenses is my choice.
Basic Camera Operation:
First, learn how to control the on camera flash. This is important for every image you take from the kids standing on the beach to the loaf of bread just out of the oven. Even if you use the Auto setting on your point and shoot camera you can improve your results dramatically by understanding how to manipulate the flash. In outdoor settings in direct sunlight, the Sun casts a harsh shadow on the dark side all objects. The moon is the best example. When we see a crescent shaped moon, it is the shadow of the Sunlight that creates the contrast that looks like the moon has changed shape. In fact the moon is still there as always, just not illuminated so we can see the details. The same thing happens to a lesser degree when we take a photo in direct sunlight of a person wearing a hat. The camera will adjust for the overall amount of light on this bright sunny day and the face of the individual will be in shadow. If you force the camera to always fire the flash, especially on sunny days, you can eliminate the face being in shadow. The opposite is also true. If you prevent the flash from firing when in indoors but still decent light, your images will not suffer from being driven by over flash and the bounce back that occurs from camera mounted flash. Using daylight streaming in from outside gives the most natural colors for faces or bakery products. If you can use Sun light to illuminate your food products, there won’t be any need to adjust color tones later. Also, your lighting won’t be coming from the direction of the camera so there will be more interesting shadow detail in view.
Natural lighting usually results in lower light levels which increases the need for a steady hand or a tripod. Squeeze don't punch the shutter for a still camera and sharp image.
The most true colors and most natural looking images will always be the result of using the Sun to illuminate your images. Having said that.
Flash photography is a reality that we all have to deal with. Most of my breads seem to come out of the oven at night or on gray cloudy days. I end up taking snap shots of the breads I want to upload on a pan on the stove top with a florescent light fixture above. I put daylight tubes in the fixture and that helps reduce the green shade that florescent tubes usually cast. The on camera flash provides the majority of light and the result is a well exposed and color balanced image. The closer you are with the camera, the more prominent the light from the flash is. This is especially true with less expensive point and shoot cameras that don’t automatically adjust the flash down to prevent over exposure or burnout. In general you will get better results if you position the camera in the mid range of the flash. For example if your flash has an effective range of 12 feet, don’t get closer than 5 or 6 feet.
Setting the ISO:
The ISO setting allows you the ability to make the image plate more sensitive to lower light ranges. This is an area where I could easily get side tracked in a discussion of capabilities that while interesting, would be better saved for an advanced user discussion. I suggest using an ISO setting between 600 and 800. Image quality will remain high and at 800 the range of available light is wide enough to capture all of the details we need. Use higher numbers for lower light levels.
Natural Light Photography:
Our eye sees things as they are normally lit, with a combination of light sources and shadows. Flash lighting from a camera mounted strobe is harsh and unflattering in most cases. It’s OK for a quick snap shot but if you really want an image to show your work, a little thought about the lighting will dramatically improve your results.
Try to think about light as a liquid. It flows around sharp corners and bounces off of shapes it encounters, changing quality and color as it travels. Like the stream from a garden hose, it is most harsh and powerful closest to the source, falling in intensity as it travels away.
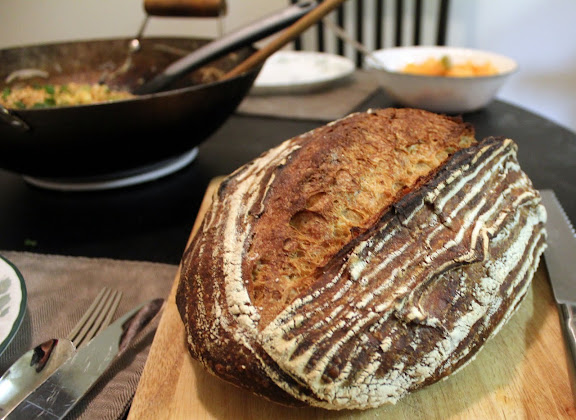
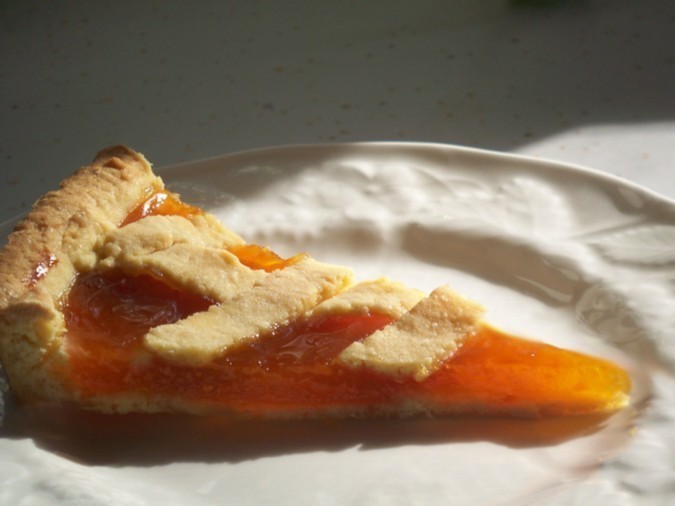
The most dramatic images have a wide range of depth of color and intensity. Some very dark places and some very light or white places . The focus point is sharp and well focused. The lighting establishes the mood. Long soft shadows from rear lighting with filling light on the sides make this image of a soft pretzel very interesting. Shadows creeping in from the side bring depth to any image. The images Mark Sinclair and his wife are using of his bakery products are a good example of thoughtful natural lighting. Take a look at how they have sculpted the breads with perfect control of the light. No trickery here, just thoughtful lighting you can do at home.
www.thebackhomebakery.com


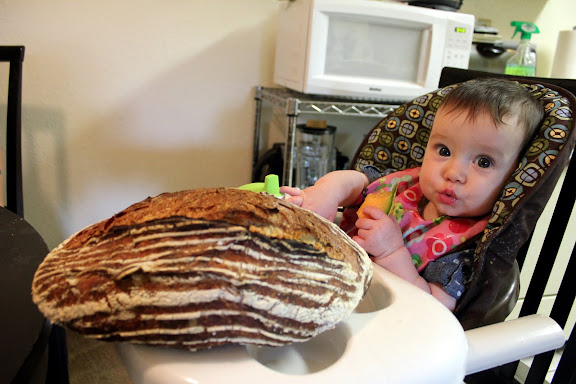
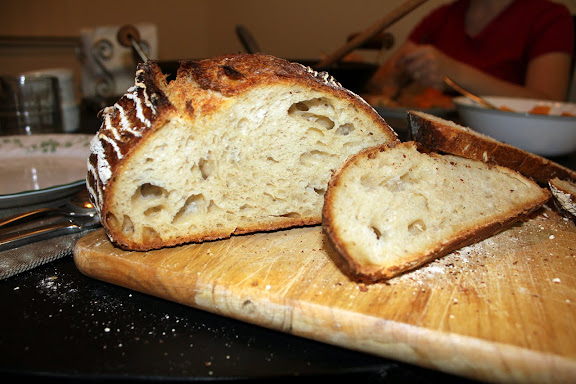
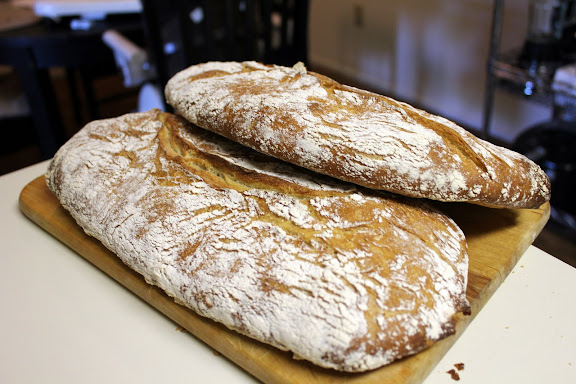
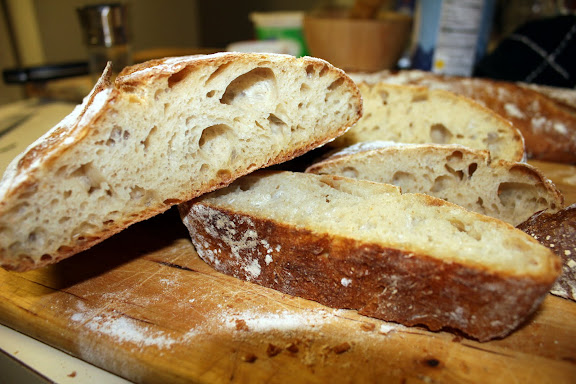
All of the images above are good examples of natural off camera lighting. Thanks to Mark, Susan, and Pamela and also Stephmo for the Pretzels shot.
This will be a work in progress and added to as I get time. If you have questions, fire away and I'll do the best I can. This is a big subject that could get very specialized.
Eric