Posted on www.evilshenanaigans.com 4/8/2009
I am a bacon devotee. I'm not sure if you have noticed, but I love the stuff! That's why when I was challenged to create a sweet and savoury bacon muffin I jumped at the challenge!
But, this is a tale of sadness, regret, but eventual triumph!
Two months ago, on a cold January evening, I was contemplating new ways to use bacon in my baking when my husband asked, "Can you make a bacon cupcake?" A cupcake? No, not that, never that. However, a muffin I could do! So, off to research. I formulated a recipe with a brown sugar crumble and gave it a whirl.
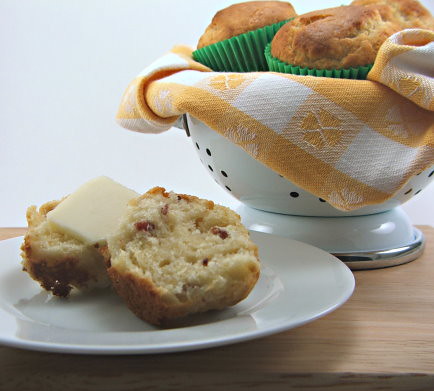
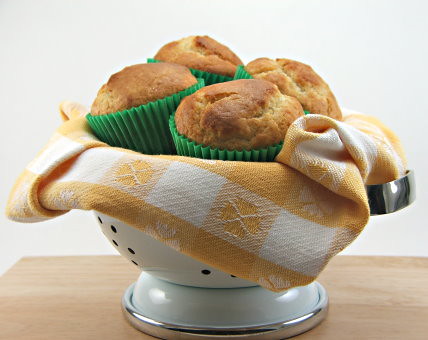
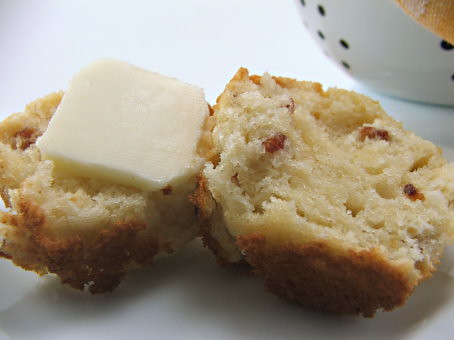
They tasted great, but looked about as pretty as homemade soap. Not a shining moment for me, but I moved on. Next I tried no crumble and more maple. They were far too sweet and had the texture of sticky cornbread. BLEH! Long story short (too late, right?), after a few more failures I struck the right balance of salty and sweet in a tender, bulging muffins! It is this that I present to you, the perfect brunch bread. .. Maple and Bacon Muffins!
Maple and Bacon Muffins Yield 1 dozen
2 cups all-purpose flour
1 tablespoon baking powder
3 tablespoons sugar
1 teaspoon kosher salt
4 slices bacon, cooked crisp and crumbled
1 cup milk
2 eggs
1/2 cup vegetable oil
1/4 cup real maple syrup
Heat the oven to 400 F and line a 12 cup muffin pan with paper liners, or grease and flour the pan well.
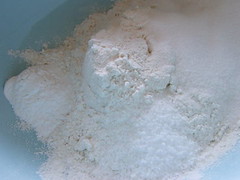
Mix the flour, baking powder, sugar, and salt well. Mix in the crumbled bacon.
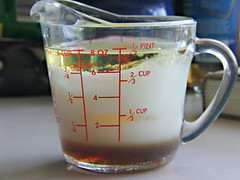
In a separate bowl mix the milk, eggs, oil, and maple syrup.
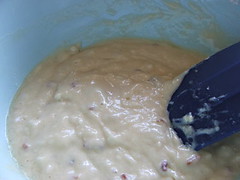
Make a well in the center of the dry ingredients and pour the wet ingredients into it. Fold gently until the dry ingredients are wet. It will be lumpy.
Scoop into the prepared pan and bake for 20 minutes.
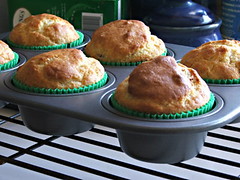
Serve warm.


 I think I'm starting to get the scoring thing. These didn't blow out on the bottom. They were also better proofed than my last loaf. I let them sit for about an hour before baking.
  The real test of any bread making, for me anyway, is the appearance of the crumb. This is, by far, my best for a more dense loaf. I'm really loving what I'm learning here. I'm having a lot of fun baking (sometimes more than my boyfriend, our daughter, and I can eat, but it's proving to be very educational. Recipe: Maple Brown Sugar Oatmeal Bread - Take One Prepare the oatmeal: 1 packet instant maple & brown sugar oatmeal 1/2 cup water Mix and heat for 1 minute. It will be almost done, but not quite. Allow to cool to just warm. Assemble the rest of your ingredients: 3 1/3 cups flour 2 1/2 tsp active dry yeast 2 tablespoons of butter 1/4 cup lightly packed brown sugar (very lightly) 1 egg, lightly beaten 2/3 cup milk (lukewarm) 1 1/2 tsp salt Disolve the yeast in the milk. In your large bowl you use for mixing the final dough, mix together the oatmeal, sugar, and egg. Once incorporated, mix in the milk. Once all this is well mixed, add 2 cups of flour and the salt and mix until you get a thick paste. Add the rest of the flour in 1/3 cup increments until it's almost all in. If your cups are the same as my cups, it should take all but the littlest bit of the flour. If not, you want the dough to feel very sticky and barely hand-kneadable. Once mixed together so that there's barely any flour left in the bowl, rest for 10 minutes. After the resting period, turn the dough out onto your kneading surface and "knead", as well as you can, for a few minutes. 5 or so. Bulk ferment should be about 60-80 minutes. Mine was on the longer side because of the temperature of my kitchen. I stretched and folded the dough three times during this time. Got very good gluten development. Preshape and allow to sit for 5 or so minutes. Shape loaves, then proof for about 45 minutes to an hour, depending on the warmth of your kitchen. Score and bake in a 400 degree oven for 15 minutes, then turn down to 350 and bake until a thermometer reads 200 degrees or so.