The Fresh Loaf

A Community of Amateur Bakers and Artisan Bread Enthusiasts.

KoMo

PiPs's picture
PiPs

Saturdays are my day of play in the kitchen. I rise early in our quiet house to bake bread for the week. A boiled kettle, a cup of tea, then I start mixing and planning my day just as the sun pokes through the kitchen window. After mixing, we enjoy a lazy breakfast while I watch the dough and wait. By midday the baking is done, enticing me to cut a slice (or two) for lunch.

Last weeks Dark Rye disappointment also fuelled a rye test bake, but I will save that for another post in the next few days as I am waiting for the crumb to set.

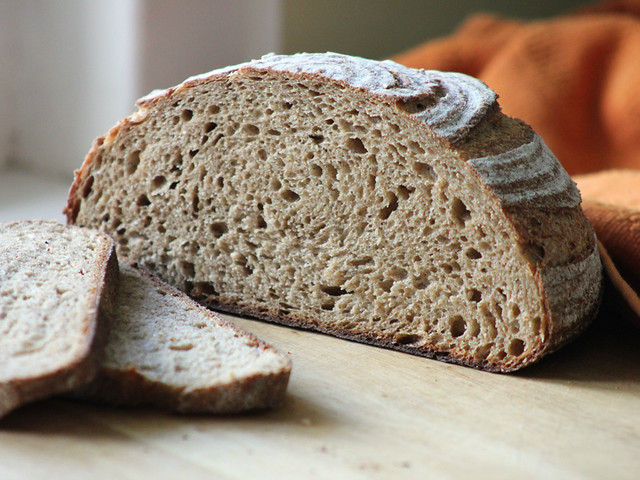
With the rye bake keeping me busy both mentally and physically in the kitchen, I decided to be kind on myself and bake a simple adaptation of the country bread with two starters by using a proportion of wholemeal spelt in the final dough. I think I have found a winner both with flavour and texture.
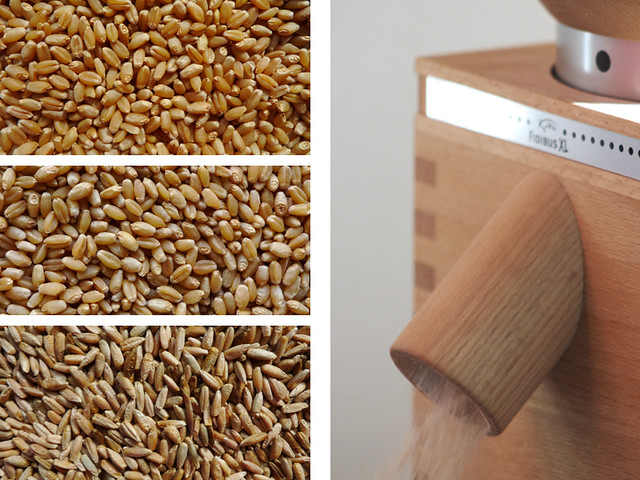
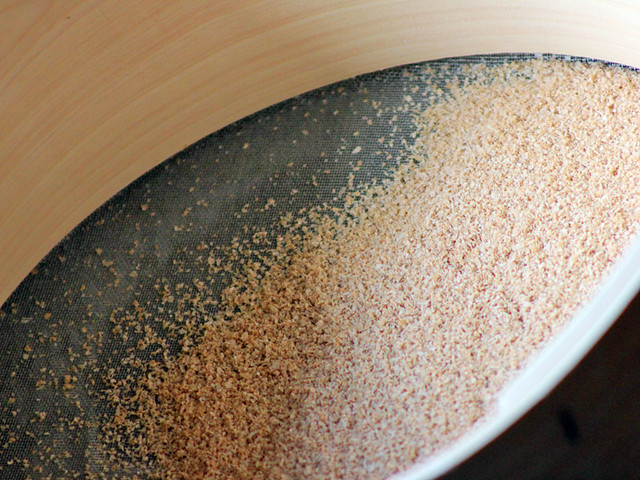
Milling and Sifting

While last weeks light rye was certainly delicious and moist (with the soaked cracked rye) I found the sharp flavour of using only the rye starter too assertive. The overnight rise in the fridge compounded this further and the sourness became quite pronounced a few days after baking. Using a combination of the two starters and a room temperature proof seems to restore a balance that I felt was lacking in last weeks bread.

I prepared the flour the night before. The wheat was milled and sifted. The caught material was remilled and sifted again before being used in the final flour with the caught bran set aside. The spelt was milled and then added to the final flour mix without sifting while the rye grains were milled coarsely and fed to a hungry rye starter for use in the morning. My usually wholewheat starter was fed sifted wholewheat and 30% wholemeal spelt before being mixed to a 50% hydration and placed in a cool spot overnight.


3 grain country bread with two starters

Formula

Overview

Weight

%

Total flour

1100g

100%

Total water

900g

82%

Total salt

25g

2.3%

Prefermented flour

167g

15%

Desired dough temperature 23°-24°C


Final dough


Rye starter @110% hydration

115g

12%

Sifted wholewheat starter @ 50% hydration

168g

18%

Sifted wholewheat flour

603g

65%

Wholemeal spelt flour

330g

35%

Water

784g

84%

Salt

25g

2.6%

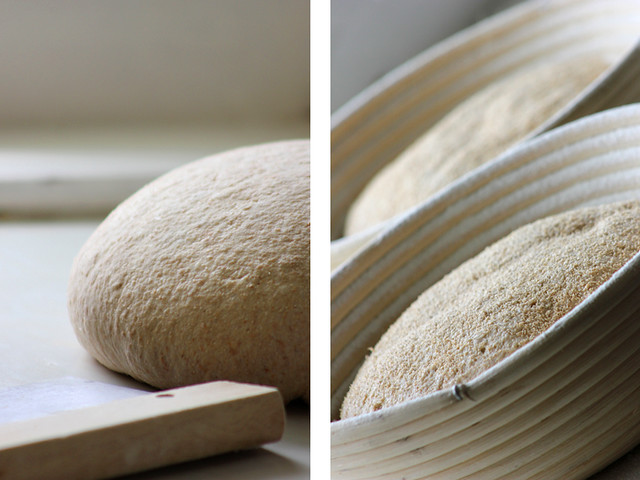
Last fold, shape and proof
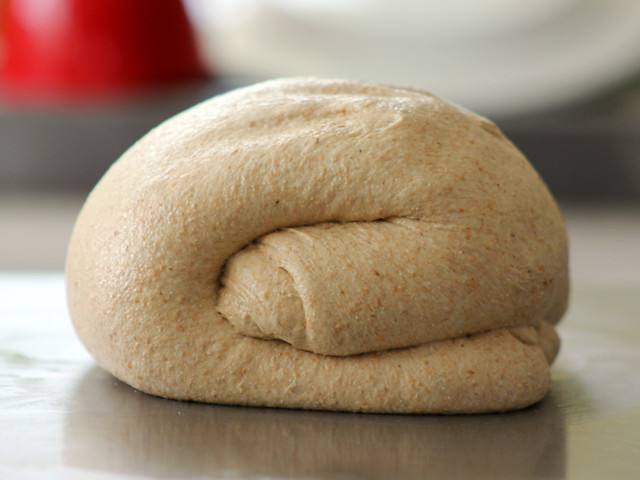
Method

  1. Autolyse flour and water for one hour.
  2. Incorporate starters by squeezing into dough with wet hands until smooth and feel no lumps then knead for 5 mins (I used a gentle slap and fold because of the amount of spelt). Rest dough for five mins. Incorporate salt and knead for a further five mins.
  3. Bulk ferment three hours with three stretch and folds 30min apart in the first 1.5hrs.
  4. Preshape. Bench rest 20 mins. Shape.
  5. Final proof was roughly two hours at room temperature (23°).
  6. Bake in preheated dutch oven for 10 mins at 250°C then a further 10 mins at 200°C. I then removed it from dutch oven and baked for a further 25 mins directly on stone for even browning.

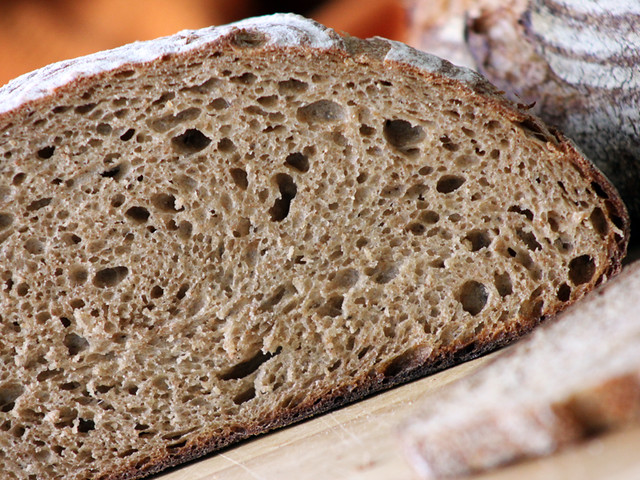
 This is such pleasant dough to work with. Spelt and rye bran are flecked throughout. The kneading and folding gives strength so the shaped loaves hold themselves proudly before being placed in bannetons.

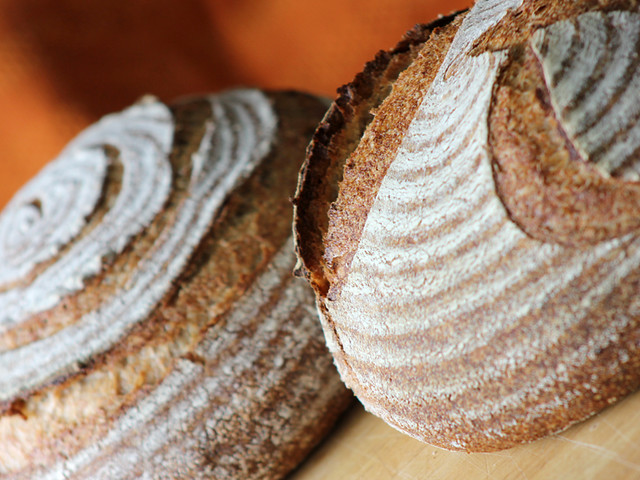
I had massive oven spring considering the amount of freshly milled wholemeal flours … the “Pip” was very pleased.

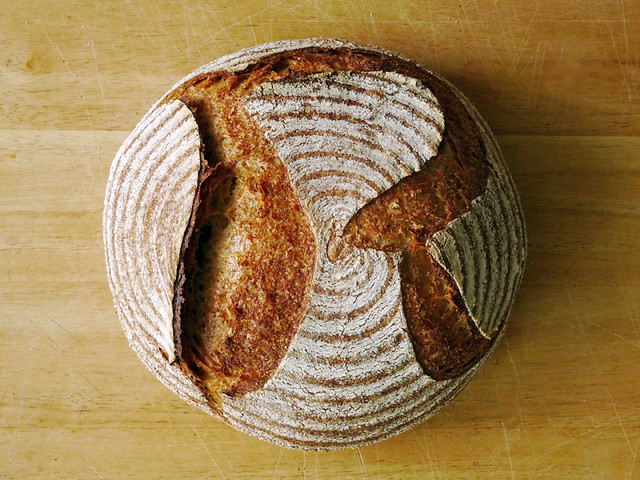
I played again with the scoring this week. My partner’s nickname is “Rat” so in her ratty honour I scored one of the loaves with a giant “R” … the “Rat” was very pleased.

The flavour for me is a balance between the tang in the rye and subtleness of a wheat starter. This not a boring bread, but it does not dominate the senses either.

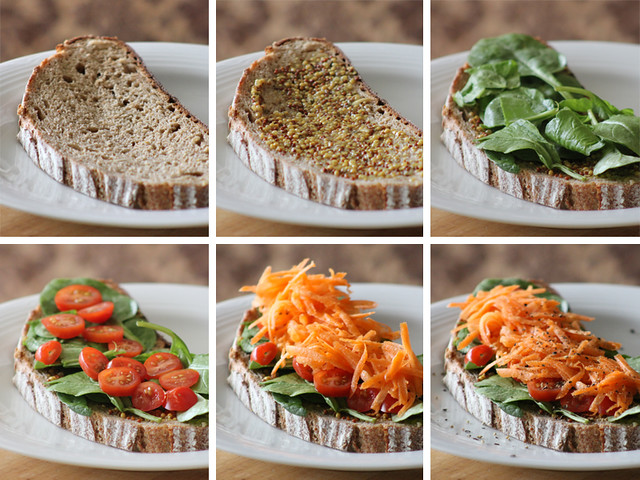
… and after a busy day in the kitchen I prepared a simple lunch before we headed outside to continue the rest of our day in the spring sunshine.

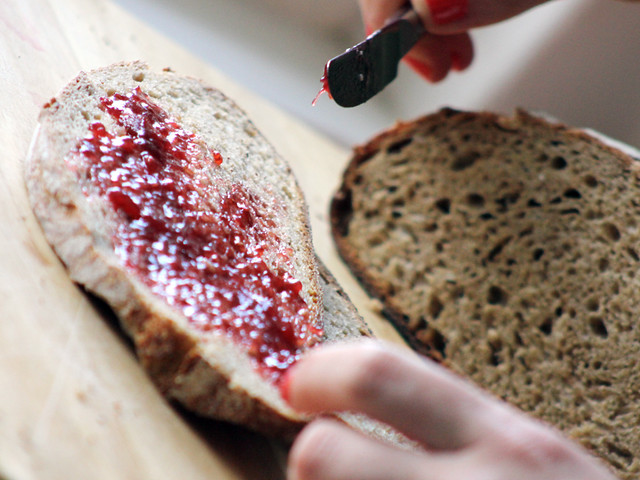
Cheers, Phil (and the Rat)


shakleford's picture
shakleford

I've been baking bread occasionally for several years, but it's only within the last year or so that I've started to become particularly interested in it.  I've also shifted gradually to baking more and more with whole grains, until these days probably only 5% or so of the loaves I make use white flour.  I've been wanting to purchase a grain mill for quite some time to use in my bread-baking, but kept putting off the purchase.  I knew very little about mills, and wanted to be sure that I researched my decision thoroughly.  In addition, I'm a serious tightwad and mills aren't cheap.

However, I finally made a purchase and received my mill yesterday.  After repeatedly reading about every website about grain mills written in English and most of those in German (seriously), I decided to purchase the German-made KoMo Fidibus Classic mill, more commonly known in the US as the Wolfgang or Wolfgang Tribest mill.  Those of you who own mills likely know more about the pros/cons of this and other models than I do and those of you that don't probably don’t care, but in brief this is a small stone mill.  It has the advantage of being able to grind any coarseness, from cracked grains to fine flour.  It has the disadvantages of not being able to handle beans, nuts, and seeds and the fact that stone-ground flour tends not to rise as well (though I've found this difference minor when purchasing commercial stone-ground flour).  It's small size means that I can easily fit it into my kitchen and that it's cheaper than many alternatives, but also that it requires around five minutes to produce one pound of fine flour - fast enough for me, but perhaps not for others. 

Fidibus Classic mill

Of course, a grain mill isn't much use unless you also have some grains.  There are some grains that I can get locally, but even with shipping, most are cheaper (and arguably higher-quality) online.  I purchased a few items from Wheat Montana and the rest from Azure Standard.  Grains will keep for quite some time, so I bought in fairly large quantities.  My long-term storage solution, utilizing the gamma seal lids that I've seen recommended on TFL and elsewhere, is pictured below.

Digging into those buckets every time I'm baking is not real practical, so I also needed a more kitchen-friendly, short-term storage solution.  I ended up going with a set of metal canisters ranging is size from 2 to 4 quarts.  This is large enough that I will not need to refill them too frequently, but small enough that I can remove them from the top of my cupboards without too much work.  Many of the canisters shown below are empty since not all of my grains have arrived yet, but 11 of the 12 are earmarked for something.  I haven't decided what to put in the last one...maybe wild rice?

Metal Canisters

Because I just got the mill and haven't gotten many of my grains, I've only used it in one loaf so far (Peter Reinhart's multigrain struan, pictured below).  I haven't cut into it yet, but the rise appears to be just fine (higher than I'd expect in fact, considering that it contains 12 ounces flour and 6 ounces whole grains).  I have a list of at least a dozen recipes that I immediately want to try with the mill...it will take a bit to work through them all, but then that's the whole point!  Thanks to everyone here who has posted anything about mills at one time or another; I can pretty much guarantee that I've read your comments at least half a dozen times.  If anyone is considering a mill purchase and has questions, I'll be happy to go into greater detail on why I purchased what I did (though I'm certainly not an expert, and once you get me started on mills these days it's hard to get me to stop).

Subscribe to RSS - KoMo