I was bored the other day so while surfing the internet for bread sites I revisited Breadtopia.com and was pleasantly surprised with some of the different flours and grains they offered for sale. I decided to buy one of the ancient grains Kamut and also so hard red winter wheat called Turkey Whole Wheat Flour. Below is some information from their website if you are interested.
Turkey Red Wheat, once the dominant variety of hard red winter wheat planted throughout the central U.S., is back in production in Kansas. “Turkey” variety hard red winter wheat was introduced to Kansas in 1873, carried by Mennonite immigrants from Crimea in the Ukraine, fleeing Russian forced military service. In the mid-1880s, grainsman Bernard Warkentin imported some 10,000 bushels of Turkey seed from the Ukraine, the first commercially available to the general public. That 10,000 bushels (600,000 pounds) would plant some 150 square miles (10,000 acres). By the beginning of the twentieth century, hard red winter wheat, virtually all of it Turkey, was planted on some five million acres in Kansas alone. In the meantime, it had become the primary wheat variety throughout the plains from the Texas panhandle to South Dakota. Without “Turkey” wheat there would be no “Breadbasket.”
The Kamut flour is very similar to durum flour and here is some more information from their website.
Kamut® is an ancient grain and the brand name for khorasan wheat, a large amber wheat grain closely related to durum. Kamut is appreciated for its smooth, buttery, nutty flavor, and its high protein and nutritional content. It contains a high mineral concentration especially in selenium, zinc, and magnesium with 20-40% more protein compared to modern-day wheat. It has a higher lipid to carbohydrate ratio, which means the grain produces greater energy and has a natural sweetness to counterbalance the occasional bitterness present in traditional wheat.
I went this weekend with my wife to the outlet stores and discovered a new store that sells only New York State wines, beers and spirits. I picked up a mixed 6 pack of ales, stouts and ciders and decided to use the Black Cherry Hard Cider in my next bake.

I made a levain using my AP starter and some of the Turkey flour and AP flour.
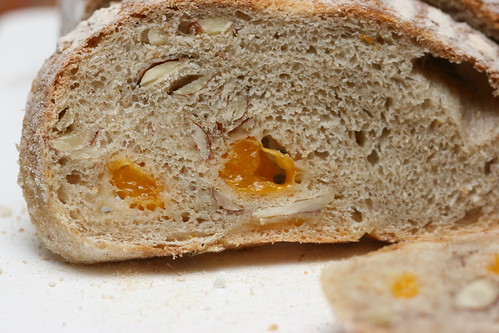
For the main dough I used the Kamut flour along with Turkey flour, some molasses and dried onions that I reconstituted in some water and the Black Cherry Cider.
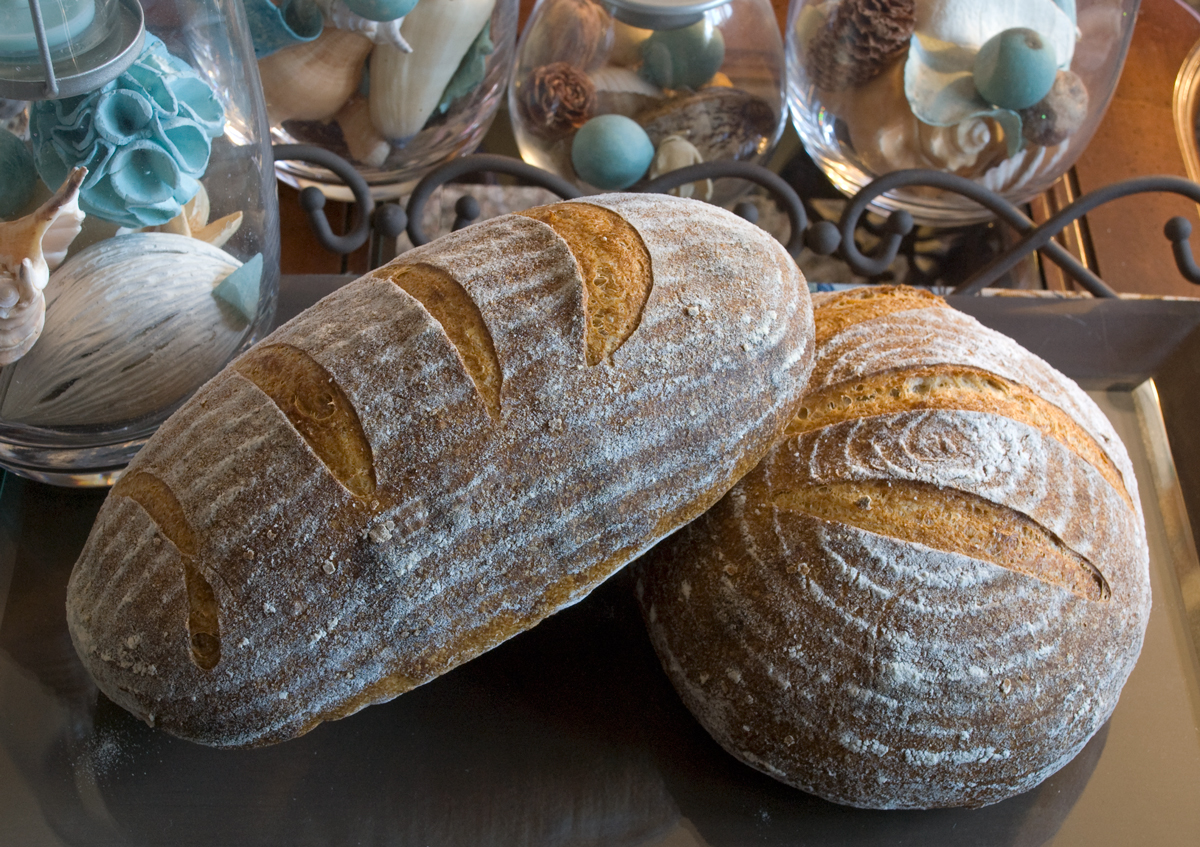
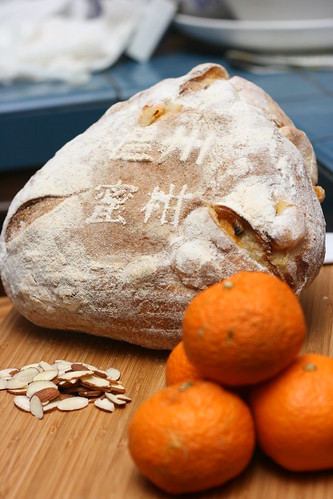
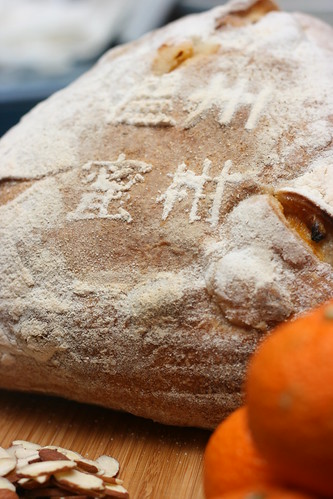
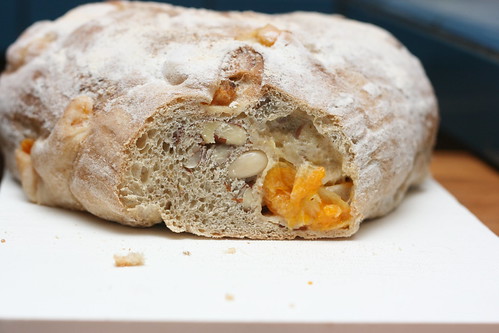
I followed my normal procedure below for making a miche and I must say I was very happy with the results. You can taste the nuttiness of the 2 flours along with the hint of cherry from the cider. The crust was nice and thick but the crumb was a bit tight which was probably due to the high percentage of the Turkey flour along with the Kamut flour.

Levain Directions
Mix all the levain ingredients together for about 1 minute and cover with plastic wrap. Let it sit at room temperature for around 7-8 hours or until the starter has doubled. I usually do this the night before.
Either use in the main dough immediately or refrigerate for up to 1 day before using.
Main Dough Procedure
Mix the flours, and 275 grams of the cider together in your mixer or by hand until it just starts to come together, maybe about 1 minute. Let it rest in your work bowl covered for 20-30 minutes. Next add the salt, starter (cut into about 7-8 pieces), molasses, and rehydrated onions and mix on low for a minute. Add the rest of the cider unless the dough is way too wet. Mix on low-speed for another 3 minutes. Remove the dough from your bowl and place it in a lightly oiled bowl or work surface and do several stretch and folds. Let it rest covered for 10-15 minutes and then do another stretch and fold. Let it rest another 10-15 minutes and do one additional stretch and fold. After a total of 2 hours place your covered bowl in the refrigerator and let it rest for 12 to 24 hours.
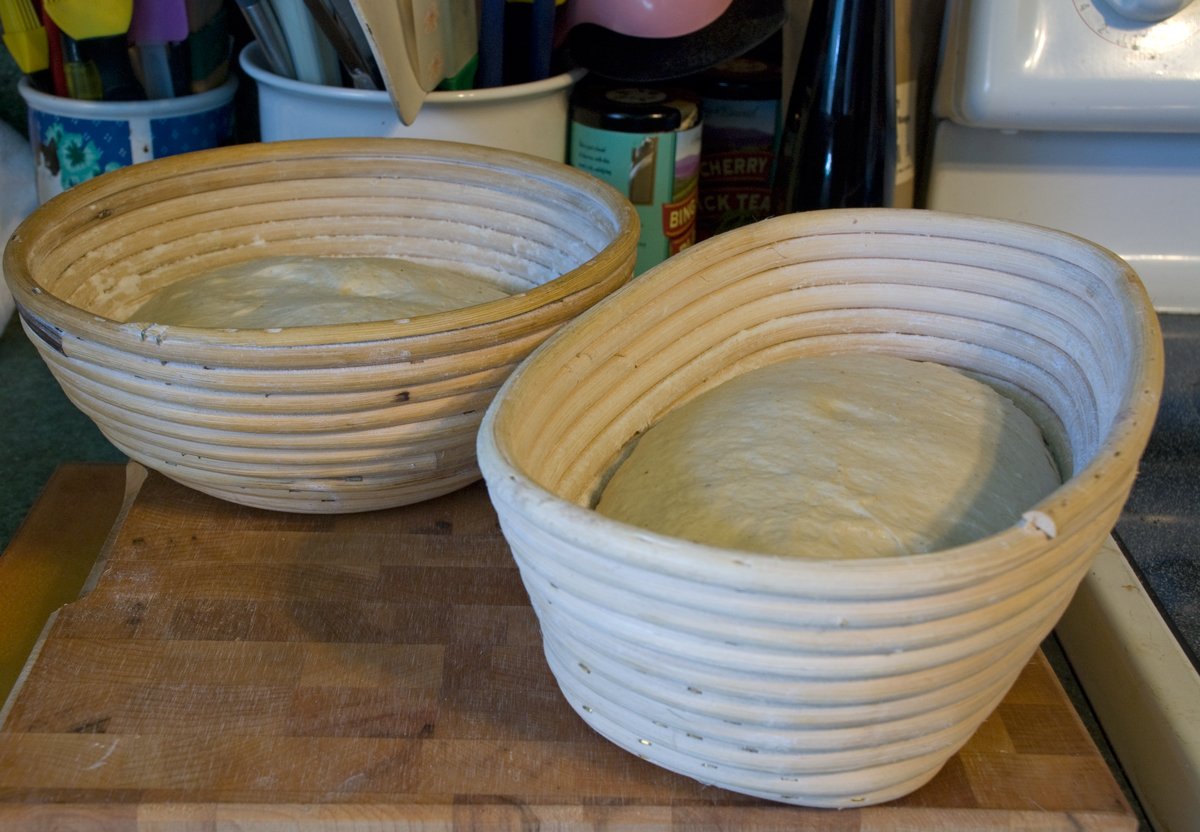
When you are ready to bake remove the bowl from the refrigerator and let it set out at room temperature still covered for 1.5 to 2 hours. Remove the dough and shape as desired. I made 1 large miche but you can make 2 boules or other shapes. Place your dough into your proofing basket(s) and cover with a moist tea towel or plastic wrap sprayed with cooking spray. The dough will take 1.5 to 2 hours depending on your room temperature. Let the dough dictate when it is read to bake not the clock.
Around 45 minutes before ready to bake, pre-heat your oven to 500 degrees F. and prepare it for steam. I have a heavy-duty baking pan on the bottom rack of my oven with 1 baking stone on above the pan and one on the top shelf. I pour 1 cup of boiling water in the pan right after I place the dough in the oven.
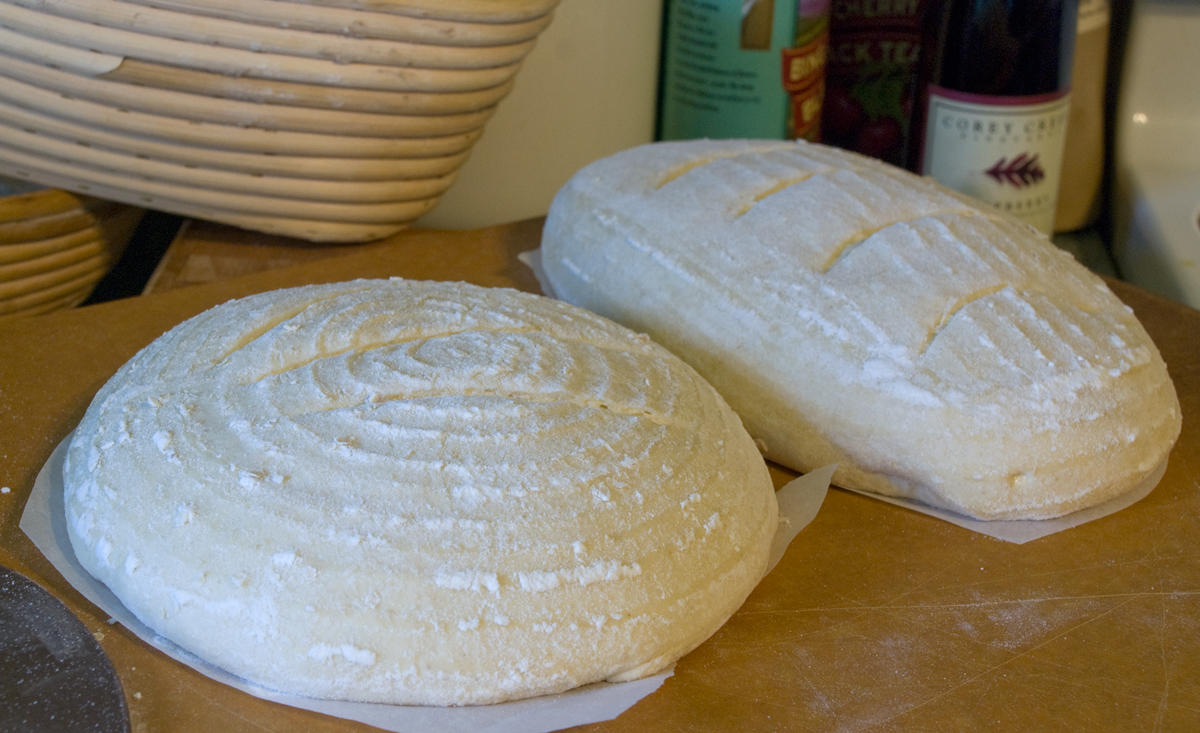
Right before you are ready to put them in the oven, score as desired and then add 1 cup of boiling water to your steam pan or follow your own steam procedure.
After 1 minute lower the temperature to 450 degrees. Bake for 35-50 minutes until the crust is nice and brown and the internal temperature of the bread is 205 degrees.
Take the bread out of the oven when done and let it cool on a bakers rack before for at least 2 hours before eating.