The Fresh Loaf

A Community of Amateur Bakers and Artisan Bread Enthusiasts.

home milled grain

loydb's picture
loydb

I'm continuing with the theme of 'corn' this week. This time, I'm starting with a 50/50 mix of Heartland Mill's organic blue and yellow corn. It took me a little time to get the mill dialed in for the coarseness I was after -- and I ended up sifting out roughly 50% of the meal, leaving me with true grits (and a bunch of corn flour for my next loaf of bread).

I had a cup or so of a mixture of onion, hot peppers and garlic left over from making tacos the other night, so I used it as the base for the polenta along with chicken stock and (at the very end) butter and shredded cheddar cheese. After 45 minutes in the oven (stirring every 10 minutes), I had a nice creamy polenta that I served with marinara sauce and sour cream. The rest of the polenta was poured into a baking tray and put in the fridge. I'll grill it up over the next few days as a side dish.

loydb's picture
loydb

It's week 6 in the Inside the Jewish Bakery Challenge - Semester 1. This week is Polish Potato Bread.

By procrastinating my bake until the end of the week, I can learn from the experience of those who have their act together and baked earlier! A common theme seemed to be "dough too wet," so I was meticulous about my measuring. The biggest opportunity for adding moisture seems to be during the process of boiling the potatoes. I weighed them prior to boiling, and again after draining, and they had gained a half-ounce. I reduced the potato water in the recipe accordingly.

For the flour, I milled hard red wheat and sifted it to ~80% extraction through a #30 sieve.

As you can see, the dough was still wet, but it wasn’t the batter that some folks have gotten. I was able to more-or-less wrangle it into a shape with well-floured hands.

I would change the following things next time I made it:

First, I would allow the proof to continue until the loaf was higher than the top of the pan. Like many others, I got no oven spring at all. I had gotten such a vigorous rise in the fermentation, I think I could have easily gotten another inch during the proof.

Second, I got burned (almost literally) by putting the pans into the top third of the oven rack. The tops were starting to get really dark at the 40 minute mark, so I pulled the pans. I left the bread in the pan for 15 minutes, then moved to a cooling rack. The bottoms were very undercooked. If you look at the bottom of the slices in the last picture, you see no crust at all. Next time, I’ll put them lower in the oven, and tent with foil if necessary to get a longer bake.

And there will certainly be a next time. The bread is unbelievably soft – the softest milled wheat bread I’ve made. I made potato soup to go with it, and they paired perfectly. I would imagine I’ll make this every time I make potato soup in the future – I’m already boiling them, it’s really easy to add a couple extra for the bread.


loydb's picture
loydb

Today was the final stretch before heading to the in-laws for Christmas. I spent pretty much the whole day in the kitchen, minus a trip to the grocery store. The takeaway:

First, this was week 3 of the Inside the Jewish Bakery challenge. I haven't actually gotten to taste the results, so my comments are limited. I did a four-high braid, and had a little trouble getting the ends to stick together. I ended up wetting my fingers and kind of blending it, which seemed to work. There are some shots of the initial braiding and the final rise at the bottom. On top of the two challah loaves, I also did a pullman pan full of PR's pannetone recipe. I used dried strawberriers, dried orange-infused cranberries, and dried sour cherries that I soaked for a day in apple brandy (plus the vanilla and orange extract). For the nuts, I used 5 oz of macadamias and 2 oz of almonds. Finally, another pan of Mohn bars from week one of the ITJB.


loydb's picture
loydb

I used to have a problem with my crackers, but then I took an arrow to the knee...

For the last month or so, I've been turning all my extra sourdough starter into crackers. With a couple of exceptions, they've been disappointing: not crisp enough, too crisp and burnt, no flavor, too much salt, etc. etc. That all changed a couple of days ago, mostly by accident. I've since successfuly reproduced the recipe three times, and may have it down now.

When I play Skyrim, I play it *loud*. What's the point of hurling your enemies off of a mountaintop with the power of your Shout if it doesn't make the pictures on the wall shake? As a result, I didn't hear the kitchen timer, and only remembered I had crackers in the oven when the smell of "Hey, that smells like something baking" penetrated my dragon-killing frenzy. Instead of the 15 minutes I'd intended to cook them, I ended up cooking them 40 minutes. Fortunately, I'd been experimenting with the pasta machine, and had both made them thicker than normal, and set the oven cooler than normal (350 degrees F instead of the 375 I'd been using). They were perfect.

So I set out to make them again, this time intentionally.

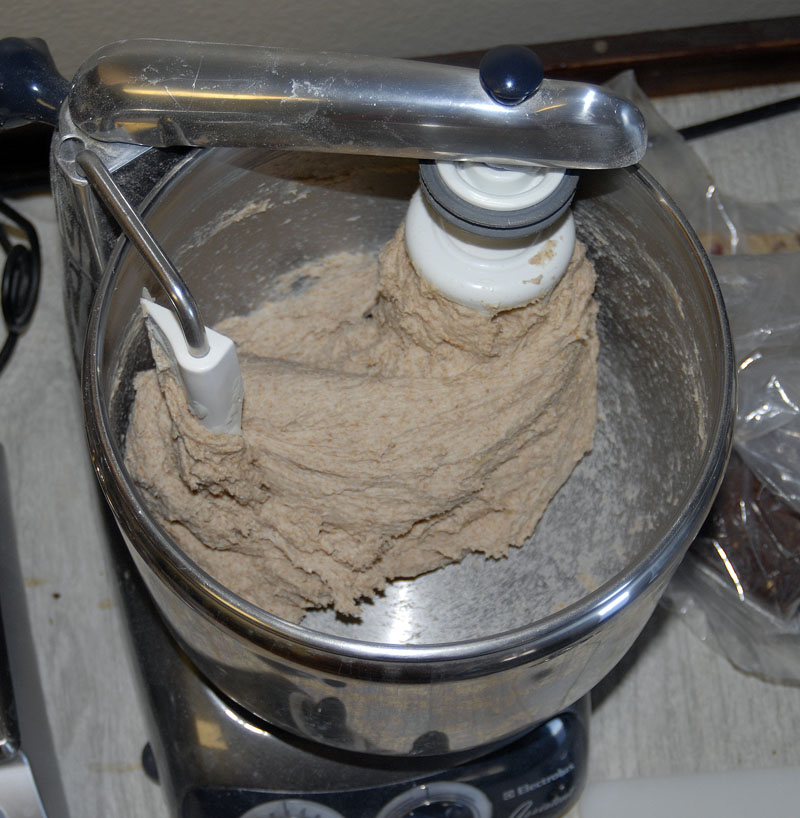
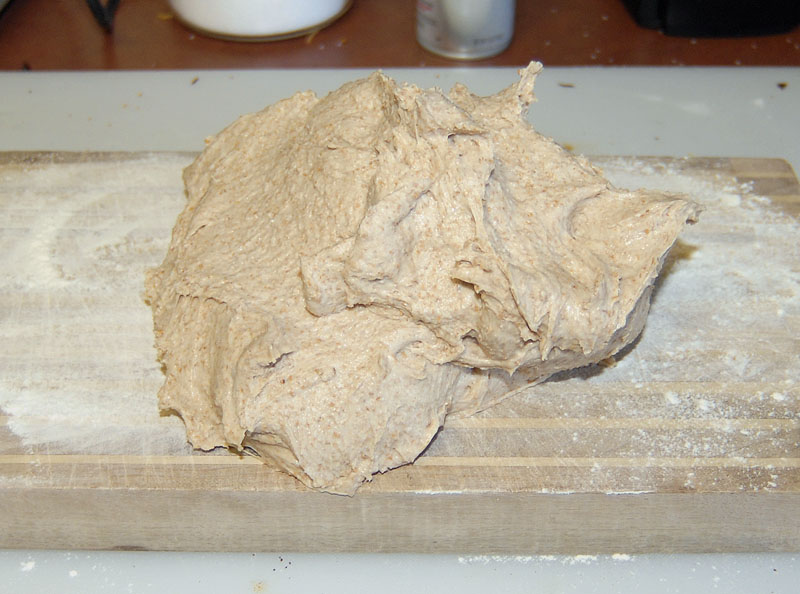
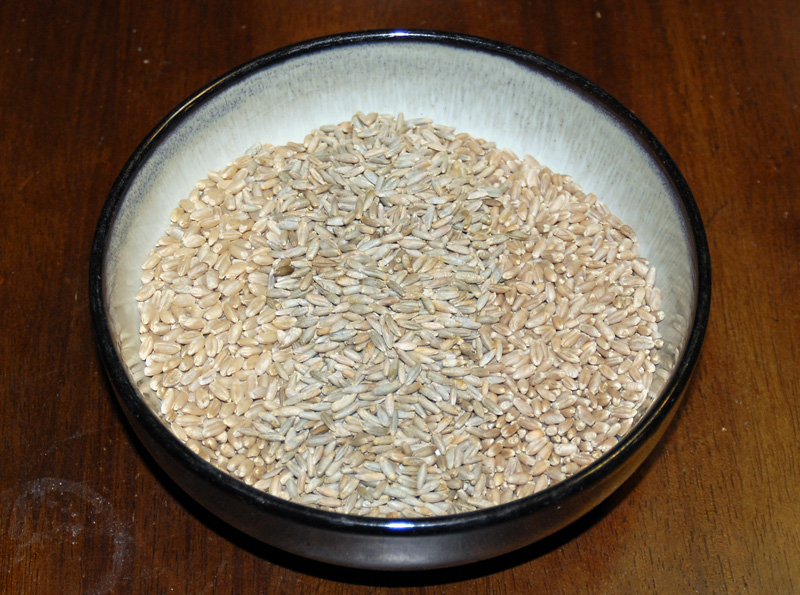
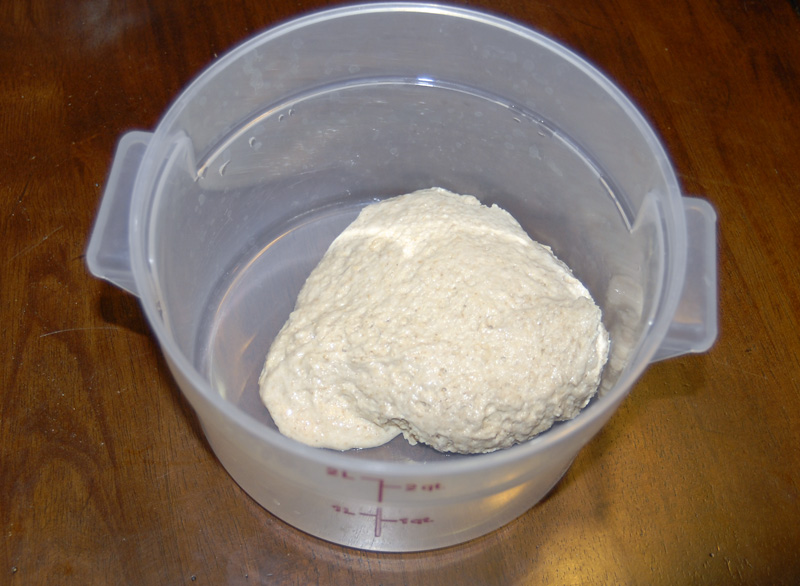
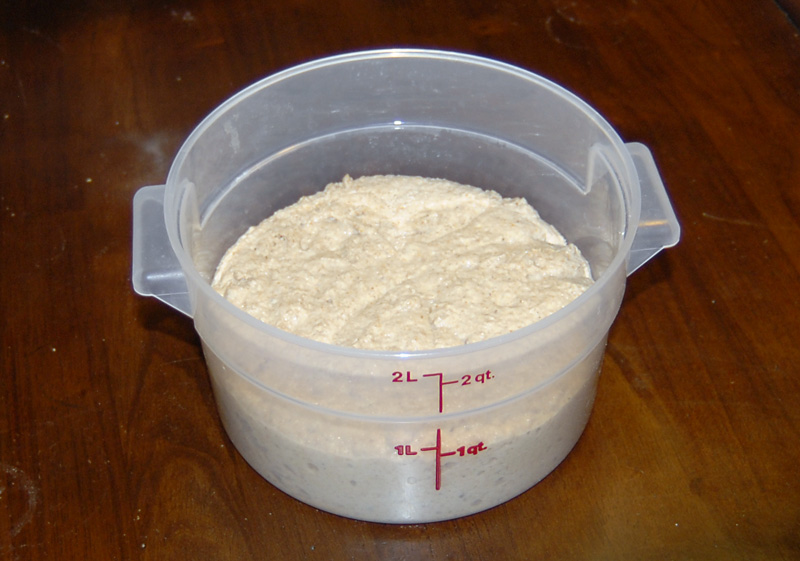
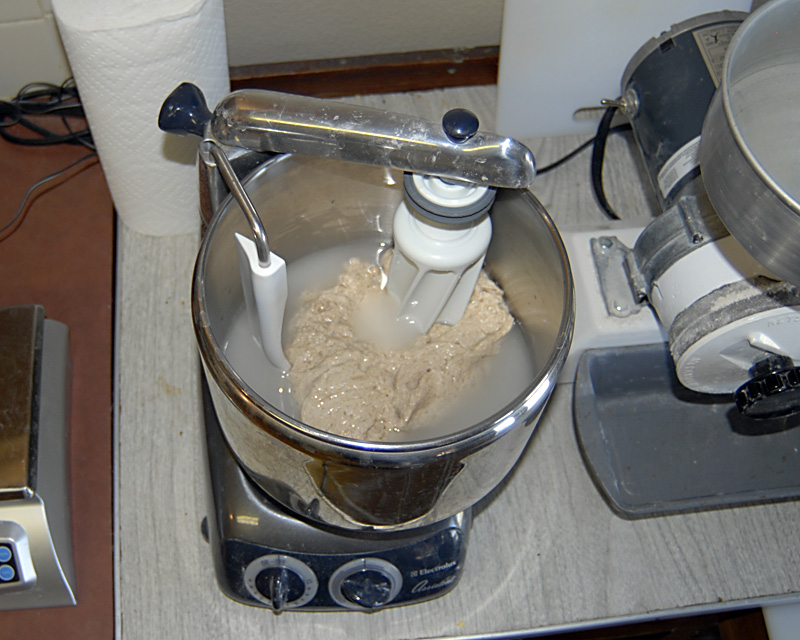
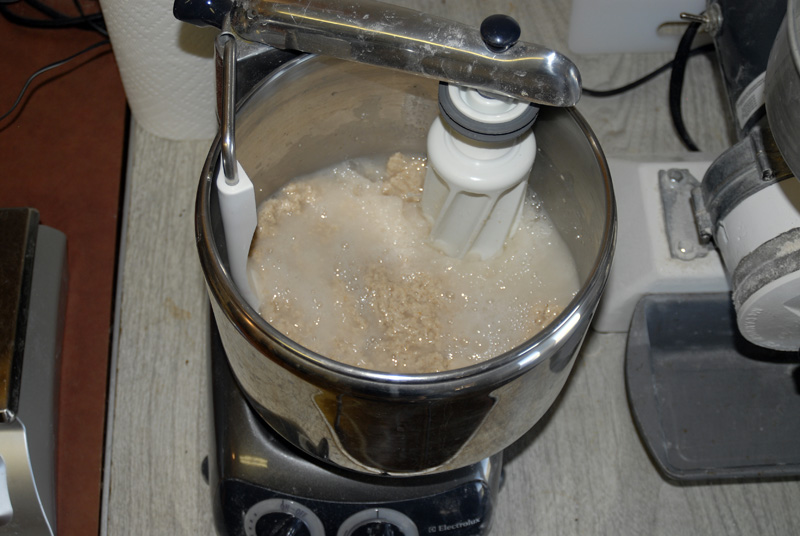
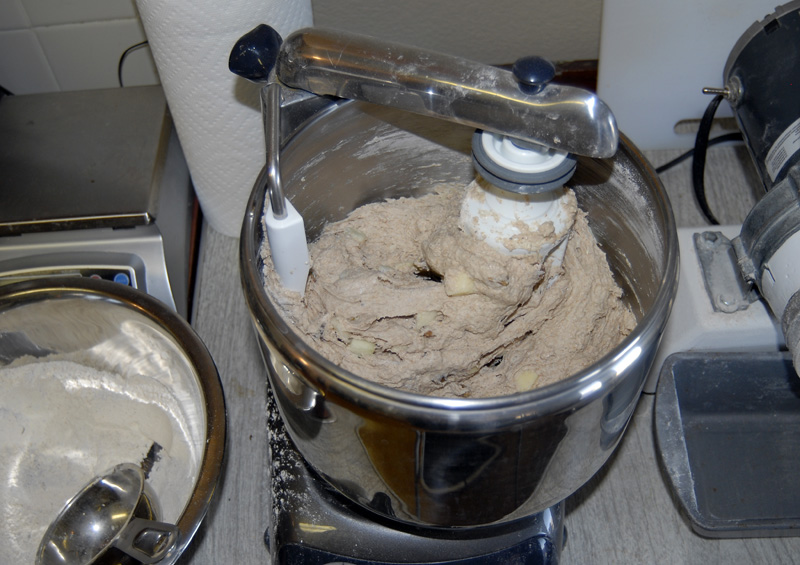
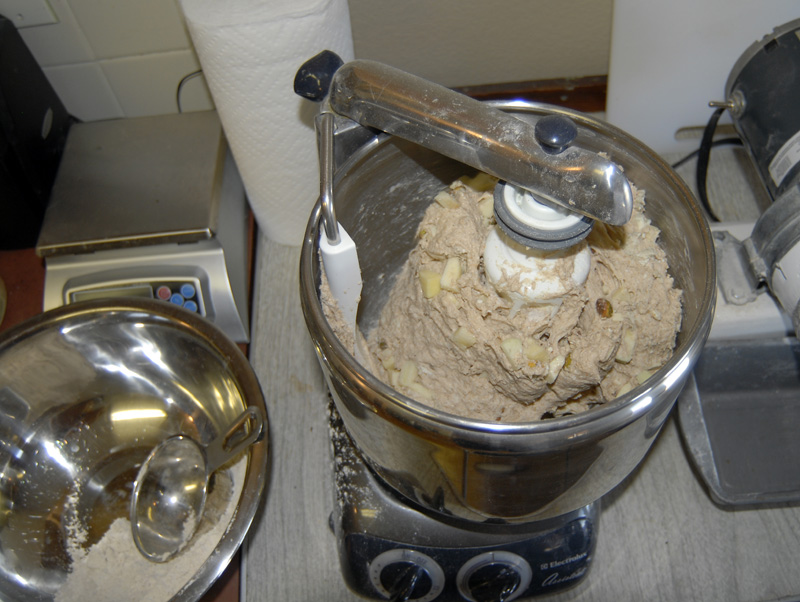
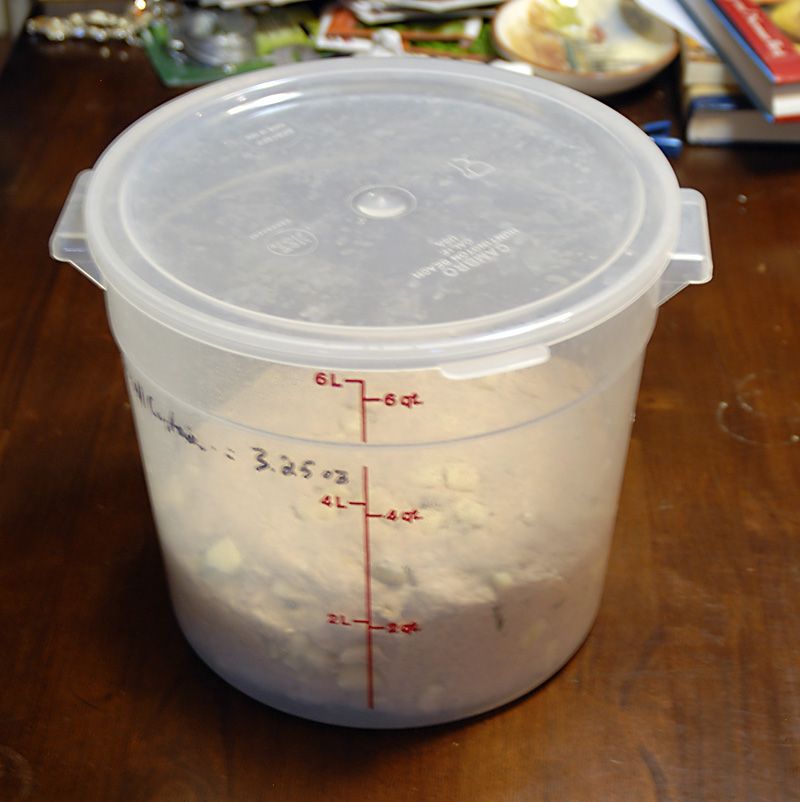
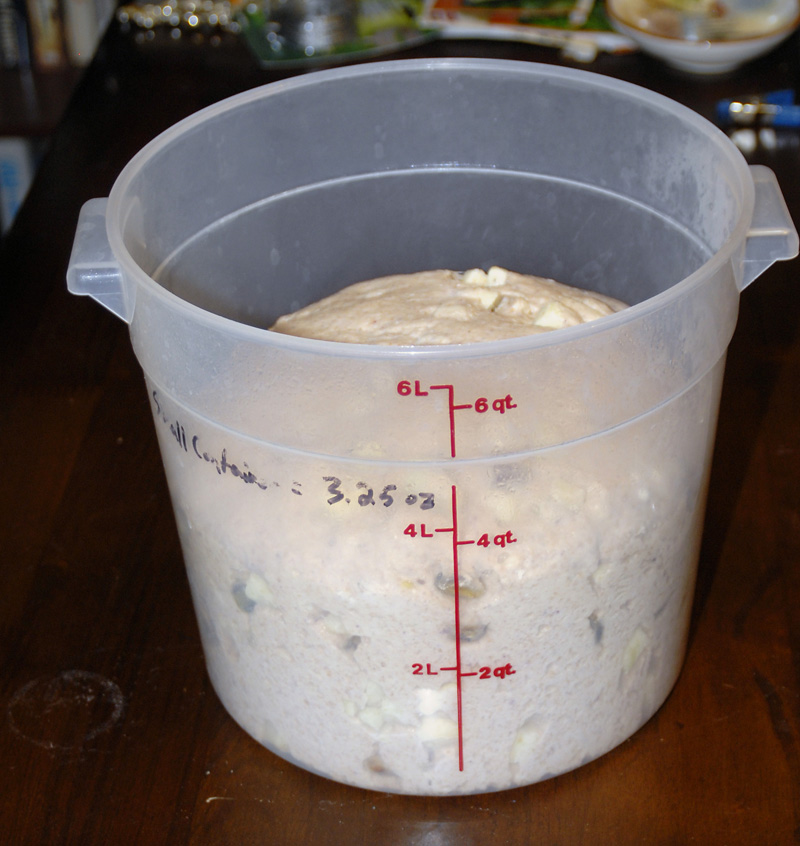
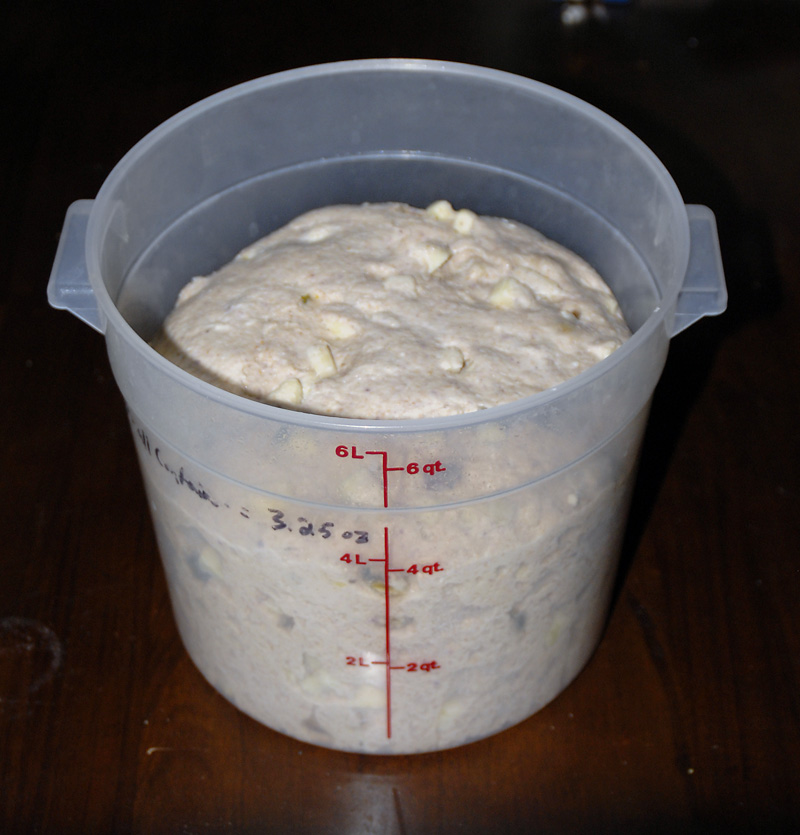
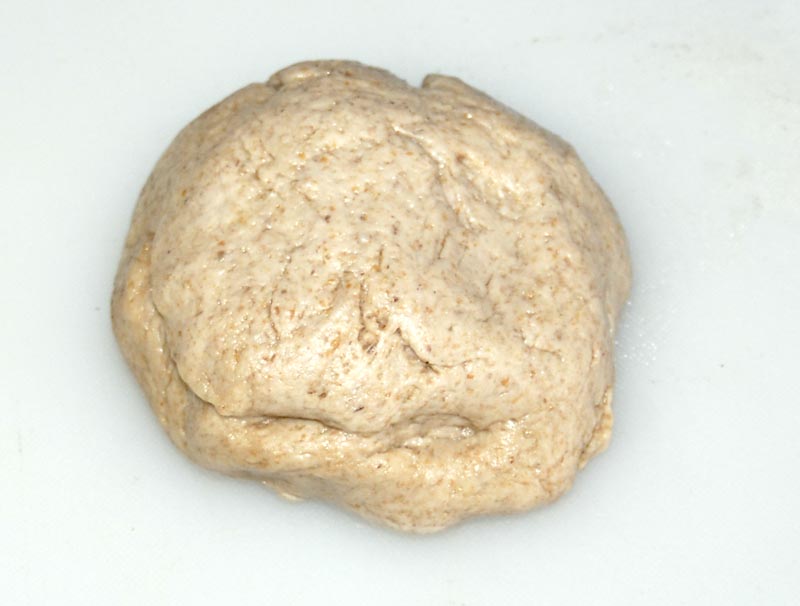
Start with a cup of leftover starter at 100% hydration. Add 1/4 cup oil (I use walnut oil), a tablespoon of softened butter, a teaspoon of salt, and roughly 5 oz of whole wheat flour. You're shooting for fairly stiff. Spray it with olive oil and let it set under plastic for anywhere from 3-6 hours.

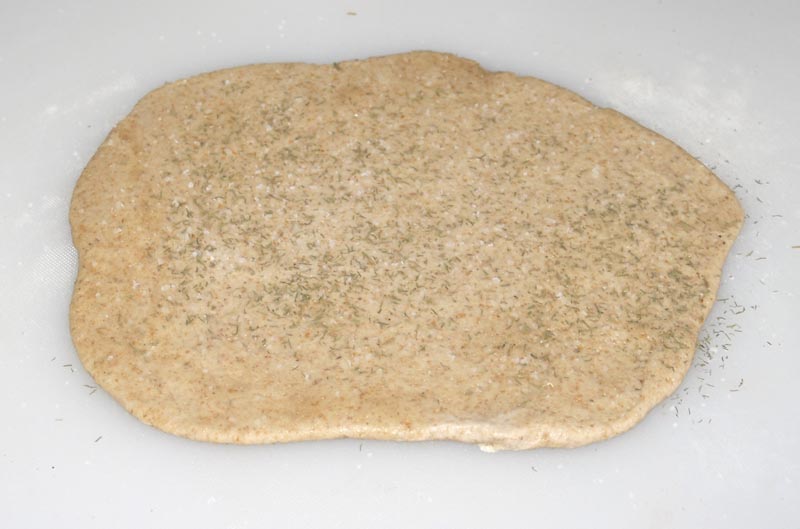
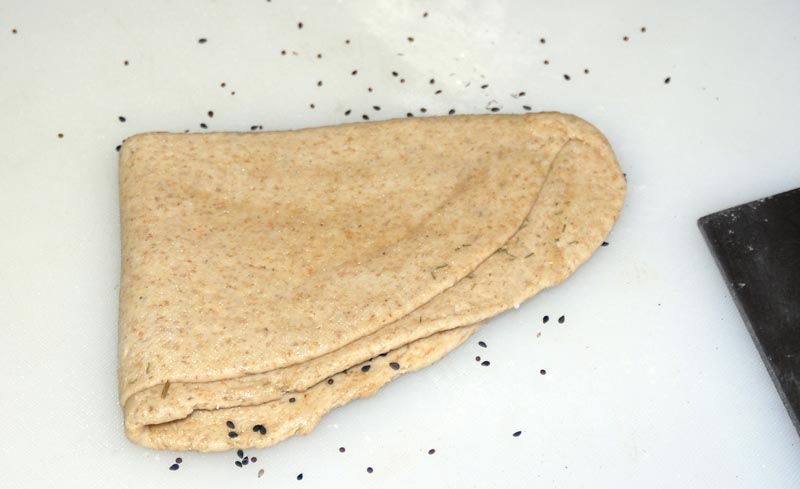
Roll it out to about 1/4 inch thick, then sprinkle with a pinch of kosher salt, and a pinch of whatever dried herb takes your fancy (I used dill in one batch, thyme in another). Then fold the dough over on itself and roll out again.

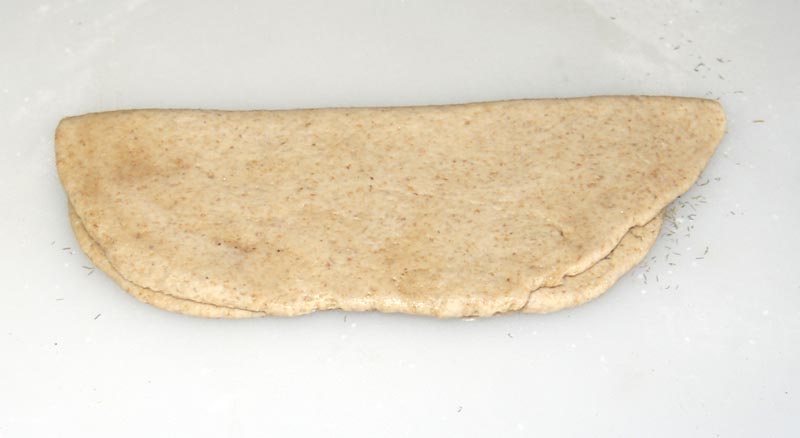
Add the seeds of your choice on half of the dough. I used black seasame seeds and brown mustard seed. Fold over again and roll out.

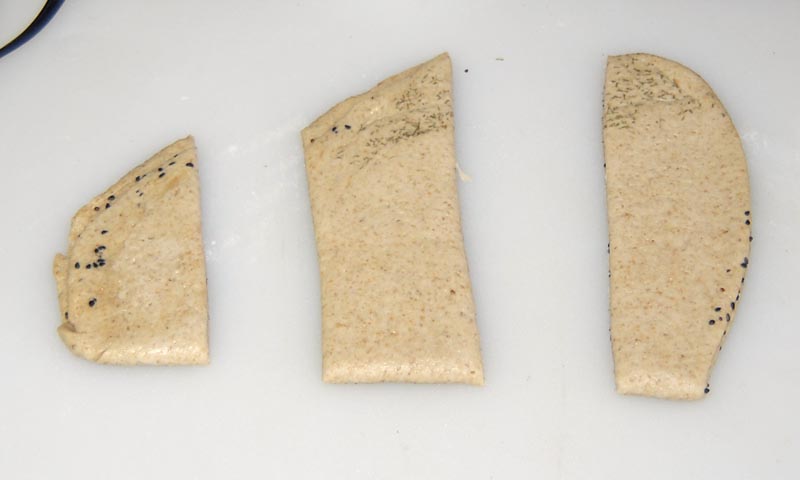
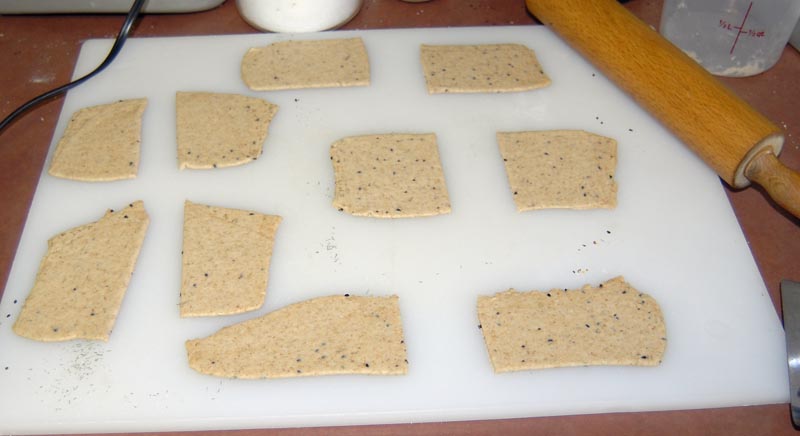
 Chop into smaller pieces, and run it through a pasta machine on the widest setting (#0 on my Atlas). Fold again.

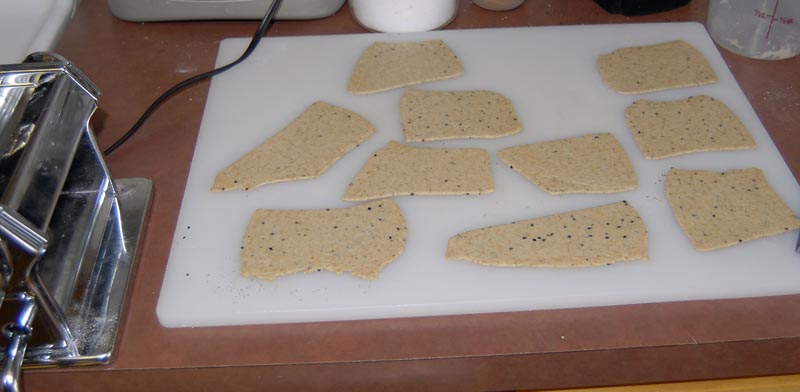
Run these through on #0 again, then on #1, then finish on #2.

Put them on parchment paper, spray with olive oil, and sprinkle with kosher salt and more seeds. Gently roll them again with a pin to seat the seeds, then dock many, many times with a fork.

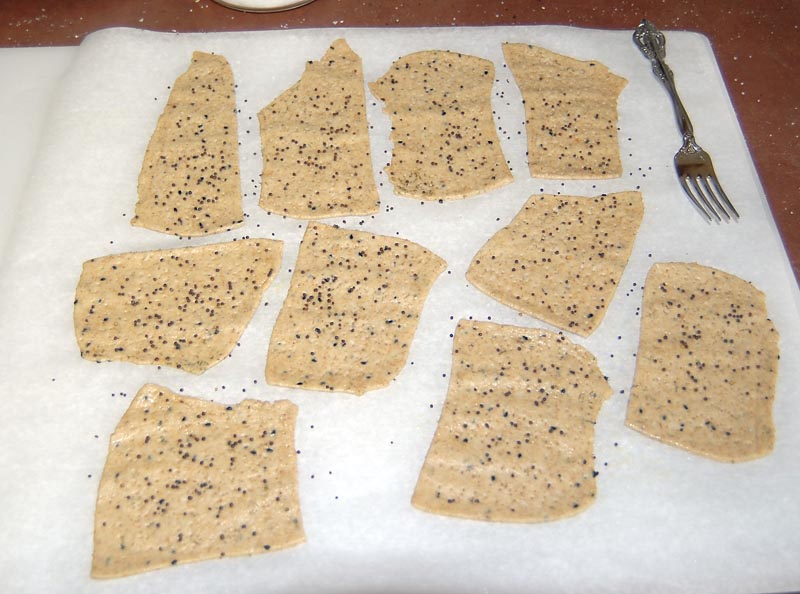
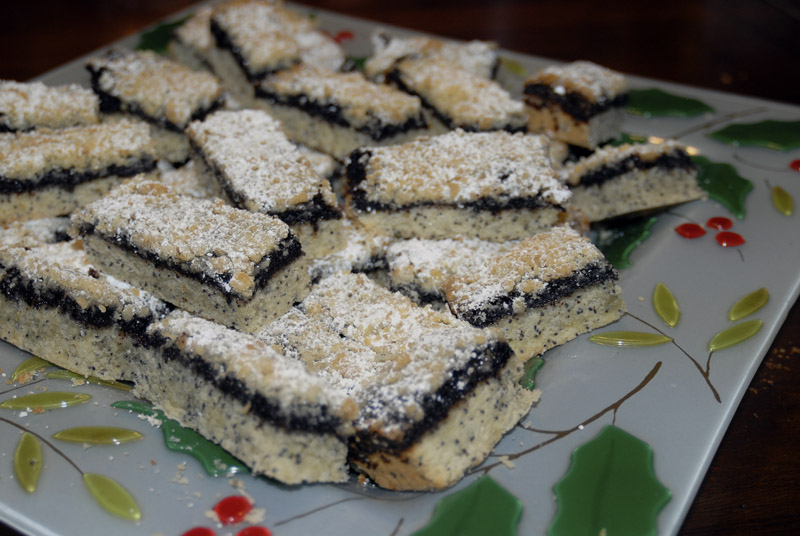
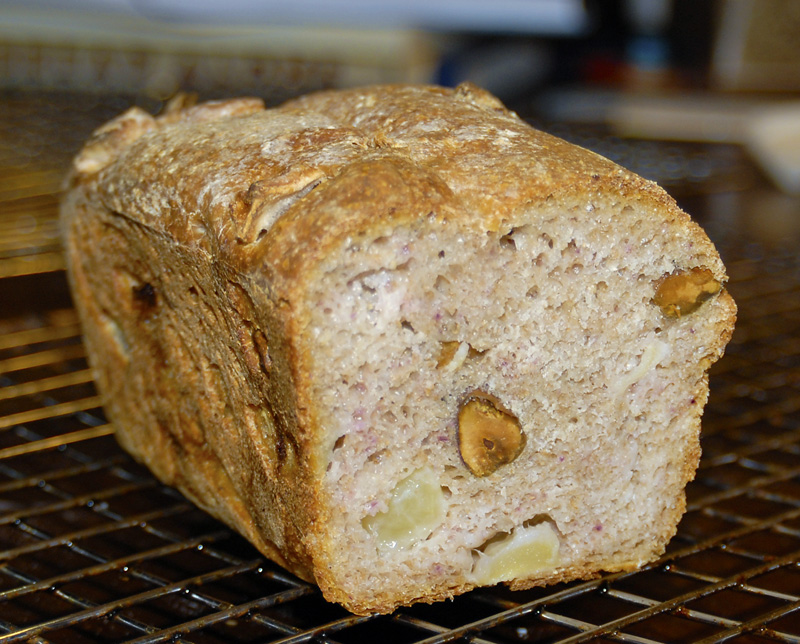
Cook for 30-40 minutes at 350 degrees F. Then turn the oven off, crack the door, and let them sit for another 10-15 minutes, watching to make sure they don't overbrown. The picture shows them at the end of 30 minutes. The final color can be seen on the plate, above.

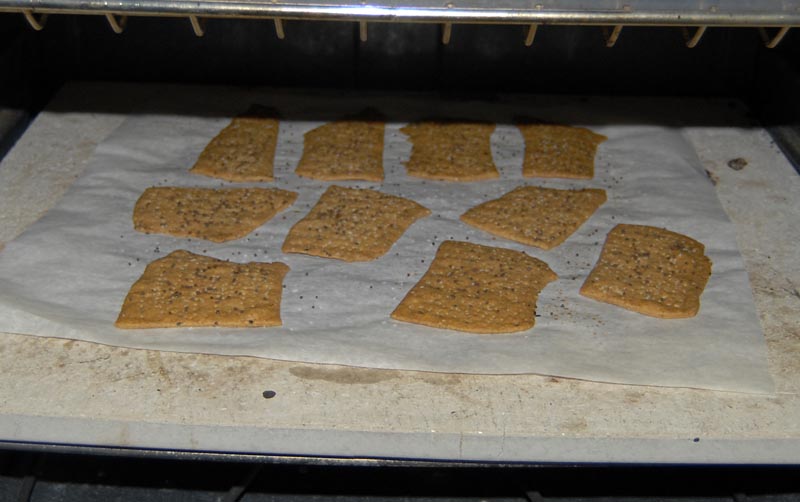
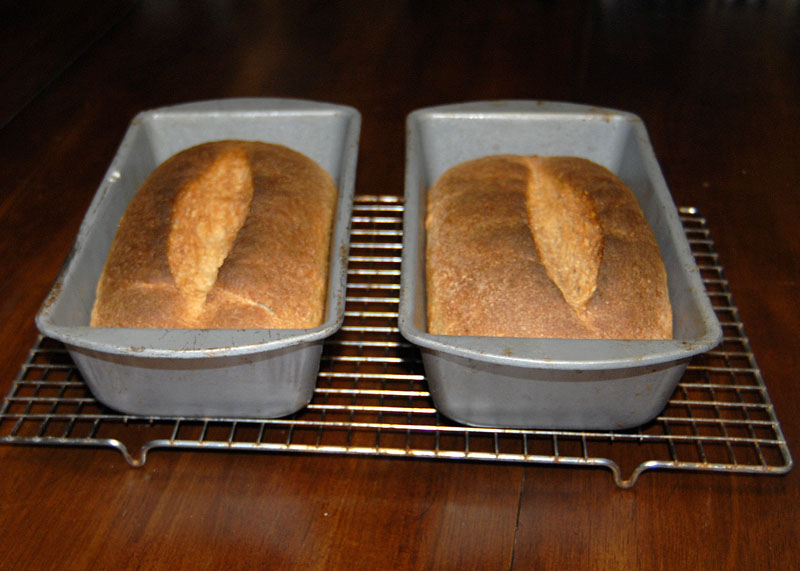
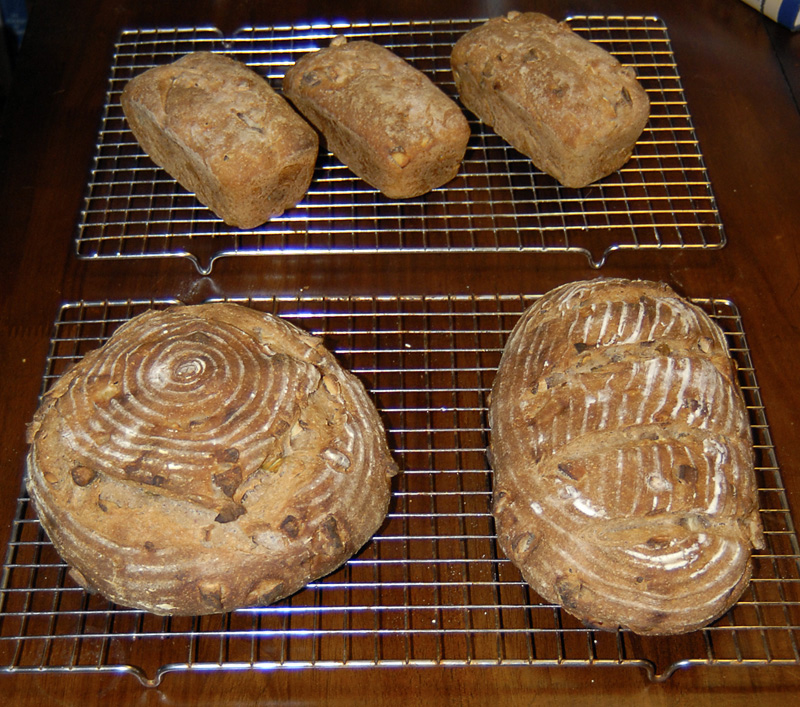
Move to a cooling rack and let sit (the ones on the rack below are the ones from the original Skyrim batch. The ones on the plate at top are from a subsequent test batch.) Break into smaller pieces as desired.


loydb's picture
loydb

My last chocolate experiment was a bit (allright, a large bit) too sweet. This time, I eliminated the extra butter, brown sugar, and maple syrup, and went with 2 oz of bittersweet choc chips and 2 oz of milk choc chips. I added 5 oz of dried cherries and 4 oz of pecans. I also used 100% home-milled flour (mix of hard red and white wheat) and the sourdo.com Russian starter. After an initial 4 hour proof, I shaped and put in a pullman pan. Because my kitchen feels like a meat locker these days, I put the pullman pan in the microwave oven and put two cups boiling water in a sealed plastic container, then stuck it inside as well. It rose for 2 more hours, then I put the pullman pan into a cold oven, set it on 375 degrees F, and baked for 2 hours 15 minutes.

The sweetness is just about perfect for a breakfast/dessert bread. I think I'll add more cherries next time, but otherwise I'm pretty happy with it.


loydb's picture
loydb

Over on Fitocracy, we're having an Iron Chef Apple challenge. This is my entry.

This is based on the Basic Sourdough recipe from Peter Reinhart's Bread Baker's Apprentice. BBA also contains the instructions for making your very own sourdough starter particular to your local environment.

Day 1: The Preferment

Start with a mixture of 45% hard red wheat, 45% hard white wheat, and 10% rye. Mill fine. (Alternately, any combination of unbleached bread flour, whole wheat flour, and rye flour that you like, just maintain the 10% rye ratio by weight.)


Take a few ounces of your sourdough starter, and mix in an equal weight of water and flour. Let it rise covered for 5-8 hours (it will double roughly), then put in the fridge overnight.


Day 2: The Dough

Dice up 3-4 apples. I used three Braeburns and a Granny Smith. Also weigh out 5 oz. of pistachios and 4 oz of blue cheese. Chop the apples up last, as they'll immediately start to oxidize and turn brown.


Add the water and preferment to the mixer and start it up.


Alternate adding the apple and your flour until all the apple (and about 2/3 of the flour) has been incorporated, then alternate adding in the pistachios and the rest of the flour, adding the blue cheese at the very end.


Turn the sticky mass out onto a well-floured cutting board and, using a dough blade and your hands, continue to knead and incorporate flour until it forms a fairly stiff, non-sticky dough.


Put it in a large bowl or tub and let it rise for 4-6 hours, until nearly doubled. Refrigerate overnight.


Day 3: Shape n' Bake

Remove the dough from the fridge at least two hours before shaping. It will have slowly risen more overnight.

Gently divide the dough and shape it, then allow to proof covered until nearly doubled.


Score loaves and bake!


The result makes great sandwich bread -- no cheese is needed, just a couple of pieces of ham. It's also good toasted with honey for breakfast.

Subscribe to RSS - home milled grain