One of my favorite breads from Hamelman's Bread is Pain Rustique (comes right before "Country Bread" and "Rustic Bread"). The bread is unshaped like a ciabatta, although it only has 69% hydration, and is scored before baking. When I get it right (as opposed to, say, forgetting the salt and yeast following the autolyse, as I did the first time I tried the formula), it produces a toothsome crust and a flavorful, moderately open crumb. As a bonus, the time from first mix to pulling the breads out of the oven is under 3 hours (not counting preferment time).
Anyway, the last week I was talking with my mom about the sourdough starter I brought her on our crazy baking day , and the subject of converting pre-fermented, commercially leavened formulas to sourdough came up, as did the Pain Rustique. This got me thinking--why not try Pain Rustique as a sourdough? And the more I thought, the more I had to try it.
Pain Rustique as written by Hamelman has 50% of the flour in a poolish, so I simply replaced this with a liquid levain. I usually scale Hamelman's "Home" quantities by 2/3 since I can only fit 2 loaves on my stone at a time. Here's what I did:
Levain*
- 100g ripe starter at 100% hydration.
- 250g King Aurther All-Purpose Flour
- 250g water
*Note: I needed 600g of ripe levain, didn't get around to mixing it until 10:30 the night before, and needed to start the bread be 7 the next day. For a longer sitting time, I'd do less starter and more flour and water.
Final Dough
- 300g flour
- 120g water
- 600g levain (all)
- 12g salt
Steps:
- The night before, mix the levain, cover and let sit overnight for 9 hours (but see note).
- Mix flour, water and levain by hand until all the flour is hydrated. Autolyze for 25 minutes.
- Add salt, mix in the stand mixer at speed 2 for 2 minutes.
- Do 30 stretch and folds in the bowl with a rubber spatula, rotating the bowl with each fold.
- Ferment for 150 minutes, giving the dough a stretch and fold on the bench at 50 and 100 minutes.
- Dump the dough onto a lightly floured work surface. Divide in half to make 2 510g (18oz) pieces, placing any scraps on the rough side of the dough. Then place each piece on a floured couche, smooth side down.
- Start pre-heating the oven with a baking stone and any steaming apparatus. Proof the loaves for 40-50 minutes.
- Flip the loaves onto a sheet of parchment on the back of a sheet pan. This can be done by hand, but I've taken to pulling a bit of the couch over the edge of the pan, then flipping the loaf couche and all onto the parchment. This avoids the problem of finger-shaped indents on top of the loaves, which fill in while baking, but make scoring difficult.
- Score longways, load into the oven, and bake for 35 minutes, with steam for the first 15 (I've been using the popular "towel method", placing rolled up towels soaked in hot water in two loaf pans below the baking stone. After 15 minutes, the pans are removed).
- Turn off oven, open door and loaves in for 5 minutes before removing to a cooling rack.
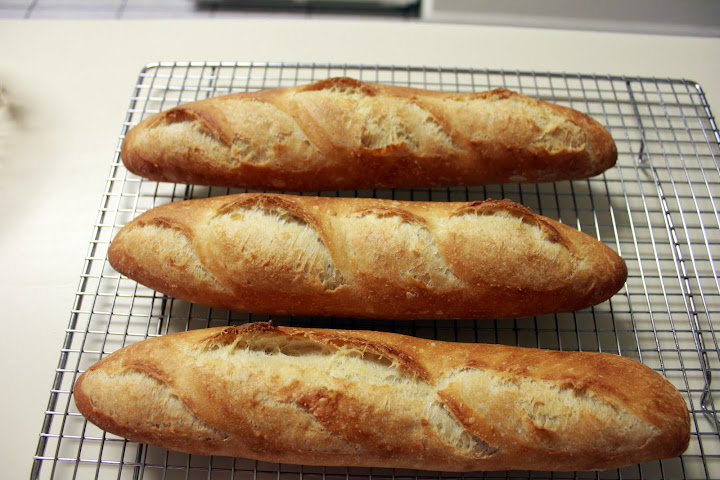
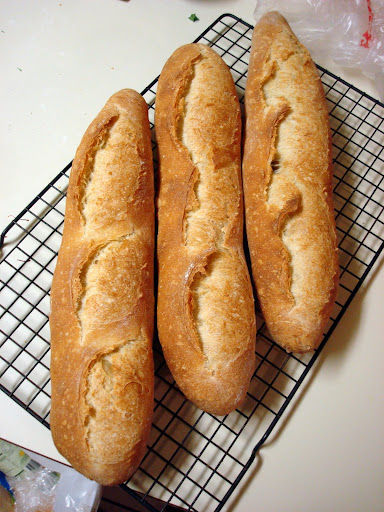
The results looked very much like my previous attempts at Pain Rustique (and why not? It's still an unshaped, 69% hydration dough).
Exterior

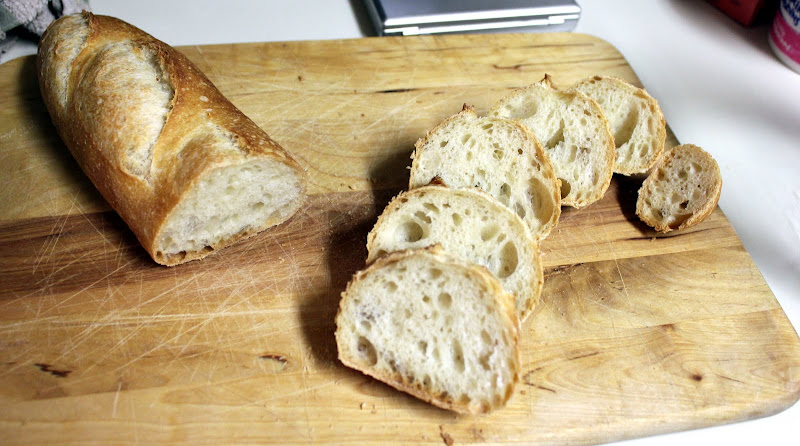
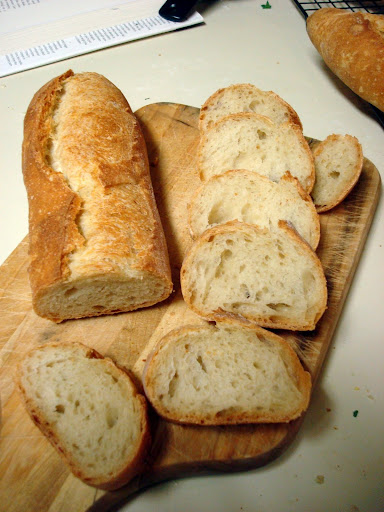
Crumb:

The flavor, however, was surprisingly different. A nice, mild sour flavor in the crumb, with a stronger sourness in the crust. Crust was more sourdough-y than the poolish version, and the mouthfeel of the crumb was subtly different, but I don't know how to describe it. The flavor evolved a little over time--on the first night the tiny amount of whole wheat from my starter (which is fed 25% whole wheat, 75% white) was detectable, but by the next day (and with the second loaf, pulled from the freezer a couple days later) that had mellowed and the sourness had increased.
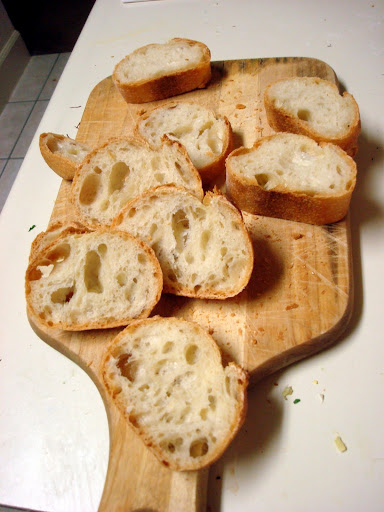
A very, very tasty bread, all told. I'd say better than the poolish version, although as I've noted the two are quite different in flavor. I'll definitely make this again!


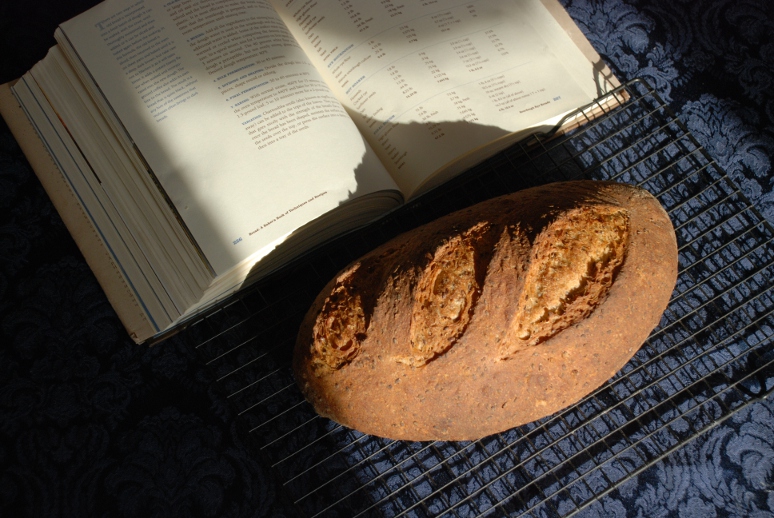


 big for my stone. The instructions called for scoring with a dough docker, which I don't have, so instead I stippled with a skewer. The dough also seemed to stipple itself, so it was very holey by the time it was ready to go into the oven. Finally the house filled with an almost overwhelming scent of toasted rye. And an improbable loaf is now resting on my counter soon to be wrapped up in linen and cut and tasted tomorrow.

