The Fresh Loaf

A Community of Amateur Bakers and Artisan Bread Enthusiasts.

earthoven

shimpiphany's picture
shimpiphany

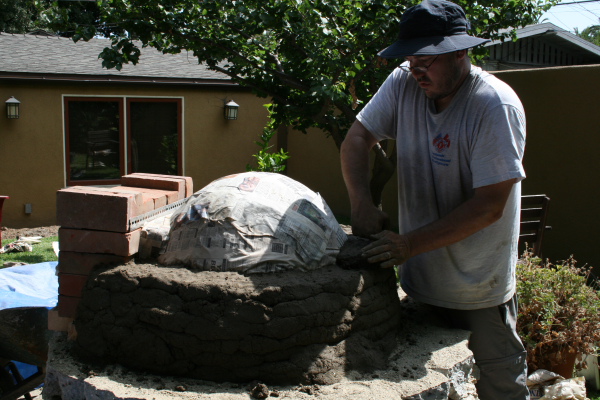
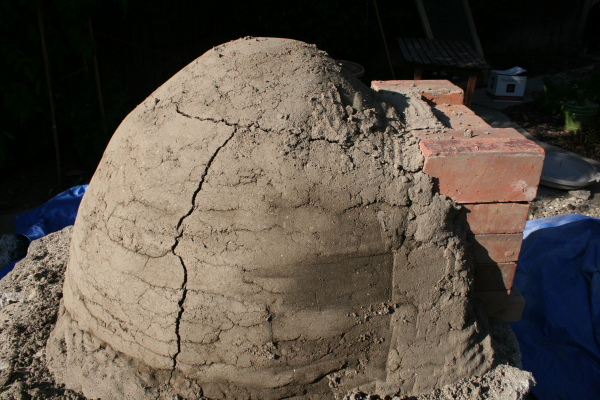
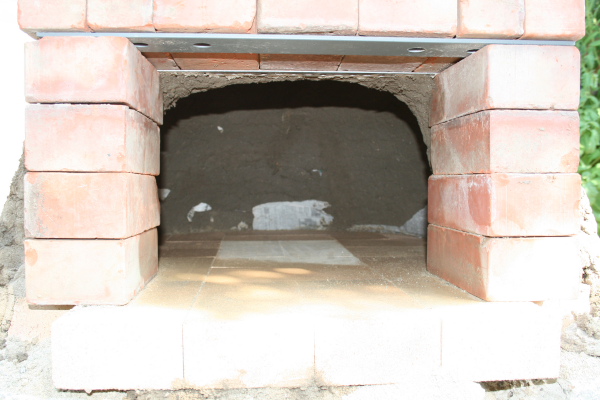
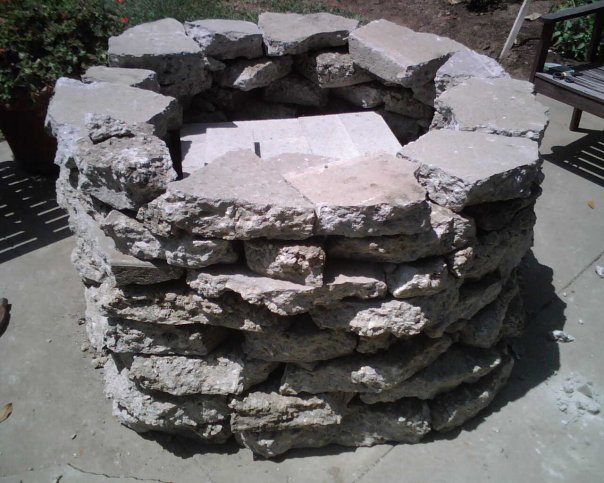
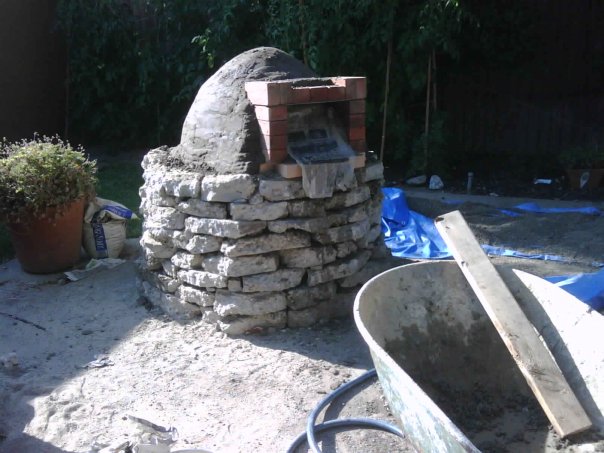
i finished the earth oven to the insulation layer a week ago, and had the first "dry firing" this weekend.

i've fired it twice to try and dry the insulation layer and track the fuel and heat usage, although i won't get accurate estimates on this until i'm sure the entire oven is dry, at least a few weeks from now.

on saturday, i fired it and made pizza. because of some bad scheduling on my part, i was unable to have any bread ready to bake in it, although we did use the tail end of the heat for potatoes and roasted garlic.

i'll fire it and bake bread this week, hopefully tuesday.

here are some photos:

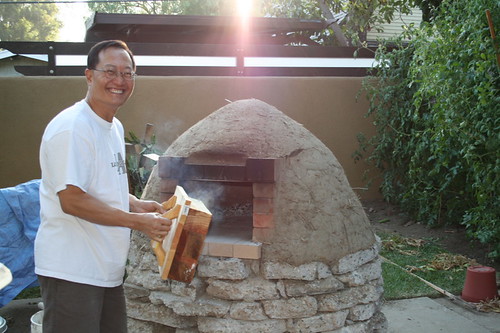
here i am getting the fire started and losing some eyebrows:

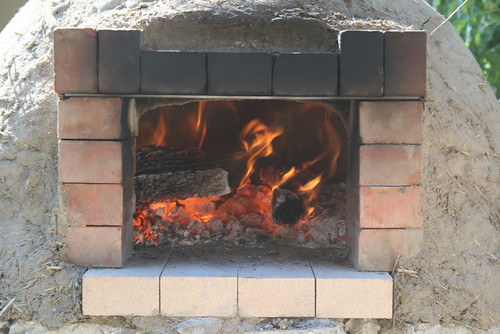
here is the fire once it got going. after the fire got some momentum, it became a lot easier to keep it alive - wood placed in the oven would instantly burst into flames instead of needing to be coaxed. at this point, my infrared thermometer (which reads up to about 1000 degrees F) was off the charts:

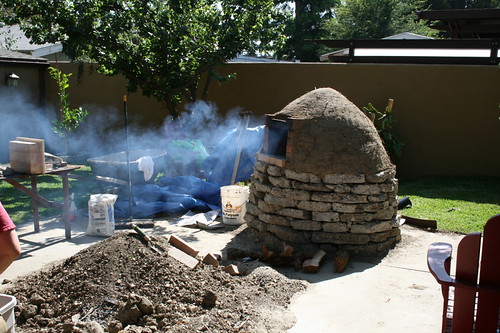
the tongue of smoke. smoke means an inefficient fire. efficient firing and use of fuel is a very challenging part of this oven:

another view of the fire:

the infrared thermometer. its max is around 1000 degrees:

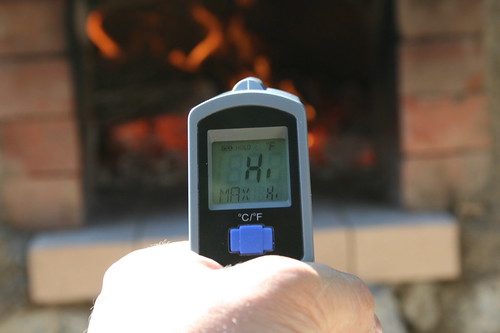
the themometer. a very fun tool:

here i am rolling out the pizza. i like the flat crust, so i use a rolling pin (blasphemy, i know):


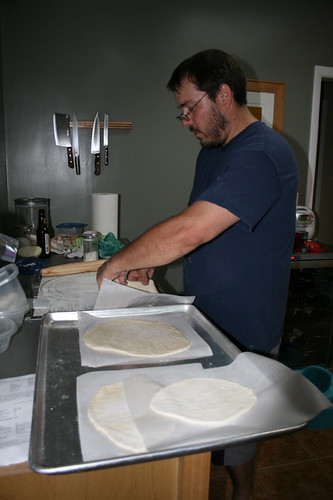
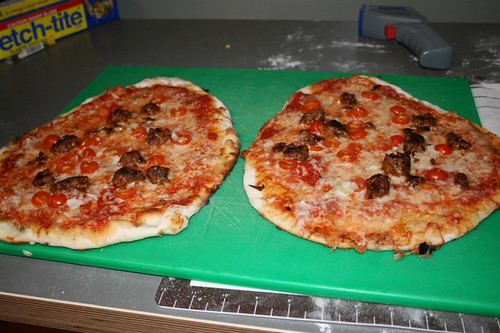
the pizzas. porcini, homemade sausage and onion; and goat cheese and braised leeks. the sauce and crust are adapted from reinhart's american pie:

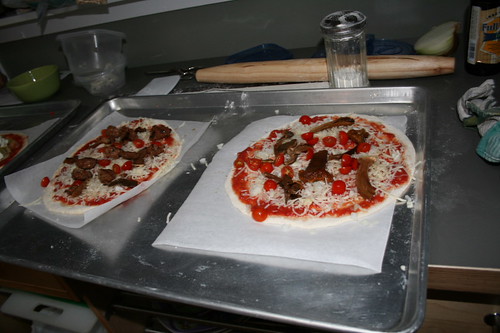
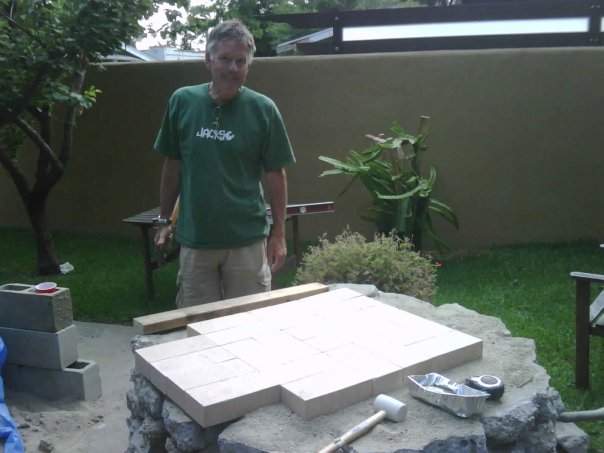
i'm experimenting with sizes to see how i can best maximize the floor space: 
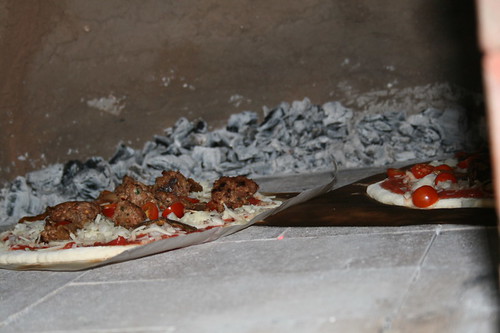
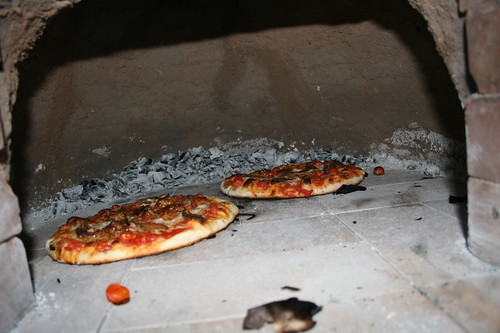
cooking:

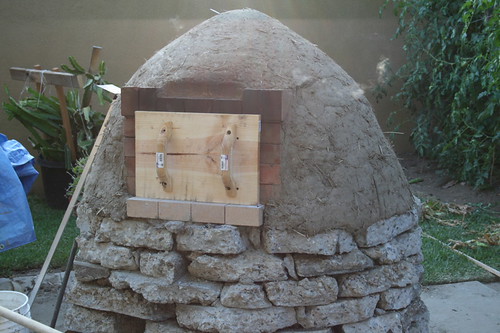
my father-in-law wielding the oven door, several 4x4's joined by countersinked (countersunk?) screws, joined to a 1x12 sleeve and mounted with two concrete float replacement handles:

with the door in place:

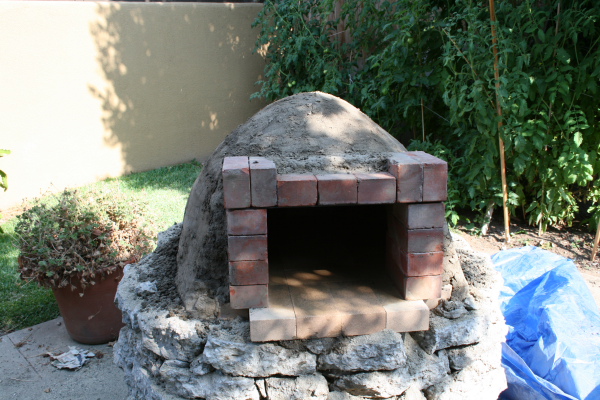
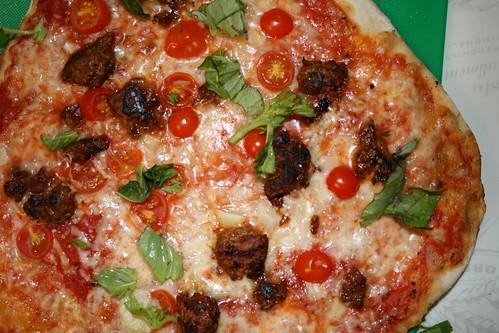
the finished product:

more to follow once i finally get some bread in there...


shimpiphany's picture
shimpiphany

as some rather large cracks were forming last night, i decided to pull out the sand.


and it didn't collapse, explode or catch on fire.


i spent an hour or so patching the cracks and then put a pan of charcoal inside to help with the drying process. tonight i'll light a small fire.

here i am putting the mud layer over the sand form:


here are the pics of the cracks after one hot day of drying. i think i didn't use enough sand in my mud mixture:


another view of the cracks:


the oven without the sand form, after patching:


inside!:


next: the insulation layer of mud and straw. so far so good!

shimpiphany's picture
shimpiphany

up to the thermal layer on a new earth oven, and i hope to be baking bread by the end of july.


I built the base out of reclaimed concrete (a former backyard patio) and scavenged concrete blocks. with the sand, firebrick and tools i'm in this about $120 bucks. and, of course, about 2 grand in labor - but hey, that doesn't count, right?


this took about 3 months from the initial conception to this point, with about 5 good days of work. most of the time was spent collecting the materials.


send me good vibes that this thing doesn't collapse or explode or otherwise crush my now fragile hope.


the girl and the concrete:


the core:

half finished:

the finished base:

creatively focused image of the insulation layer, wine bottles and a mud/perlite mixture:

the mud subfloor. a layer of sand goes over this, and then the firebrick hearth:


my dad and the firebrick hearth:


the first thermal layer and the brick arch:


and a final close-up of my rather rough first layer:


if the thing survives the removal of the sand, i'll post more pictures. wish me luck!

Subscribe to RSS - earthoven