I am retired. This is the first full week since I retired, July 31. Already I see big problems. I no longer have to limit my baking to weekends and vacations. In principle, I could be baking bread any day ... or every day. But, I do not need to be eating more bread than I have been eating. I will certainly be gifting more loaves, but I have to find a new equilibrium. Ah, well. Life is good.
Anyway, this explains how I happen to be baking bread mid-week.

My San Francisco-style Sourdough quest of last Spring was a ton of fun. Of the various tweaks I tried, my favorite version was "Take 4." (For the formula and procedures, see: My San Francisco Sourdough Quest, Take 4.) I believe I have baked this version about 5 times now, and, for me, it has been pretty consistant in producing my personal ideal bread of this type. Today was no exception. Crunchy, sweet crust and moist, chewy, complex-flavored crumb with moderate sourness. Excellent keeping quality.
It's been very hot in Fresno. My fermentation times for the levain builds were shorter than those indicated in my methods. "Watch the dough, not the clock" applies to levains as it does to final doughs. The times were not so short I felt I had to refrigerate any build, but I would have done so if the times to maturity were so short I thought flavor would be compromised.

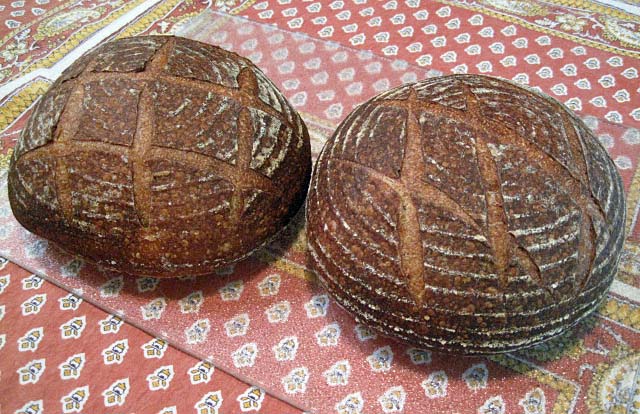
Diamond scoring pattern

Cross-hatched scoring pattern

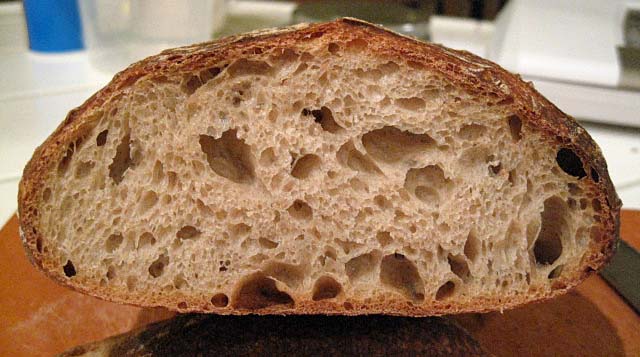
Crust close-up for the bubbly crust lovers
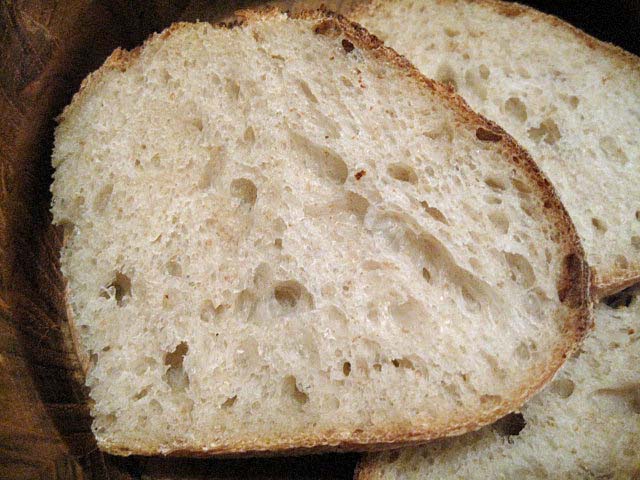
SF-Style Sourdough crumb
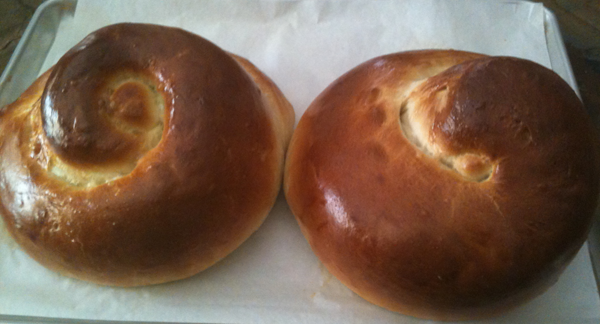
I also made the Sourdough Seed Bread from Hamelman's Bread today. In the past, I have generally made this as 500-600 g boules. Today, I shaped two bâtards of 1 kg each.


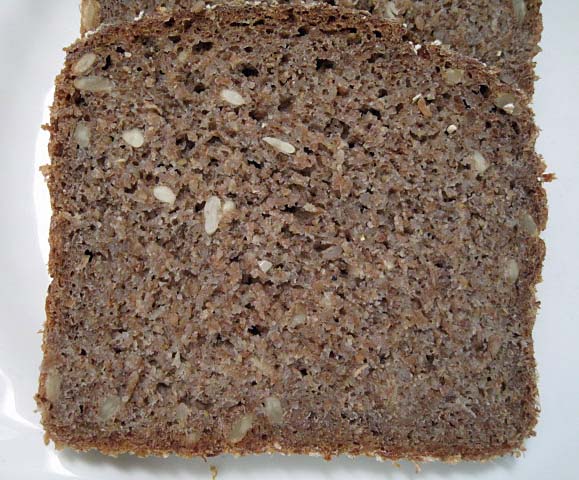
Sourdough Seed Bread cross section

Sourdough Seed Bread, crumb close-up
This particular bread profits greatly from overnight cold retardation. It is not bad baked the day it's mixed, but it is fantastically delicious if allowed those extra hours of flavor development.
There are some gastrointestinal conditions for which the standard advice is to avoid eating seeds. If you have the misfortune to suffer from one of these, I suggest you not eat this bread. However, the heavenly aroma of this bread when it is sliced still slightly warm from the oven is not to be missed. So, bake it even if you can't eat it. Give it away ... but only after cutting a loaf and taking a few deep breaths.
Happy baking!
David