The Fresh Loaf

A Community of Amateur Bakers and Artisan Bread Enthusiasts.

BBA Challenge 2011

Jo_Jo_'s picture
Jo_Jo_

Links to my fellow baker's in the Bread Baker's Apprentice Challenge, 2011!  Here are links to their versions of this bread.  They are all very talented baker's, who have gotten together to share their results from baking the Bread's in Peter Reinhart's book Bread Baker's Apprentice.
Our host Chris at A Ku Indeed!
I will post others as they finish theirs!

Today is the day for making my first English muffins.  I know that Andy will love these, in fact he has been waiting for these since Christmas.  Really I should have done them sooner, but there have been so many recipes to try and things to do that I just hadn't gotten to it.  Another storm rolled in last night giving us a ton of rain followed by a skiff of snow overnight, which means it's pretty chilly in the house today, so it's another perfect baking day! English muffins and crumpets always remind me of a time years ago when I was a young teen.  My mom took me to a small tea house and we sat and talked while we ate English muffins toasted with crab and jack cheese melted on top.   We each had a cup of fancy tea, and it was such a good day.  I remember feeling very grown up. That is a memory I will never forget, one of those times when you know that your mom loves you and wants to be with you. She asked for the recipe for those crab and cheese topped English muffins, and would make them occasionally throughout my teen years.  I can't remember if we had crumpets that day, but they also bring memories of growing up.  They always have butter and honey on them, and simply make my mouth water and my brain transports back to my childhood.  I think I will make them next....

From BBA English Muffins
Everything in it's place, so very organized.  Now if you know me well, you will realize that the bowl is sitting on another counter with everything except the buttermilk/kefir in it.  I started to put things away, when I realized I hadn't taken a picture of it so I hastily grabbed it all together in one spot and took a "pretty" picture so you would all think "She is so organized!".  I am the one that has to rerun the recipe in my head a dozen times to make sure that I didn't leave anything out. Here are the dry ingredients all added together.  I adjusted the recipe by using 50% fresh ground Winter White Wheat rather than all bread flour, replaced the sugar with honey, and used kefir in place of buttermilk.  I normally use the baker's percentages for the BBA recipes, but this time the recipe only made 6 English muffins which I figured we would eat pretty quickly.  I weighed everything according to the book, and used measuring spoons for the honey, salt and yeast.  I went ahead and put the entire 8 oz of kefir into the flour mix, figuring if it was to wet then I would simply add a little flour.  It was looking pretty sticky at this point, so I allowed it to autolyse for half an hour.  This seems to help a lot, especially when working with whole wheat flours. What starts out very sticky, ends up quite manageable after kneading it for 6 minutes after it's 30 minute nap. Here it is, with the bowl looking all clean on the sides.  I love when dough has this consistency, just makes it so easy to work with. Time to scoop it out of the bowl and form it into a boule.  I will let it rise for 90 minutes, possibly a little longer because it's cold in the kitchen today. It looks so small in the container I use to do the first rise.  Getting used to recipes that make a large amount of dough, which I usually reduce down to 2 lb so I don't get over run! Here it is after it's first rise, ready to be gently removed from it's jar and carefully made into small boule's. It just seems like such a small amount of dough to me! Wow, only a little over a pound of dough! I have these cool English muffin rings that I got for Christmas and have been wanting to try. I sprinkled semolina into the rings after I sprayed the parchment paper with oil. The rings have shortening on them, to keep them from sticking. Dough has risen for 90 minutes, ready to fry!!!! Things were looking pretty good at this point and I decided to fry three with rings off and three with rings on. I put the muffins into the pan, and then pulled the rings off these ones. They immediately started to spread slightly in the pan. I fried them for 6 minutes, and when I turned them over they were burnt on that side! Yuck, my pan was to hot even though it was set to the temp in the book. I then turned it down 50 degrees, and hoped for the best. I fried that side for 5 minutes. Here are the three I fried with the rings on, including when I flipped them over. At that point I took the rings off, and continued frying them. The pan was a much better temp, and I fried them for 8 minutes on each side. Here they are all ready to cool off and then to eat. They look pretty good! Crumb shot....
Jo_Jo_'s picture
Jo_Jo_

I of course start by planning ahead, which means sitting on my bum and reading the instructions all the way through. Help is always appreciated, but sometimes I get a little to much help. In this instance, Smoky decided he would help me read the BBA recipe which for some reason wore him out and required him to take a 20 minute nap on the book which I was holding up. Now normally, with any of the other cats, I would simply move around alot and they would go find a place to lay that didn't move so much. Smoky though simply gave me a dirty look each time, groaned loudly, and re-adjusted himself for more zzz's. Don't tell anyone, but I finally had to kick him off and send him packing, much to his disgust.


On to the making of my version of the Bread Baker's Apprentice Cranberry Walnut bread. I looked over the recipe, and realized immediately that I would have to change a few ingredients. To me walnuts are rather evil, causing stomach aches and just making a person feel horrible. Not to long ago someone suggested using pecans instead, and I tried that with the raisin bread with pretty good results. I love cranberries and decided even though they make my mouth raw, it would be worth it to try it this time. Actually, I love most fruits, but seem to have a bad reaction to them and while I still eat some usually it is in a small amount and rather quickly so they don't sit in my mouth.  It's funny how your body seems to have cravings for things that you probably shouldn't eat. I decided that the dried fruit and nuts could soak in the water overnight (I soak dry fruit so that is doesn't burn and turn hard when baked).  I set up two soakers. The other one had about 50% of the recipes flour (fresh ground winter white wheat) and kefir (similar to the buttermilk that was called for). The other 50% bread flour I saved for the next day.  I have the picture of the berries and nuts, but for some reason I seem to have either deleted or misplaced some of my pictures.  Life goes on....


The next day I combined all the ingredients, including the flour/kefir soaker and leaving out the cranberry/nut one. The cranberries had soaked up all but a tablespoon of the water, so I included that in the dough. I had to add some water to the dough to make it the right consistency, kneading it with my kitchenaid for 6 minutes. I then added the fruit/nut mix, which added a little bit of moisture to the whole thing and kneaded it for another 2 minutes. I pulled out my King Arthur Silicone Rolling Mat and put extra flour on it, and put the dough into the middle, then folded it a couple times.  This created a boule shape, or round ball.  Just a note, if you don't have a good place to knead and shape your bread, the King Arthur rolling mat is really awesome.  I love it and pull it out for every loaf I make, even if it's just to shape it into a log for a single loaf.


I let it rest a few minutes, and then shaped it into a log.


Since I used the baker's percentages that Reinhart provided in his book, I was able to adjust the recipe to make a single 2 lb loaf of bread that fit perfectly into my bread pan. I know that I was supposed to braid this loaf, but while surfing on SomethingShiny's website I found a wonderful idea. The very first picture on the site was of this bread, with turkey and cheese stuffed inside. I decided right then that mine was going to be a sandwich loaf, since this would probably not be made again till Thanksgiving.  My mouth started to drool, because cranberry sauce and turkey on a sandwich are really good together.  My husband says I'm nuts, because cranberry sauce does NOT belong on a sandwich, but I just don't agree and since I am ALWAYs right.....


I used part of the egg from the recipe to do an egg wash on the crust, and it came out really nice. I took 8 pictures of just the crust, it was shiny and such a nice shade of brown. Just beautiful, tender when eaten, with a beautiful color and shine which made it hard to cut into. It was just to pretty!


I realized that I would have to cut it open, so I could see what the crumb looked like. It was just such a perfect loaf that I really didn't want to, except for the thought of taking a bite of it!


I took this picture of the crumb inside, and didn't look till later and realized it really didn't show how wonderful the crumb was.


The next morning I cut the loaf into slices and froze half of it, then took a few slices and used natural lighting to see if it would help show the crumb. The crumb was darker than normal, but I think that was because of the liquid from the cranberry soaker.  It's great tasting bread!


I will be making this again, probably for Thanksgiving. It has great taste, texture, and the crust is wonderful too. Definitely a holiday bread.

Jo_Jo_'s picture
Jo_Jo_

Couldn't help but want to share this link from "I Can Has Cheezburger"  Lolcat bread pic.... On to my raisin bread, which turned out pretty good.  I used Winter White Wheat, red wheat is simply to strong flavored for making a good cinnamon bread.  I like the red wheat for my cereal bread though!  The darkness of the crumb is mostly from the cinnamon that went into the dough.

Posted by Picasa

I did not soak the flour at all with this recipes, simply ground it and made it into the bread.  I used kefir (basically a lot like buttermilk), and the only other changes I made to the recipe was to use pecans, splenda for the cinnamon swirl and honey in the actual bread.  Oh, I also reduced the percentage of raisin in the recipe by half.  Not sure why the baker's percentage asked for so much, but it seemed rather outrageous.  Here's the dough after the kneading it for about 4 minutes.

At this point I added the pecans and raisins, and kneaded for a few minutes, which worked ok, but I decided to do a little hand kneading before I let it rise, just to mix them in a little better.  I then greased up a container for the dough to do it's bulk rise in.

It actually looks pretty good in there, and I'm starting to think this will turn out to be a nice loaf.

Starting to rise a little bit, a little bit slower than I expected, but I think I used active dry yeast rather than my instant yeast. 

Posted by Picasa

Took about 2 hours, but it's now risen well and ready to be shaped into a loaf of bread.  This is 1.8 lbs of bread dough.

I flattened the dough with my hands, trying not to eliminated all the bubbles, but wanting the texture to be like a sandwich loaf.  The gluten was really well developed, so this was easy but took two steps.  It needed a few minutes to rest before finishing flattening it.

Here it is with the cinnamon and splenda, plus a small amount of flour with a spray or two of water on top to hold it all in place.

All rolled up, ready for it's final proof.  It's looking pretty good, but I think I should have made a little bit more dough for this loaf.  I thought it was 2 lbs, but when I looked back it was actually about 1.8 lbs at the most.

Posted by Picasa

I took two pictures of my finished bread, in different lighting conditions, because of the speculation about why the BBA book's picture was so different.  I am thinking that these last pictures will show what a difference simple lighting and camera position can make, but I also did not cook my bread for a full 40 minutes like BBA called for.  I do not like really dark crusts, so tend to pull them or cover them with foil if I think they are not quite done. 

Posted by Picasa
Jo_Jo_'s picture
Jo_Jo_

The crumb was wonderful and the bread tastes great. The crust is flaky crisp, and this is definitely a bread I will be making more often. The best "wonder" bread I have ever had.


Posted by Picasa
I totally forgot to take pictures till I moved my dough to the greased bowl to rise. Here is is about 15 minutes after it started it's first rise.  I mixed the dough in my kitchenaid, using my dough hook.  It was pretty wet and sticky so I gave it a half hour autolyse, then kneaded the dough for 6 minutes.  It then formed into a really nice handling dough.


Twice the size and ready to be split for braiding.


Made it into a rough split, then allowed to rest for 10 minutes.


Rolled out into thin ropes for braiding.  I made them to long for a single loaf, so cut them into two pieces for two loaves.

Posted by Picasa


One braided, the other half way done.  The dough was easy to handle, and braided very easily.


All finished braiding, ready for proofing.  They took 75 minutes to proof.


Almost done and ready for baking, they are looking pretty good so far.


I baked these at 350* for 45 minutes on my pizza stone, which worked really well.  They looked and smelled really good when I pulled them from the oven and covered them with the flour sack towels to cool for a couple hours.  I was way to much in a hurry while making these, so I think that effected the entire shaping and braiding process.  The other's loaves are so much nicer looking then mine, but I will have plenty of opportunity to try this again when I am not feeling so rushed. 

Posted by Picasa

Jo_Jo_'s picture
Jo_Jo_

Well it certainly looks good! I baked it at 450* for 20 minutes, on my pizza stone. I really like the color of the crust both top and bottom. There weren't many surprises when I made this, except maybe that it was a lot easier to tell if it was ready to be baked. I am used to making sourdough versions of this, so they take a LOT longer to rise.


From BBA Ciabatta

Here's a picture of the bottom, which is a beautiful color. I always like how my bread turns out when baking on a stone with steam in the oven.


Here they are side by side on my cookie sheet, which I use like a peel. Haven't seen a need for a real peel yet, seems rather expensive when I have something that works.


I used Peter Reinhart's baker's formula, and only made 1 pound of dough. I was already in the process of making sourdough loaves, so I figured that I wanted to have enough to try this recipe out. The only difficulty I had was that my mixer likes to make at least 2 pounds of dough, and smaller loads seem to be harder for it to really create a nice gluten structure.


As you can see, it is quite wet and sticky even after it being worked for about 5 minutes.


Here it is close to the end of the process, when I decided to just pull it out and do some stretch and folds to help build it up a little bit.


After second set of stretch and folds....


Ok, I missed a lot of picture opportunities with this one, totally forgot to take pictures of each step of the process.  I actually did three stretch and folds, one at the beginning because I felt it was underworked by the mixer.  I gave it a rest of 90 minutes after the stretch and fold process, then split it into two pieces.  I then did the final shaping and transferred it to a french bread pan I have, which I often use as a couch.


It's already starting to grow...


Almost ready to be put into the oven...


These rose a lot during the final proof, and for it being only a pound of dough it made two nice loaves. Ok, I have held off on showing the crumb shot till now, because I was so disappointed with it.  This dough was really wet, and I know that I didn't overwork it.  Possibly it was slightly underworked, but here are two pictures.

From BBA Ciabatta

I was really expecting a LOT more holes, especially when my sourdough breads are so much easier to work with and give me crumb like the next pictures regularly. Here are two pictures of the loaves I made today, and I wasn't even trying for a ciabatta like loaf.


And my sourdough was a lot easier to handle, and it tasted a lot better too. I find that most of the BBA breads seem to have too much salt in them for my taste, but this bread just seemed to be like a regular french bread to me and didn't have nearly the flavor that I expected.  My sourdough is usually made with a starter made from AP Flour, water, salt, bread flour for the main dough.  I used AP flour with the biga that I made for the ciabatta, then bread flour for the main dough.  The biggest difference in the recipes is that BBA adds oil, which I never use.  I just find this really interesting, when comparing the hydration percentages on the two dough, my sourdough came in at 70.4%, and Reinhart's was at 74.74%. 

Jo_Jo_'s picture
Jo_Jo_

What's not to like about a bread with meat and cheese everywhere you bite? I think I would have preferred it with a leaner dough, less fat in particular. It wasn't nearly as rich as the Brioche from the BBA Challenge, but the crust was almost flaky like a pie crust. The texture was very tender, and the taste of extra sharp white cheddar and salami really made this a very good bread.


From Casatiello


Some of the cheese oozed from the sides of the bread as it cooked, and the oils from the salami that I forgot to saute seemed to flow out through the bottom of the loaf. I did not put any oil or shortening in my clay baker, figuring that it would do this. Really glad it didn't stick....

Here's the process from start to finish. First I made a sponge, which seemed really watery. More like what I use to activate yeast when I buy the wrong kind. My sponge didn't do more than a small amount of bubbling, probably because I totally forgot to scald and then cool the milk.

I used my baker's percentage worksheet, and Peter Reinhart's formula to make exactly the amount of dough that I wanted to fill my baker. It's been an interesting project using excel to create a worksheet that I can put ingredients into and see what percentages they are of the total (including a starter/preferment/biga/poolish), plus my daughter helped me create a section that works backwards from the percentages and gives me the amount in ounces and grams for each ingredient based on the amount of dough I want to make. I have tried to use quite a few different ones in the past, but they were always more complicated than they were worth (in my opinion). Here are the ingredients all measured out and ready to put into the mixer.

I put the flour etc into the mixer and mixed it for a few minutes, then allowed it to rest. I then put the dough hook on and started adding the butter last, which made the dough all paste itself to the bottom of my mixer. I fought with it for a few minutes, but decided that it needed to rest a little bit longer. Most of the butter was incorporated, but it really needed to be kneaded for a while longer.

I have a nice picture here of kneading the dough and it starting to form into a ball, but totally spaced on a picture of the dough cleaning the sides of my mixer bowl. It really was a nice dough to work with, so I am disappointed that I forgot the picture.

After I finished kneading the dough which took a full 10 minutes before it came together nicely, I then used my mixer to add the cheese and meat. The other time I made something similar to this I put the meat and cheese in during the shaping stage, so I thought I should try this way. I also figured that grating the cheese would just incorporate the cheese into the dough, and I wanted chunks of oozy cheese rather than a dough that tasted like cheese. My only regret was cutting the cheese into to small of chunks, I should have made them about twice the size of the salami. I formed it into a boule and placed it into a greased bowl.

Here's the dough 90 minutes later, ready to be shaped into a long loaf for my clay baker.

I really like this clay baker, but it has been a project learning how to bake bread in it. The bread I make in it though is really awesome. That's my new Bunn coffee maker in the background, which is replacing my Keurig coffee maker. I have had the Keurig since last February, and in November it started refusing to make coffee and wants to be descaled every 2 weeks or so. After pouring vinegar through it twice in the 3 weeks my husband was gone on a business trip I asked him to bring me home a bunn, because I think it makes excellent coffee. Keurig makes an excellent cup of coffee, but it sure didn't seem to make a reliable machine for me.

Shaped and ready to proof before baking. I allowed it to rise for 90 minutes, which seemed a long time to me, but it worked out fine.

I baked mine for about an hour and ten minutes, partly because of the clay baker not being preheated. For my leaner breads I bake a loaf that size at 425* for 30 minutes, plus another 15 uncovered for browning. Makes some nice bread.

From Casatiello


Not sure I would make this bread again, unless I cut the butter down in it. I really don't think it needed so much, especially with all the grease from the meat and cheese. I have to admit though, this was a really good bread. Happy Valentines Day!!!!

mdunham21's picture
mdunham21

I have undertaken the BBA challenge for 2011 but I am not one to follow directions.  I am making the recipes in the order that they appeal to me or what I have a desire to bake.  This does however mean that I will be on my own during the challenge without a number of supporters.  My family decided they wanted some cinnamon rolls, so i pulled out the bba and went to work 

The recipe called for whole milk, powdered milk, or buttermilk, so I made my own buttermilk by adding about a tablespoon of fresh lemon juice to 1 and 1/4 cup 2% milk.  I creamed the sugar, salt and butter together, mixed the egg, lemon extract and added the flour, yeast, and warmed buttermilk.  I didn't have any almond extract so I just left it out.  The dough was a little wet so i worked in some extra flour and the dough became pliable and tacky. The dough was allowed to rise for a couple hours and then rolled out.  I coated dough with brown sugar and cinnamon then cut up a stick of butter and distributed it evenly throughout.  I rolled the dough and cut them about 1 and 3/4 inches apart.  The dough went for a final proof and then baked, I roughly time my baked goods and use color and temperature as my cues.  While the rolls baked I made a frosting out of powdered sugar, vanilla extract and warm milk.  


The rolls tasted even better than they look and I'm officially off my eating plan.


-M

mdunham21's picture
mdunham21

In my quest to make better bread I have gathered information from almost any resource.  Peter Reinhart's Bread Baker's Apprentice has become a go-to book when I want to bake.  One day I was perusing random websites and I happened upon a blog called "Pinch My Salt".  This blog included a number of amateur bakers making each recipe in The Bread Baker's Apprentice in order.  I thought this might be a cheaper alternative to making beer considering I do not currently have the funds.

Yesterday afternoon I mixed together the cornmeal and water and let it sit out overnight.  The bowl on the bottom of the picture is about 2 cups of flour, the cornmeal mixture, and yeast.  The other two bowls are pizza dough and a poolish.

I let the soaker/sponge sit out for a couple hours until it was gurgling CO2 at me.  I mixed the sponge with the remaining 2.5 cups flour, 1.5 tsp salt, 1oz shortening and 4oz of molasses .  When I stirred everything together it still seemed too wet, so I mixed in some more flour during the kneading.  the dough was lightly oiled in a bowl and set to ferment for a few hours.  I removed the dough, knocked it down, and formed a couple boules.

I didn't want to make sandwich loaves because I really like free form loaves and the shape of boules.  The final proofing lasted for about an hour before taking them to be scored and baked.  The loaves scored nicely but I lack a peel, as a result I accidently deflated some of the loaf during transfer to the oven.  Thankfully I had a decent amount of oven spring.  

The loaves turned out fine, I can only imagine how they would have looked if I hadn't deflated them, I guess it's time to look into making a peel.  I look forward to the next stage in the BBA challenge and as always look for improvement.


Cheers and Happy Baking


-Matthew

Jo_Jo_'s picture
Jo_Jo_

This might just say it all. I made a very small amount of Peter Reinharts Rich Man's Brioche, actually only a third of the recipe. It still called for 1 1/2 sticks of butter in it, by weight is was almost the same amount as it called for flour! The recipe said this was the hardest to make of the three formula's. I took that as a challenge. Here's the end result, the "Money Shots".

From Brioche


It really has an incredible crumb on it, soft and tender, literally you can see the gluten feathering out as you pull one apart. The trouble is that it is almost dripping in butter. I was brought up on using real butter on my breads, so I can't believe I am going to say this. I ate one of these and it almost made me sick there was so much butter in it. It has been a couple hours since I ate it, and my body is still saying, "I am so glad you froze those things!" Really, with my love for breads and using real butter on them, you would think these would taste awesome to me. Even putting sugar free strawberry jam on them didn't help the situation, so I hope that my husband likes them or I might have to feed them to the chickens or something. Here is how I made them, although I really don't recommend them and won't be making them again.

Everything all measured out and ready to be made into Brioche.

My sponge was really small in that huge 6 quart bowl.

Added the other liquid ingredients. At this point I realized that such a small amount was not going to be easy to make in

my mixer.

Flour is mixed in and getting ready to start putting the butter in.

My ball of dough after mixing with the paddle. It had difficulty producing gluten, because it was small and sticky with butter. I actually did some stretch and folds on it for about an hour, trying to get it developed more.

Flattened out and ready for fridge, sorry for the blurry pictures. My cell phone was used for these and it sometimes is hard to tell if the picture is good or not.

Shaped and ready for proofing. They rose about twice this size in two hours, and then I cooked them and they really shot up.

Jo_Jo_'s picture
Jo_Jo_

How can something so easy, take so long to complete? It seemed like I spent the entire first day simply waiting. The dough for this is really really easy, but waiting for the yeast/dough to be ready for the next steps was very painful for someone who is impatient. Really, I must have been in the mood for something a little bit more complicated to make in order to keep me hopping around the kitchen, rather than do a couple minutes work and then wait. The results were amazing though, and between me and Andy we finished them all quickly. I ate the last one this morning for breakfast, cream cheese and green olives. MMMMMMMMM!!!!

Not sure why, but I have been putting this off.  (Note:  I think I simply remember dropping them into boiling water and kept thinking how truly klutzy I am)  I like bagels, and think this sounds like a good project, but for some reason they are just not exciting me.  I will be making half a batch of regular bagels and will fry up some onions to put on top, but won't use them in the actual dough.  Really, I suppose it's not helping that my sponge has risen for 3 hours and it still isn't at that magic stage he says will happen, when you bump it into the table and it all falls down.  Sounds rather like my sourdough when it's done feeding and crying for more food.

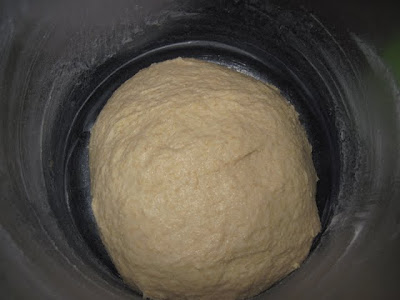
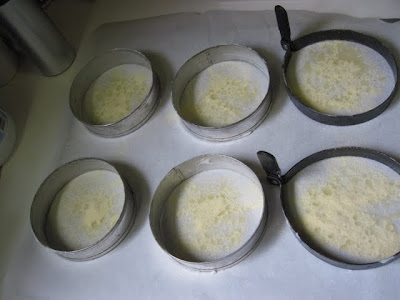
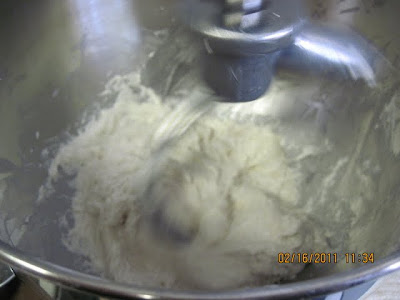
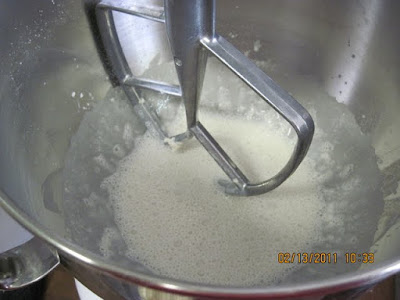
Right after mixing together, 1252 Pacific Time.
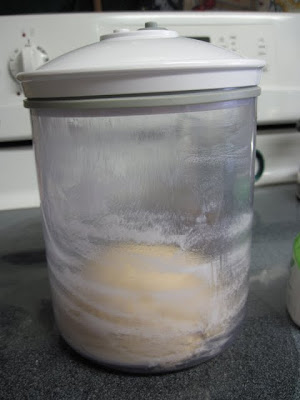
1440 Pacific Time
 

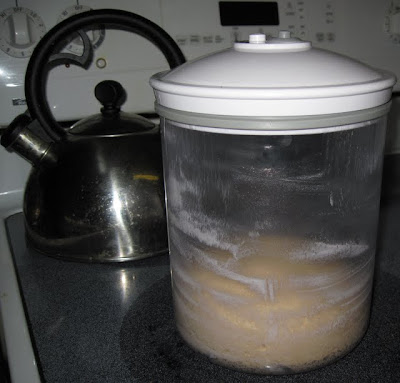
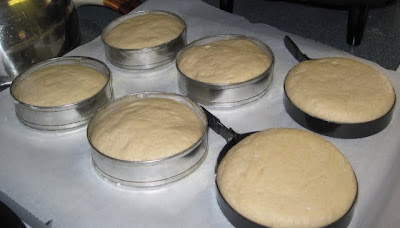
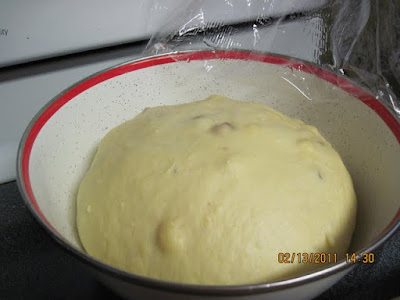
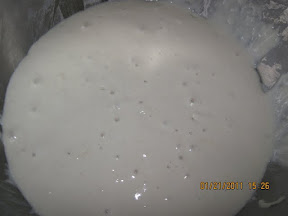
1526 Pacific Time, at least there are quite a few bubbles and it looks like it's doubled.

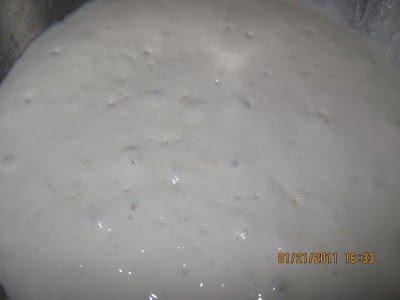
and I am still waiting... Looking at my pictures, it has actually risen more than I thought it had. I am giving it another hour, then going to call it good.  This was in my oven with the light turned on, so my kitchen must have been pretty cold today,  Not really a lot I can do about that, except try to be patient.

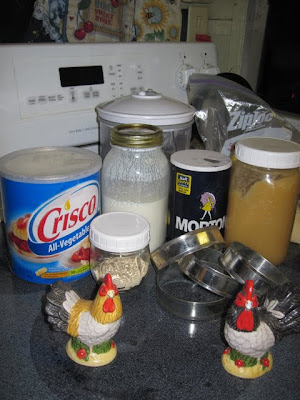
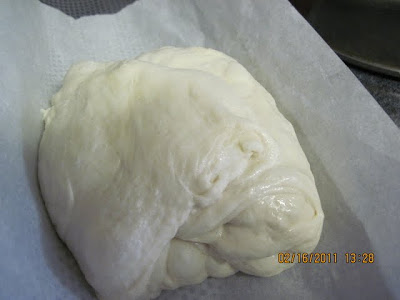
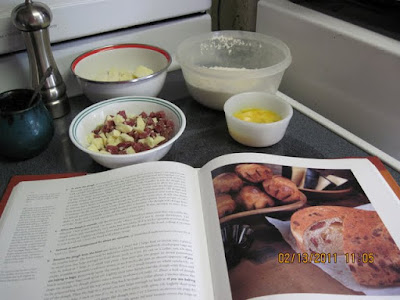
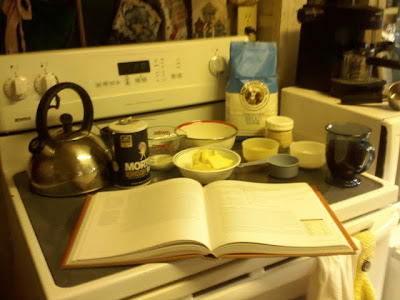
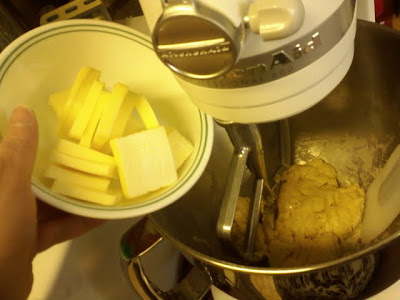
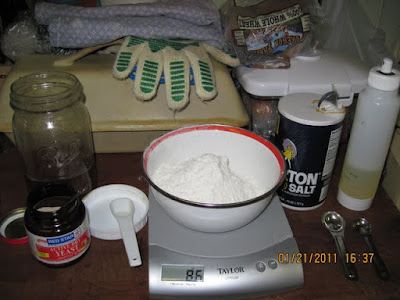
At 1633 I decided that was enough, it never fell like he said it would, but figured if I didn't get on with this recipe I would have to make dinner around it. I got my ingredients out for the next step.

I added the yeast and stirred it in.

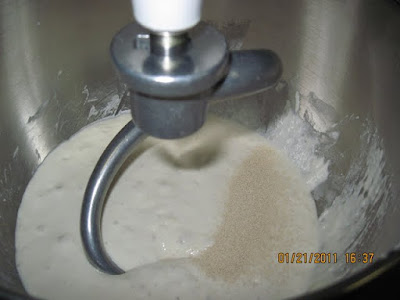
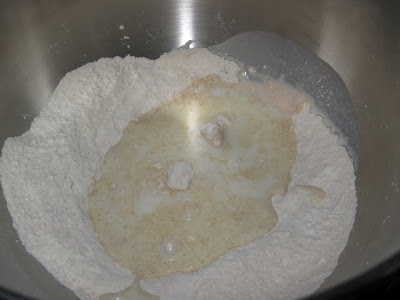
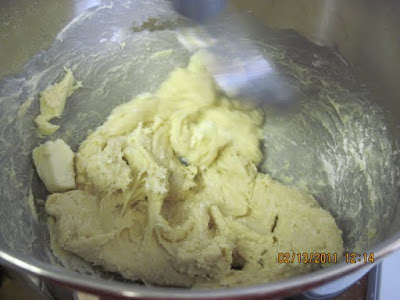
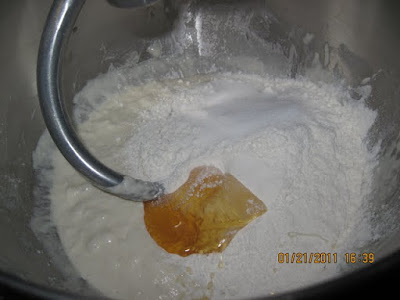
Then I put most of the flour in, added salt and honey.

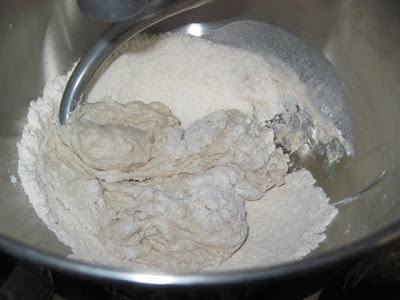
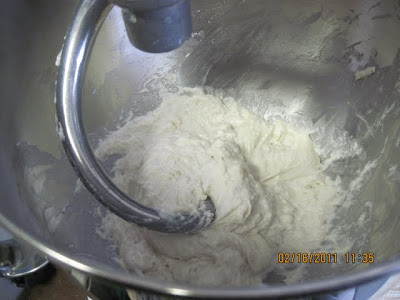
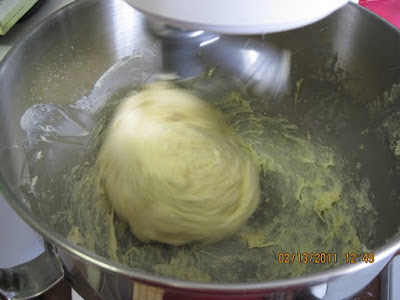
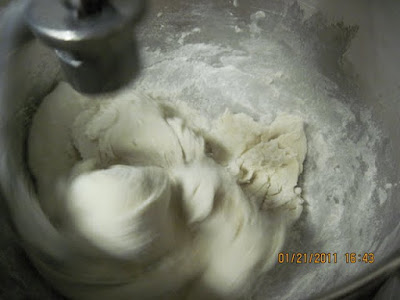
Then I used my dough hook to mix it up, added the additional flour, and then kneaded for 6 minutes using the dough hook.  My mixer didn't seem to have any problems with this dough, in fact it didn't even get warm.

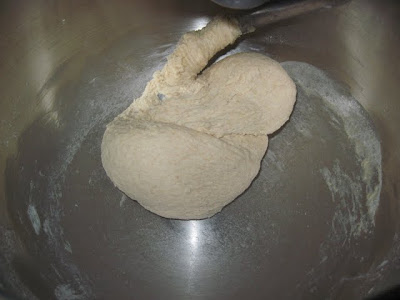
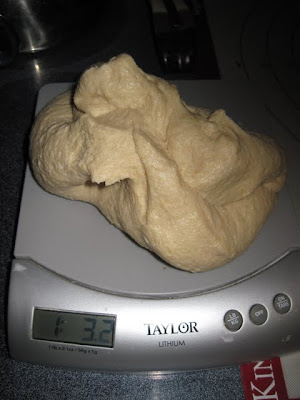
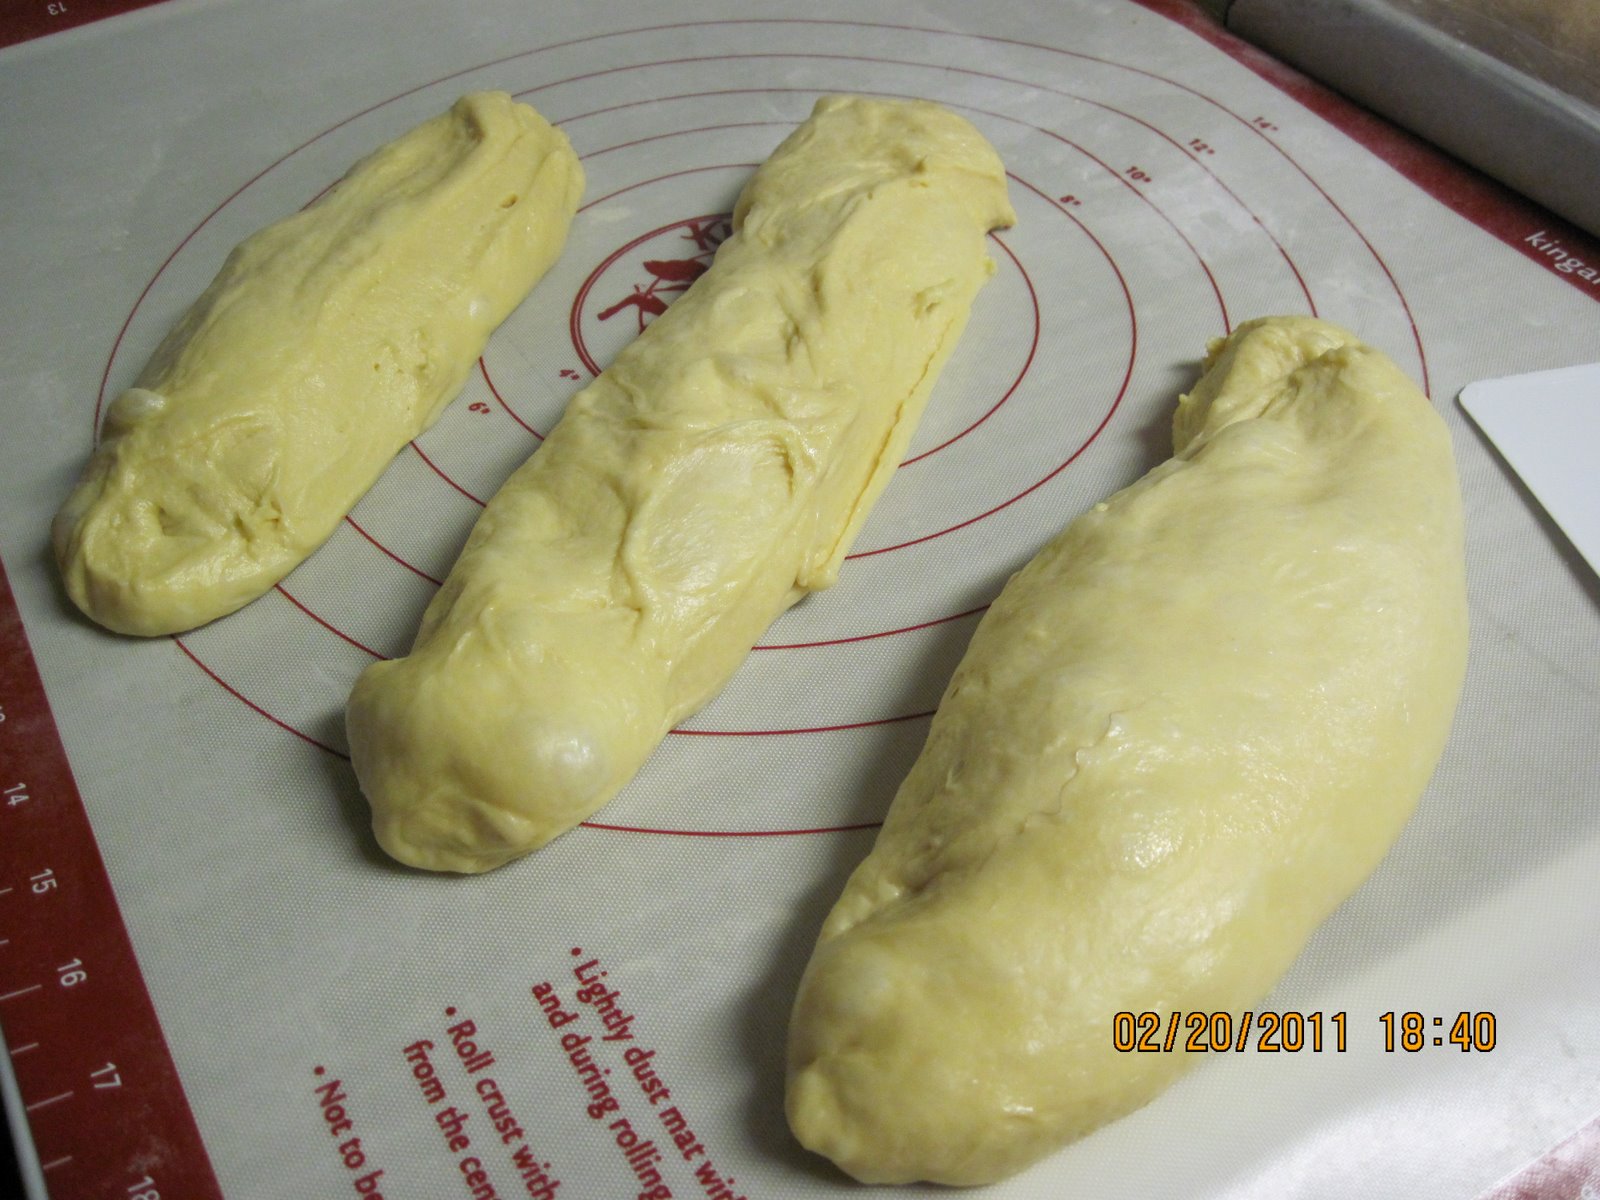
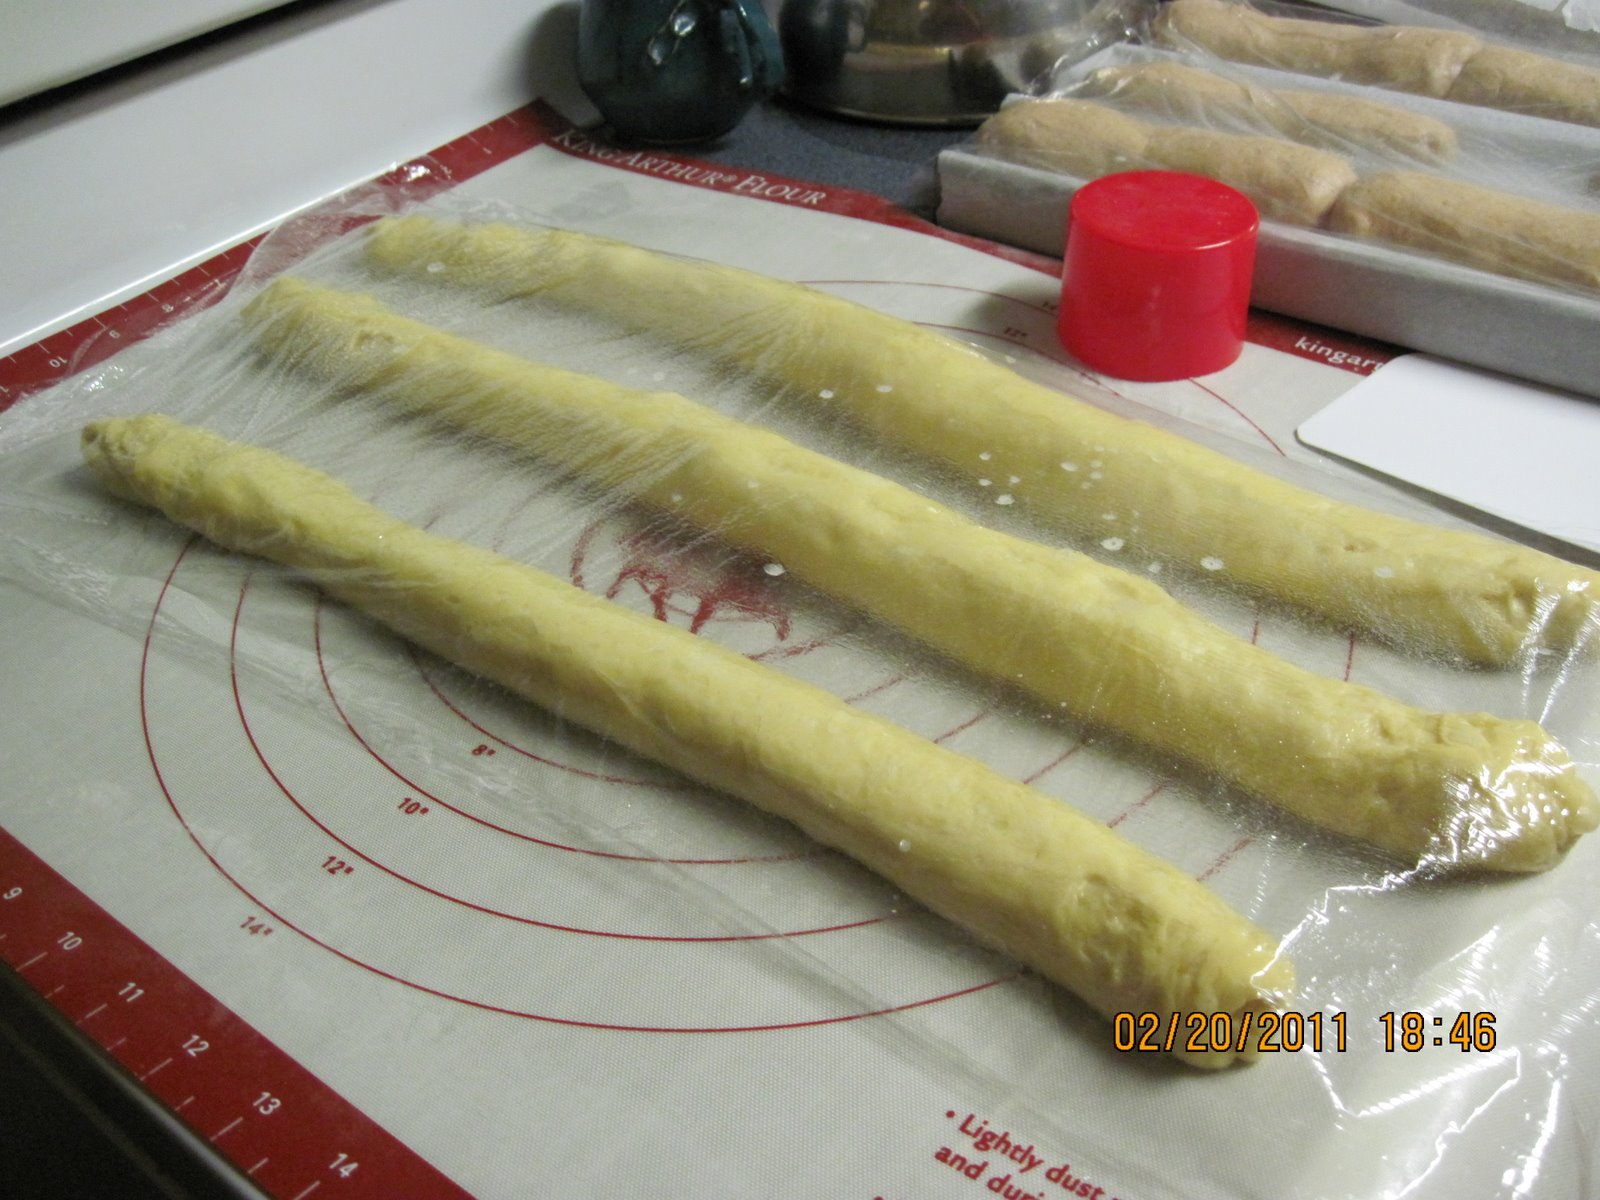
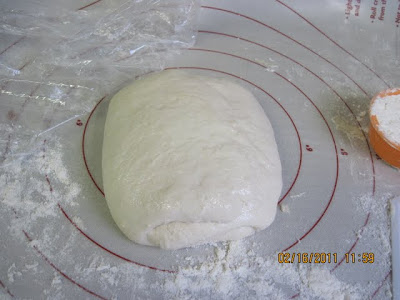
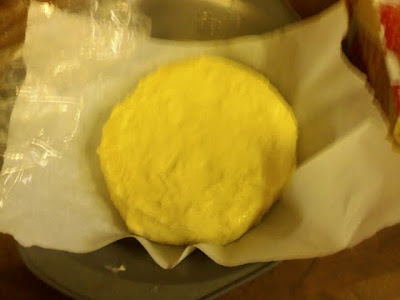
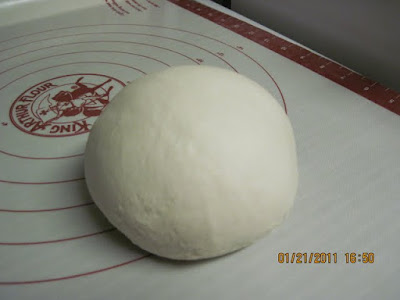
I then shaped it into a ball, and cut it into 6 pieces each 4.6 oz.

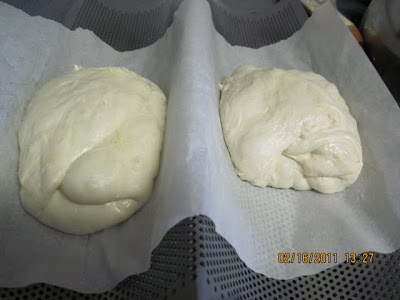
I shaped the 6 pieces into balls, the same way I would for dinner rolls.

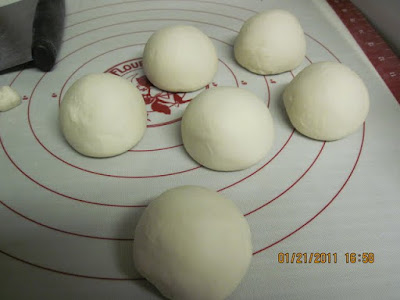
This was followed by a rest period of 20 minutes, with a damp towel on top.

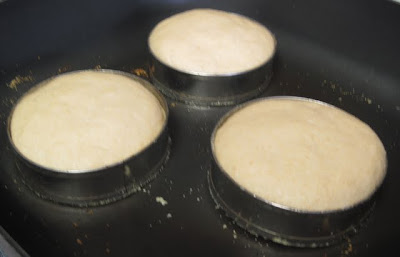
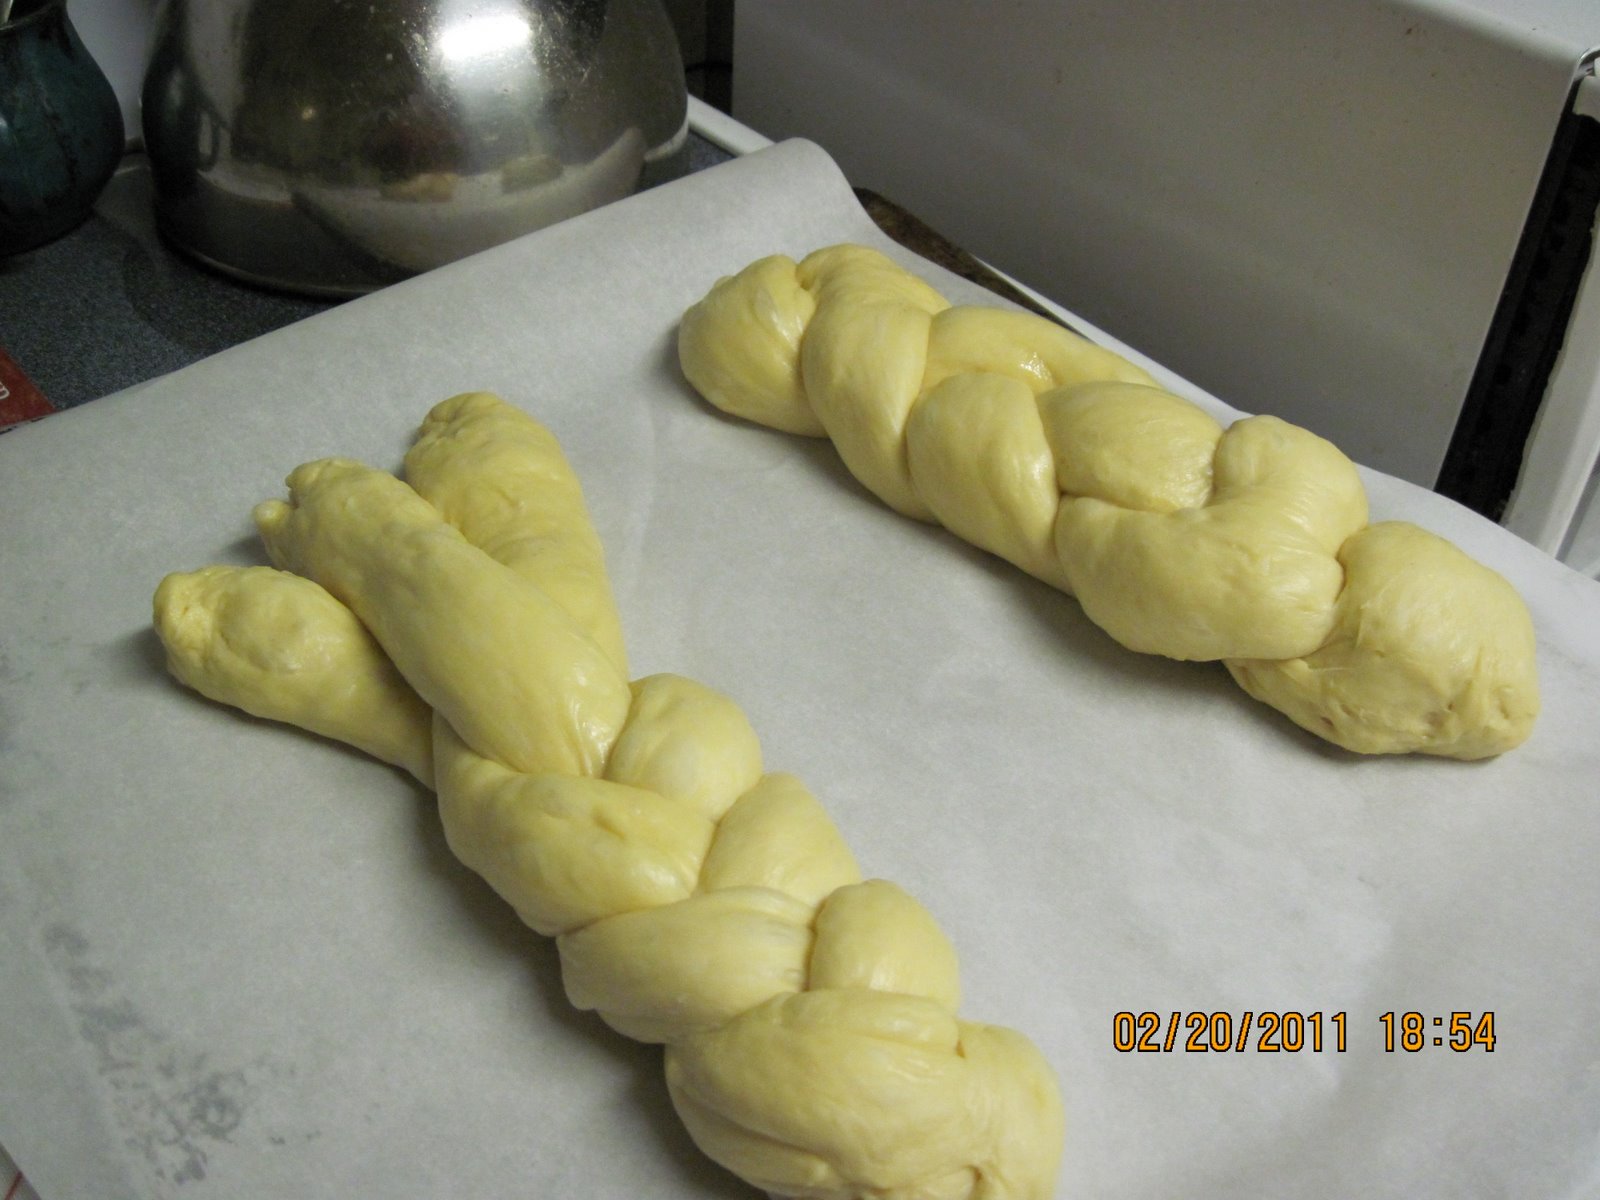
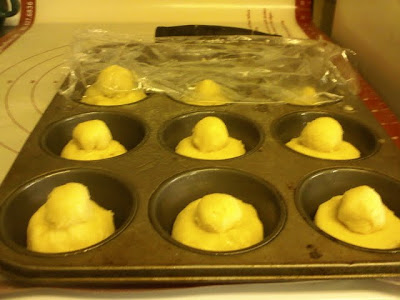
I shaped them into bagel shapes, and drank my Lemon Mint tea...

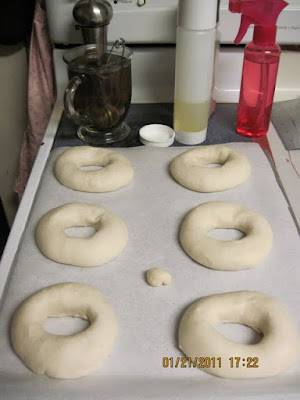
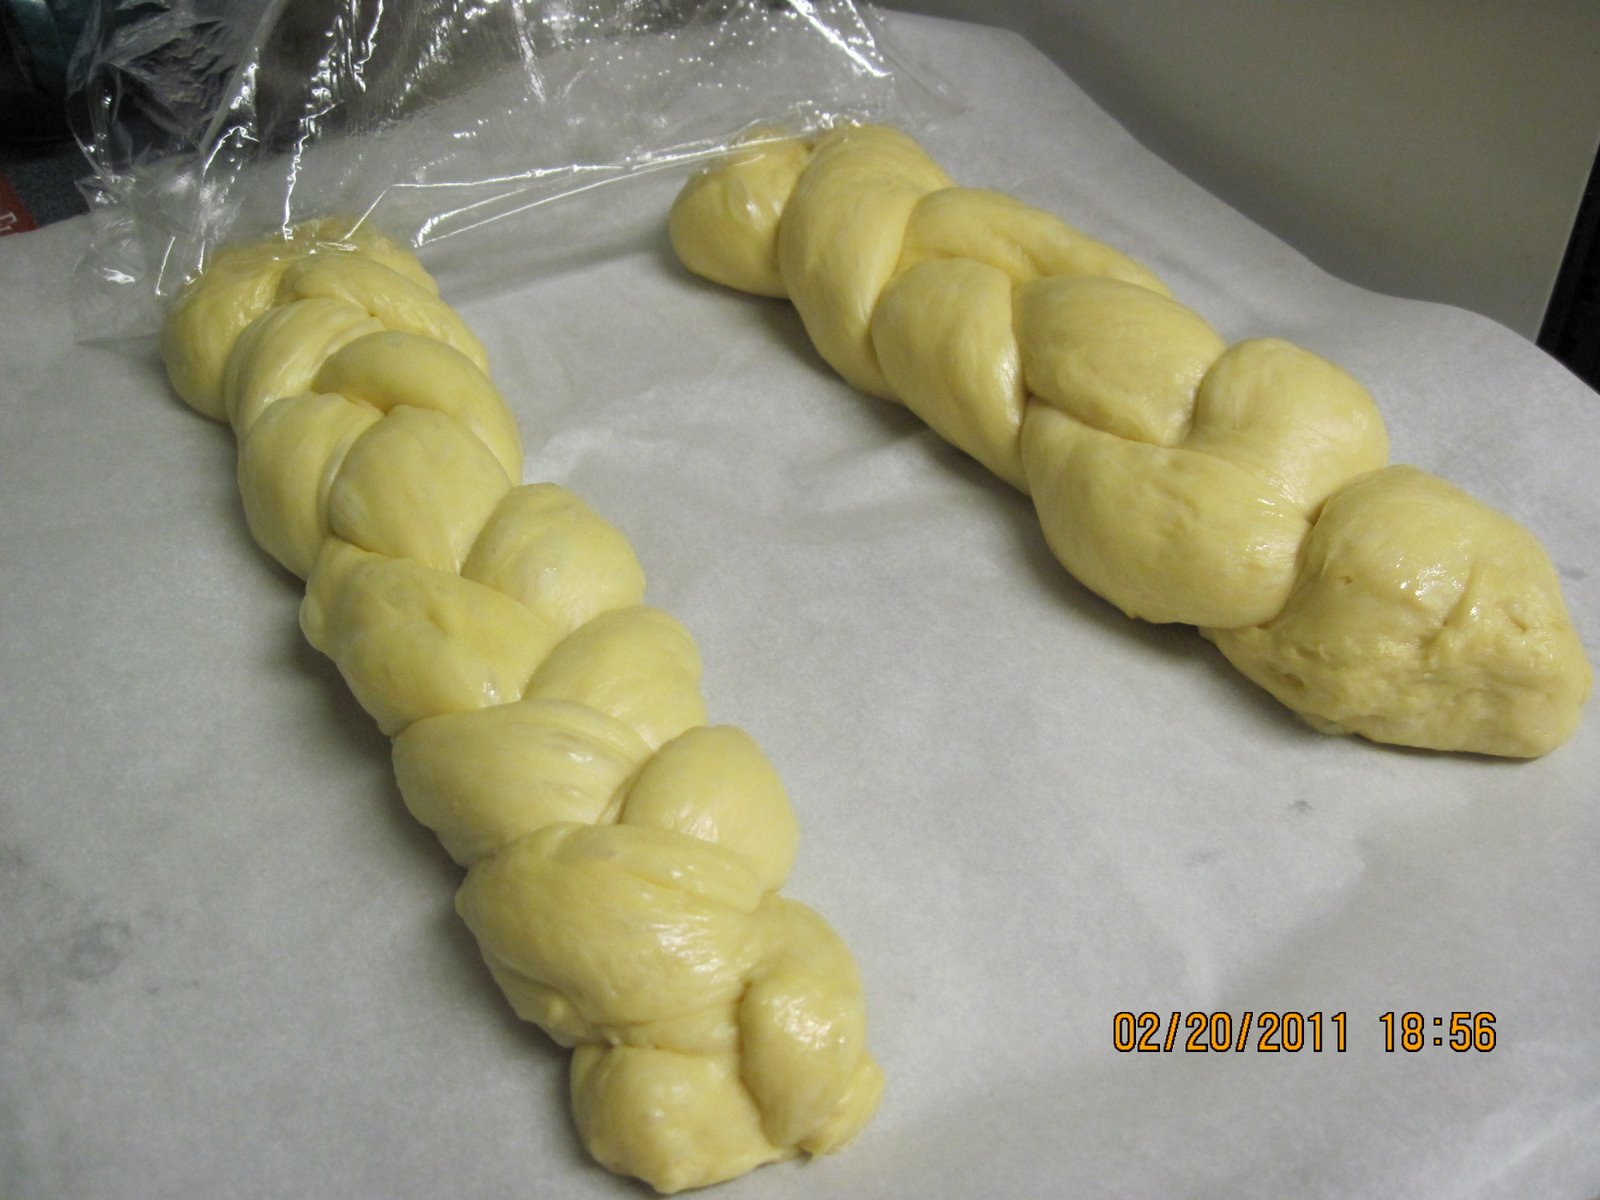
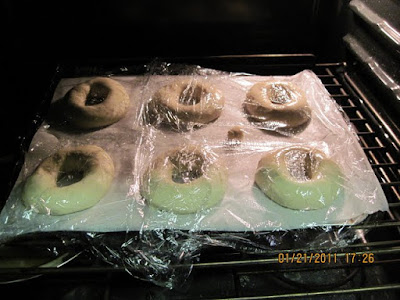
...and covered them with plastic to sit for 20 minutes.

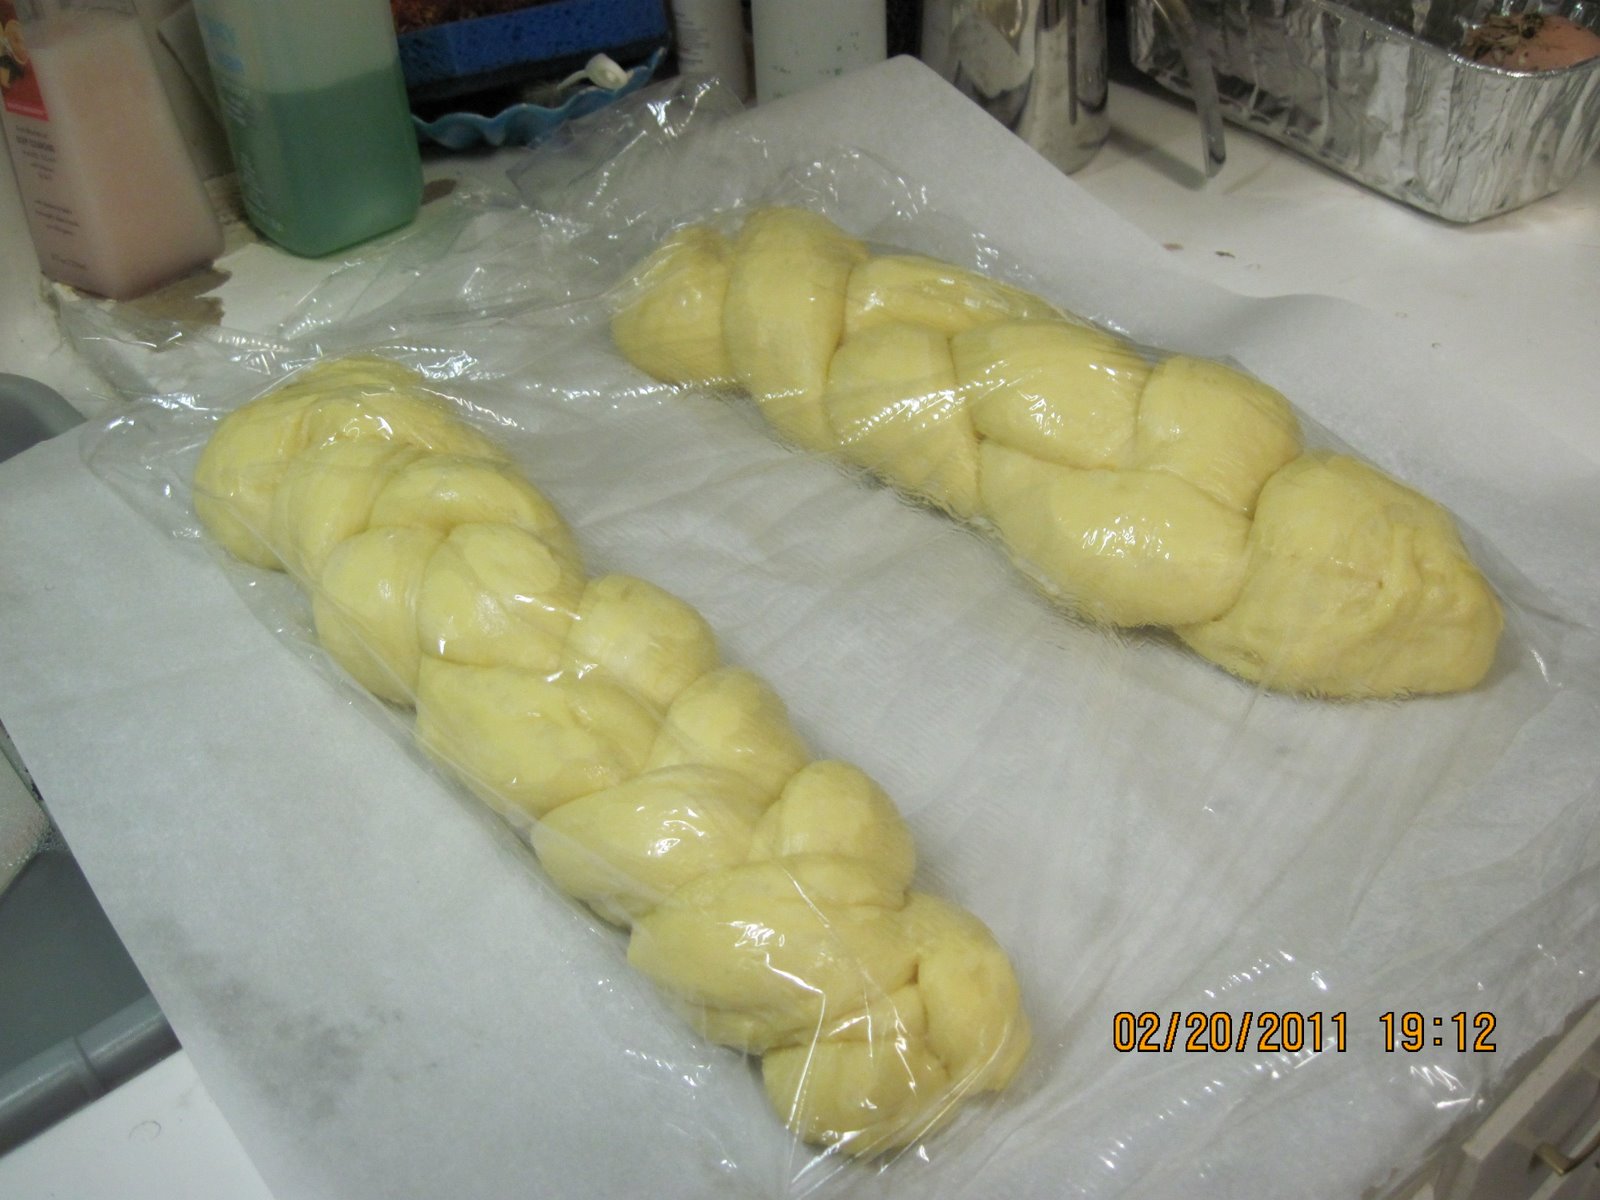
Even putting them in the oven with the light on didn't seem to hurry them up much.

My bagels actually took an hour to get to the point they would float. I actually had a little piece of dough leftover, even though I took the dough weight, and divided by 6 to come up with 4.6 oz for each bagel. I used this little piece to do the float test, and it bounced right back up!

From BBA Bagels
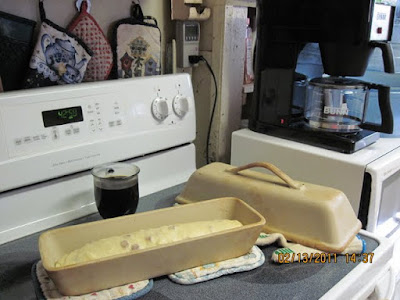
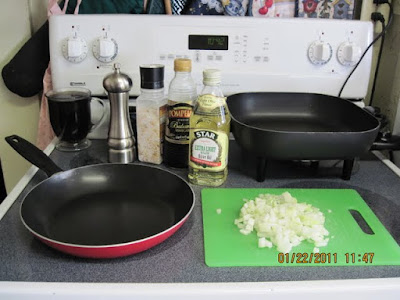
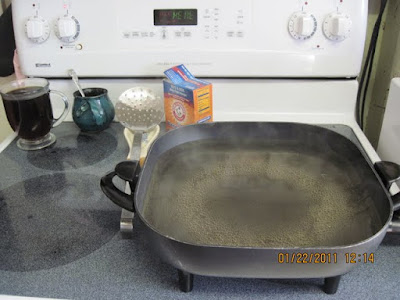
All my equipment ready for the boiling and baking. You ever get rid of a pan because you think you no longer have any use for it? I actually thought that I wouldn't use my great big stock pot anymore. What an insane thought, of course I think this after the deed is done. So here I was, trying to figure out what to use and I decided on my electric skillet. I knew there were going to be some issues, but let me just say..... don't try doing this with a pan that doesn't have high sides on it. I recommend a stockpot and only filling it partway up, plenty of room for the water to splash around it.

From BBA Bagels

Lets see, I really don't like using seeds for anything, so I decided on fresh chopped onions and fried them part way done with olive oil, balsamic vinegar, salt and pepper. I really didn't put a lot of the garlic salt in, but if I had it to do over again I would not add salt to the topping at all. I don't like a lot of salt anyway, and most recipes have way more than I would use normally.  My dough had plenty in it, almost too much, so adding it to the topping ended up being way to much.  Luckily it wasn't enough to ruin the bagels though.

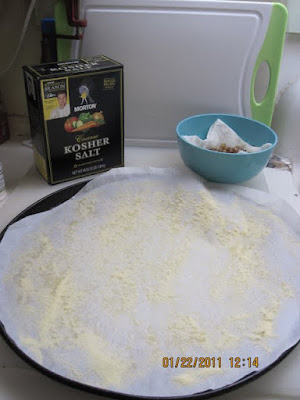
I sprayed olive oil onto the parchment paper, and then sprinkled semolina flour onto the surface.

Now I have to tell you, the one other time I made bagels I remember dropping them into boiling water, and it was not an easy thing to do with a stockpot. This time I pulled the cookie sheet out of the refrigerator, then I actually cut the parchment paper into little squares around each of the bagels. That made it a lot easier to slip them into the boiling water.

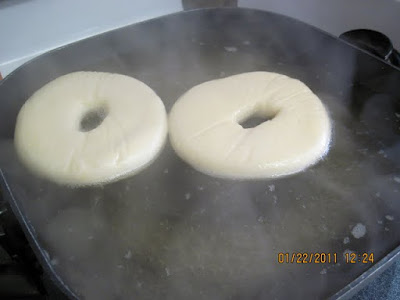
There has to be a better way to flip them over in that boiling water.

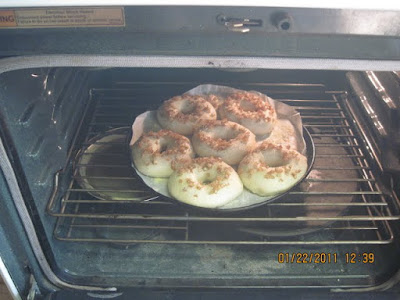
I probably lost some of my initial heat in the oven, simply because I forgot to take a picture before putting them into the oven. Oh well, the onions were a little hard to get to stick to the top, but they did ok.

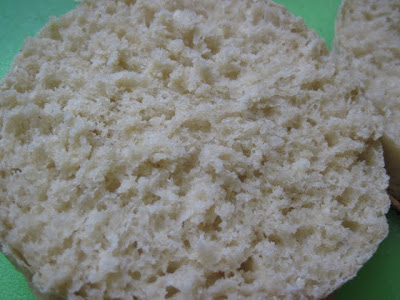
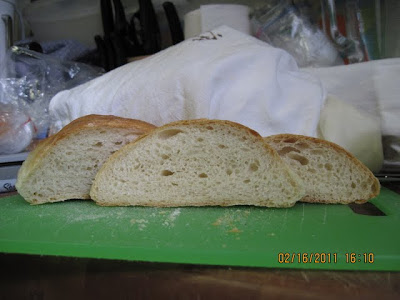
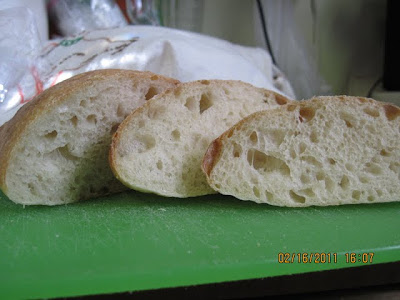
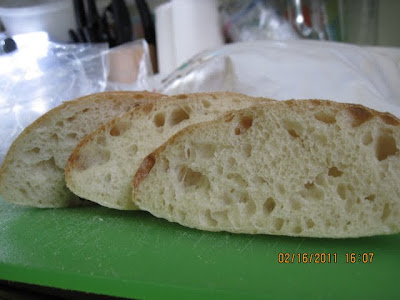
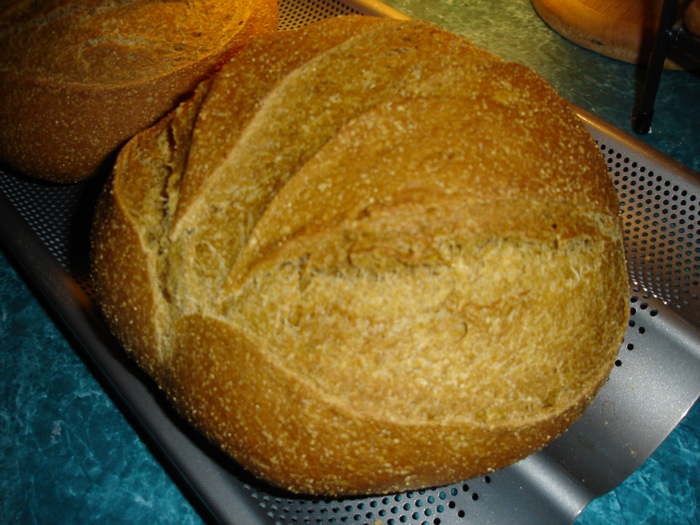
I ended up cooking mine about 4 minutes longer than the book told me to, but they turned out really good.  For not wanting to make them in the first place, I really enjoyed them.  Much better than store bought for sure, and the crust and crumb turned out exactly like I would want a fresh bagel to taste.  Overall this was a lot of fun, and a bigger success than I thought it would be.  Still need a new BIG stock pot.....

Pages

Subscribe to RSS - BBA Challenge 2011