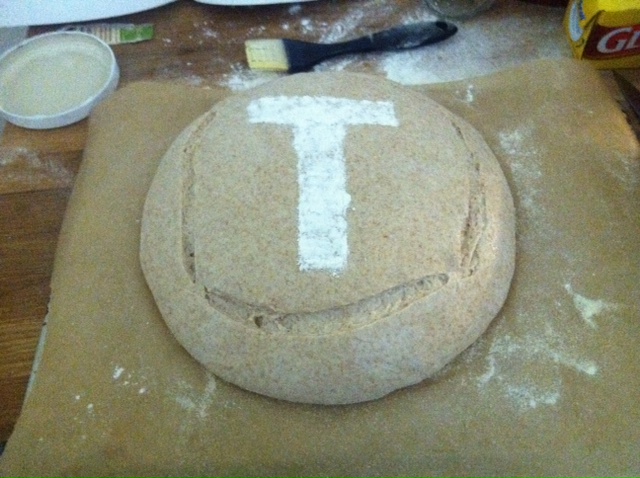
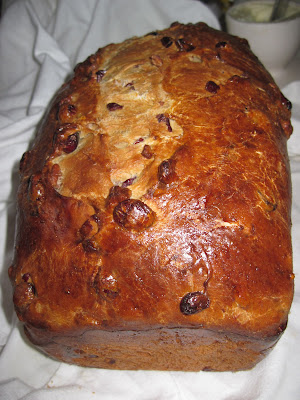
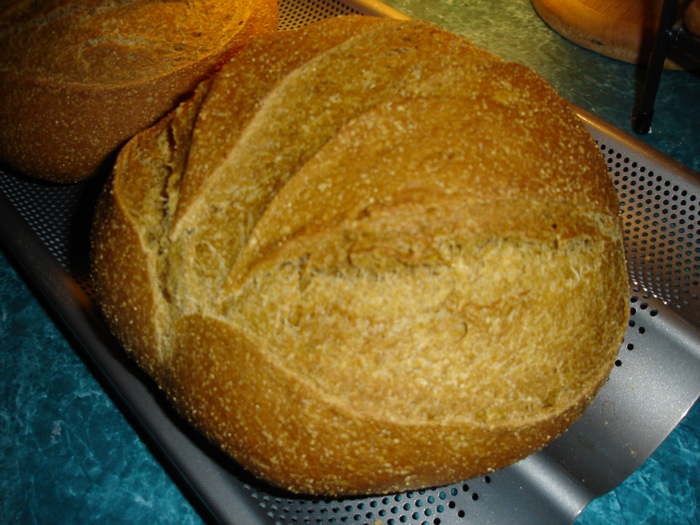
Well it certainly looks good! I baked it at 450* for 20 minutes, on my pizza stone. I really like the color of the crust both top and bottom. There weren't many surprises when I made this, except maybe that it was a lot easier to tell if it was ready to be baked. I am used to making sourdough versions of this, so they take a LOT longer to rise.
Here's a picture of the bottom, which is a beautiful color. I always like how my bread turns out when baking on a stone with steam in the oven.
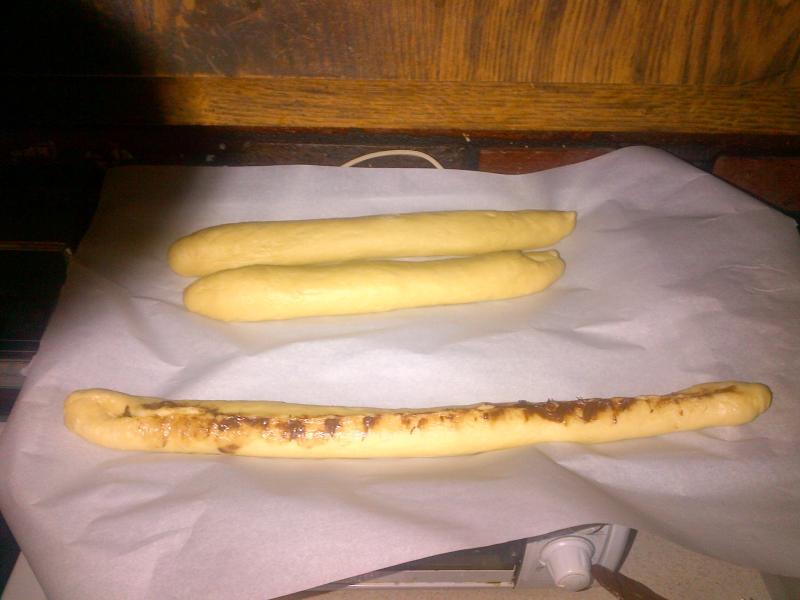
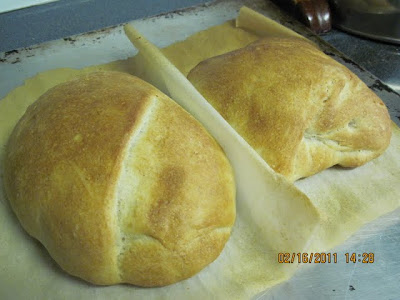
Here they are side by side on my cookie sheet, which I use like a peel. Haven't seen a need for a real peel yet, seems rather expensive when I have something that works.
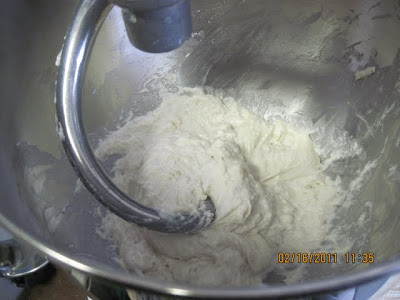
I used Peter Reinhart's baker's formula, and only made 1 pound of dough. I was already in the process of making sourdough loaves, so I figured that I wanted to have enough to try this recipe out. The only difficulty I had was that my mixer likes to make at least 2 pounds of dough, and smaller loads seem to be harder for it to really create a nice gluten structure.
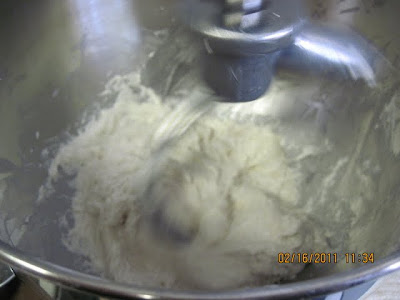
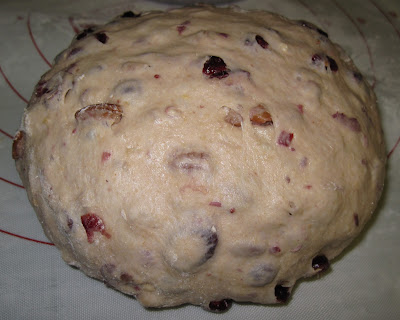
As you can see, it is quite wet and sticky even after it being worked for about 5 minutes.

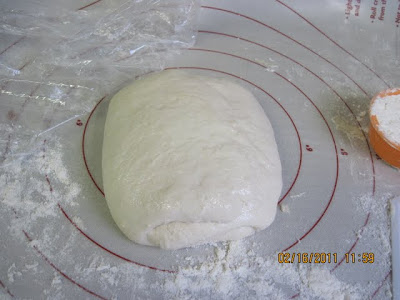
Here it is close to the end of the process, when I decided to just pull it out and do some stretch and folds to help build it up a little bit.
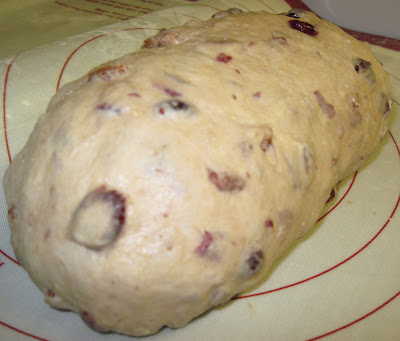
After second set of stretch and folds....
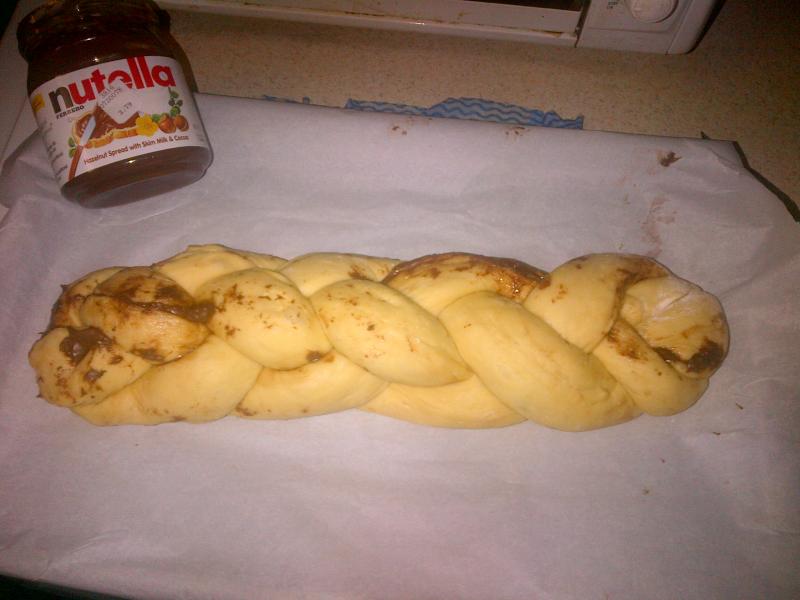
Ok, I missed a lot of picture opportunities with this one, totally forgot to take pictures of each step of the process. I actually did three stretch and folds, one at the beginning because I felt it was underworked by the mixer. I gave it a rest of 90 minutes after the stretch and fold process, then split it into two pieces. I then did the final shaping and transferred it to a french bread pan I have, which I often use as a couch.
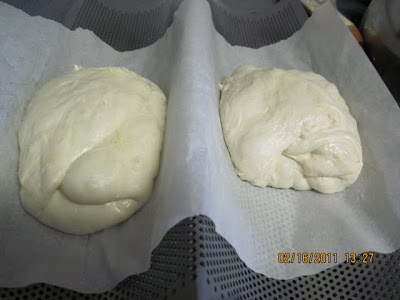
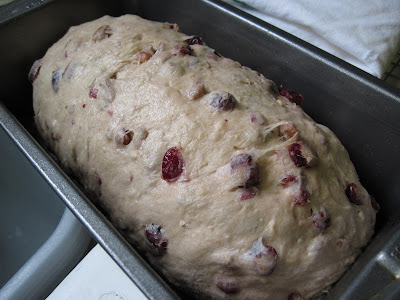
It's already starting to grow...
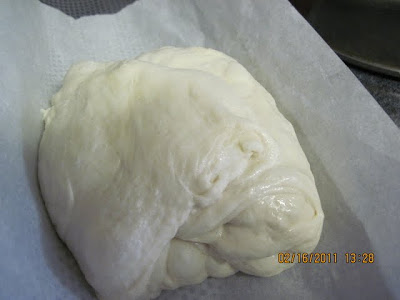
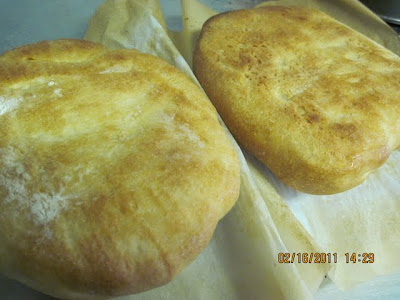
Almost ready to be put into the oven...
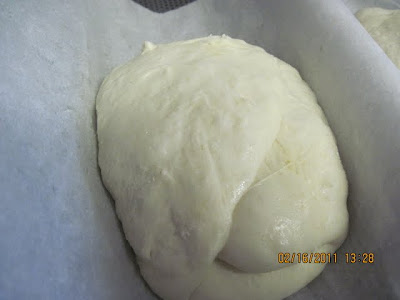
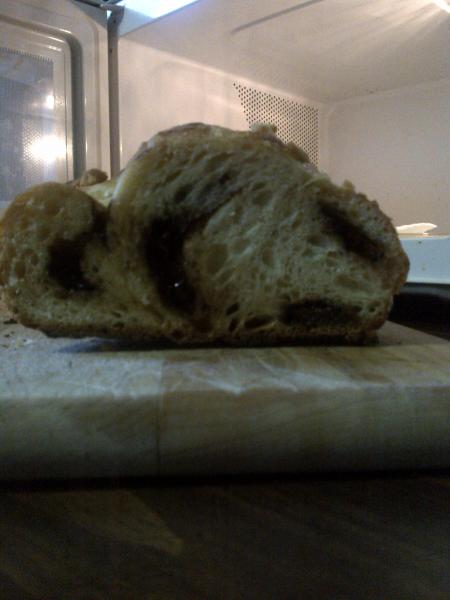
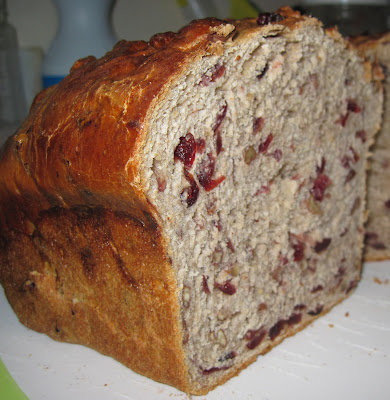
These rose a lot during the final proof, and for it being only a pound of dough it made two nice loaves. Ok, I have held off on showing the crumb shot till now, because I was so disappointed with it. This dough was really wet, and I know that I didn't overwork it. Possibly it was slightly underworked, but here are two pictures.
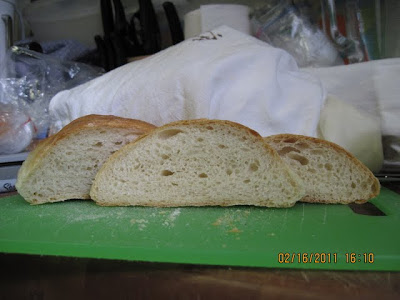
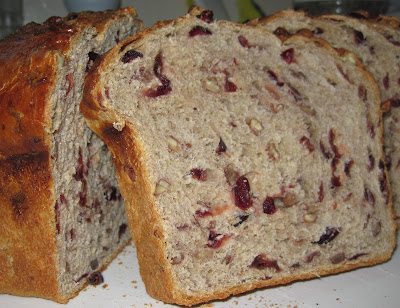
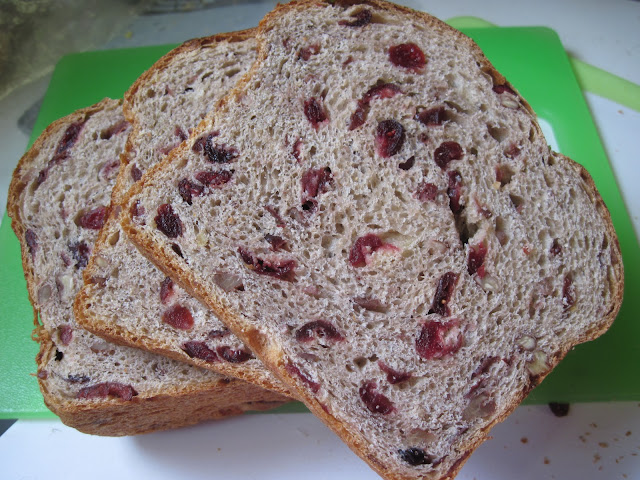
I was really expecting a LOT more holes, especially when my sourdough breads are so much easier to work with and give me crumb like the next pictures regularly. Here are two pictures of the loaves I made today, and I wasn't even trying for a ciabatta like loaf.
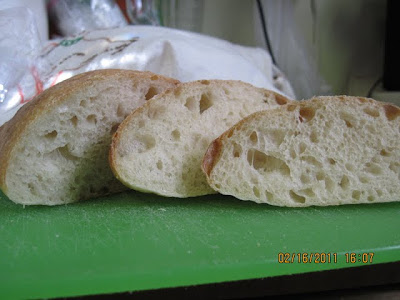
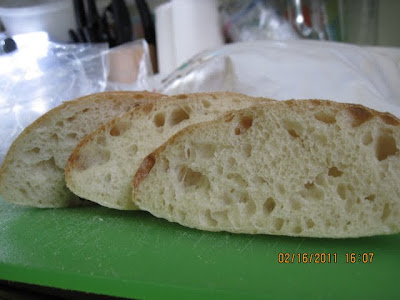
And my sourdough was a lot easier to handle, and it tasted a lot better too. I find that most of the BBA breads seem to have too much salt in them for my taste, but this bread just seemed to be like a regular french bread to me and didn't have nearly the flavor that I expected. My sourdough is usually made with a starter made from AP Flour, water, salt, bread flour for the main dough. I used AP flour with the biga that I made for the ciabatta, then bread flour for the main dough. The biggest difference in the recipes is that BBA adds oil, which I never use. I just find this really interesting, when comparing the hydration percentages on the two dough, my sourdough came in at 70.4%, and Reinhart's was at 74.74%.