Hey, I don't post as much as i should here, but I'm excited about the new way of steaming, at least for me, that I used today!
First, I'm from Brazil, so sorry for some misspell or something :)
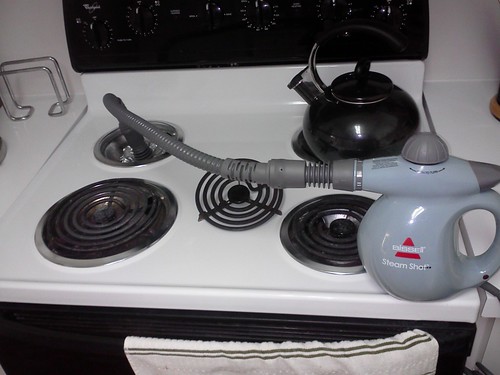
I was looking for a better way to create steam for bread baking, than I came up with a photo (on thefreshloaf) of a pressure cooker connect to the oven (eletric) by a tube, I didn't even know that a eletric oven has a tube on top by the stove, and then I said to myself " what the heck, let me try this!"
I decided to bake a regular poolish dough.
Total flour: 400g
Pre fermented flour: 150g + 150g of H2O
I started with 65% hydration, but I had to add a bit more H2O maybe 68 or 69% total, got a really old flour (KAAP)
2% Salt
A bit of yeast
Only thing I did different. I mixed The poolish flour H2O, yeast and a bit more malt than normal and let it rest for maybe 2.5 hours, I went to the gym rsrs.
After this period, added the salt and a tiny amount of ascorbic acid. I can only bake batards on my oven, so I can use a little more strength.
Then kneaded just enough, let it ferment for 1:30 min with a turn (45 min), divided, pre shaped shaped proof and bake. ufff!!!
But I'm getting out of track... Wanna talk about the steam!!! Hahaha
The bakeing took 27 min. total
Here is a photo of my new steaming method
I steamed the oven before, don't know why cos when I opened the oven door all the steam came out lol, and after loading.
And for 15 sec in one minute intervals for 10 min.
After that let it bake for more 10 min, turn the bread and more 7 min in the oven, maybe a bit much, it burned the bottom :(
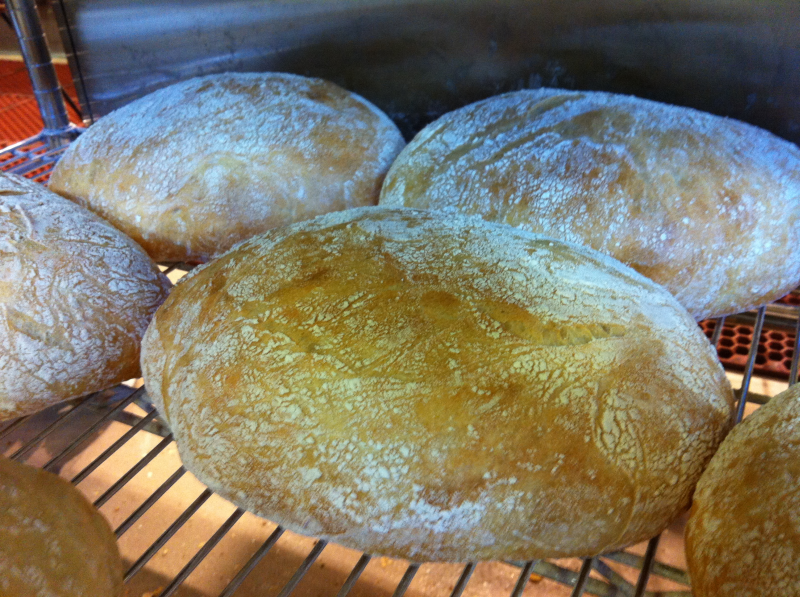
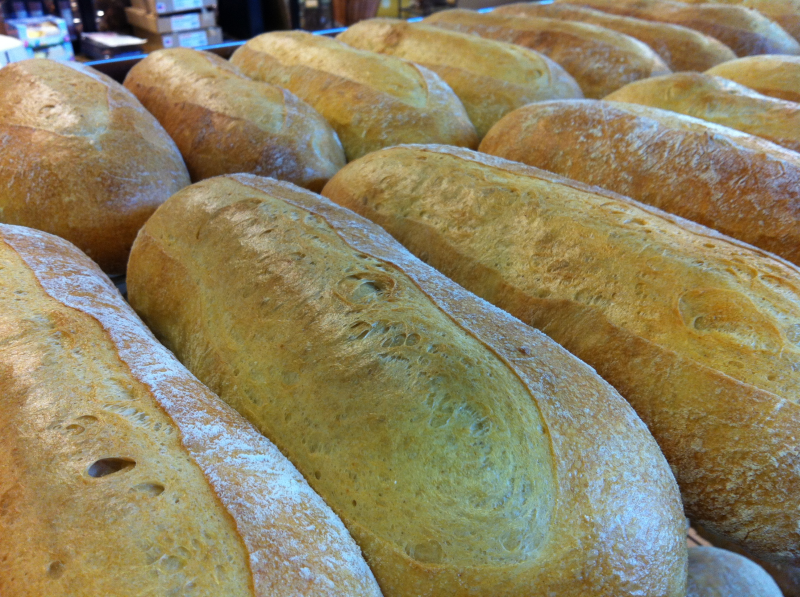
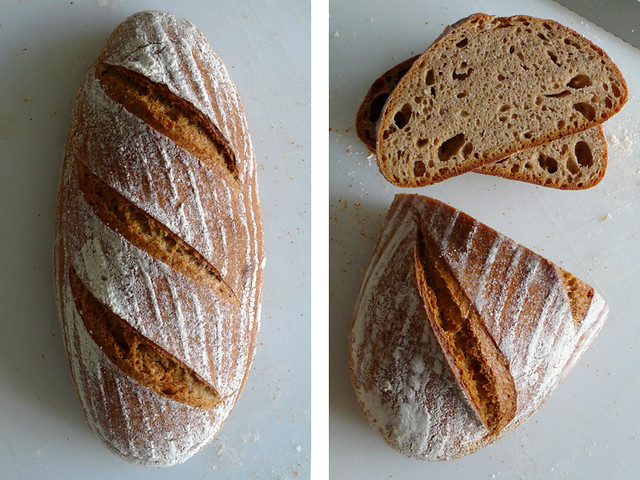
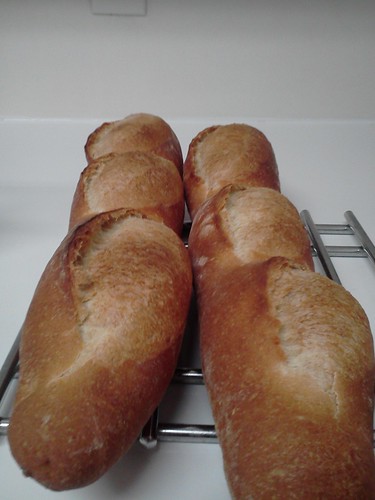
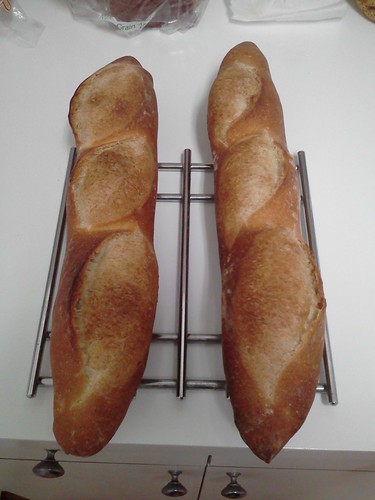
I loved the results!!!
Check it out!! Some pics...

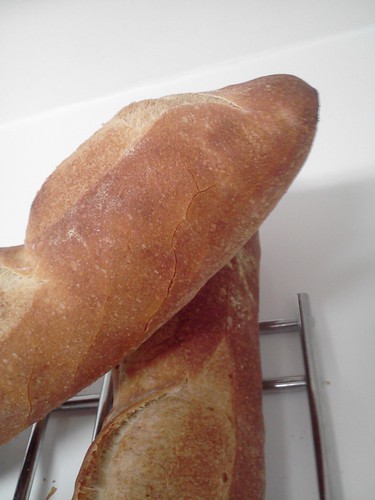

I think is the first time than I bake with steam instead of vapor. I mean, I tried before with hot water, but I don't know if is the same, cos here I'm using the steamer.
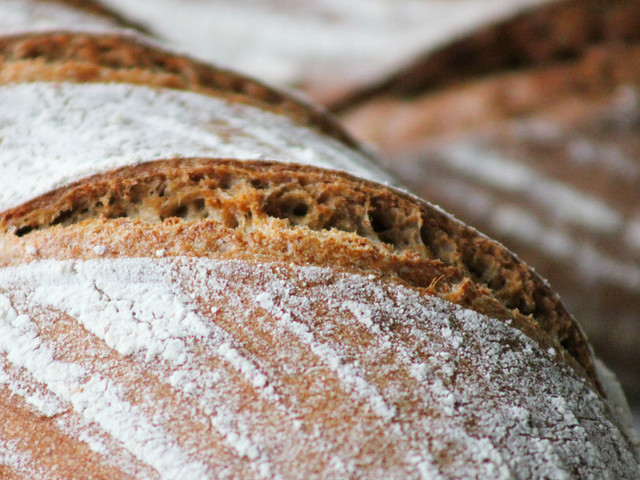
I tried to show some cracks on the crust, I don't know if you can see it on the pics.
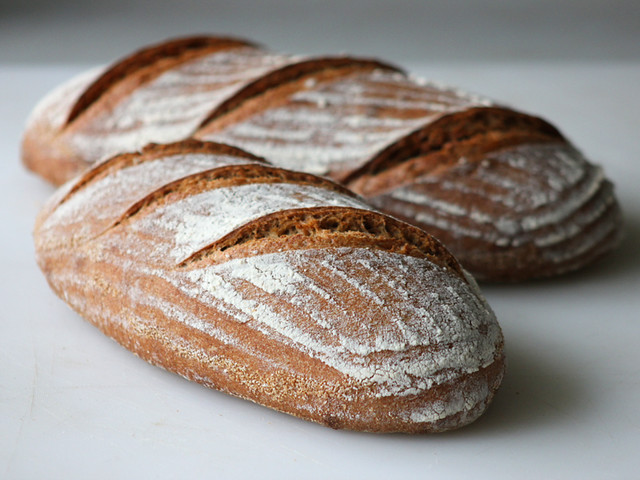
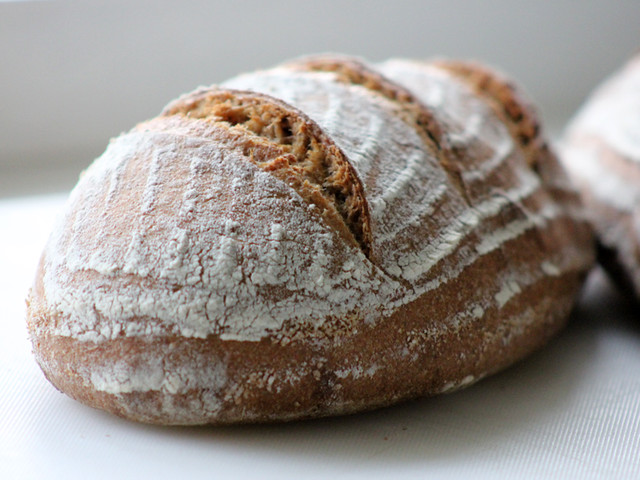
I think is worth trying, I will again tomorrow, with a bit of rye on the poolish ;) ....
So that's it!!! Hope you like it!!! Happy baking!!!! =)
BTW One last photo...
That's the layout inside my oven!!!

Regards,
Leandro Di Lorenzo