
Whole Wheat Buttermilk Bread Using a Biga
I recently found a recipe by JMonkey for Whole Wheat Buttermilk bread that he posted on July 10, 2006. A search of TFL will quickly locate the original post for you, and I would recommend that you read it. The bread he made was based on one of the recipes from Laurel's Kitchen Bread Book, but JMonkey did a comparison of baking it "straight" and baking with a biga. His success with the biga version inspired me to try it myself. I have had very little success with whole grain baking in the past. Most of my breads were much too heavy, and often had a slightly bitter taste.
JMonkey's recipe was:
***********************************************************************
Biga
5 ¼ ounces -- 150 grams -- 1 cup water
250 grams -- 8 3/4 ounces -- 1 3/4 cup whole wheat flour
1/8 tsp instant yeast
Final dough
All of the biga
1 ½ tsp instant yeast
4 3/4 ounces -- 135 grams-- 3/4 cup warm water
¼ cup honey
1 ¼ cup cold buttermilk
580 grams / 20.5 ounces -- 4 3/4 cup whole wheat flour
2 tsp salt
2 Tbs butter
The night before, make up the biga. Knead it until it forms a relatively smooth dough, and then cover it to sit overnight for about 12-14 hours.
The next day, tear the biga into about 12 pieces and mix it up with the rest of the ingredients. Start kneading -- it'll take about 600 strokes and 20 minutes, but once you're finished, the dough should stretch nicely into a translucent, whitish pane, flecked with bits of bran. This dough may start a bit sticky, but should lose the stickiness and become simply tacky about halfway through. Add water or flour as necessary.
Form the dough into a ball and put it into bowl or bucket. Cover it, and allow the dough to rise for about 90 minutes or so. Poke the dough with a wet finger. When the indention starts to fill in very, very slowly, the dough is risen.
Gently degas the dough, and tuck it back into a tight ball for the second rise. Fold the dough if you wish, but really, after 600 strokes, the dough shouldn't need any additional strength. Once it has risen, divide the dough into two and shape it into sandwich loaves. Place the loaves into pre-greased 8.5 x 4.5 pans. Cover the pans with plastic for the final rise.
Preheat the oven to 350 degree F. (I like my oven a little hotter than Laurel does -- she prefers 325). Once the dough is risen and has crested one to two inches above the side of the pan in the center, slash the loaves as you wish with a serrated knife or razor blade. Personally, I prefer a single slash down the middle, but do whatever makes you happy. Place them in the oven and steam it if you wish (I find it helps with oven spring quite a bit, even with panned loaves), and bake for about 35-40 minutes, turning once to ensure even baking.
The loaves are done when they register 195-200 in the center. Let them cool for one hour before slicing.
************************************************************************************
I modified the recipe by:
- Using unsulfured molasses instead of honey (I was out of honey)
- Kneading was done with my Kitchen Aid stand mixer until the dough was very elastic and had a good "window pane"
- Doing a stretch-and-fold at 45 and 90 minutes, followed by another 1 1/2 hour rise. The second rise was huge.
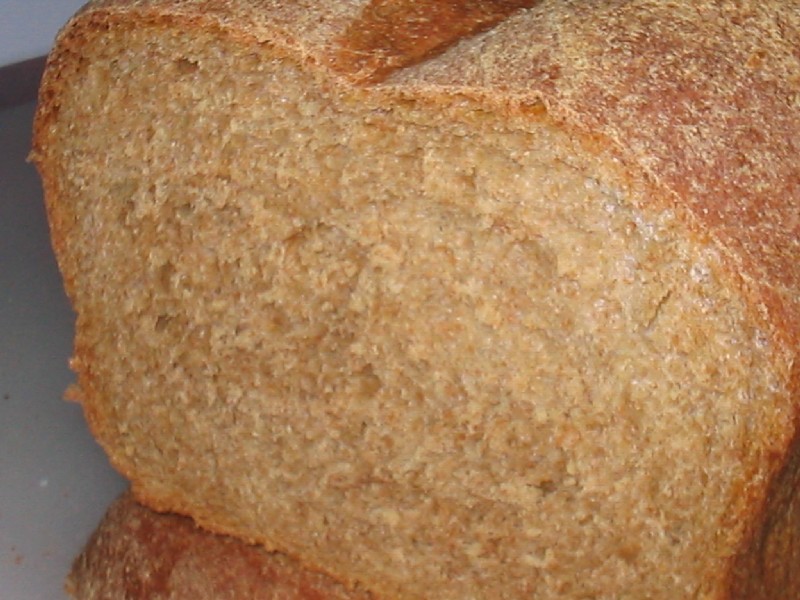
The resulting loaves weren't quite as high as JMonkeys, but the crust was beautiful, the crumb light and moist, and the flavor was absolutely wonderful. There was no bitter taste, and the molasses made a wonderful substitute for the honey. It also added to the aroma of the bread. Although the proofed bread had raised to about two inches above the level of the loaf pans, the final loaf actually fell very slightly. There was great initial oven spring (a water pan was used in the oven and the loaf pans were set on a preheated stone), so I was a little surprised with the fall. The bread, however, did not seem to suffer in any way. The crumb doesn't show unusual areas of density that I have seen in other breads that have fallen during baking. The photo of the crumb below doesn't quite do it justice as I sliced the bread while it was still a bit warm (I couldn't wait any longer!). Any suggestions concerning the fall are more than welcome.
All in all, this is a delightfully light and flavorful whole wheat bread that will be baked at our house on a regular basis. It makes a wonderful sandwich and toasting bread.


I can almost taste it, and now I'll have to try it!
My kids (1 & 3) prefer it to any other I've made. It's delicious and super easy to make, and no, does not require the huge amounts of kneading recommended. To make it into a regular bread you can also plan to have buttermilk on hand by saving 1/2 a cup from the quart, boiling another quart of milk then cooling to room temp, then mix and let sit for 24 hours.
I'm glad your kids like the bread - it's very healthy. I make my own cultured butter and use the buttermilk from the butter-making process for cooking and drinking. It's delicious, and is much better than any store-bought buttermilk (which isn't true buttermilk). I culture the cream overnight using an ounce or two of my homemade yogurt or kefir, so both the butter and buttermilk are truly cultured products and are much healthier than the commercial varieties.
FYI - plain kefir made from kefir grains can be used in place of buttermilk in any recipe. The flavor profile is indistinguishable from buttermilk in baked goods.
--Bob
...TBL of vital gluten may help it stand up better?
That makes sense, but I may also have allowed it to rise too much, also. If the next batch has the same problem, I'll add the gluten to the recipe. I've never used it before, but I just bought a bag of Bob's Red Mill brand 2 days ago!
..Bob
You likely overproofed. When you did the stretch and folds and then you say it rose to a huge size that was more than it needed. If you will mark the container and not over rise you will not lose volume when baking. Also the size of the rise in the pan , if over- rising occurs will cause it to fall. The yeast only has so much ooomph. You don't say how warm the area was that you rose the bread. If it was quite warm then you might want to use a cooler area. If my bread doubles in less time I move on to the next step. There is no reason to wait the full rising time. Better cooler/longer for flavor development.
I am so glad that you had such success and that the taste was so good to you ! It looks beautiful. Caroline
Thanks, Caroline. I thought that might be the case. I had not intended to let is rise so much for the second time, but had leave the house for much longer than expected. I probably should have put the dough in the fridge to retard it, as I was rising it in the oven with the light on, and the oven temperature was about 80 degrees.
Fortunately, the bread was great, and I will be baking it again soon.
--Bob