
Easy Sourdough - Part 2
Here we are again - its now Monday morning (normally a day I don't make bread!) however I've some dough I made up last night that needs attending to.
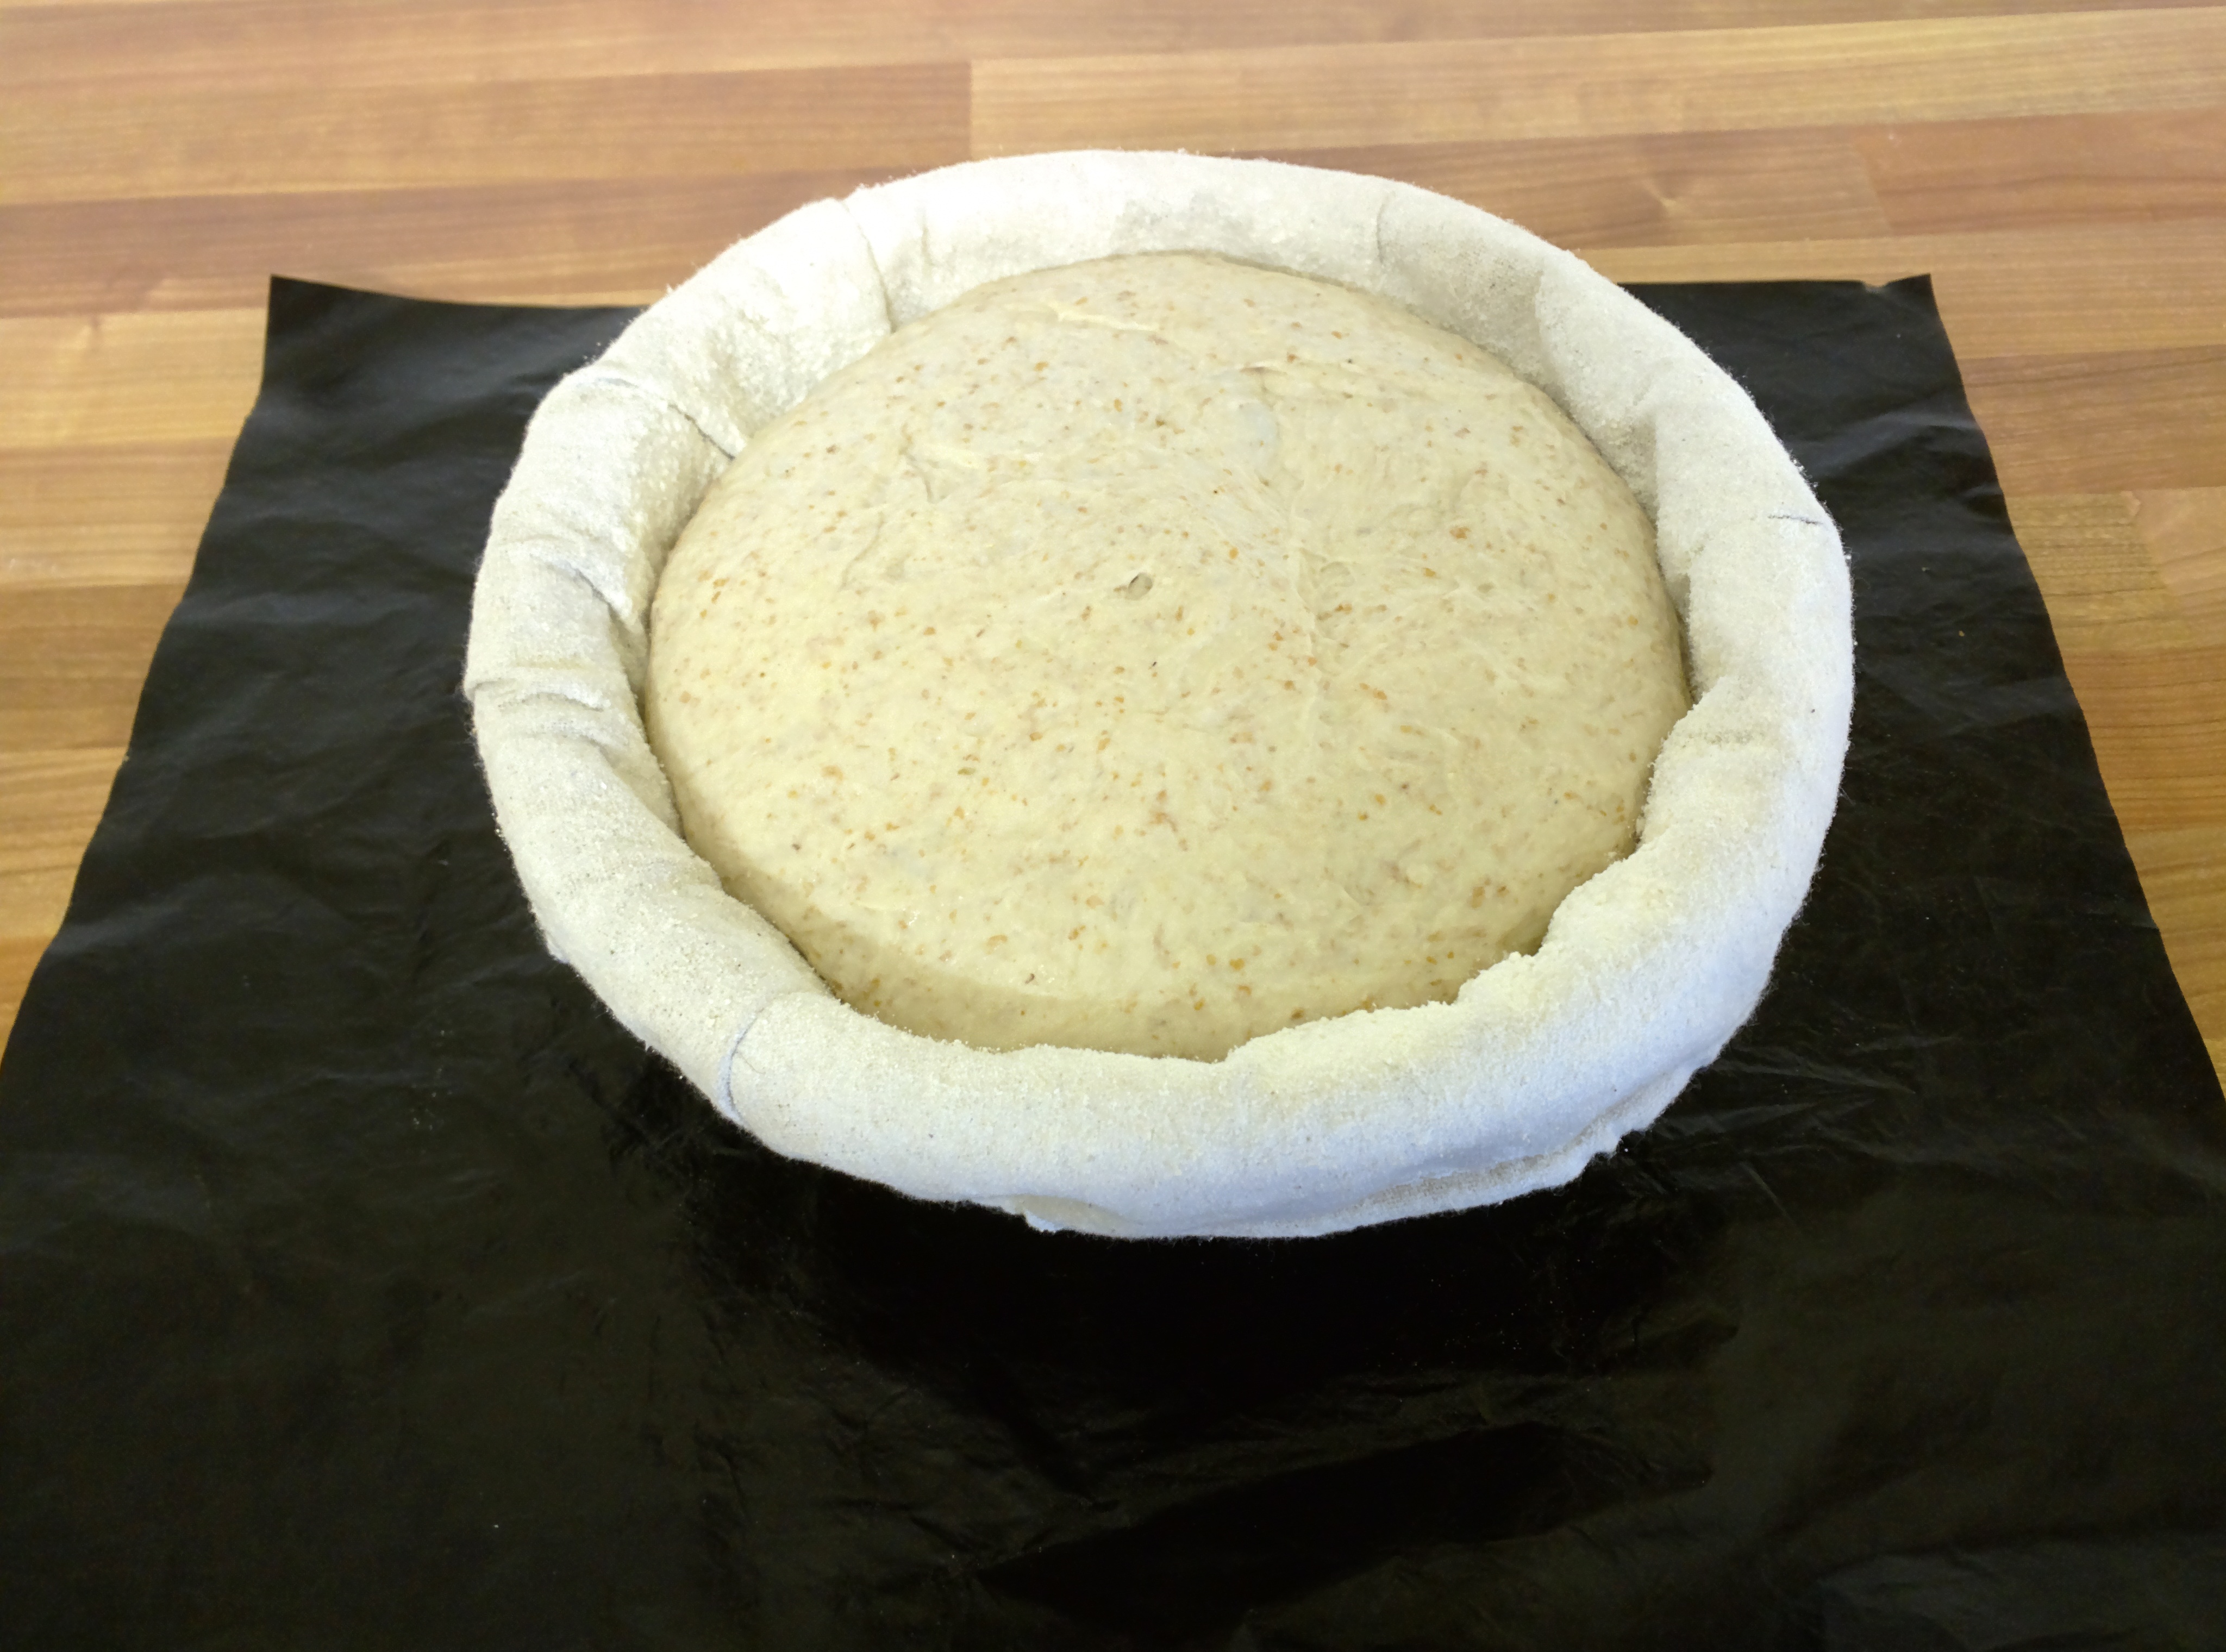
Last night the dough was left in a (relatively) cool place - about 18°C at about 9:45pm. It's now about 7:40am and I've taken the bowl of fermented dough up to the warmer bakehouse and stuck a thermometer in it:

As you can see, it's risen nicely and cooled down to 18°C. (And I was dopy enough to put my thumb over the camera lens - ah well)
Using the rounded end of my scraper I gently tipped the dough out of the bowl (note I didn't bother using oil, flour, etc. in the bowl last night) and I then gave it 3 gentle stretch and folds with the forth being used to turn it over then it was chaffed into a rough boulle. This is what I consider to be the only real special "technical" part of making this bread. Normally I'll have a tub with 4 or 6 loaves worth of dough in it which I'll tip out, stretch/fold then divide up using scales and roughly shape into boulles.
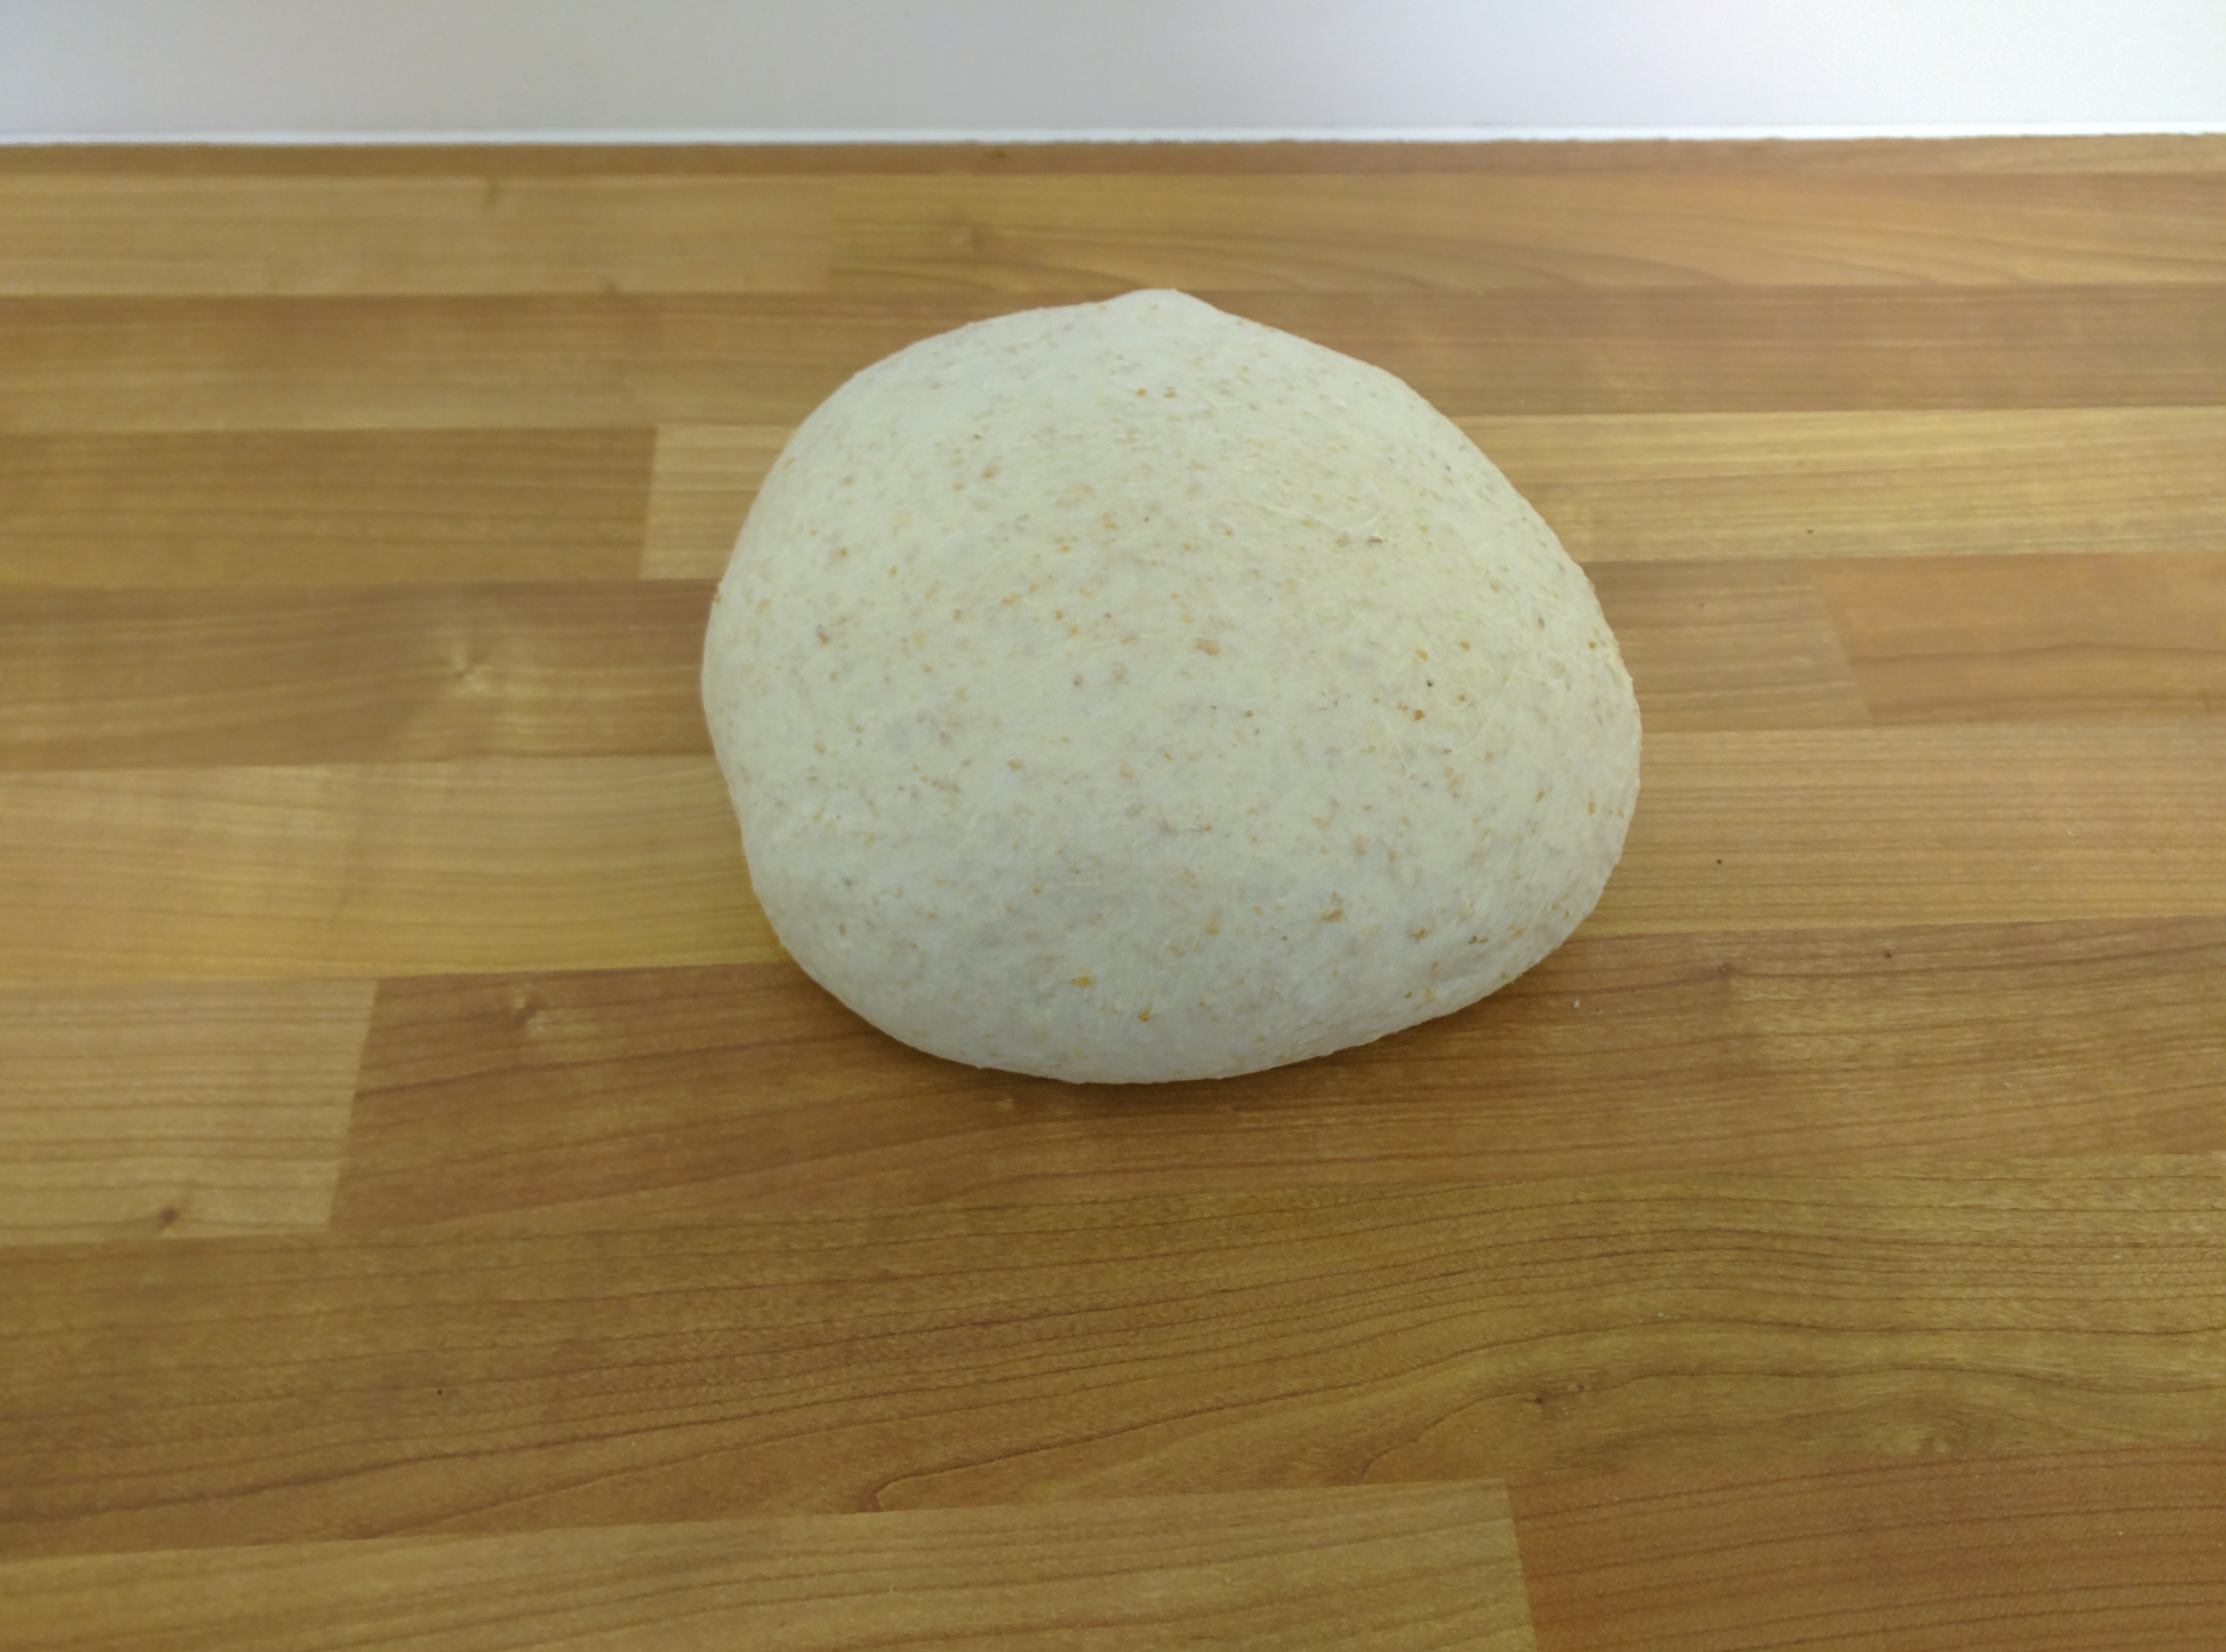
A rough boulle.
I then left this for 10 minutes "bench rest" while I busied myself with other stuff then prepared a lined basket for it to prove in.
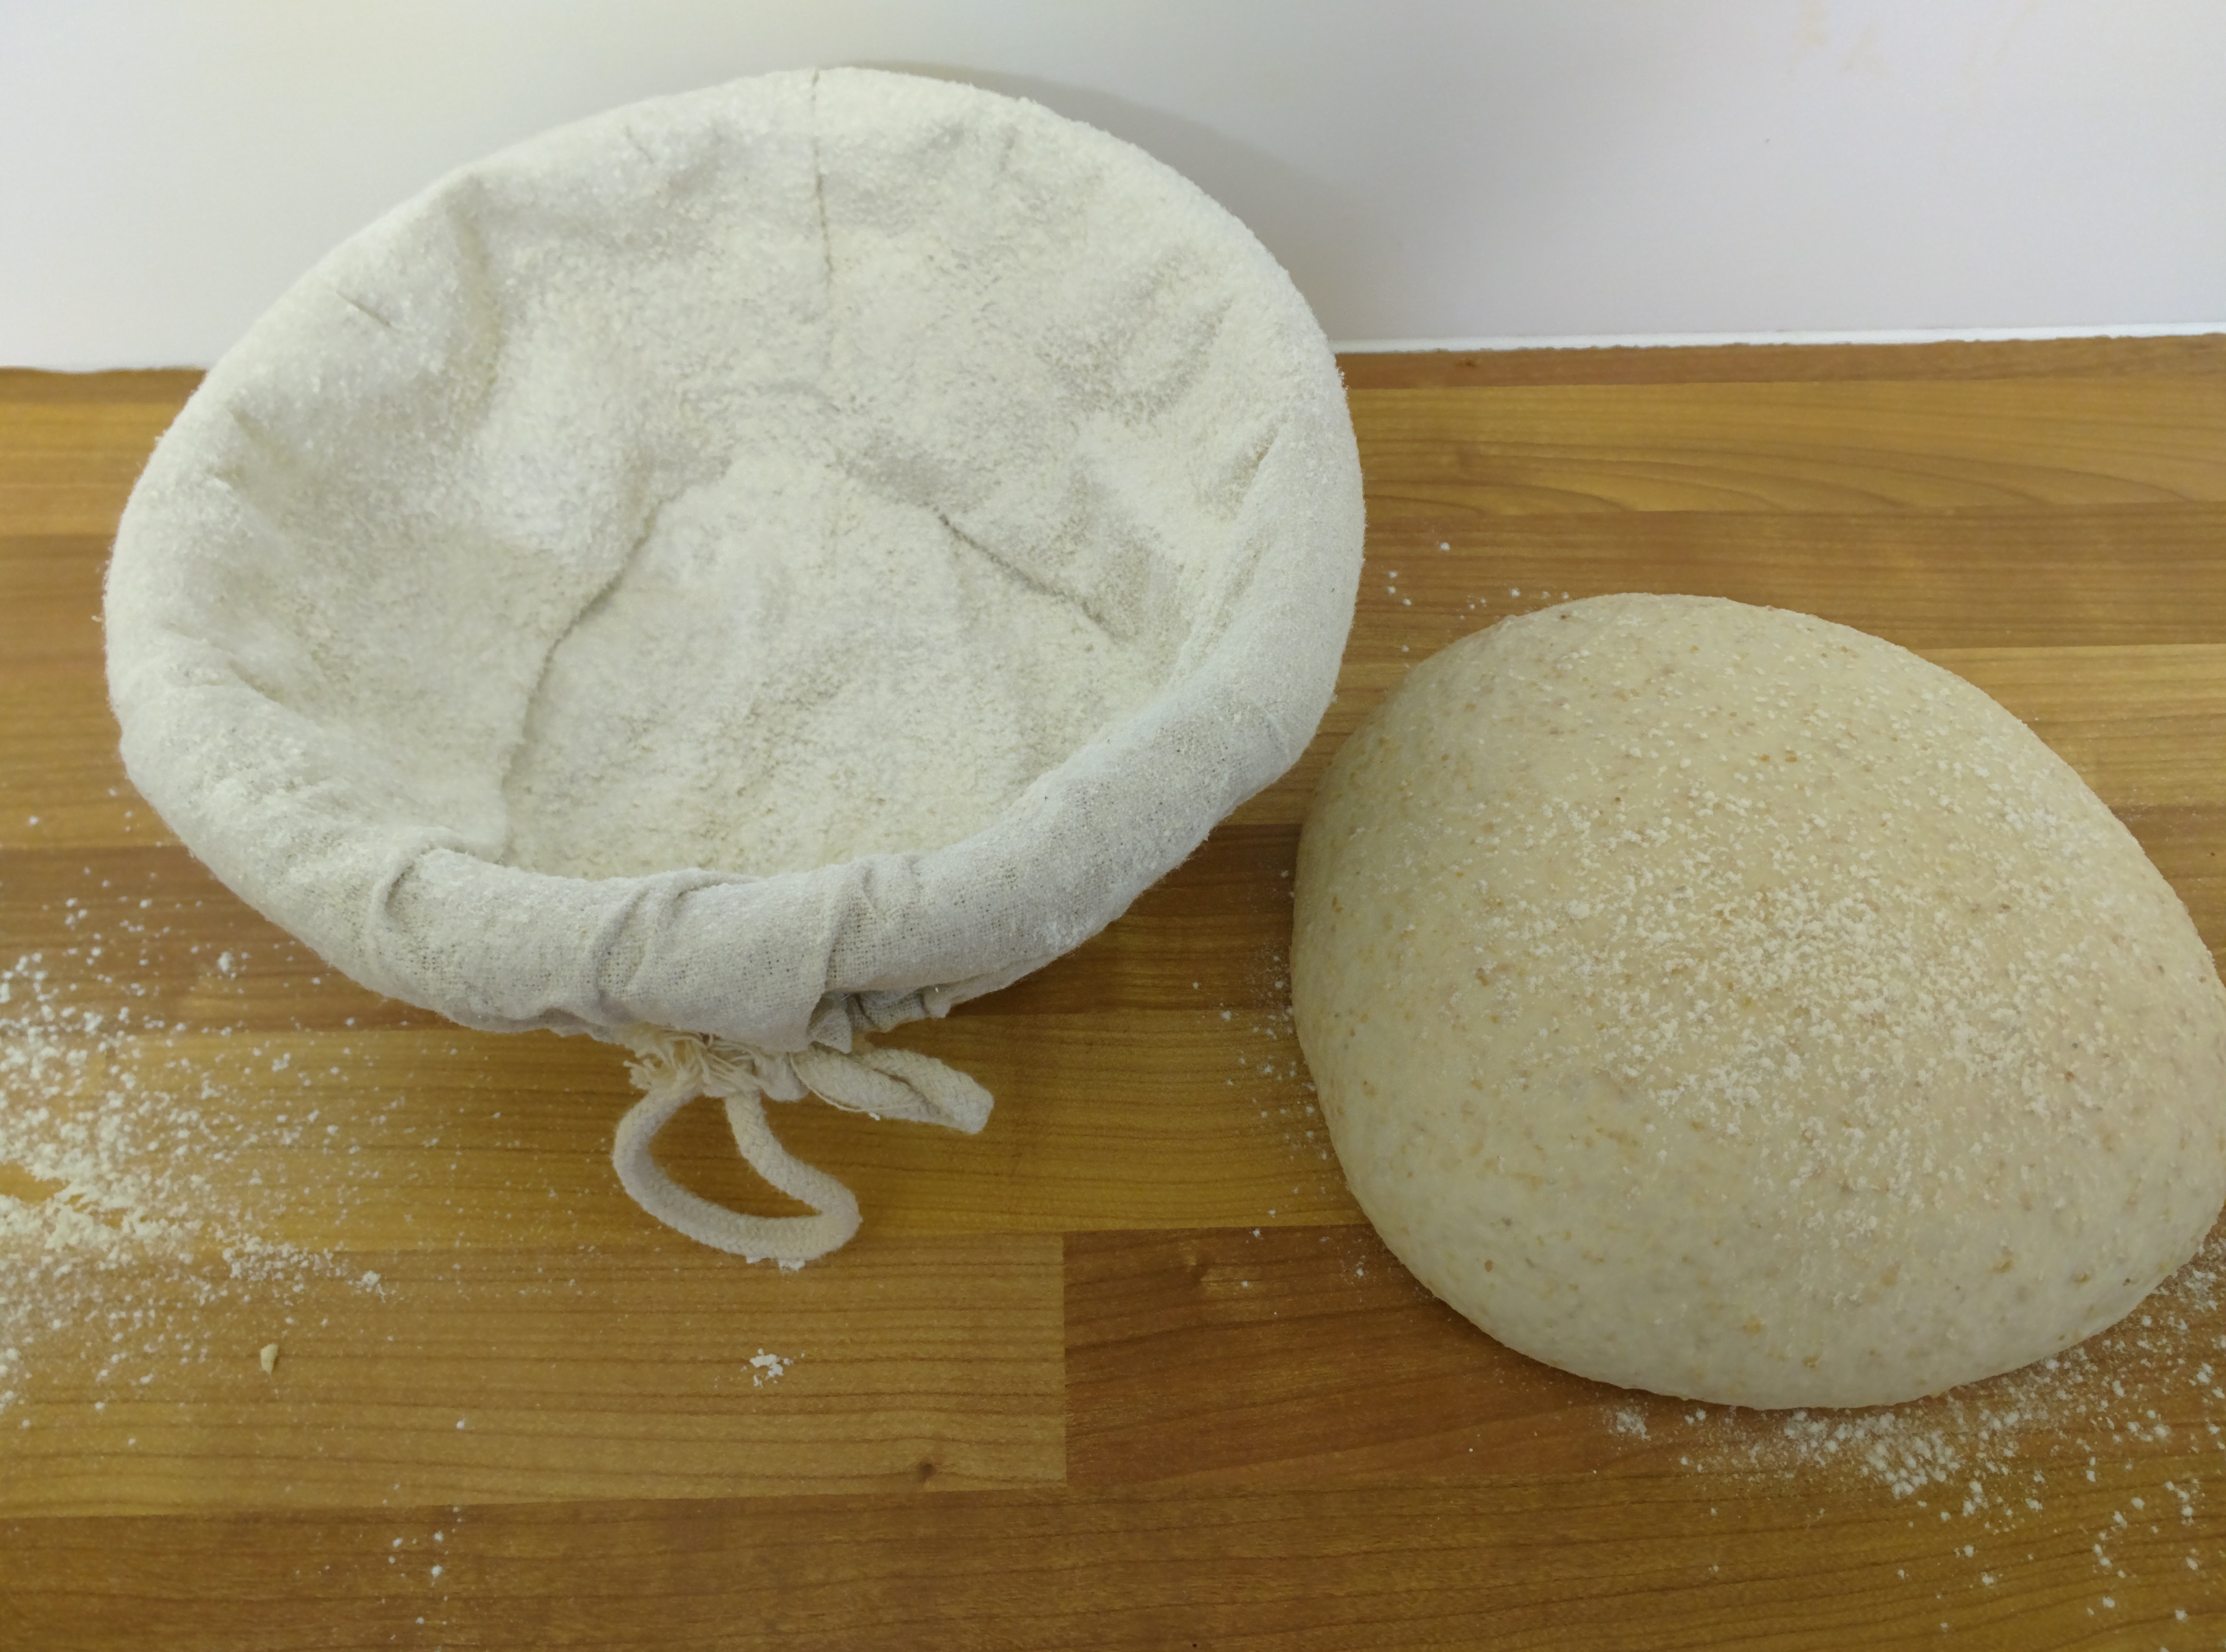
I floured the inside of the basket and just a little on-top of the dough.
Next the dough was flipped upside down and degassed/patted out:
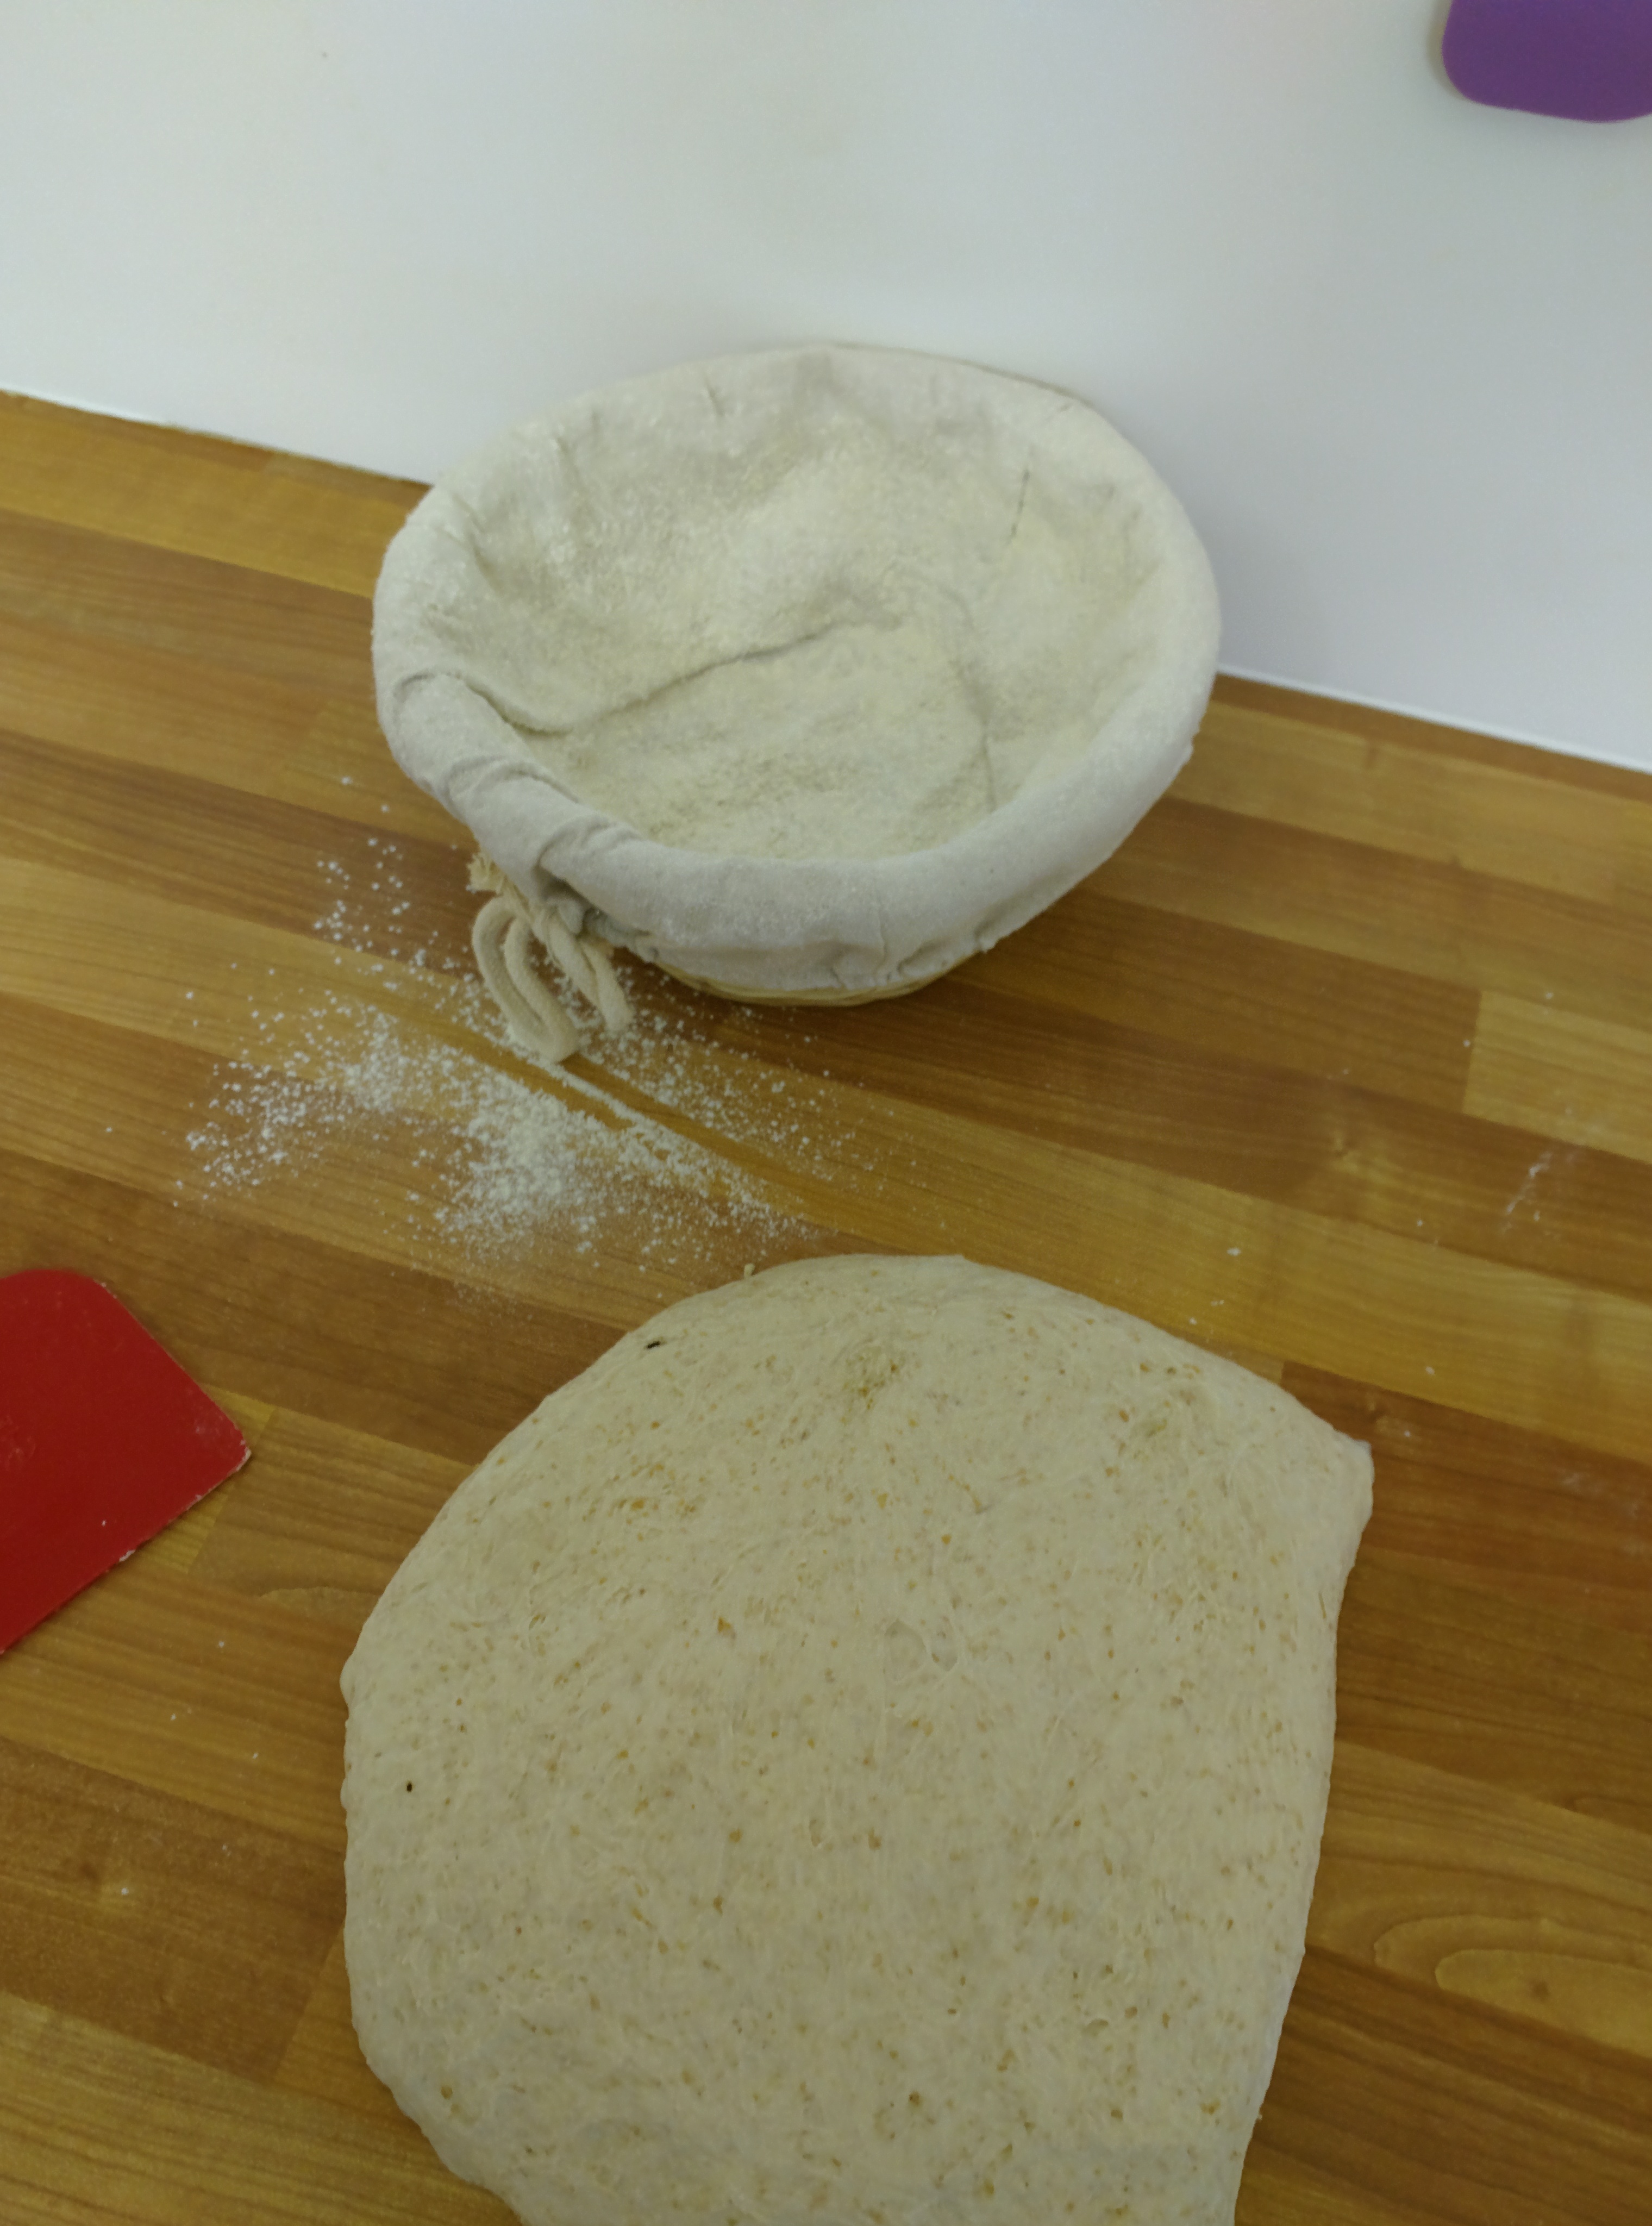
I then shaped it into a boulle by lifting the top, gently stretching it and folding it over the dough, then doing the same 5 mote times, so at approximately the 3 O'Clock, 5 O'Clock, 7 O'Clock and 9 O'Clock positions, flipped it over and chaffed it into a boulle then put this seam side UP into the basket.
Just realised that photo is grossly out of focus, but you might be able to see enough.
It was then covered and left in the bakehouse for about 1.5 hours.
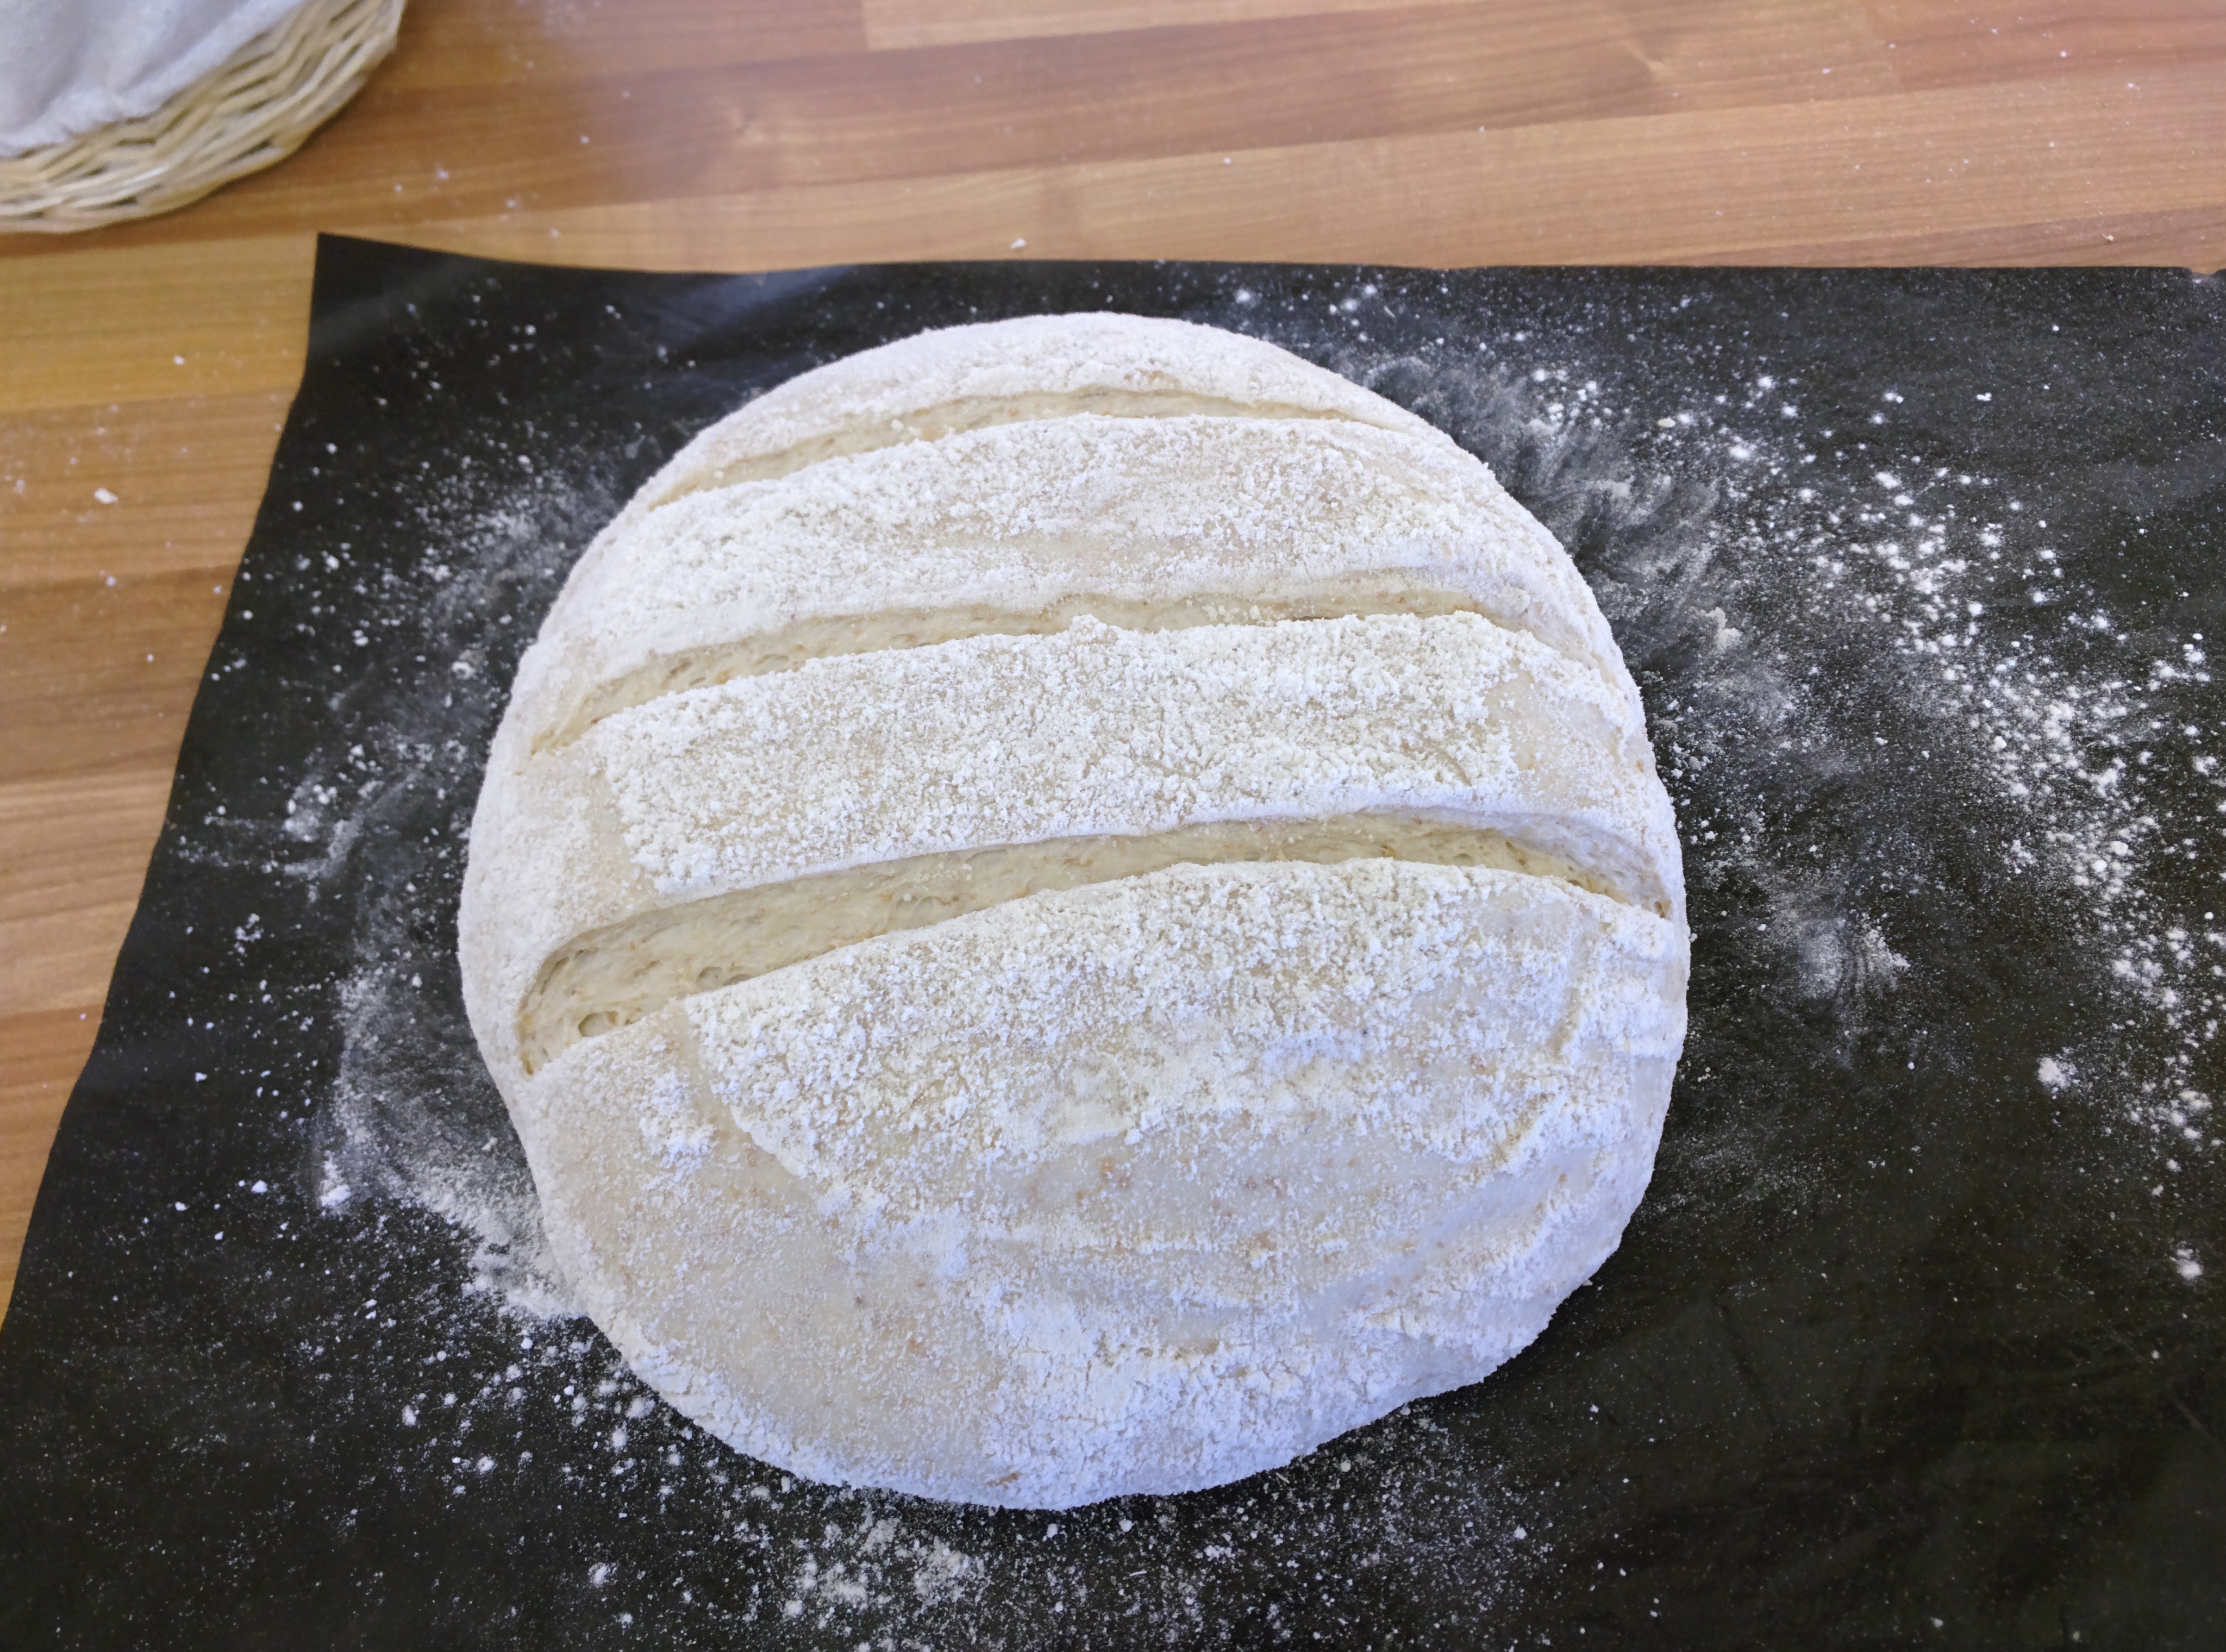
It's now 9:30am. Proofed dough in the basket on top of a silicone baking sheet (like a re-usable baking parchment)
Meanwhile half an hour earlier I turned the oven on to 250°C and put a pizza stone in it.
I flip the dough out onto the sheet and make 3 slashes over it. Nothing fancy here - not looking for an "ear" just making sure that the dough will spread out in a direction perpendicular to the slashes, so rather than a round it comes out as a fat oval (which my customers seem to prefer for making sandwiches, etc.)
I use a peel to transfer it into the oven onto the stone and throw a cupful of water into the tray at the bottom.
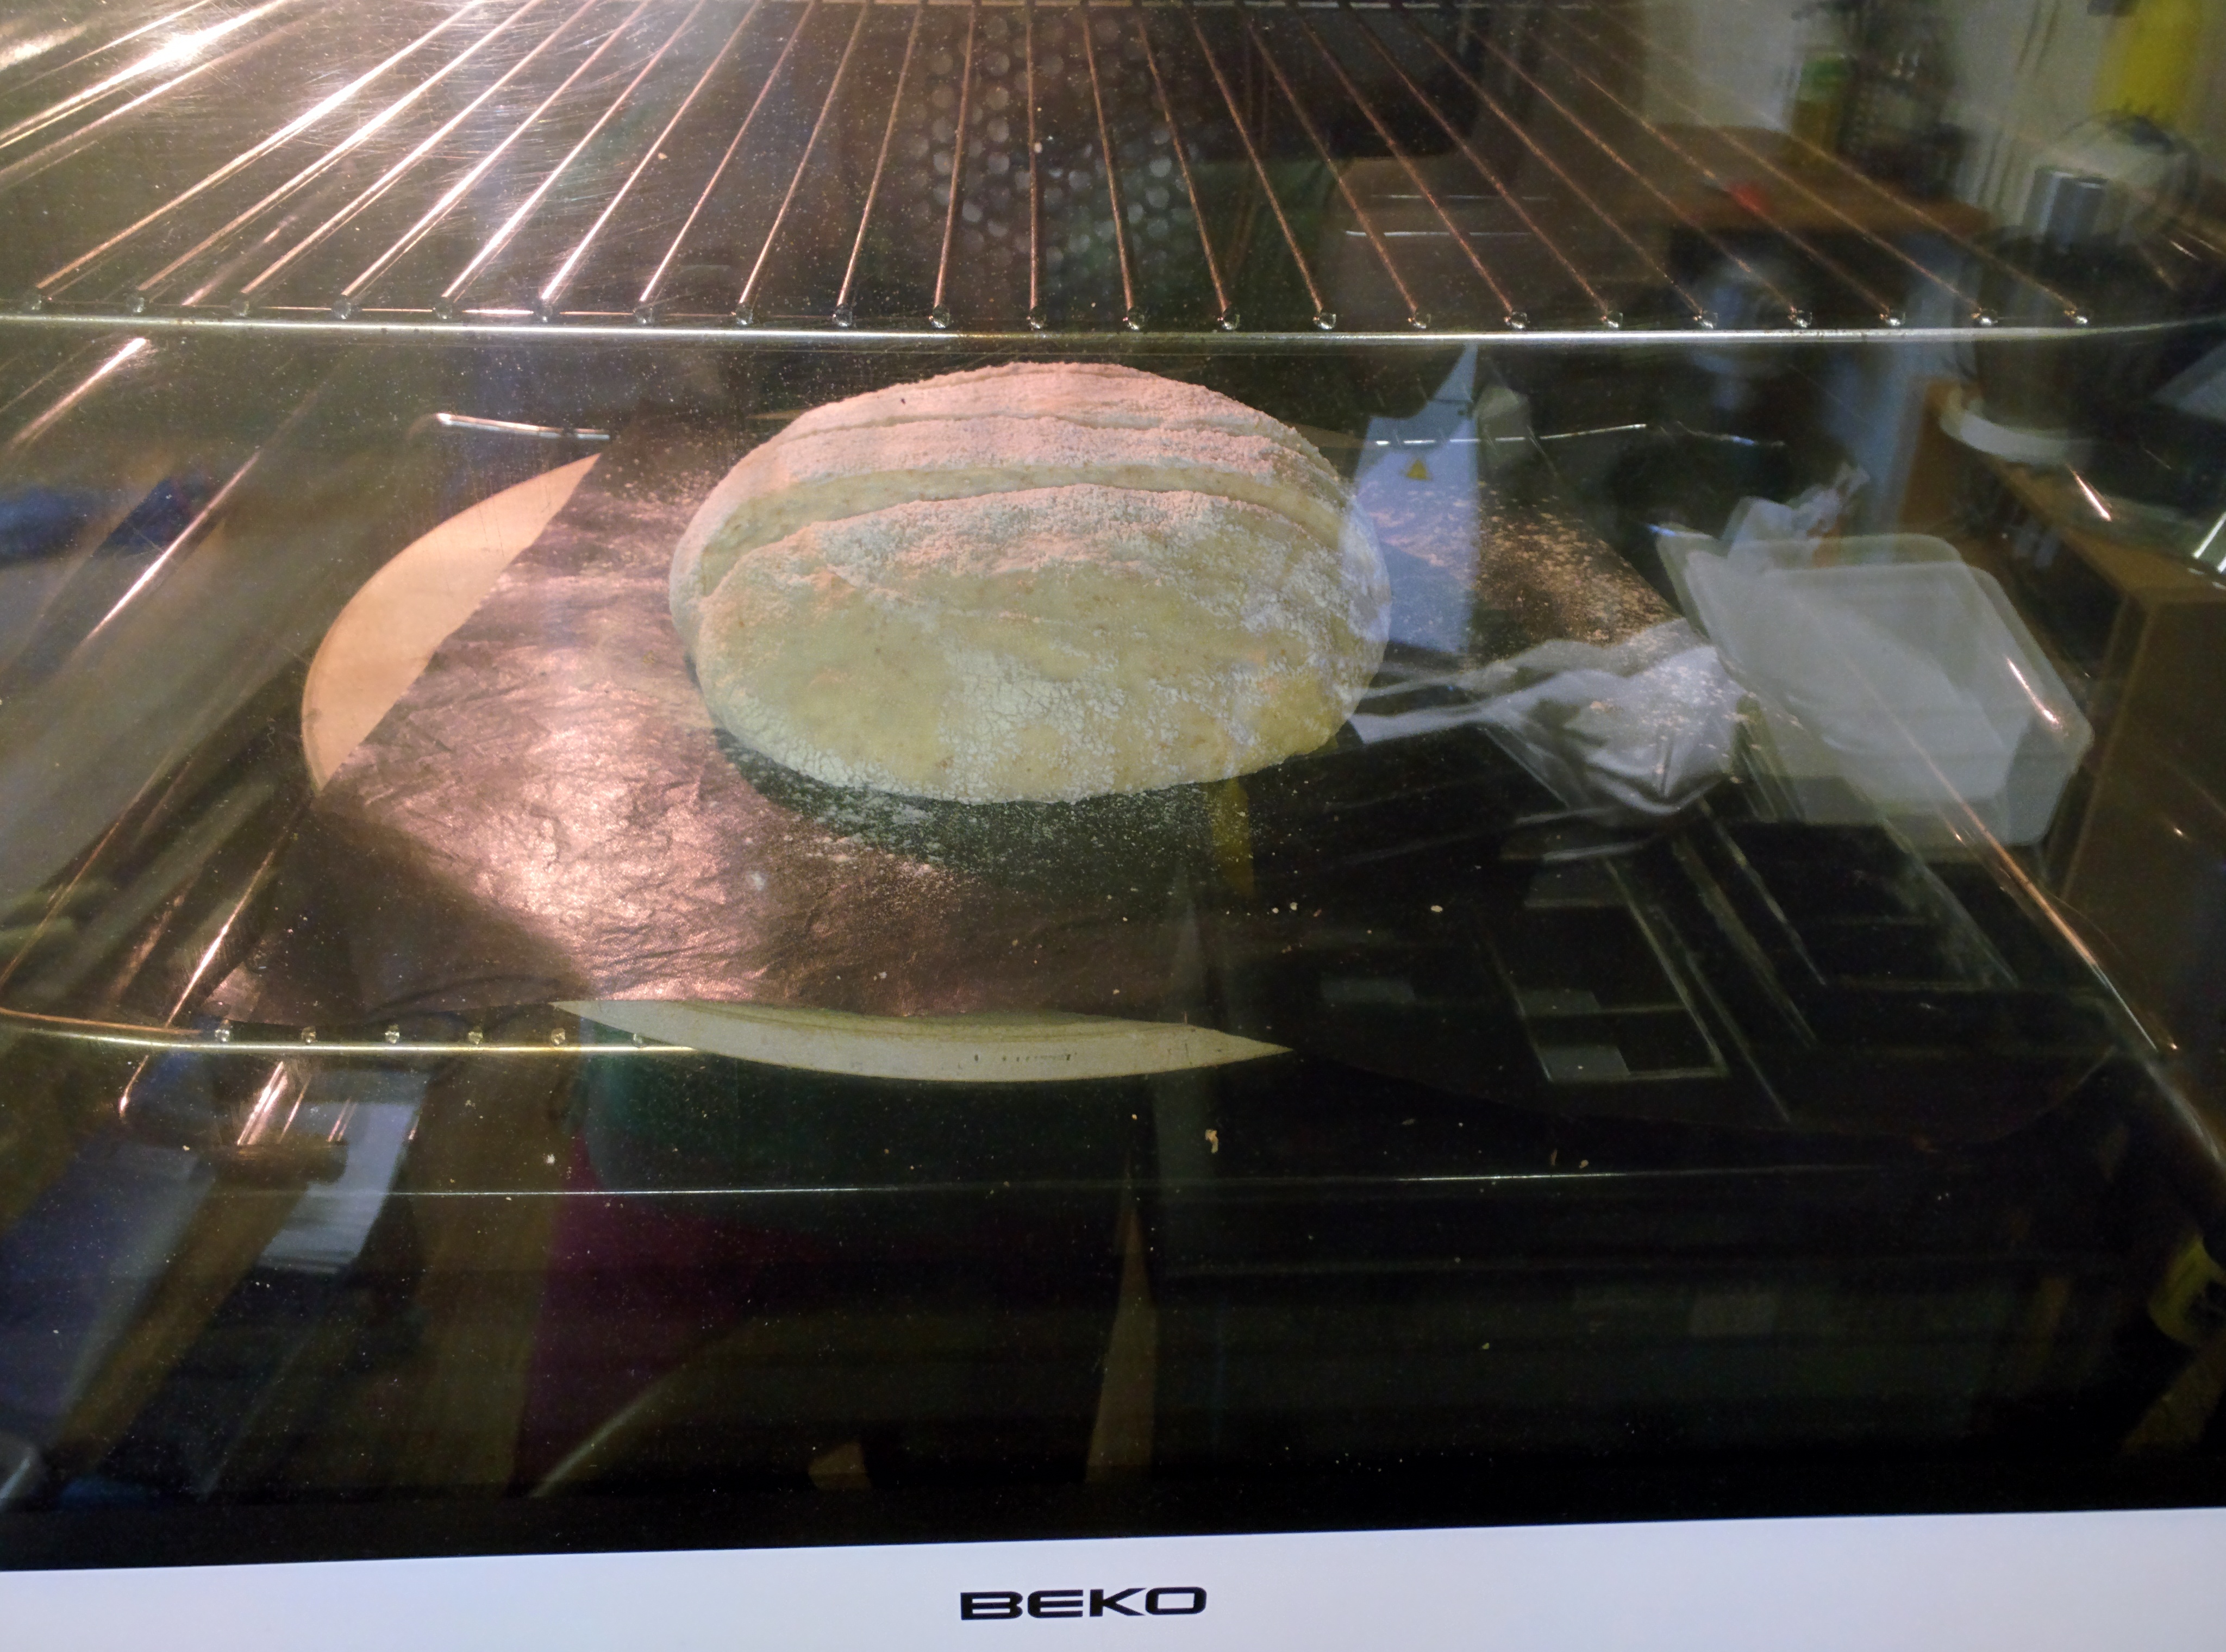
This is a cheap electric fan oven.
After 12 minutes I open the oven, remove the silicone sheet (I don't have to, but have always done so) and turn the bread round (the oven doesn't bake evenly)
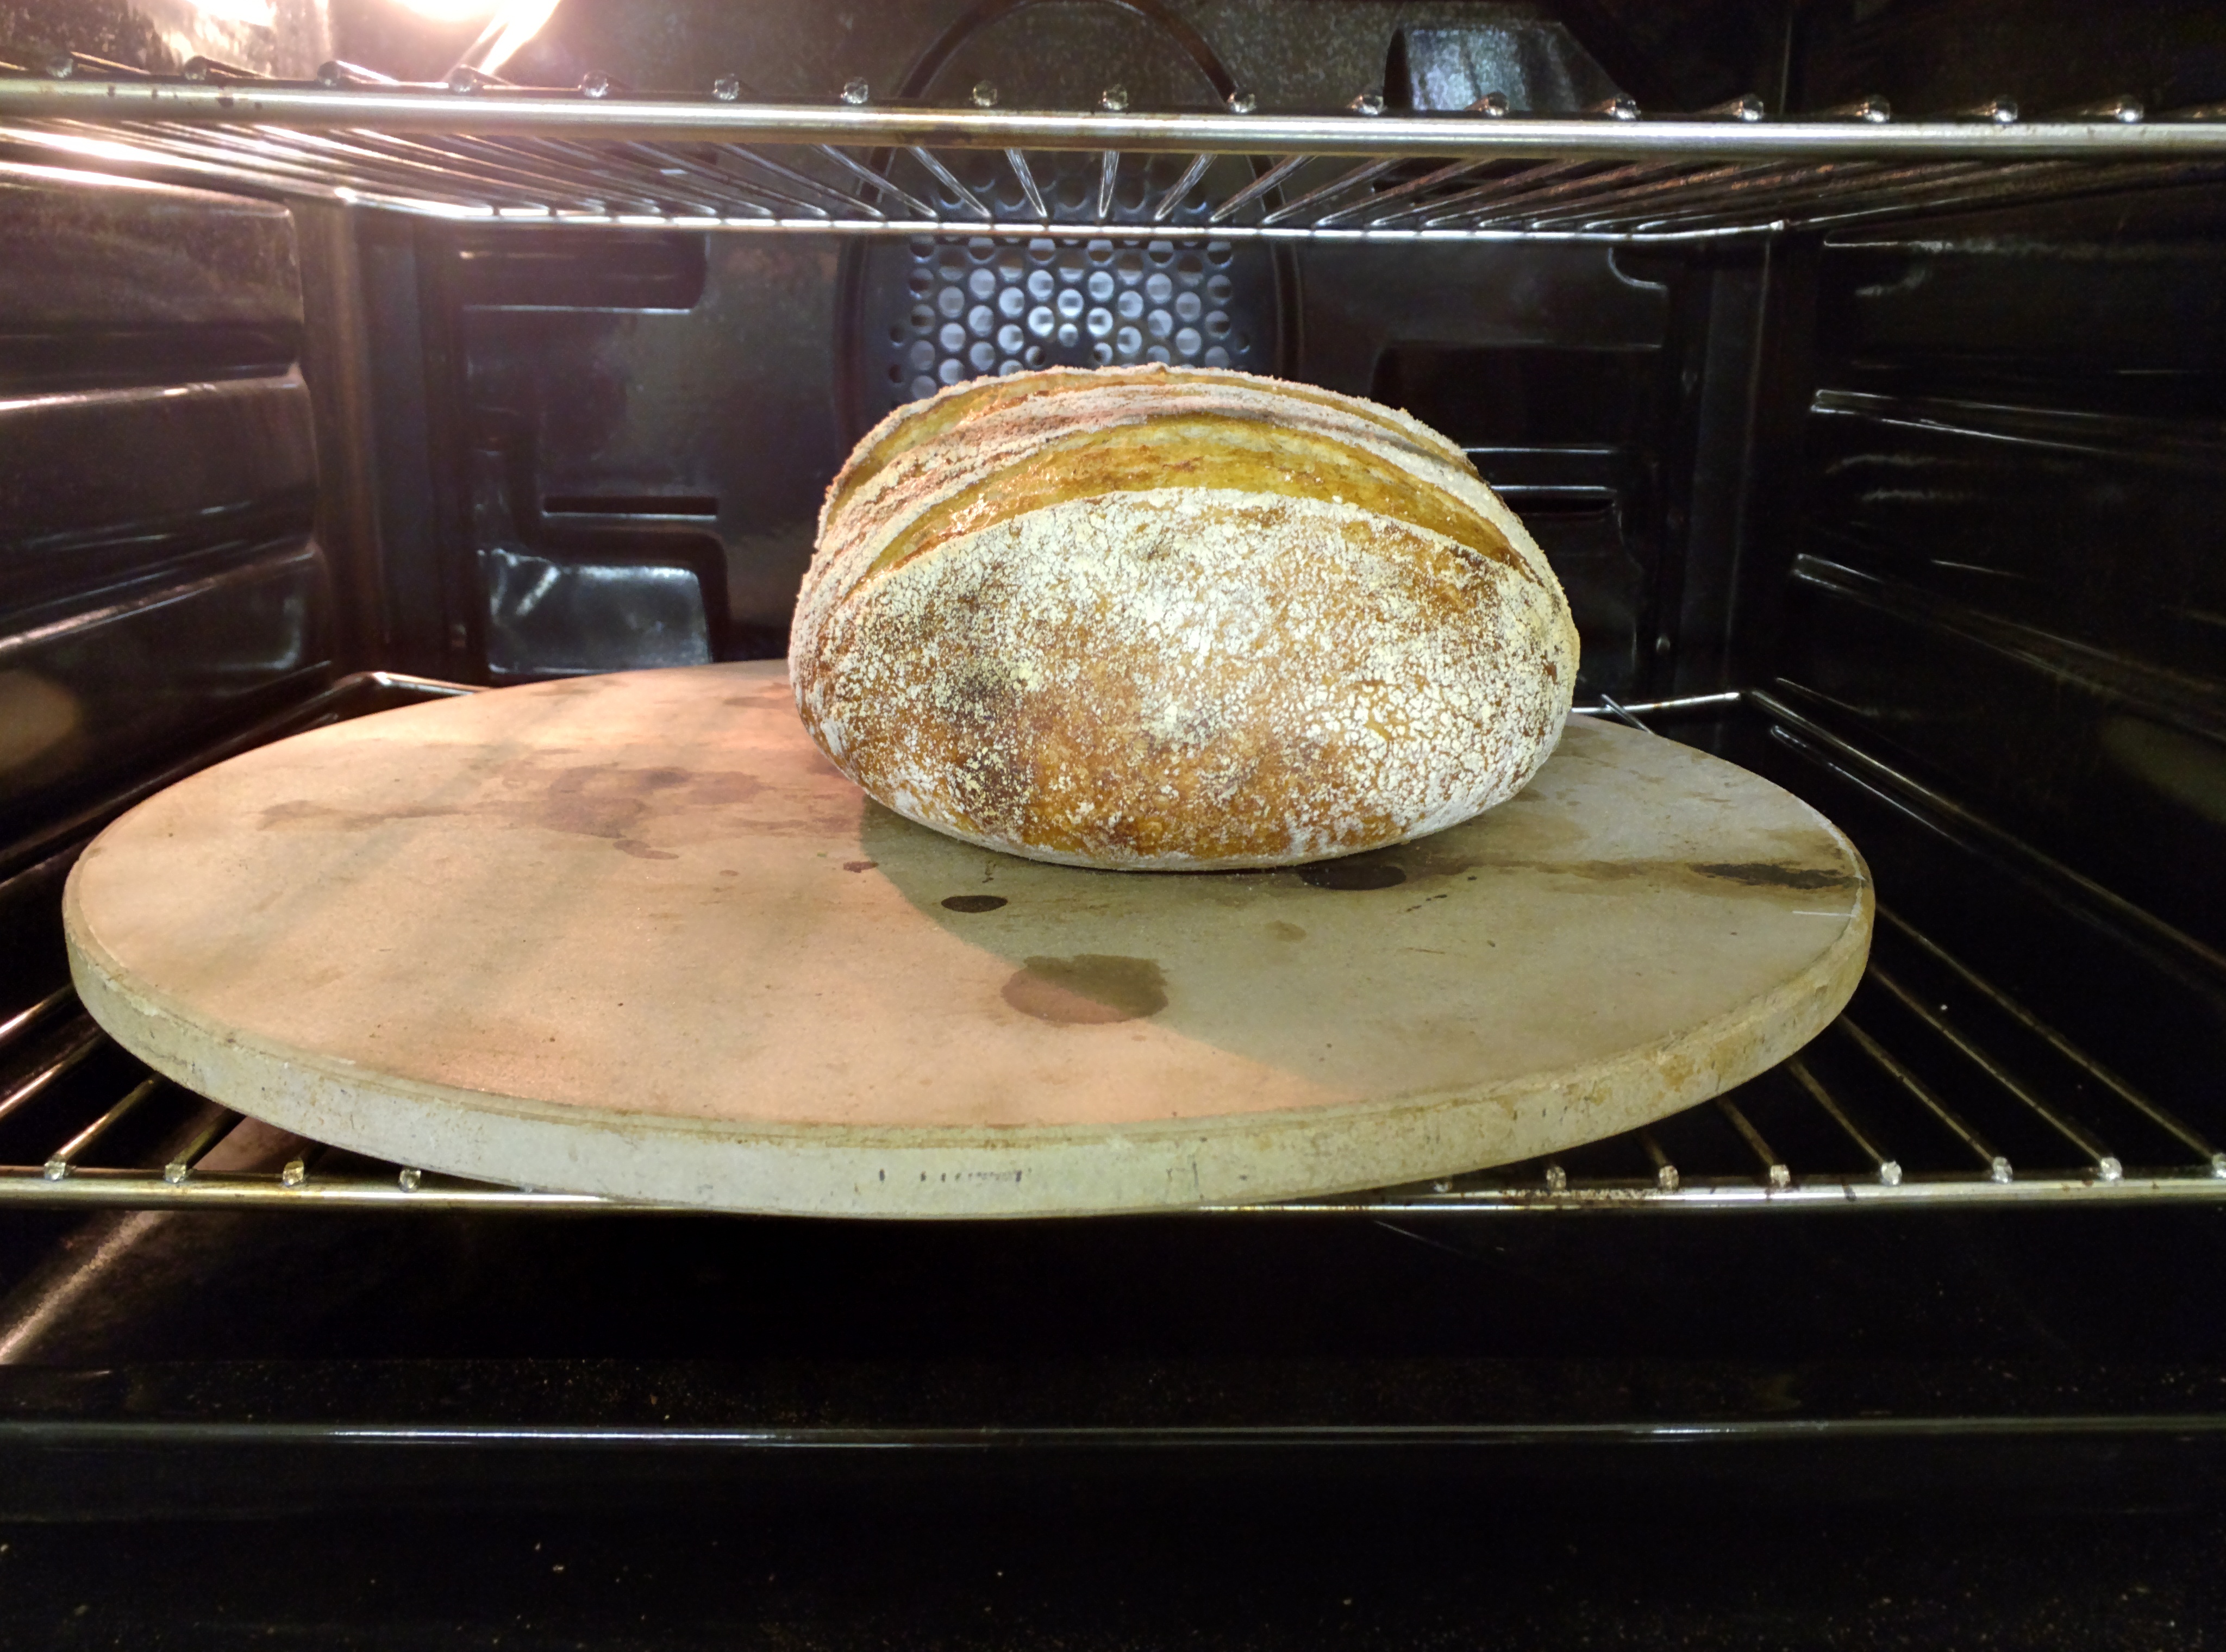
Close the door, turn the heat down to 210°C and leave it for another 24 minutes.
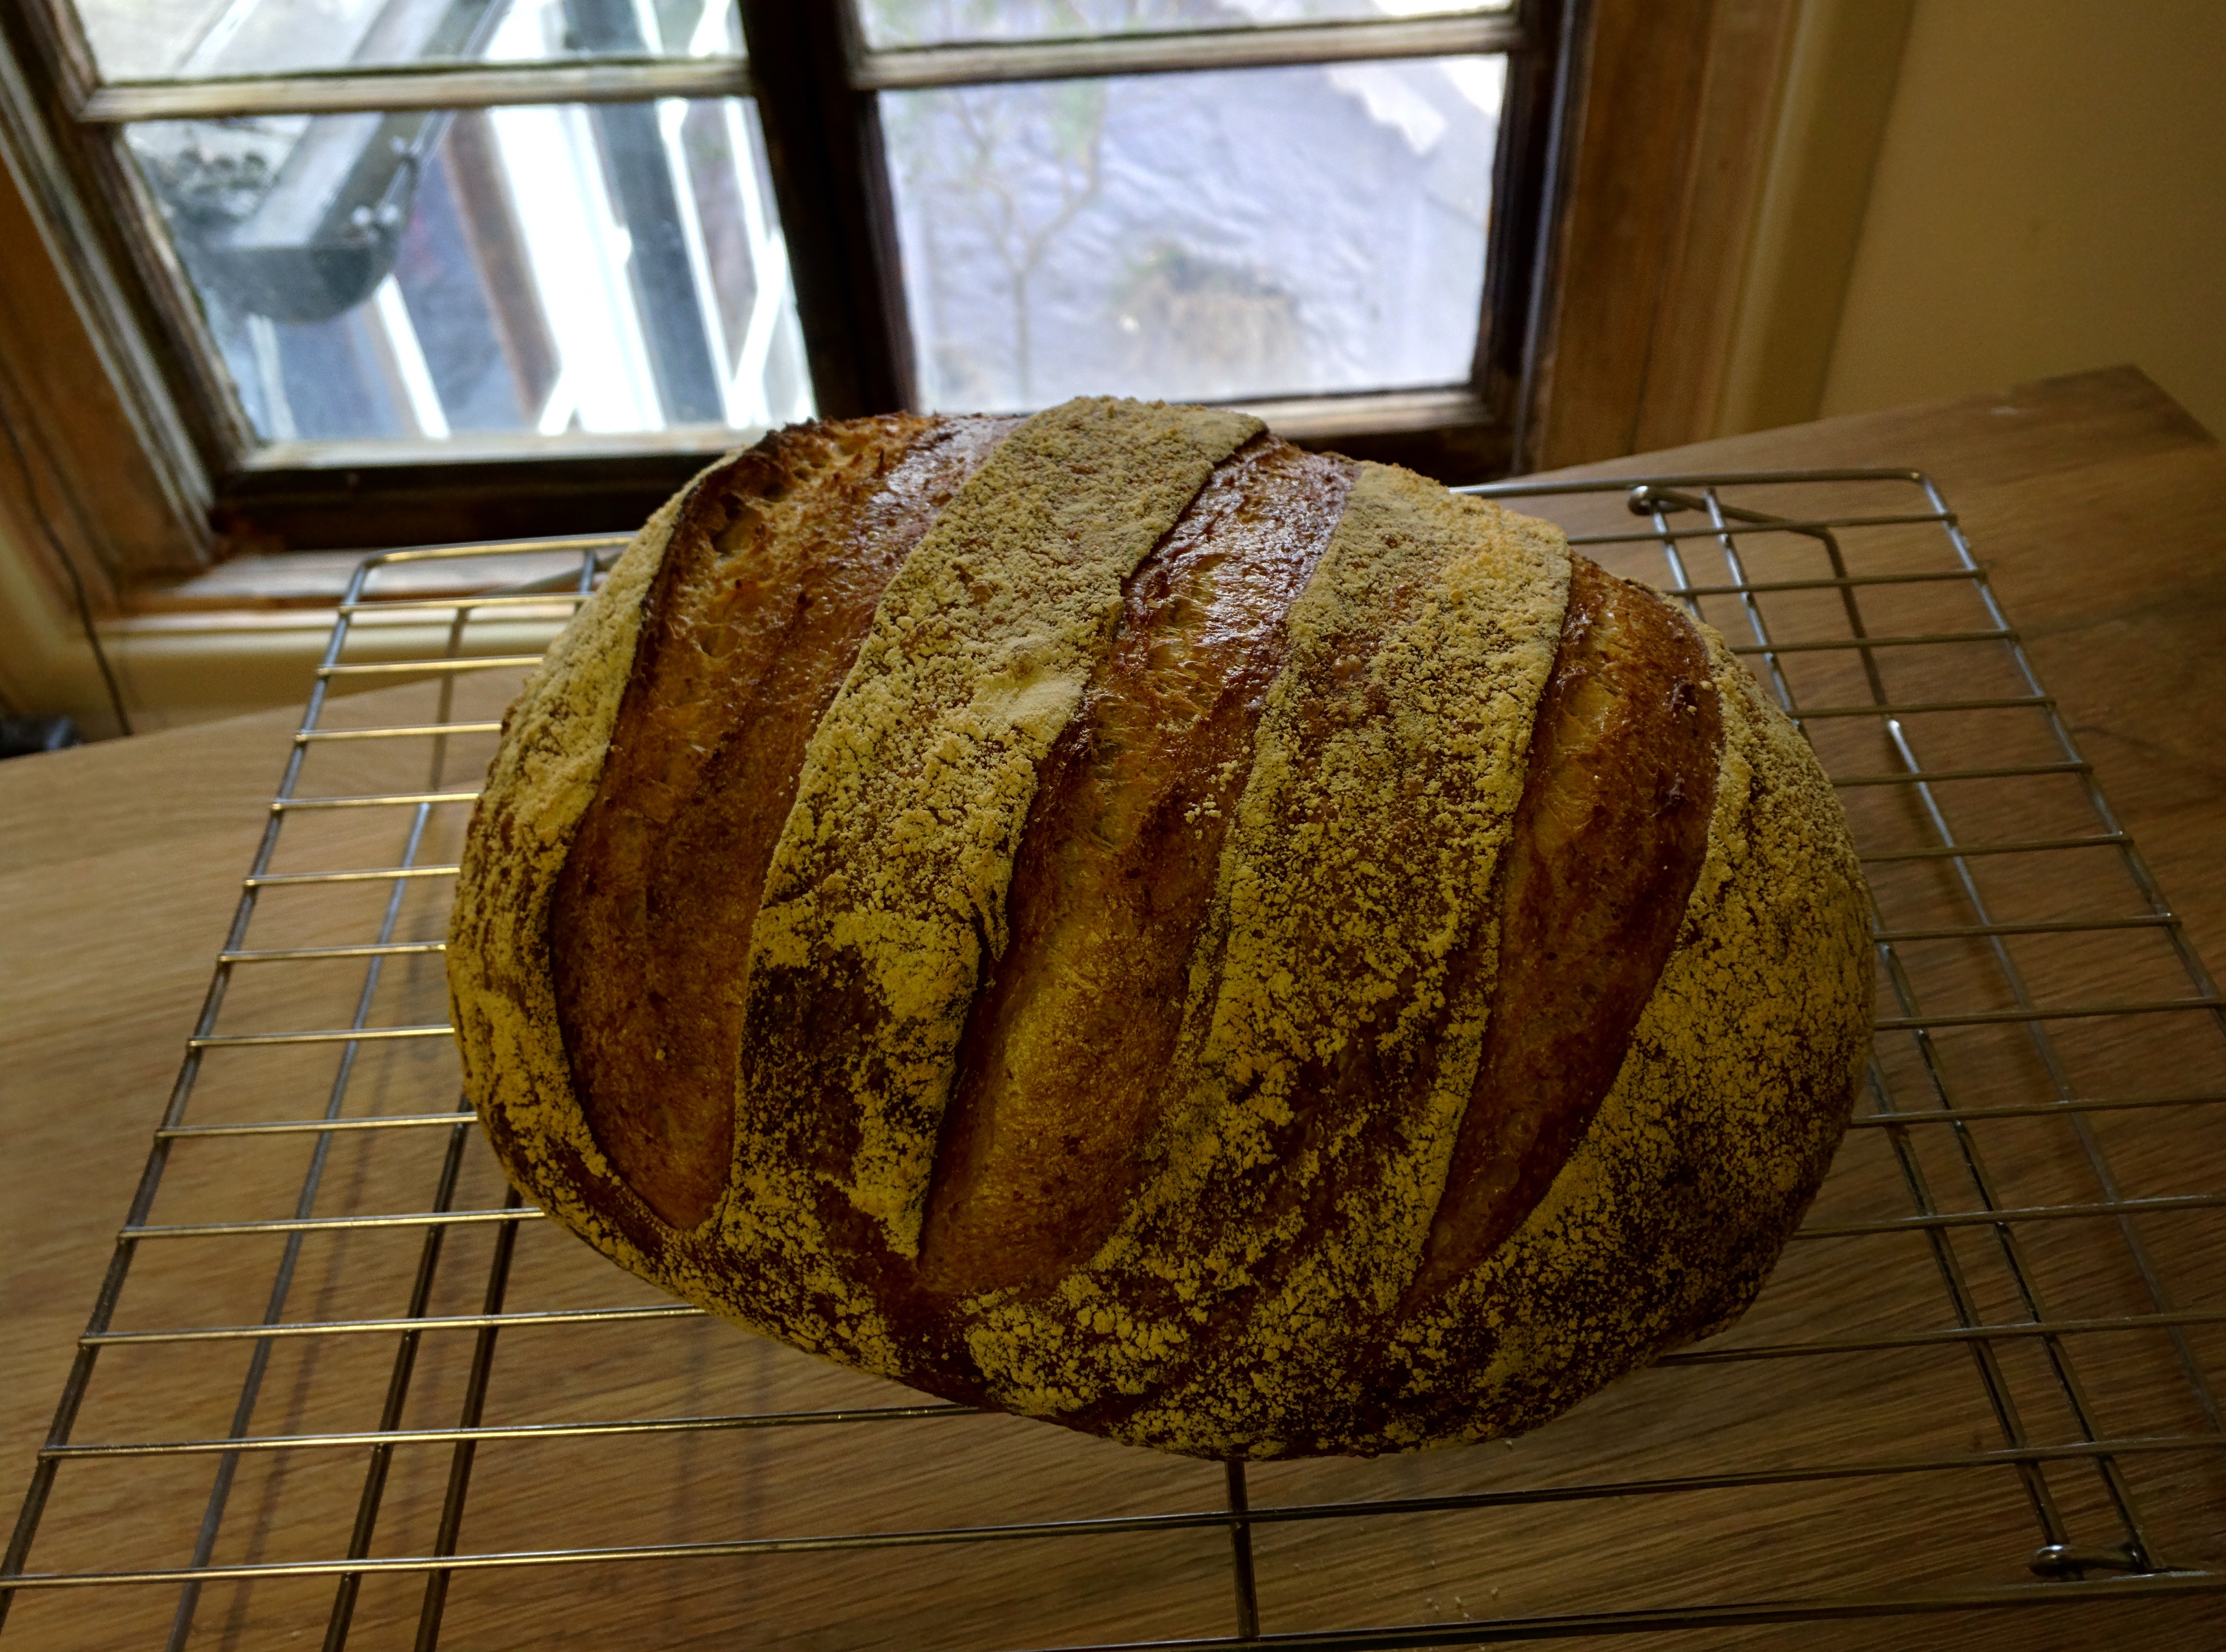
Baked loaf. Cooling down.
And of-course what you all want is the porn-shot - the crumb!
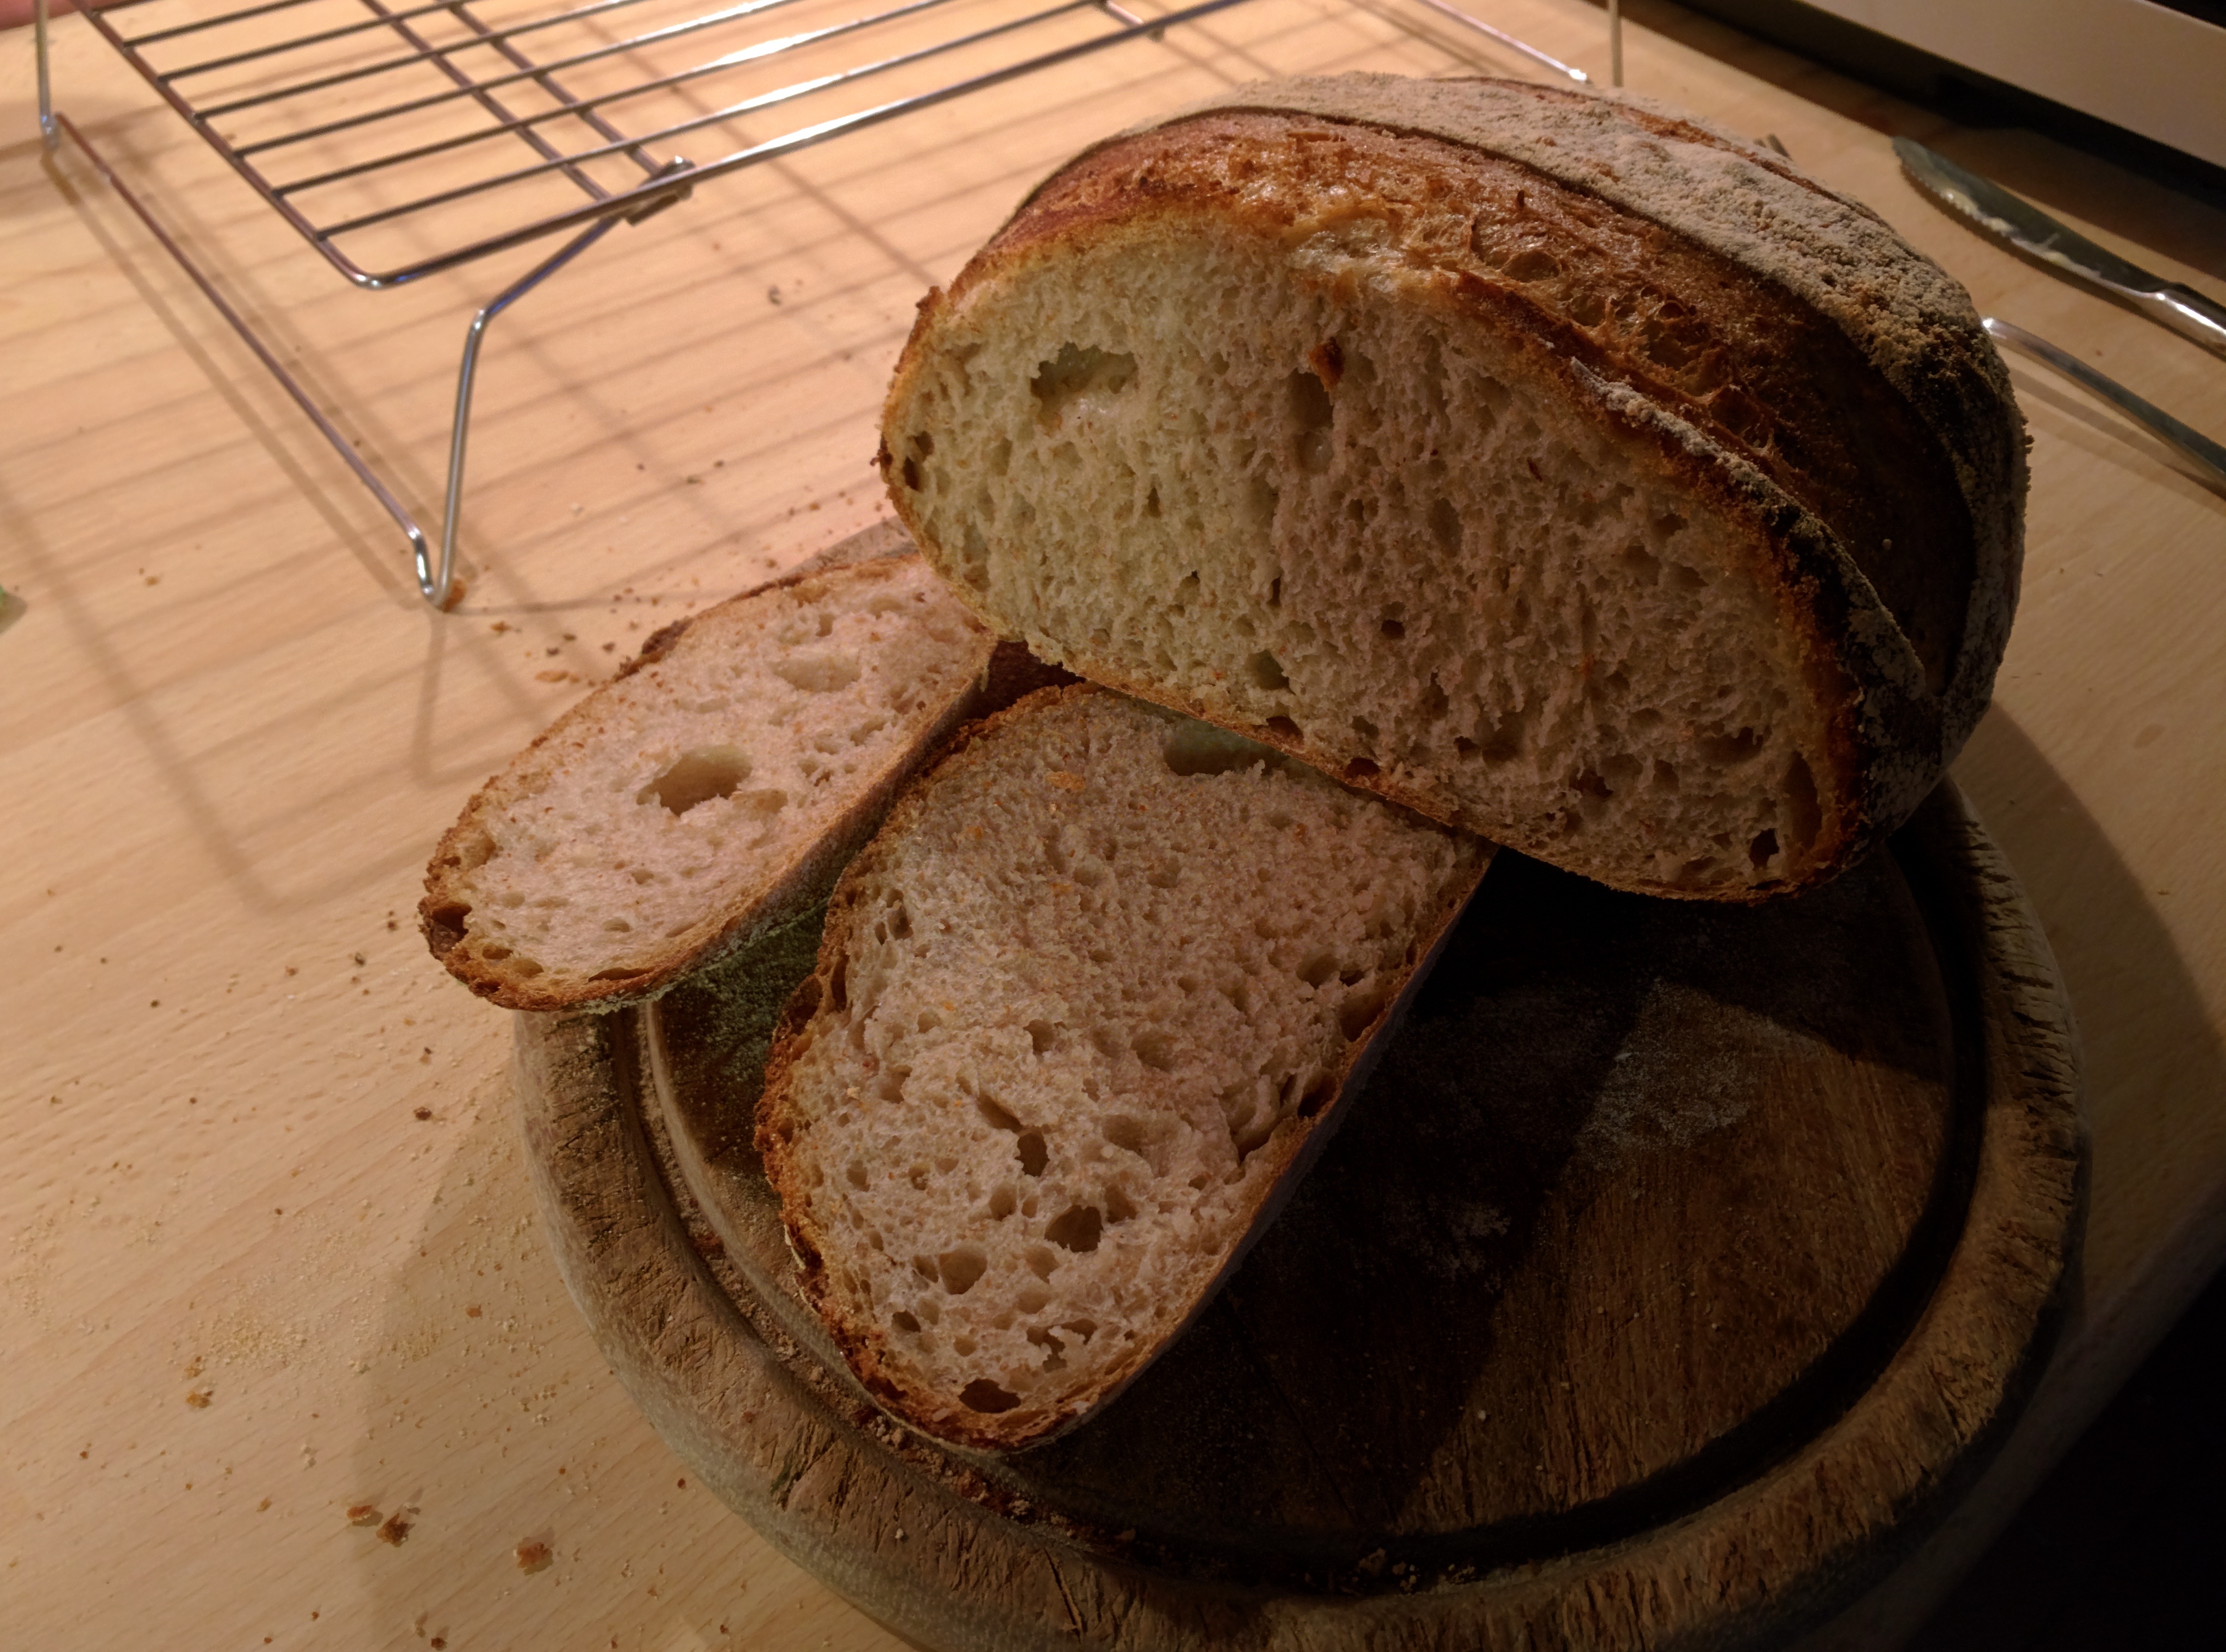
There it is.
There are are uneven holes - that's mostly due to lack of regular stretch and folds. Note also the holes are not big holes - big holes don't hold as much butter/jam/marmalade/honey. You want bigger glossy holes - well, add more water. (This recipe has an overall hydration of just 63%)
It's also not very sour - in-fact you might be hard pressed to tell. If you want it more sour then let it ferment longer (and prove longer, but you'll need to proof it in a cooler place) and/or build the starter over a longer period of time. I think the addition of wholemeal really makes a change to it too. It still looks like a white loaf though and passes the cold butter test - even fresh out of the oven as that was.
So there you go. The Buckfastleigh Sourdough - a good daily bread made with just 3 ingredients; flour, water, salt.
Hope you enjoy and are not feeling too disappointed if you though you needed a lifetime of arcane and esoteric knowledge required to make sourdough. It's just bread.
-Gordon


Comments
Shouldn't have any problem selling a fine looking loaf like that. Well done and
Happy baking
It's always kind of refreshing to see a message like this from an experienced baker. It seems like we only see straightforward recipes from relative newbies, who are quite often asking for help / advice, or in response to their requests.
When I started about a year ago, I tried to do too much too soon. And while I've tried and learned a lot since then, it's still always helpful to be reminded that good bread doesn't have to be complicated.
Mine is coming out of the oven now, my first ever sourdough. It looks exactly like yours except I only slashed the loaf twice so it's a little deformed. Let's see if I can post a foto!
I bet it will taste just fine.
My suggestions: Make a couple of more when you can just to get a feel for it, then you can start to experiment with timings, wetter dough (if you want) handling, shaping and so on.
Cheers,
-Gordon
I am so proud!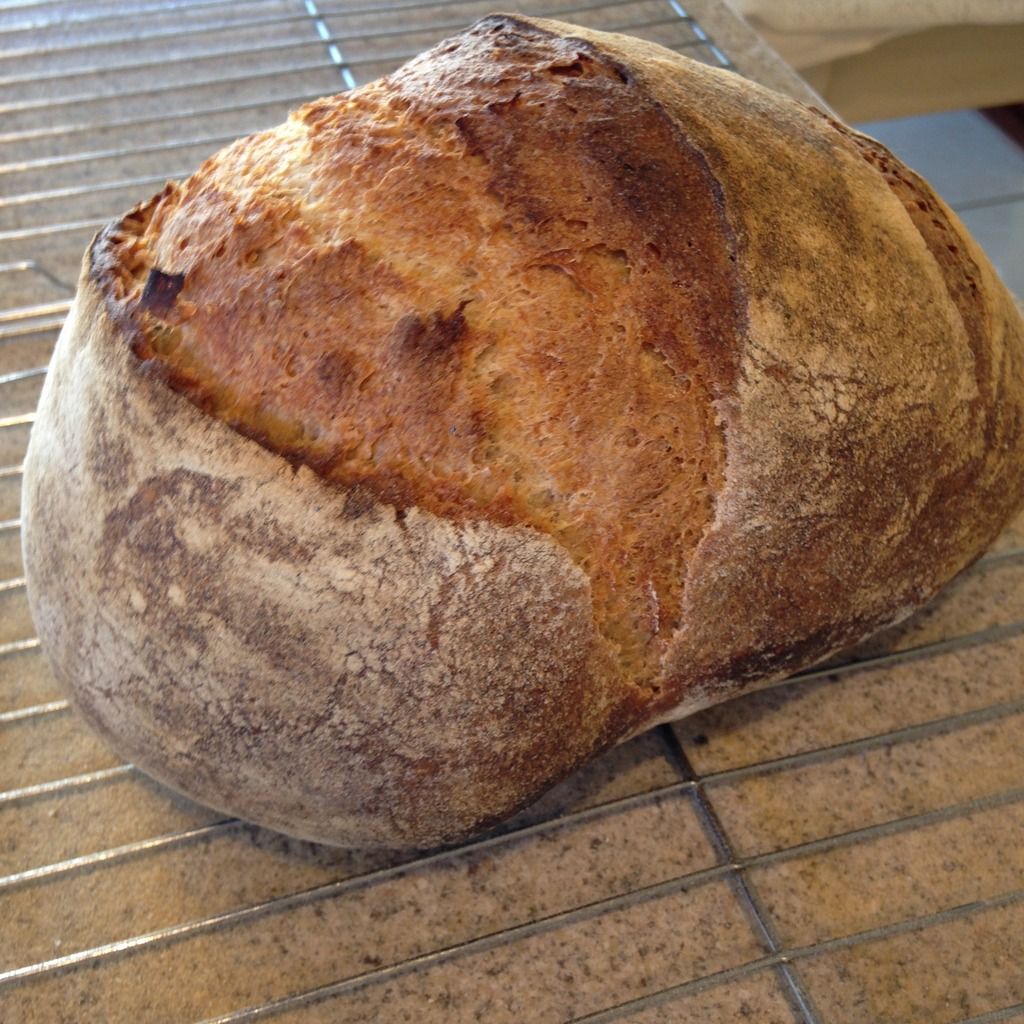
Well done!
-Gordon
That is about the best looking first SD bread I have ever seen! Well done and
Happy Baking
When the turkey fest is over I am going to take over the kitchen and do another one of these for, you know, turkey/stuffing sandwiches. Maybe next week I can tweak it a bit but the first loaf was great at 63% hydration, why try to improve on perfection?
I wonder if my photo shows signs of over-proving the final rise?
I have just stumbled upon your 'Easy Sourdough 1 & 2' and I like the way you have demystified the whole process. It shows it really can be easy and straight forward!
I'm gonna have a go tonight!
Despite baking daily for a couple of weeks I'm still a newbie slavishly following a recipe! It's good to see other ideas, that you make look really easy, to try out.
Will definitely give this a go :)
Whilst 'feeding' my starters last night (some not used or fed for about a month or so) I had some starter left over so I thought I would try your 'Easy Sourdough'.......
The starter had been in the fridge unfed for 2 weeks, I followed your recipe exactly and here is the result
I have to say that the outcome is better than I expected! I really did keep the handling down to the minimum (knead for 30 secs total) although when shaping I did go mad and repeat the fold twice (shock horror!)
The rise is better than I imagined it would be, although I think it might be better if the starter had been refreshed more recently. The dough was quite 'light and wobbly' when I transferred it to the stone (slight over prove do you think?) however after a little spreading it settled down.
The whole process was indeed as quick and easy as you state, and to some extent does knock a lot of the 'magic' around sourdough into a cocked hat!
Thanks Gordon, I will try this method a few more times and see if I can improve my results.
Cheers
Grahame
Happy that I found this post. I'm new to sourdough baking and sometimes suffer from analysis paralysis. I like your "just do it" style!
I made this for the first time today. It won't be the last time!
If I substitute the whole wheat with whole rye do I use the same hydration? Thanks.
Should be fine with whole rye. It might feel a little sticky though, but just keep working it and it'll come together. Don't go more than 20% rye though - not initially, anyway.
-Gordon
Another question. To make this a bit more dense would I decrease hydration?
Two ways - one is to reduce the hydration, another is to use the old-fashioned "knock back" or "punch down" technique before leaving it to prove. Basically get rid of all the long-ferment bubbles so the dough starts again.
If you really want to go for a denser, almost bagel-like crumb, then do reduce the hydration a little - also look-up "pain brie" - it's kneaded by bashing it with a rolling pin...
-Gordon
Thank you very much Gordon.
Hello! So I started my sourdough starter back in Feb 2020, tried following traditional sourdough methods and struggled, just didn't have the time and the end result was nothing to sing home about. I found your post by accident and its changed everything. I bake this regularly, my family love it and it's so easy. I don't have a bread stone though, I cook it in a pot and I'm always unsure what temp to cook it in the pot, for how long and with lid in or off? Can you advise? Thanks again. Gill
Hi Gillic, I’m not the original poster however I do bake in a dutch oven. Most usually preheat the oven at 500ºF with the Dutch oven inside for 1 hour. Then the dough is baked with the lid on at 450ºF for about 20 mins, then take the lid off and bake for another 20-30 mins. I usually drop the temperature to 425ºF when the lid is taken off so the bread doesn’t over brown.
Benny
Hi Benny
Brilliant, thanks for taking the time to reply. I'll give this ago ?
Can I ask, why do you not proof in the fridge overnight? (this suits me as I rarely have room for a big bowl) but just curious why not.
A lot of bakers like to do a cold retard as this can improve the flavour, work with their schedules, make scoring easier and improve oven spring. Skipping the cold retard also may work better for some bakers’ schedules though so they may do it that way instead.
Fab! Thanks for replying again and explaining!
Hi, looking for some advice. I feel like my loaf looks really tight. It's not spread much and I am struggling to get any sort of an ear. Or do I have high standards? (sorry I've had problems inserting a picture)