When I was a kid, thats what you used to say to each other!
Strange kids....
Without any further ado.....
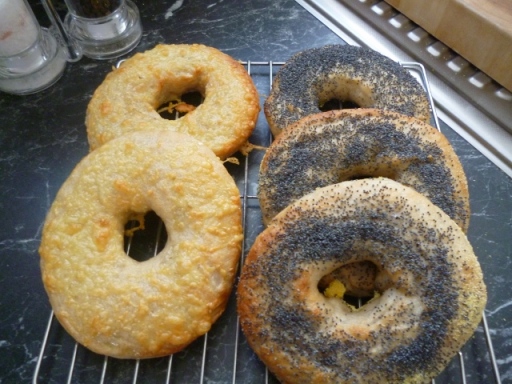
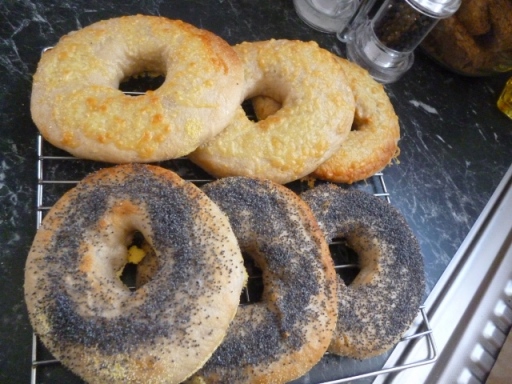
Bagels,Bagels, Bagels….
What more can I say?
Beautiful…
Beautiful…

Beautiful….
Where to start?
These tasted like nothing I can describe…
Fresh, tasty, light, bready, doughy, yummy, warm and delicious!!
I don’t like to blow my own greedy trumpet but they simply were fantastic!!
Gone within 2 hours of making them…
I was even tempted to make more the night before going to work and getting up early to make them before work!!
That is how good they are.
Only alteration would be to make the poppy-seed and cheese ones, a little smaller, more like the fruity ones, that had the perfect bagel shape:)
Even though it’s a 2 day process, its simple really and the 2nd day part is over really in an hour…
Baked, all done!!
Ready to scoff….
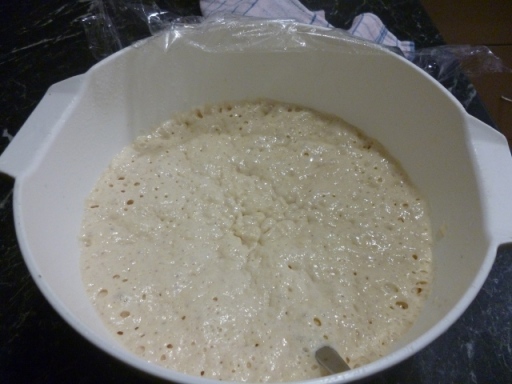
Bagel sponge..
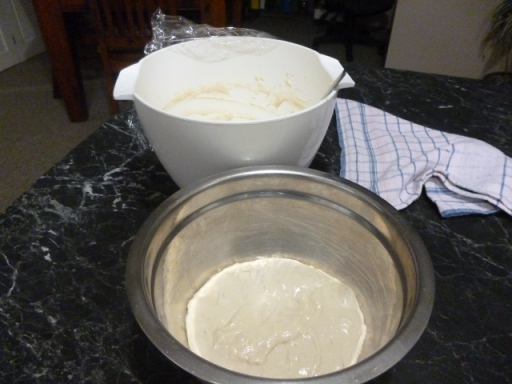
Split in 2, ready for flour and spices etc…
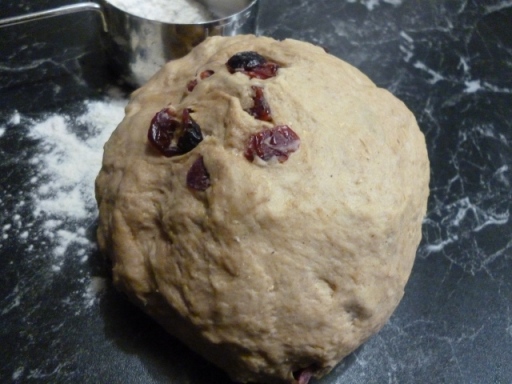
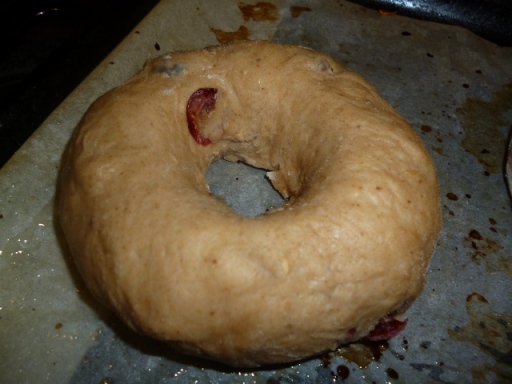
Cranberry dough

Plain dough…
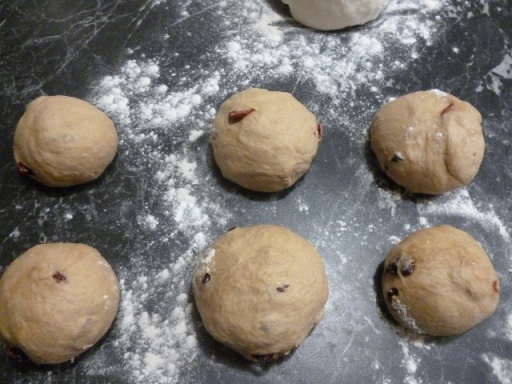
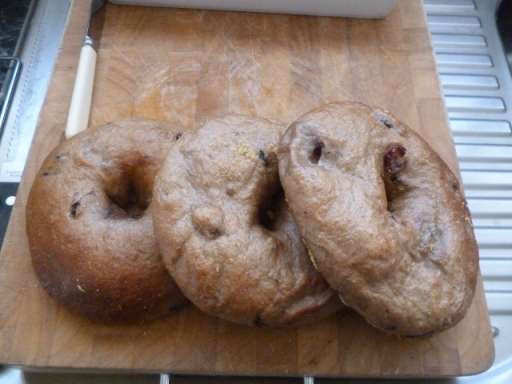
Spiced pre bagel…
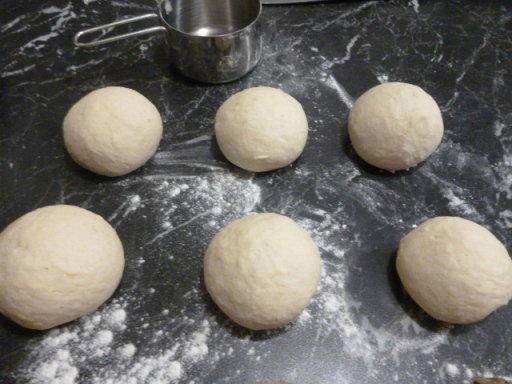
Plain pre bagel..

Slight rest…
What do I need?
Sponge:
2 tsp dried yeast
4 cups bread flour
2 tsp sugar
2 & 1/2 cups warm water
Dough:
4 cups bread flour
3 tsp salt
2 tsp malt powder
OTHER:
1/2 cup of muscovado sugar
1 cup of cranberries
3 tsp mixed spice
1/2 cup of grated cheese
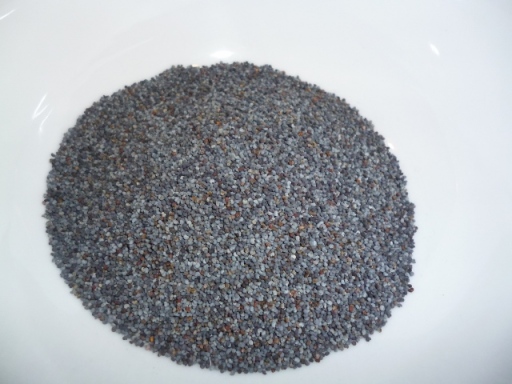
1/2 cup of poppy seeds
1/2 cup of fine polenta.
A bit of this…

Plain rested ):

Fruit rested
The Night Before CHRISTMAS…..
Just kidding.
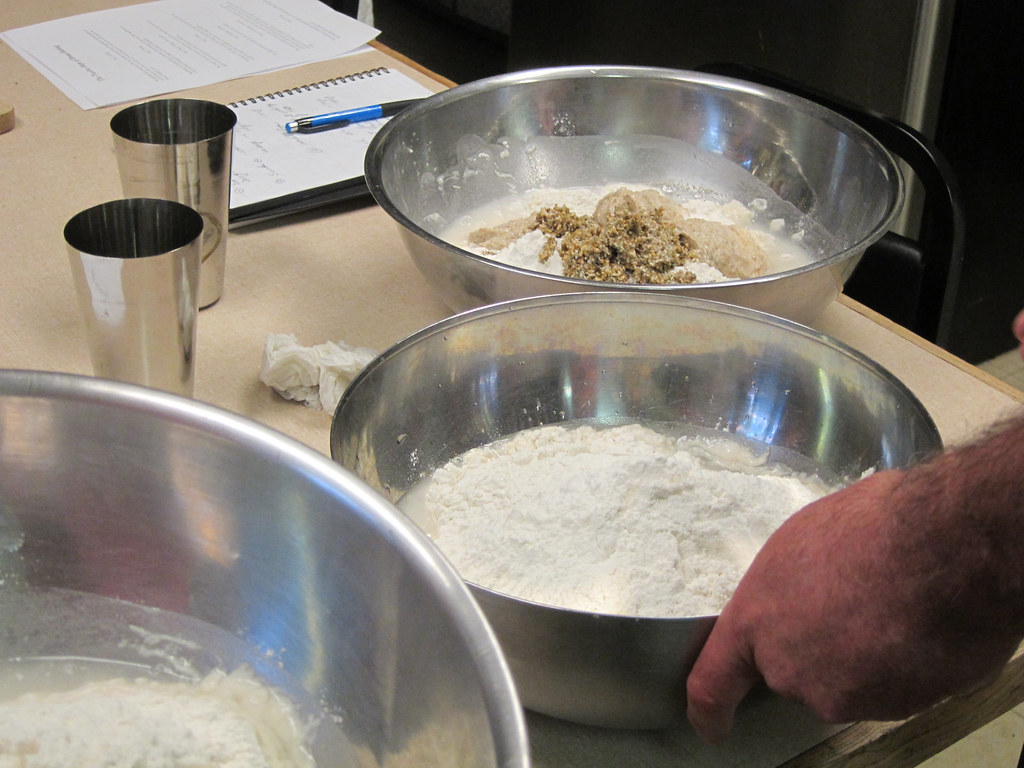
Take your sponge ingredients and mix the yeast into warmed water along with the sugar.
Cover and allow yeast to become frothy, usually 10 minutes, then add in the flour.
Mix well and cover with gladwrap and then a tea towel and rest for 2 hours.
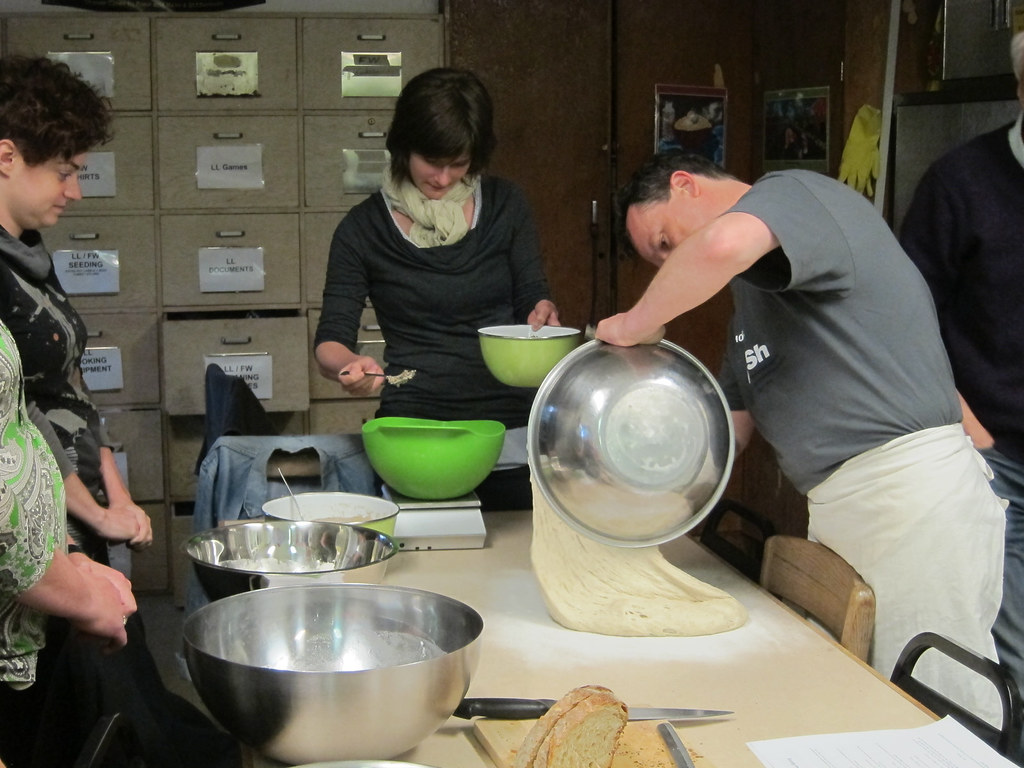
Stir in the 2nd lot of flour, malt powder and the salt.
Make sure it is well blended and knead for 10 minutes.
Cut dough into pieces (I did 12 BUT next time I will do 14-16).
Roll each piece into a smooth tight ball (as above) and place on lightly floured bench and allow to rest for 30 minutes, covered with a tea towel.

Holey…
Holey moley…
Holey guacamole
Cover and into the fridge…
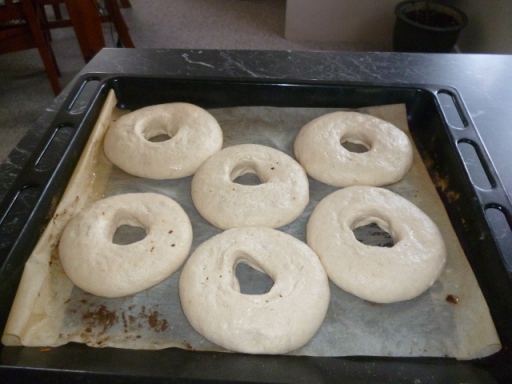
When rested, poke your thumb into the middle of the ball and then rotate round using finger and thumb until the shape is reached.
Its easy peasy…serious, do one and you will be sweet!!
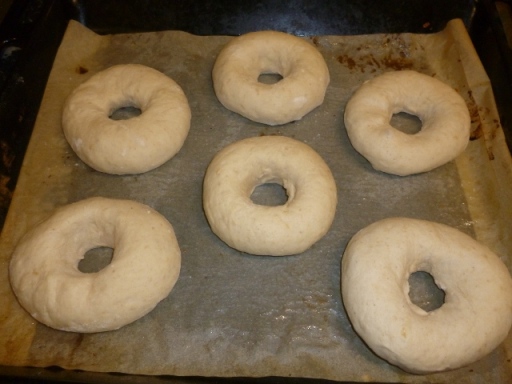
Place on a lightly oiled baking paper/tray, allowing lots of room between the bagels.
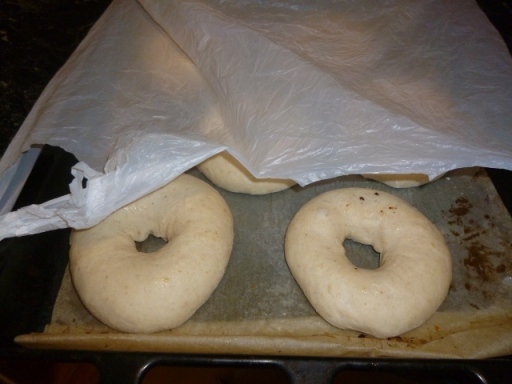
Cover with gladwrap, ( I used 2 foodtown plastic bags on each tray ) and pop into the fridge overnight.
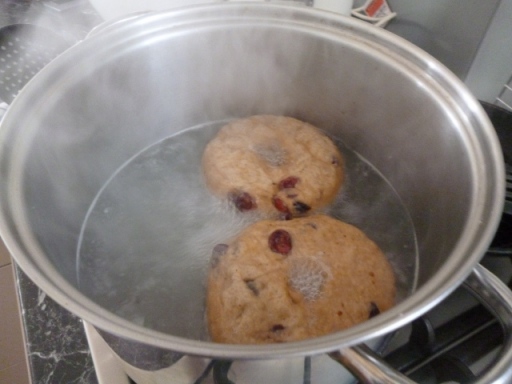
Boil, Boil, toil and trouble…
Ready….
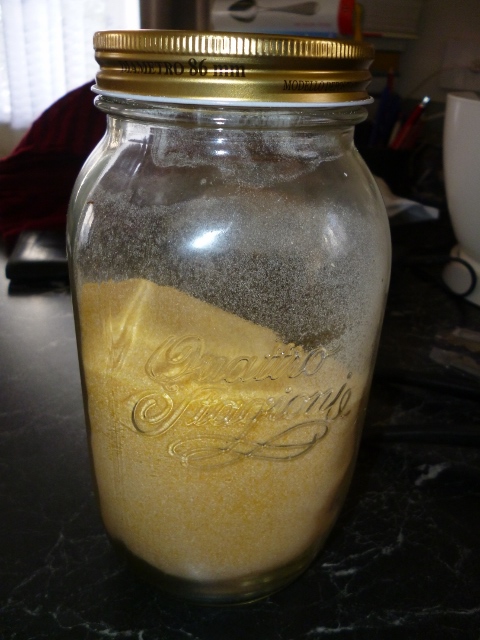
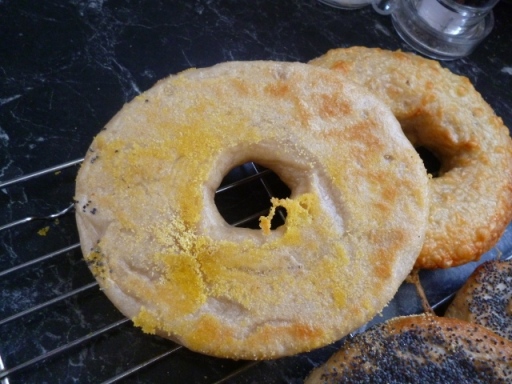
Polenta….or very fine semolina flour is ok too.
NEXT DAY!!!
Are you excited????
I am….
Pre heat your oven to 250 Celsius.
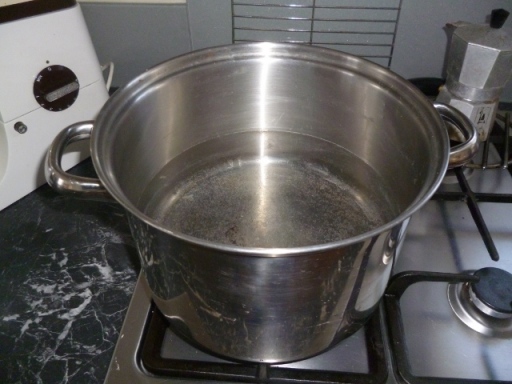
Bring a large pot of water to the boil, salted well.
Remove bagels from the fridge.
Get your toppings ready, I had my poppy seeds and grated cheese..
Also some polenta to scatter on the baking tray.
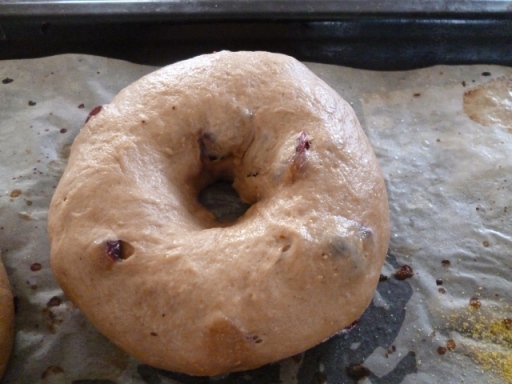
The fruit beasties well already to go:)
Boiling…
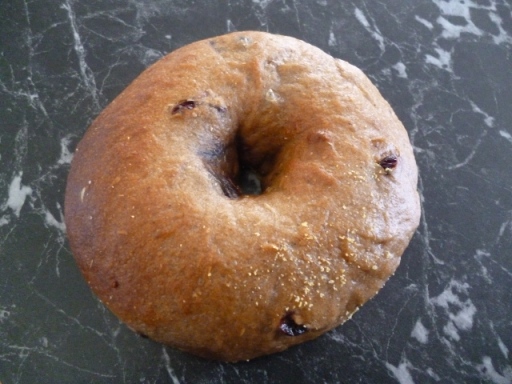
Getting fruity…
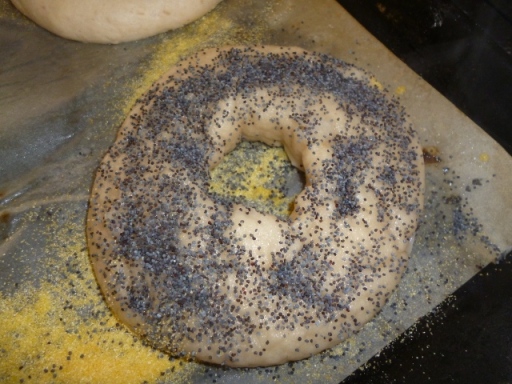
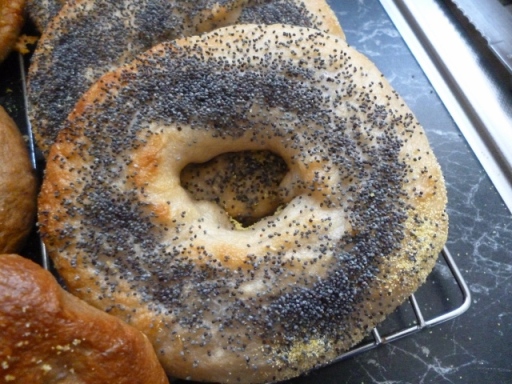
Poppied!
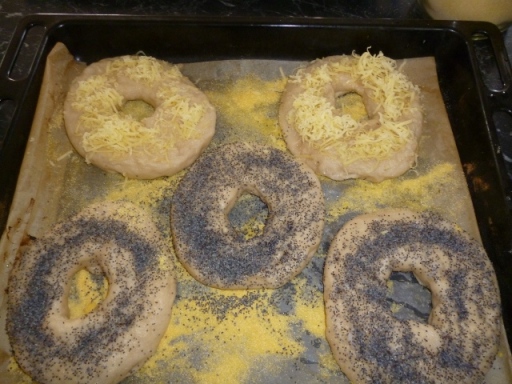
cheesy too…
Ready to bake….
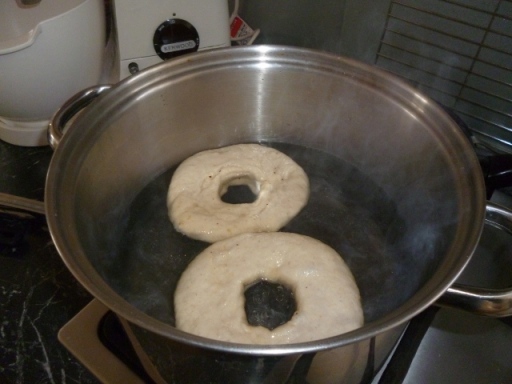
Carefully place 2-3 bagels in the boiling pot at one stage.
Allow 1-2 minutes cooking on one side, then turn over and allow the same on the other side.
Remove from the water, a slotted spoon is good, and place on your baking tray that is sprinkle with polenta that will go in the oven.
Top whilst the bagel is still damp.
Place in the oven for 5-6 minutes and then rotate the tray round, also turning the heat down to 220 Celsius and baking for a further 5-6 minutes.
A slight goldy tinge is good:)
Remove from the oven and cool (if you can wait that long) slightly and EAT!!
I made the plain bagels a little larger than need be so that is why above is I suggested 1-2 more bagels.
Dig in….
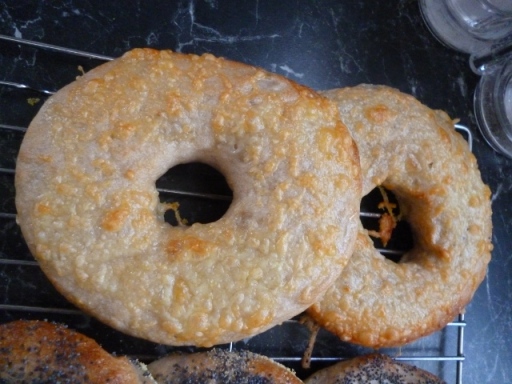
Cheese???
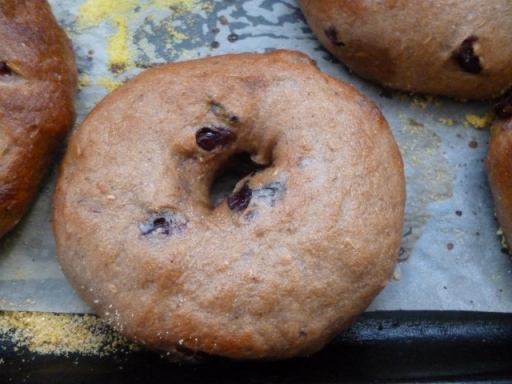
Mmmm Fruity
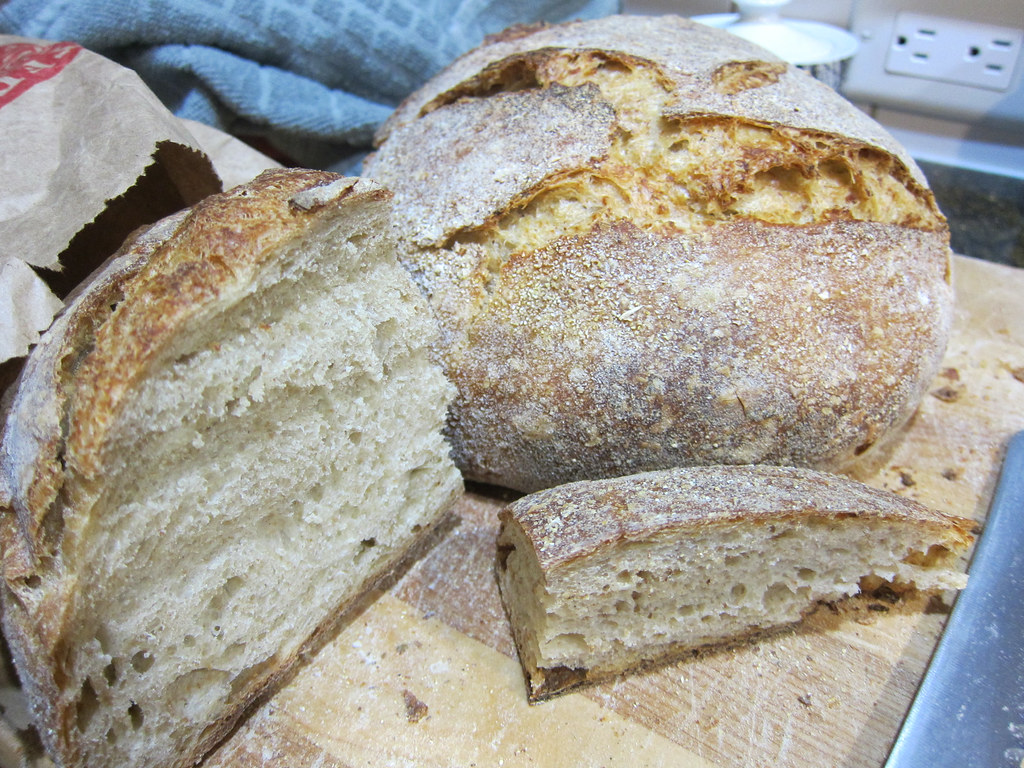
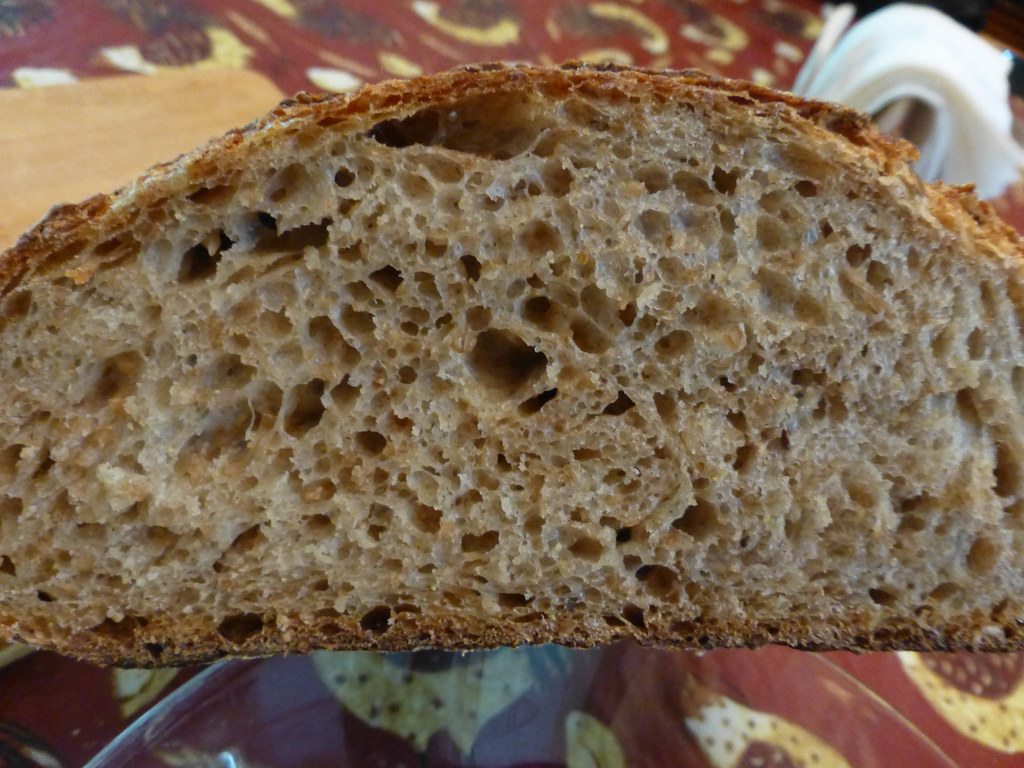
Underneath…
Yummmmm
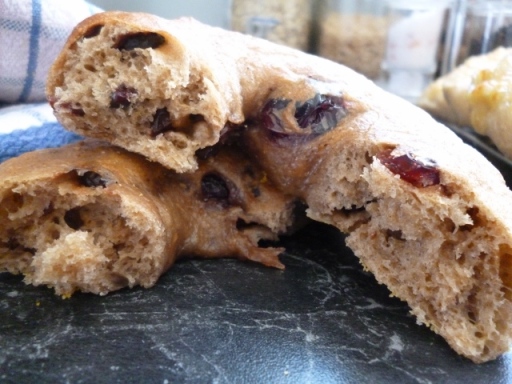
Lovely Texture

Inner Cheese…
Almost all gone…

Tasty…
ENJOY, ENJOY, ENJOY!!
Recipe adapted from the lovely folks @ the fresh loaf.
http://www.thefreshloaf.com/recipes/bagels
Don't forget to check out greedybread on Facebook now!!
https://www.facebook.com/greedybread
See you there:)