The Fresh Loaf

A Community of Amateur Bakers and Artisan Bread Enthusiasts.

Blogs

Pablo's picture
Pablo

I've been messing with Hamelman's 40% rye with caraway.  I like to stick to wild yeast and the bread calls for a bit of commercial yeast.  He does suggest that you can just leave it out and ferment it longer, but I wanted to experiment with a long bulk fermentation of the wheat along with the 15 hour preparation of the rye sour.  I wanted to bring out more flavour in the wheat as a background against the caraway.  It worked out well with my starter refreshment schedule; I have 30g of 100% rye starter discard, I used 17g with the 363g of rye flour and 300g of water.  And 13g with the 544g of wheat flour and 318g of water.  I didn't want the wheat to get into a proteolytic state, but I did want lots of time for flavour to develop.  I mixed both sourdoughs and put them in a 70F water bath for 15 hours.

I put them in the bath at 6pm last night so they'd be ready at 9am today to turn into dough.

Actually I'm still working on my ideal temperature for the wheat sour fermentation.  I've tried keeping it next to the bed so that I can see it every time I get up to pee and once there's definite movement I put it in the 'fridge.  With only the 10g of starter in there it does take awhile to get going.  I don't really like the wheat being cold and the rye not, so I'm not too keen on that method.  Tonight is cooler so I'm going to put it outside on the deck and then in the morning I'll put it in the water bath with the rye.  I'm making a couple of loaves to send to my brother.  Starting around 11 tonight means I'll be mixing the dough around 2pm tomorrow.  I should put the wheat in the water bath with the rye around 9am.

That's a little more rise than I wanted with the wheat.  I have been shooting for a little less than double.  Interestingly the rye sounded like a bowl of Rice Crispies when I opened it.  Very noisy.

I've played with a few ways to combine the two sours and this is what's working best for me.  I spread the wheat out on the counter and smear the rye around on top of it.  I sprinkle in some salt and caraway along the way.  (17g of each total)

Then enfold the rye with the wheat.  I sprinkle more salt and caraway seeds in along the way.

It's pretty messy at first, but it quickly comes together into a nice dough.  I knead it 5 minutes maximum to be sure to not overdo the rye but still get everything homogenous.  The gluten is already nicely developed in the wheat.  A few slap and folds at the end and it's really looking good:

It's a beautiful dough very quickly.  I let it bulk ferment a bit more.  It's already pretty developed from the last 15 hours.  Today it just moved a little after 45 minutes.  Sometimes it's more active than that.  I want to get some gas structure, I have been waiting for it to about half again in bulk, but today it just wasn't moving too quickly and I just moved on to shaping and proofing.  The dough does feel a bit putty-like compared to all wheat dough.

I think dough in a couche is beautiful.  Two loaves, each about 780g of dough.

I let them proof an hour, seam side up.  I rolled the tops in caraway seeds prior to proofing.  I misted before scoring.  I baked at 460 10 minutes with steam and baked another 20 minutes at 430F.

voila!  I like the oven spring.

et voila!  Kinda weird lighting, sorry about that.  The crumb is plenty open, it's moist but not the least bit gummy and I think the taste is more tangy and complex.  I've made this a few times now and it's seeming to be something that I can count on.  Hopefully those aren't famous last words.  It has been very satisfying to apply some of the things that I've learned here to managing the long wheat sour ferment especially (low inoculation, cool temp, low hydration, long ferment).

By the way, this rye starter is about 3 - 4 weeks old.  His name might be Sparky.

:-Paul


cake diva's picture
cake diva

One of the consequences of being unemployed is that you have all this free time to do whatever your heart wants to do, and my heart wants to cook and bake and spend my waking moments in the kitchen (if I'm not in front of the computer trying to look for long-lost high school classmates).  This makes my college-age daughter, home for the summer, happy as a clam for about 3-4 days, then she starts to plead with me to stop else she tips the scale more than she wants to.

So I thought today I might try to back off a bit by making a brown wheat bread (it's got to be healthful, right?) that's also delightful to eat.  The following is a recipe that a fellow TFL'er pointed me to when I inquired about a honey wheat bread similar to the one The Cheesecake Factory used to make.  The recipe is called Outback Steakhouse Honey Wheat Bushman Bread from www.cdkitchen.com.

Ingredients:

  • 1 1/2 cup water, warmed
  • 2 tbsp. butter, softened
  • 1/2 cup honey
  • 2 cups bread flour
  • 2 cups wheat flour
  • 1 tbsp. cocoa
  • 1 tbsp. sugar
  • 2 tsp. instant coffee
  • 1 tsp. salt
  • 2 1/4 tsp. yeast
  • 1 tsp. caramel color (optional;  I used raw buckwheat honey instead)

Directions:

  1. Place all the ingredients in the bread machine and process on dough setting.  The dough will be a litte on the wet side and sticky.

hw in bread machine

     2.  Let rise for one hour.

before bulk ferment

    After one hour bulk fermentation....

post bulk ferment

    3.  Punch down and divide into 2 large or 4 medium or 8 small portions.  Shape into logs.

shaping hw

    4. Cover and let rise for one hour.

Solstice

Oh wait!  While I was in the kitchen, my husband had sneaked into the car dealer's in the guise of taking advantage of the Cash for Clunkers Program, and brought home this beauty to test drive. Hearing my shriek, my next door neighbor gave a thumbs up and said it would totally look good on me!  So off we went!

    5. About an hour later, after dough has doubled, place logs in parchment, slash, mist, then bake in hot stone at 350F for 20-25 minutes. 

final rise

      6. Serve warm with butter!

finished

The requisite crumb shot.  Don't be fooled- crumb may look tight, but this is one soft bread, slightly sweet from the honey, and just delightful for snacking even unadorned.  I'd try doing a preferment next time to inject some flavor complexity to the finished bread if I weren't the impulsive, down-to-the-last-minute type of baker.

crumb

hansjoakim's picture
hansjoakim

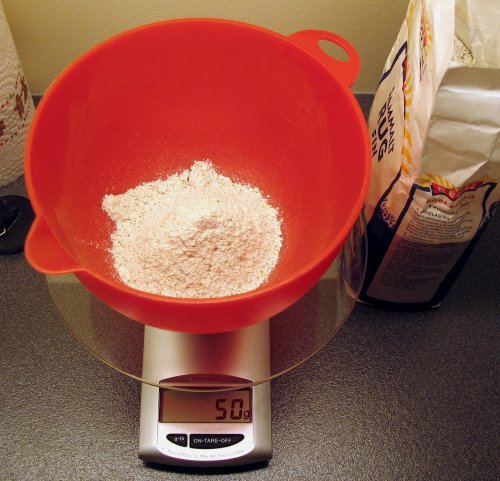
My trusted sourdough starter is a firm white one, that I've had for just under a year now. We got off to a shaky start, but it's become amazingly reliable and flexible. It seems to respond very quickly to feedings and has a great leavening capacity. My only minor complaint would be that it's very mild in flavour, and imparts only a slight tanginess to the loaves. So, as an experiment, I decided to start a new rye starter from scratch, and see if this would result in more sour breads. I had lots of rye flour on hand, and rye starters are said to be among the easiest to get going (in addition to e.g. spelt starters or rice starters). I used the recipe in "Bread": Equal weights of whole rye flour and water, mix and let sit 24 hrs. I went with 50 gr. each of flour and water:

New rye starter

After 24 hrs., keep 50 gr. of the original mix, and add 50 gr. each of flour and water. Let sit another 24 hrs., and then continue this regimen, but with 12 hr. intervals instead of 24.

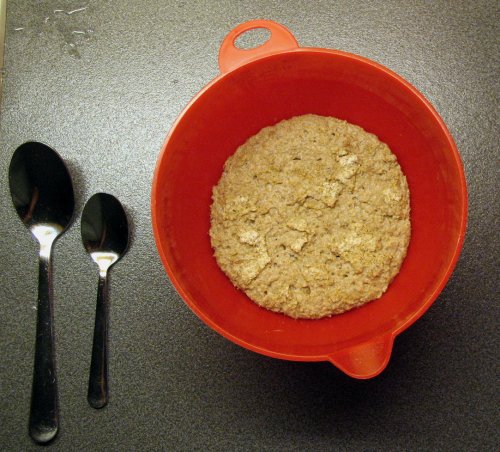
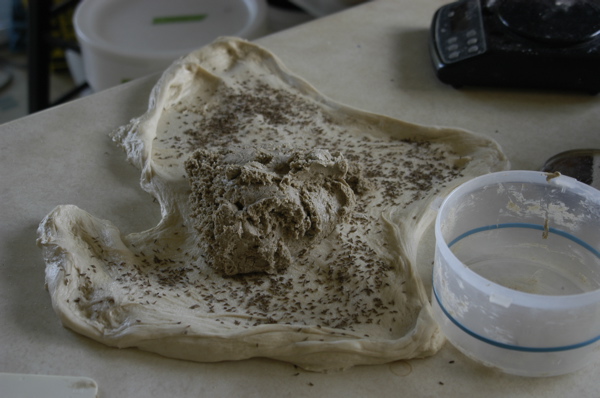
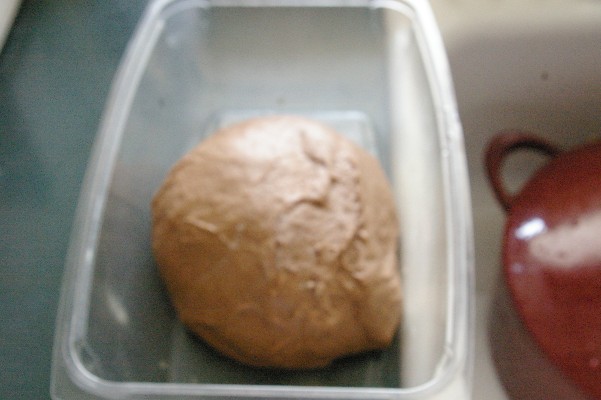
Nothing much happened the first 24 hours, but on the second day I got hit pretty badly with leuconostoc. The mix had tripled in volume, looked dark brown with hints of green, it was very runny and smelled rather pungent. *yuck* Well, soldier on, I say. The activity dropped markedly during day 3, and the odour became a lot milder, and smelled more of yogurt than of the leuconostoc madness. Nothing much happened in volume until the end of day 4, when the mix all of a sudden started tripling again! Phew! The culture started to smell healthy, looked greyish in colour (as I expected it should), and had a fragile, but not runny consistency when ripe and ready for new feeding. Below is a photo taken sometime during day 5. You can see some small patches of rye flour on the top - I usually sprinkle rye flour over the mix after each feeding, so that it's easy to gauge the level of activity:

New rye starter

I followed Hamelman's directions, and kept feeding out day 6, and then two more days to ensure that things are stabilized and healthy.

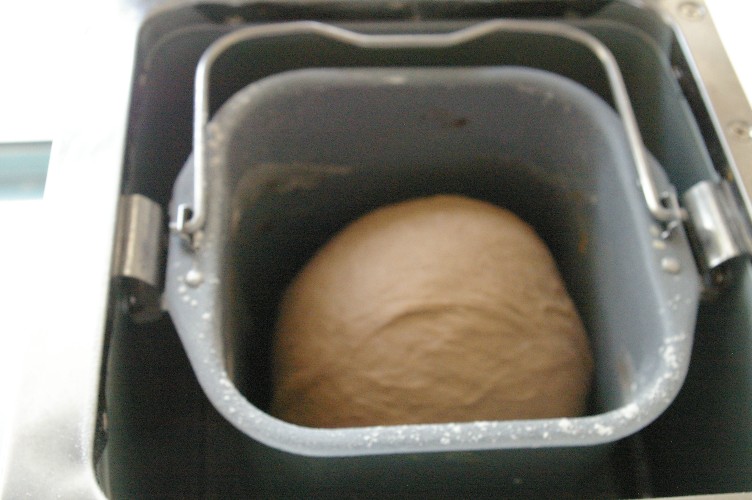
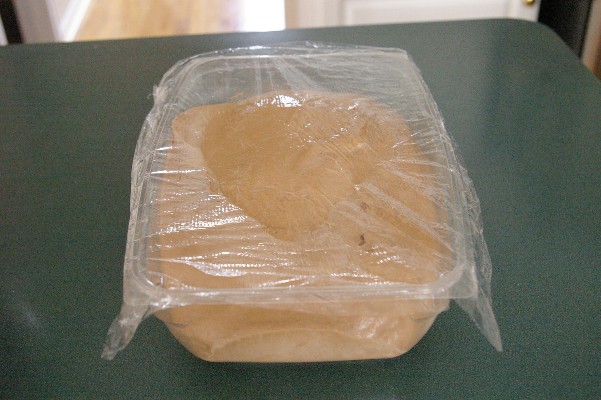
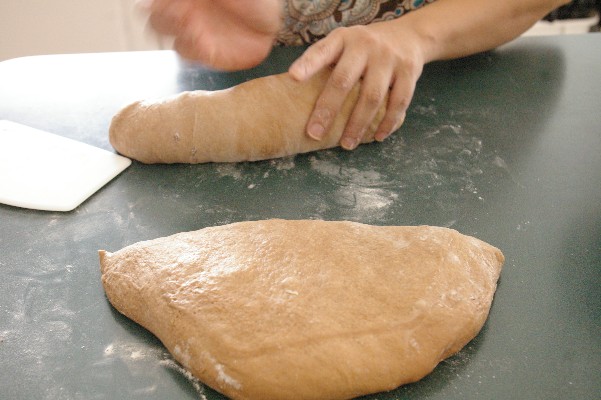
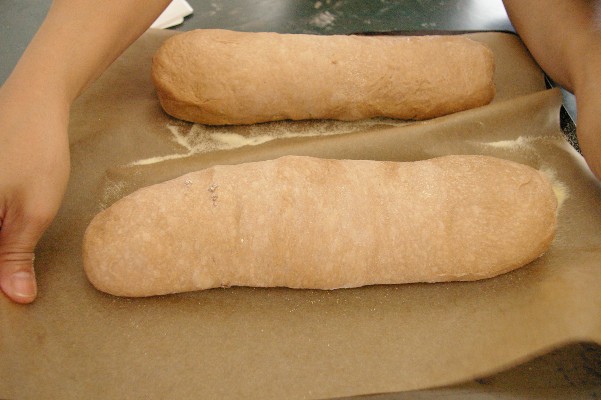
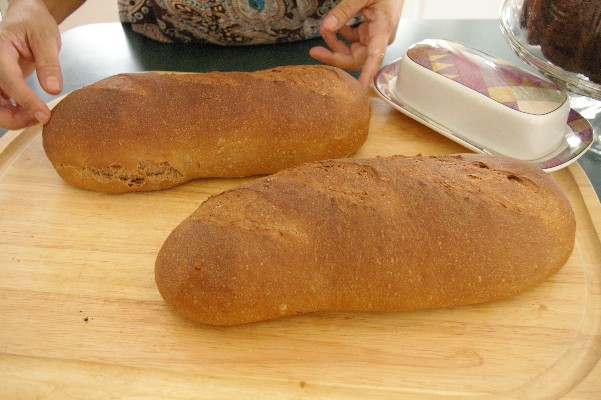
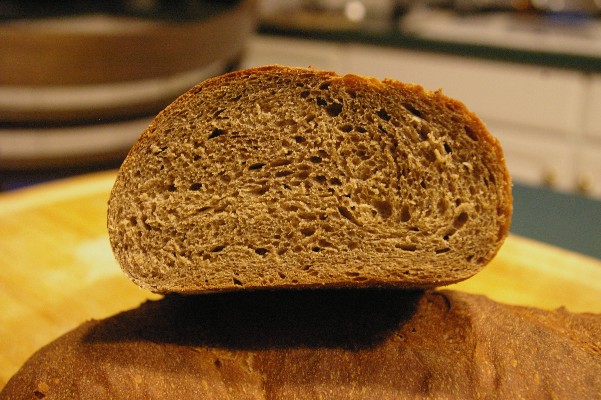
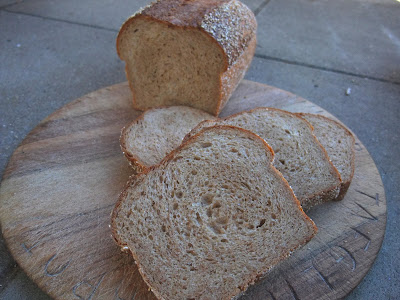
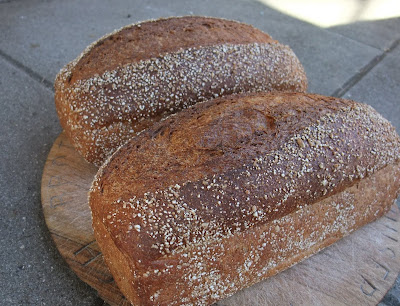
Today I decided to try it out, and devised a simple multigrain loaf for it. This one's approx. 33% whole rye, the rest bread flour, with a soaker of oat bran, flax, sunflower seeds and rye chops. I used equal amounts water and yogurt in the final dough, and added a tiny spoon of honey for good measure. I didn't use any commerical yeast, but prefermented 25% of the flour (new rye starter). I went with a 2 hr. bulk ferment (fold after 1 hr.) and retarded in fridge for 8 hrs. It could probably have gone a bit further in the fridge for the final proof, but I got scared with a third rye in there. It kept up well, and rose remarkably during baking:

Sourdough multigrain new starter

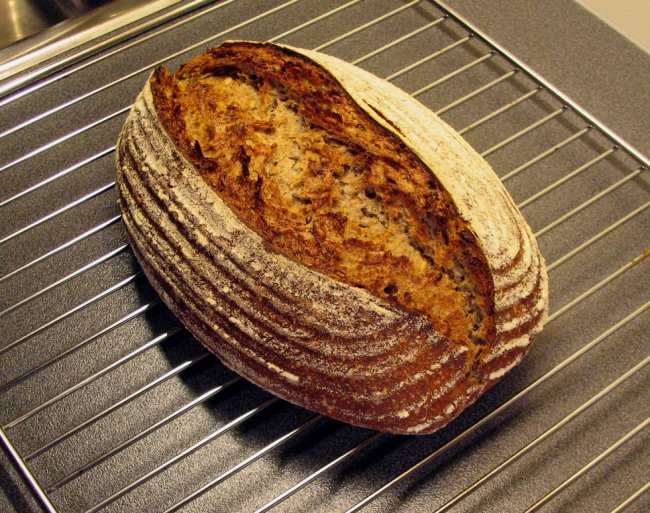
It was a lovely loaf, and I must admit, slightly tangier in taste than what I get with my firm white starter. A bit more sour, not overwhelmingly so, but pleasantly tangy. I think I'll keep both for the time being, and see how the new born develops in flavour as the weeks go on. In the meantime I need to come up with a name for it... I'm thinking about Aladdin, but it's far from settled yet.

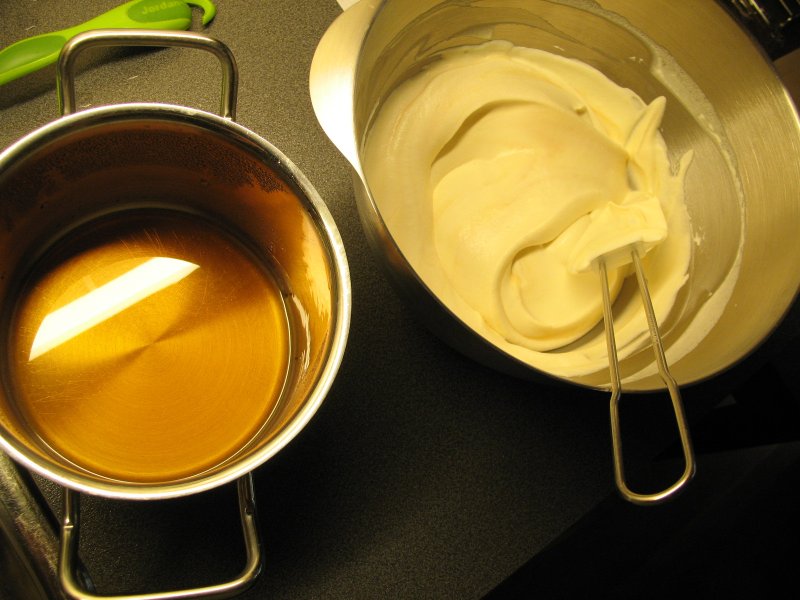
To celebrate the new starter and nice tasting multigrain, I decided to have a go at a caramel cake from Friberg's second pastry book. It's a delicious concoction of a thin shortdough bottom, and two sponge cake layers sandwiching a rich caramel cream. Here I'm folding caramel sauce into the cream:

Caramel cream

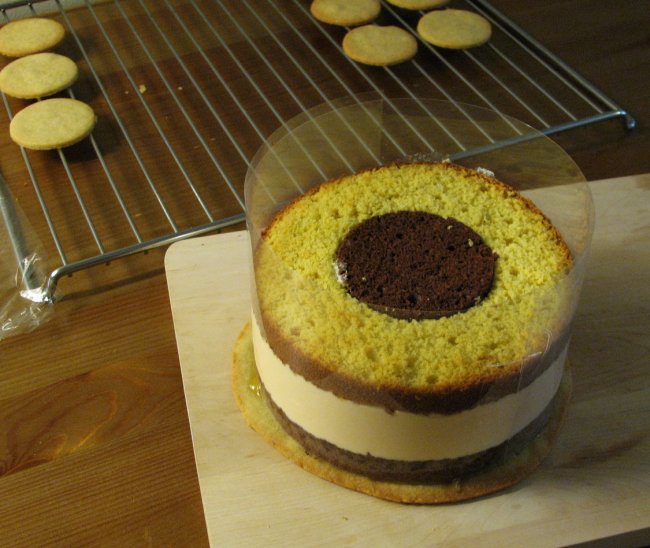
And below is the cake before icing. It looks pretty cool if you ask me: You make one almond sponge and one cocoa almond sponge. After they've cooled, you use a cookie cutter to cut out the middle of each sponge, and interchange the middle cut outs. You only use half of each sponge in this assembly, so the remaining sponge layers can be frozen. Lovely thick caramel cream in the middle:

Assembling caramel cake

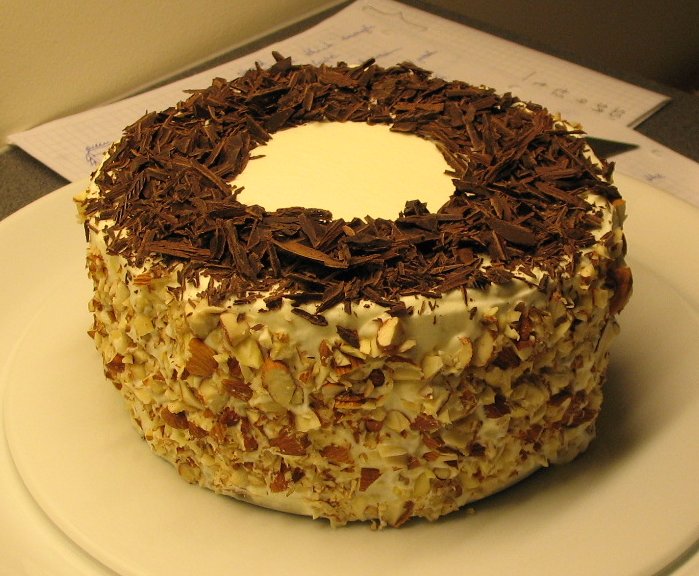
The caramel cream is set with some gelatin, so after a few hours in the fridge, you're set to ice it. Cut the protruding shortdough bottom, then ice with whipped cream. Decorate with some chocolate shavings on top:

Caramel cake

And here's the first slice:

Caramel cake slice

The taste is absolute caramel heaven! I really like the unusual look given by the two sponges, and the shortdough bottom gives a nice constrasting crunch to the creamy rest of the cake.

AnnieT's picture
AnnieT

Happy to say my bread won two blue ribbons and the Scali got a merit award too! Have to admit that there was no other sourdough entered, and it is a small enough fair that nearly everyone gets a ribbon. My sourdough looked pretty sad and it didn't appear to have been cut, but we found a small piece had been removed from one side. All of the other loaves had been cut in half so maybe the judge couldn't get a knife through the crust! A fun experience and I wouldn't be so uptight about it another year. Thanks for all the good wishes, A.

97grad's picture
97grad

Just wanted to say a big thank you to everyone here at TFL for this amazing community. With the help of all your comments and post I have been able to enjoy baking a variety of bread. Still taking baby steps but very excited. The handbook is also very helpful.

I know I have a long way to go still but I'm enjoying the ride at the moment.

Tereze, Sydney


This is a Wholemeal seeded loaf


And this one is my First Sourdough light Rye mini loaf


Salome's picture
Salome

I've packed all my stuff, cleaned everything, thrown so much out . . . I'm moving to Basel on Sunday and I'm getting read for it! Yeyy. That's why I stayed the whole day at home. I had to get all these rather annoying things done. Now my room looks very clean and rather empty. Well done, Salome!

Still, I had to make my day somewhat more fun, and a full day at home is perfect for bread baking. Unfortunately, I realized this just after breakfast, so I didn't have time to get my sourdough ready.

That lead to the first requirement: I wanted to use a yeast formula with no pre-ferment.

Secondly, I had some buttermilk which had to get used.

Thirdly, I wanted some whole grains - baking white bread is fun, because of all the nice holes you can achieve, but it always causes me bad stomach-sensations, because I end up eating to much. So, third requirement, a whole-grain recipe!

Tadaa tadaa: I found a nice Buttermilk Whole-Wheat Bread formula!

I just had this bread for dinner, and it is a big hit. You've got to try it, it's so incredible light, even though its 100 percent whole-wheat. And the dough is simply a dream to handle, I never had a whole-wheat dough that behaved like this.

But it requires an effort: I kneaded for 30 minutes by hand, using the bertinet technique. during the last ten minutes I added gradually more water, the dough was able to absorb at least 50 ml, I'd guess. After the kneading the dough felt very smooth.

The dough has to rise twice before it gets shaped. It's a pleasantly warm day today, around 75° F - maybe that's the reason why this dough rised so beautifully. It was a real joy to watch it. It rose as high as many white flour doughs do! First rise: ~1 h 45 min, second rise ~1 h. After shaping, I wettened the dough slightly and rolled it in coarse wheat.

The next time, I'll add less honey. (The bread is subtle sweet, which is tasty and you'd think that it's the natural sweetness of the wheat if you wouldn't know better. But I found something about this subtle sweetness disturbing, too.) And more important, I'll bake it at a higher temperature. When I checked the loaves after 30 minutes, it was still incredibly soft on the outside. So I gave it 10 more minutes at 230°C, in order to achieve somewhat of a crust. This worked, but I'd still prefer a somewhat crisper crust. Next time I'll start baking at 200°C, take the loaves out of the pan after 20 minutes and maybe lower the temperature if required.

The recipe is originally from Laurel's Kitchen Bread Book and got posted here on thefreshloaf.com. I did the version without a biga. (but I'm planning on trying it with a biga soon as well.)

Jw's picture
Jw

I've been far and away, hence a lot less active on TFL. That will change again soon. I received 'Crust and Crumb' in the mail (wanted to buy it in a store in the US, no such book available). This is a serious book, I really enjoy reading the first chapters. It is the mise-en-place before the actual work start in the rest of the book.

I updated my breadcollage, which I use to ask people to 'read' before they can pick a bread for me to bake.

In case you like to know: the questions I ask:

Which bread is the most 'work'?
Which bread is the easiest to make?
What is the relation between shape (looks) and taste (content, inside)?
Which bread is slowrising, which is multicomponent?
Which type I got right first time around, and which one am I still struggling with?

A few of the questions I get (apart from the 'you got to be kidding you can do this'..)

- what do you do after you knead to bread? (what do you mean with knead?)
- how much does a bread baking machine cost? (I don't know, don't have one).
- is this way too much work? (if time is your only perspective, buy bread in a store)
- what about the costs? (this is actually cheaper then buying quality bread, but don't count the labor costs...)
- why would you do this? (as mentioned before: taste, healthy food, sharable, care for my family, learning experience, 'chemistry')

Happy baking, 'I'll be back' with Pain de Michelle.

Cheers,

Jw

SylviaH's picture
SylviaH

I just received my book 'Maggie Glezer's Artisan Baking' and was looking at the recipe and photos of this bread.  I have been wanting to make this loaf ever since David 'dmsnyder' told me how wonderful it tastes and it's his favorite semolina bread.  He also has the recipe and photo's on his blog.  I have made a few breads using the Semolina and Duram flour'. I love breads made with Duram wheat!

This bread is absolutely delicious!  I love the golden creamy color of the crumb!

I mixed completely by hand.  Baked the loaf on preheated stones...for 10 mins. under my largest dark blue enameled roasting pan...I have 3!


Balsalmic Glaze and EVOO.  with tonights roasted chicken dinner.

Sylvia 


AnnieT's picture
AnnieT

Shortly after I joined TFL just over two years ago, Susan from San Diego kindly gave me her basic sourdough recipe and it has become my "go to" loaf. When my son was rude enough to ask why I kept making the same loaf I claimed that I needed to get it right so that I could enter a loaf in the County Fair. Well, in a classic senior moment I completely missed the deadline! So in effect I have been practising for two years, and tomorrow is the day to deliver the loaf. The dough is in between stretch and folds and I am cautiously optimistic. Please wish me luck and I will report back with good or bad news, A.

jj1109's picture
jj1109

is the reaction I mostly get at work when I mention that I do actually bake all the bread we consume at home. "We haven't bought bread for, oh, over a year now" I mention. The usual response to that is "oh, you got a bread machine did you? I have one, it's great, etc etc." Then I say no, sorry, I use my hands - the last few months I have returned to the good old hand knead (over my Kenwood mixer), which is why I made bread in the first place - I greatly enjoy the sensation of bread making, the changing of the flour'n'water paste into a smooth, soft dough, wonderful to touch and stretch! Also, given my three year old son likes to help, have this great big mixer going round and round tempts little fingers (he's really very good with it though) and I'd prefer not to go down that path...

One thing I do still use the mixer for is a new (to me) sourdough rye sandwich loaf formula from Peter Reinhart. It calls for the starter to be made wholly with rye flour, with the description of "it should look a little like potters clay" being a little inaccurate - the stuff is exactly like clay, in both colour and texture! At around 67% hydration, it's heavier than I usually use, impossible to stir with a spoon, so the first time I made it I got both hands in there (as is my usual method) and promptly was amazed at just how much stuck to me - I think out of a starter that was supposed to be 250g, there ended up being around 150g left in the bowl when I was finished. After that little effort, I use the Kenwood to mix that every time! This has very quickly become the favourite for sandwiches in my household, overtaking multigrain extraordinaire and marbled rye from BBA. Here's some pics:


Whilst I was on leave from work, I had plenty of time to read and bake. Actually, I had very little time, having to prepare my son's new room for him to move into (don't ask me how much I hate painting!) and we spent a week away (luckily there was an oven so I could keep baking!) however on the home page of TFL there's a link to a Blueberry Cream Cheese Braid from Floyd, I made the mistake of looking at that when my wife was over my shoulder... results are below ;) I can now attest that Raspberry Cream Cheese Braid is a resounding success as well!

The bread I keep returning to, however, is the one I first wrote about on TFL - Susan's Original Sourdough, as interpreted by David. I guess this is my "daily bread", the one I know the best, and the one people at work ask me to make for them! It's my most reliable formula, and always yields great results!

880g, no cold retardation

440g, no cold retardation

440g, 24 hours cold retardation

And finally... you should always smile, even when bread making. You can imagine my double-take after dipping this slice in my soup... and the resigned sigh from my ever-patient wife as I grabbed the camera!

Pages

Subscribe to RSS - blogs