Ok, first off I have to admit that up until dinner all I ate all day was BREAD (plus an apple). Now, I don't know how I feel about that, but I can tell you it sure was tasty and I hope my husband and son will eat the rest, so that I don't have to be tempted to eat some more bread for dessert.
Let's see.....my husband has begged me to make Foccacia for a while and this weekend the moment had come. I decided to make Foccacia according to the recipe in Hamelman's "Bread" book (which as you can see by my past Blog posts, has become the only book I am using ever since I got it 1.5 weeks ago), which uses the Ciabatta with stiff Biga as a dough.Since the Foccacia recipe doesn't utilize all of the Ciabatta dough it meant, if I didn't scale down the Ciabatta recipe, I would have some dough left over to make one loaf of Ciabatta.
A few notes:
-it says in the recipe that one is to use "bread flour"-which I have never used before but thought, hey, I will actually buy this, this time around
-then after I had already started the Biga I decided to research the difference between bread and ap flour here on TFL and lo and behold I come upon some posts saying that when "bread flour" is specified in theis book that it really should read AP flour (I feel that my way of doing research may be a tad backwards ;p)
-after reading that retarding a dough overnight might weaken the gluten structure, I decided to use bread flour for the dough anyways, since I figured the higher gluten content might stand up better to the retardation(all you experienced bakers out there-please tell me if that rationale makes sense)
This time the bread making timing was all awry due to my duncehood-or maybe I can just say that I am experimenting in how best NOT to follow directions*wink*- here is what I ended up doing:
- once the Biga was ready, I mixed the dough and let it sit at room temp probably for no more than 30 minutes and off in the fridge it went.
-in the morning I did a S&F, then let it proof for about 45 minutes; here I divided the dough into the two pieces for the Foccacia and the one piece for the Ciabatta
-in total the Ciabatta proofed for about 1,5 hours after coming out of the fridge(wiht one more S&F) and that Focaccia for about 2.25 hours
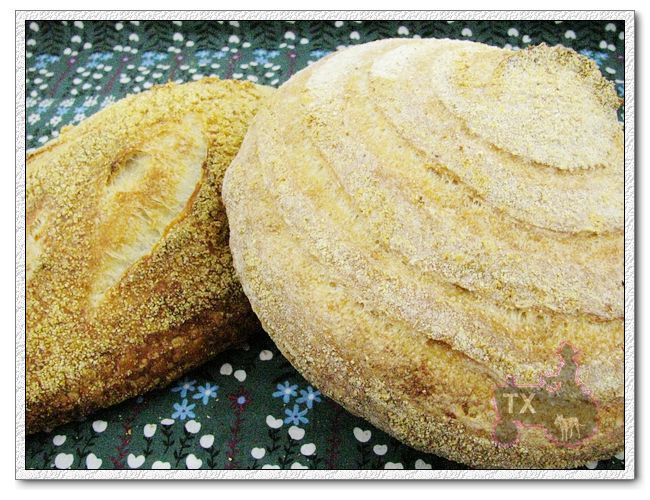
I must not have floured the towel I had the Ciabatta proof on enough, since there were small parts that stuck to it, giving the final crust a strange "seam".
For the Foccacia I decided to make one according to Hamelman's instructions and the other one I baked according to the instructions I found in my italian cookbook by Marcella Hazan. The Hazan version calls for docking the dough after the rising time, with stiff fingers, and then drizzling the top of the Foccacia with an emulsion of olive oil, water and salt-this mixture will pool in the little hollows created by your fingers. One of them was topped with sauteed onions and the other with a little bit of onion and garlic.
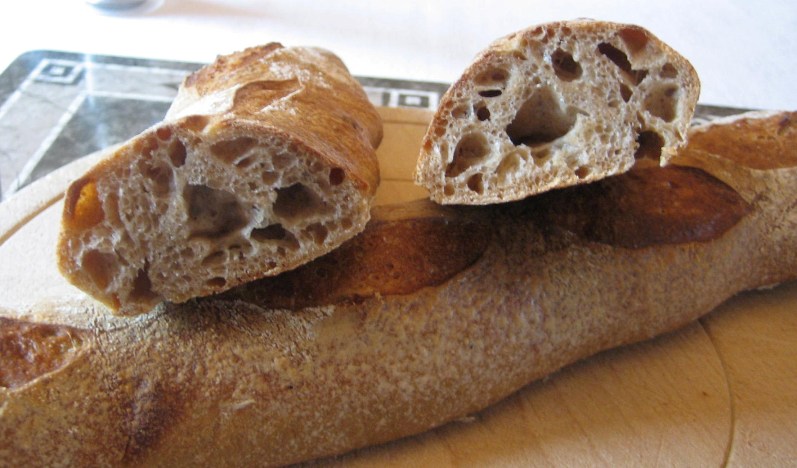
The Ciabatta was done baking after 35 minutes-it almost turned too dark. At the bottom it has a very small blowout area-which I think means that I should have let it proof a bit longer after it coming out of the fridge.
The Foccacia had to stay in the oven closer to 30 minutes-they are moist and absolutely charming on the inside, but it definitely needed that extra 10 minutes to acquire some color.
And here are pictures:
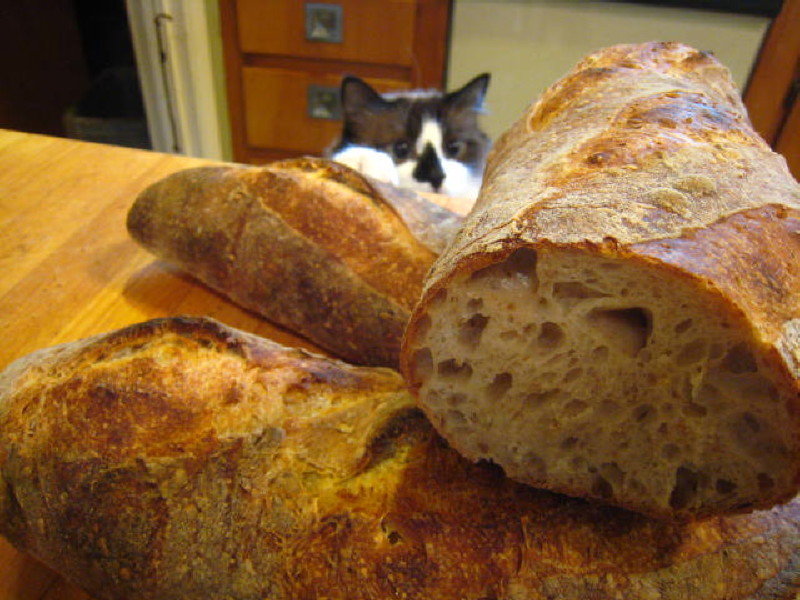
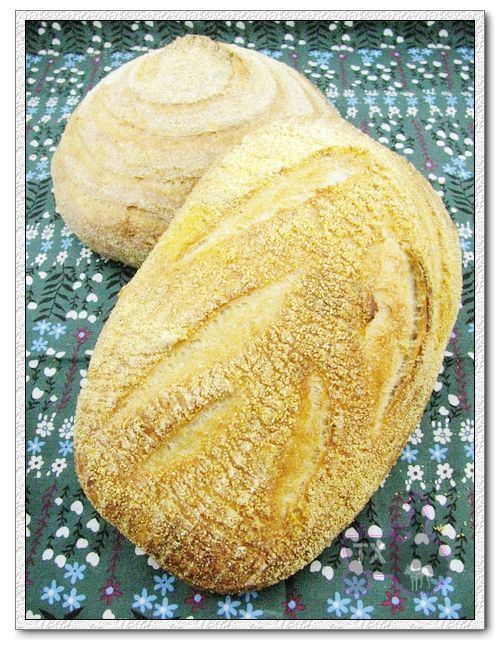
Ciabatta

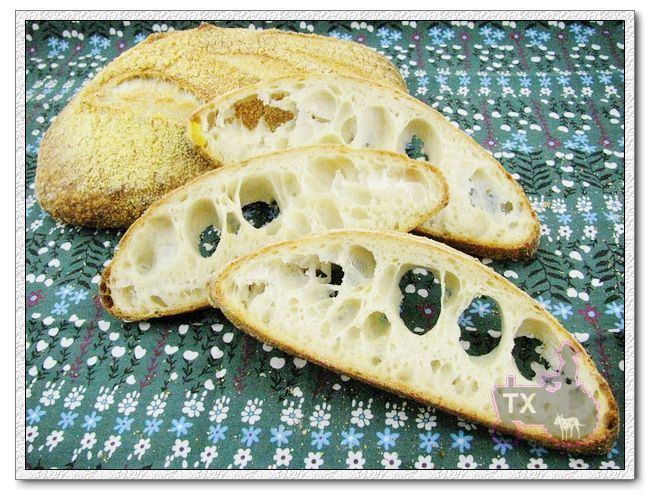
plus crumb shots:


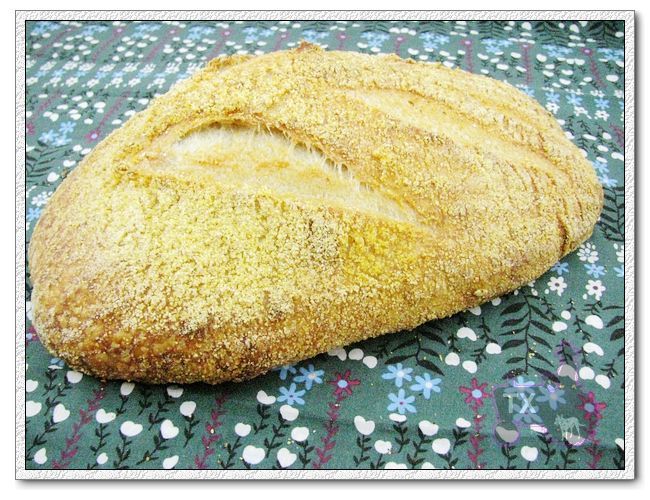
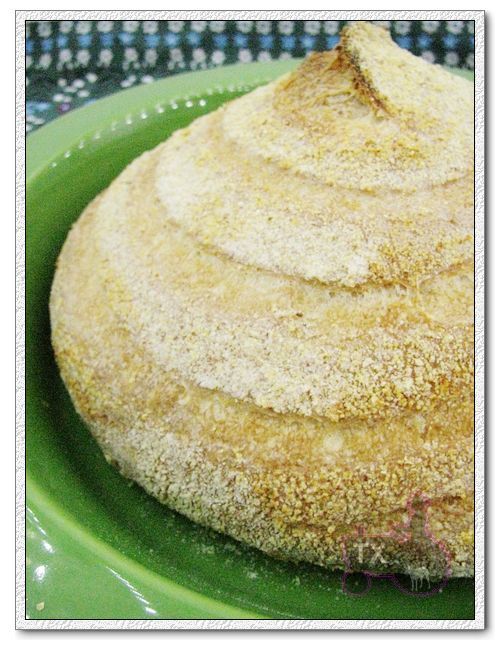
and here the Hamelman Style Foccacia:

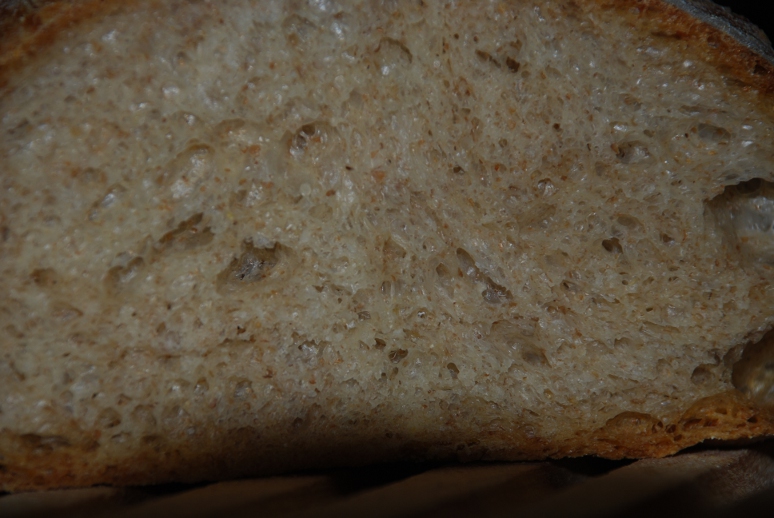
And the Hazan Style Foccacia

and its crumb

My camera was being difficult so no crumb shot of the Hamelman style Foccacia. We already devoured the one with the olive emulsion drizzle and the Ciabatta is almost gone, too. Thos are some delicious breads! I will have to contemplate on which of the Foccacia versions I prefer-the olive oil emulsion definitely make the resulting bread very, very moist(but not soggy) in spots and it resulted in slightly flatter loaf.
I am happy with the results overall-the Ciabatta was one of the most heavenly thngs to eat!I definitely need more practice(in everything but also...) in gently laying down the Ciabatta dough-it is by no means a rectangle!
Christina