"A bagel is a round bread made of simple, elegant ingredients: high-gluten flour, salt, water, yeast and malt. Its dough is boiled, then baked, and the result should be a rich caramel color; it should not be pale and blond. A bagel should weigh four ounces or less and should make a slight cracking sound when you bite into it instead of a whoosh. A bagel should be eaten warm and, ideally, should be no more than four or five hours old when consumed. All else is not a bagel."
So wrote Ed Levine in The New York Times. Having tasted (and baked) various bagels, the elegant simplicity of Jeffrey Hamelman's formula, both in ingredients and technique, perfectly fits Levine's description.
Prep time is about ten minutes to scale the ingredients and complete the calculations for the desired dough temperature (76F). Figure another couple minutes to very lightly oil two sheets of parchment (wiping off any excess oil), which are then placed on two baking sheets. This is your insurance policy to make sure your bagels won't stick to the parchment after the retarding period. BTW, these two sheets can be used over and over again. Just let them dry out before storing them and lightly re-oil before using again.
The dough is then mixed for three minutes to incorporate the five ingredients, then five to six more minutes in a stand or planetary mixer.
Now, about mixers. Over the past year I've been using my KA Artisan mixer to mix this 58- percent hydration dough. It easily handled the first three minutes of mixing at speed one, but began to heat up during the second mixing stage at speed two. I resorted to strapping an ice pack on top of the mixer to keep it cool and even shut it down for a few minutes if I thought the mixer was straining too much. That worked and my KA Artisan has survived mixing 30 pounds of Sir Lancelot high gluten flour for bagels, but I've paid very close attention to it every minute of the mix.
Not wanting to push my luck any further because my KA grain mill and food grinder attachments are important tools, last month I found a Bosch compact stand mixer for sale. After mixing two batches of bagels, I remain amazed that the little Bosch (which I can hold in one hand) doesn't even get warm while mixing this very stiff dough.

Once the dough is mixed, it is bulk fermented for one hour, then divided into 13 (a baker's dozen) four-ounce pieces (roughly 112 grams). Each piece is rolled into a log shape with blunt ends to a length of 10 to 11 inches. Since a picture is worth a thousand words, and a video worth a million or more, here's a link to a great video by Ciril Hitz demonstrating the same shaping method described in Hamelman's Bread.
It takes about a minute to divide, weigh, and shape each bagel. Divide the 13 bagels between your two lightly oiled parchment sheets, bag the pans or cover with plastic wrap, and refrigerate at least six hours or overnight. I prefer at least 12 hours. Retarding is important because it slows down the fermentation of the dough and encourages lactic acid to develop, as well as that lovely crust. The bagels remain in the refrigerator until you are ready to boil and bake them.
The next morning preheat your oven (and stone) to 500F and add three to four inches of water to a large pot, which will be brought to a boil. While waiting for the oven to preheat, assemble a large bowl to contain ice water, a plate and cake rack to hold the bagels after their ice bath, a spider or slotted spoon, and another plate to catch any droplets of malted water as you move the bagels from the boiling water to the ice bath. You'll also need a couple sheets of parchment and your peel.


Add enough barley malt syrup to the water (before it begins to boil) so that it's the color of dark tea. Once the water is at a rolling boil, dump a tray of ice cubes into the large bowl and add water. Remove one tray of bagels from the refrigerator, uncover, and place two or three in the boiling water for around 45 seconds. They'll pop right up and float. The syrup adds a touch of sweetness and color; boiling begins to gelatinize the starch and creates the glossy crust, but boiling too long (some authorities say a minute is too long; others say two minutes) can cause the dough to collapse or develop patches of yellowed, thickened crust.
Remove the bagels from the boling water and immediately place in the ice water bath to chill for a couple of minutes.  I don't use bagel boards, so I move the chilled bagels to the cake rack for about a minute, then to the parchment on my peel (after adding toppings, if any). Once all the bagels from that batch have been boiled, chilled, and moved to the parchment covered peel, into the oven they go for 15 to 18 minutes. Proceed with the final batch and enjoy while still warm.
The results: authentic, elegant bagels that even Ed Levine would love.


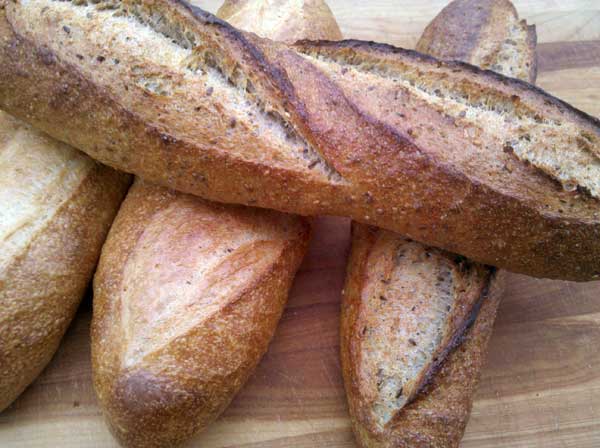
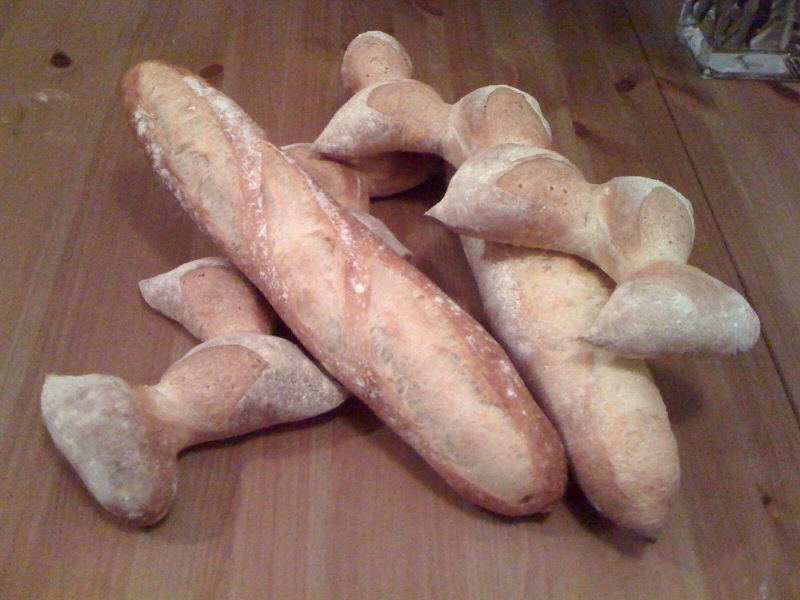
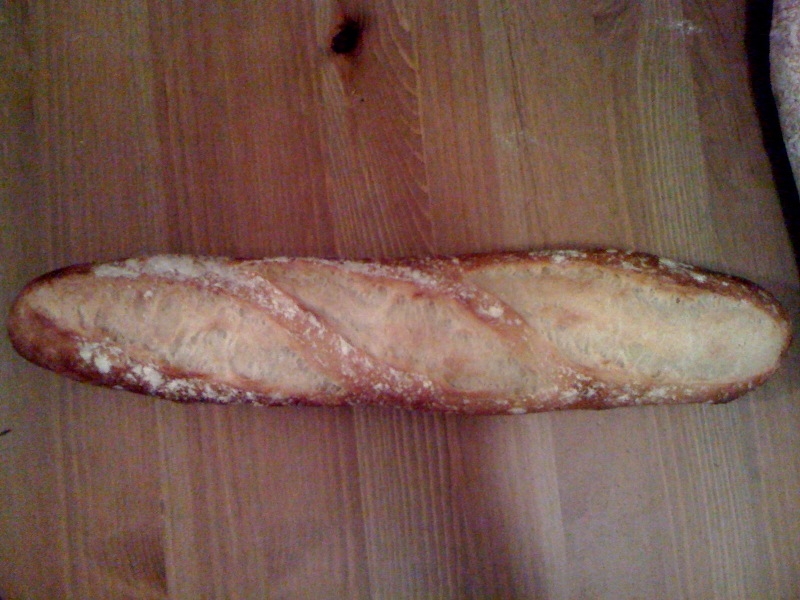
This recipe is my first bake of The Bread Challenge


 this is the fermented basic sour
 full sour at mixing
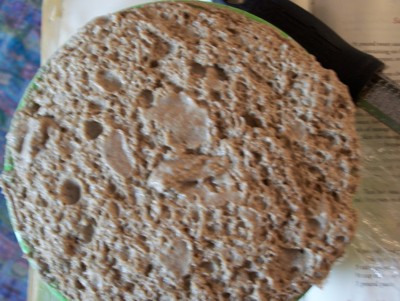 full sour after it was fully fermented-I had to stir it down once during fermentation because it rose too much(others might say because I put it into a too small bowl.......a small distinction ;p)
 tadaaaaa, bread!
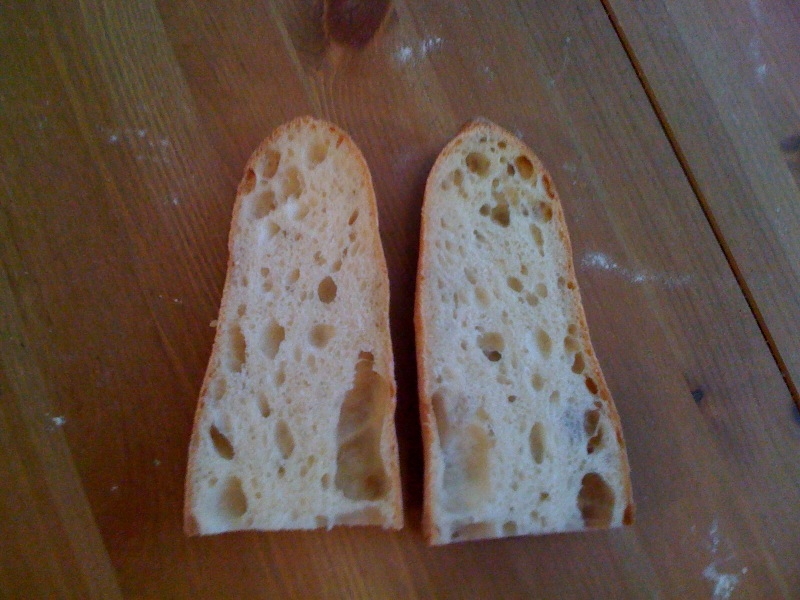
 crumbiest, crumb shot