Achieving a thin, crackled crust has been a frustrating pursuit for many, myself included. I have been able to get it, sometimes, but not consistently. There have been numerous discussions of how to get that crackly crust. I've been slowly digesting what's been written, and I think I may have arrived at a reliable method, at least for my breads, my dough handling and my oven.
The basic principles
The crust crackles during cooling because the interior of the bread contracts as it cools, and the crust is too dry to absorb water vapor which is trying to migrate outward and too rigid to contract with the crumb.
In order to optimize oven spring, bloom, crust shine and crust thickness when baking hearth breads, it is necessary to have a moist environment for the first part of the bake. Keeping the surface of the bread moist delays hardening of the crust, so it is extensible enough to expand with oven spring and permit a nice blooming of the scoring cuts.
Thus, it is desirable to have a humid oven for the first part of the bake but a dry oven for the last part of the bake.
Convection ovens, by increasing hot air circulation, tend to dry the surface of whatever is cooking. That's nice for crisping chicken skin, but it is counter-productive for keeping the bread surface moist early in the bake. On the other hand, convection baking helps dry the loaf surface, as is desirable during the last part of the bake. Convection ovens made for bakeries solve this problem by injecting steam under pressure over a time period under control by the baker. The home baker can achieve something like this by covering the loaves or using a cloche for the first part of the bake. The cover protects the loaf from excessive water evaporation, even in a convection oven. When the cover is removed, the crust can be dried, and a convection oven can presumably achieve this better than a conventional oven.
Allowing the loaf to sit on the baking stone with the oven turned off and the door ajar can achieve additional crust drying, but it may be that a less gradual cooling results in faster contraction of the cooling crumb and greater likelihood of crust crackling, according to some.
The protein content of the flour used and the inclusion of other ingredients that increase water retention, for example, potatoes or soakers, may also have an impact. These factors may impact both the degree to which the crumb contracts and the difficulty of drying the crust, and both of these would inhibit crackle development. If so, crackles should be easiest to achieve in a straight bread dough made with lower protein flour. Indeed, the bread most associated with a thin, crackly crust is baguette, which meets these conditions.
The principles applied
My oven is made by KitchenAid and has both convection and conventional baking options. This provides me with the opportunity to apply the principles discussed above.
I baked two breads yesterday and today with these principles in mind. The first was one I've baked dozens of times, my San Joaquin Sourdough. The second was one I had not baked before, the Vermont Sourdough with Increased Whole Grain from Hamelman's Bread. Both breads had 20% pre-fermented flour in the form of a 125% hydration starter fed with a mix of 70% AP, 20% WW and 10% whole rye flour.
The San Joaquin Sourdough was made with KAF AP and 10% KAF Medium Rye flours. The dough was 72% hydration. The loaves were scaled to 480 gms and shaped as bâtards. The Vermont Sourdough with Increased Whole Grain was made with KAF Bread Flour and 15% KAF Medium Rye Flour. The dough was 65% hydration. The loaves were scaled to 810 gms and shaped as boules.
For both bakes, the oven was pre-heated to 500ºF on convection bake for 60 minutes, with a baking stone on the middle shelf, pushed to the left, and a 7 inch cast iron skillet filled with lava rocks at the right front of the lower shelf. The oven was pre-steamed by pouring about 1/3 cup of boiling water over the lava rocks. The loaves were then transferred to a peel, scored and loaded onto the stone. Another ½ cup of water was poured over the lava rocks and the oven door quickly closed. The oven was immediately turned down to 460ºF, conventional bake.

San Joaquin Sourdough Bâtards

Vermont Sourdough with Increased Whole Grain from Hamelman's "Bread"
For the San Joaquin sourdough, the skillet was removed from the oven after 12 minutes, and the temperature was reset to 440ºF, convection bake. After another 18 minutes, the oven was turned off, and the loaves were left on the stone with the oven door ajar for another 7 minutes before being transferred to a cooling rack. The loaves commenced “singing” immediately and exceptionally loudly. By time they were cooled, they had developed many crust crackles, as pictured.


Crackly Crust on San Joaquin Sourdough
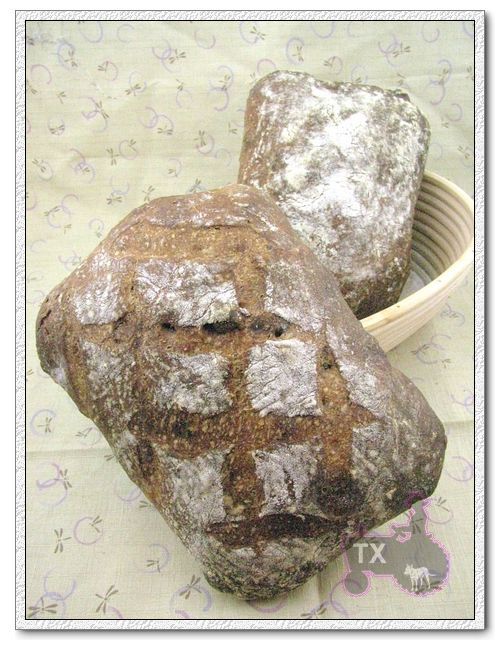
For the Vermont Sourdough with Increased Whole Grain, the skillet was removed after 15 minutes, and the oven was re-set to 435ºF, convection bake. The loaves were baked for an additional 25 minutes. Then, the oven was turned off, and the loaves were left on the stone with the oven door ajar for another 7 minutes before being transferred to a cooling rack. The loaves were already singing when I took them out of the oven, and, to my delight, there were already a few crackles. I had never before seen crackles develop before a loaf was cooled out of the oven. More lovely crackles appeared as the loaves cooled.

Crackles in crust of Vermont Sourdough with Increased Whole Grain, right out of the oven

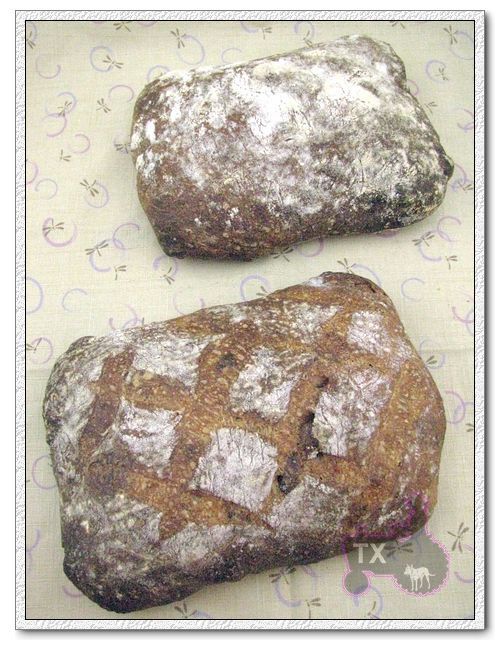
More crackles appeared as the loaves cooled

And more ...

And yet more crackles
Conclusions
While two bakes is not sufficient to completely establish that the method described will reliably produce a crackled crust with all hearth breads, or even these, every time, this experience certainly supports my current understanding of the mechanisms involved and suggests the possibility that other bakes and other bakers might achieve similar results by applying these techniques.
I'd be happy if others would give this a try and share their experience.
David


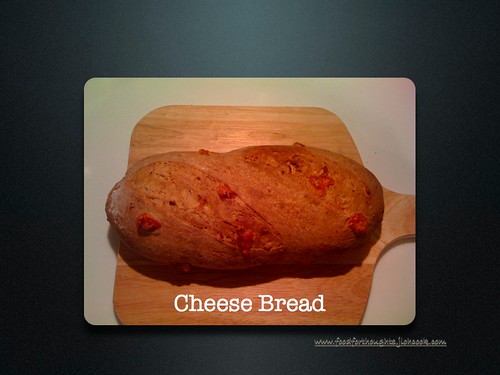
 Both of them were proofed seams side down, but the one on the left got baked seam side up and I did not slash it.The one on the right actually showed some cracking of the crust-very exciting!
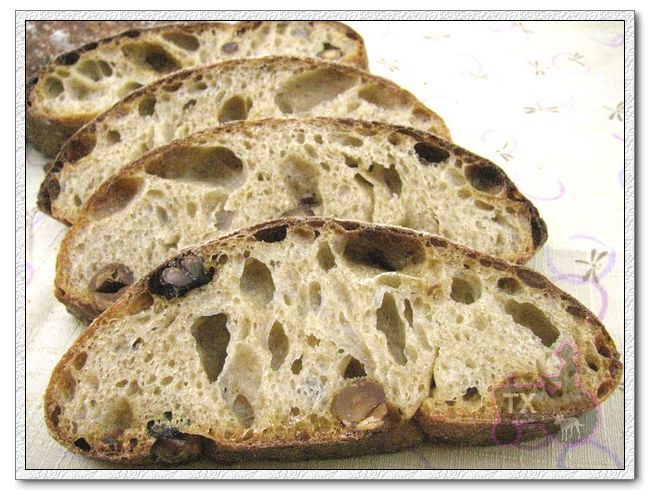
 crumb shot of the unslashed loaf.


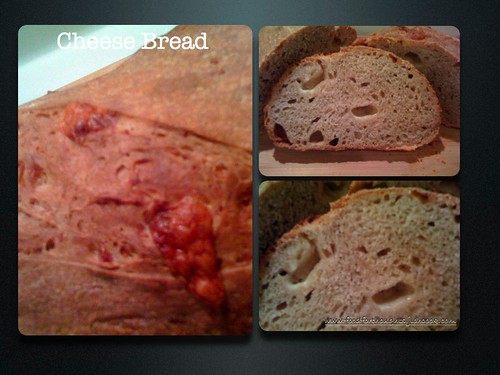


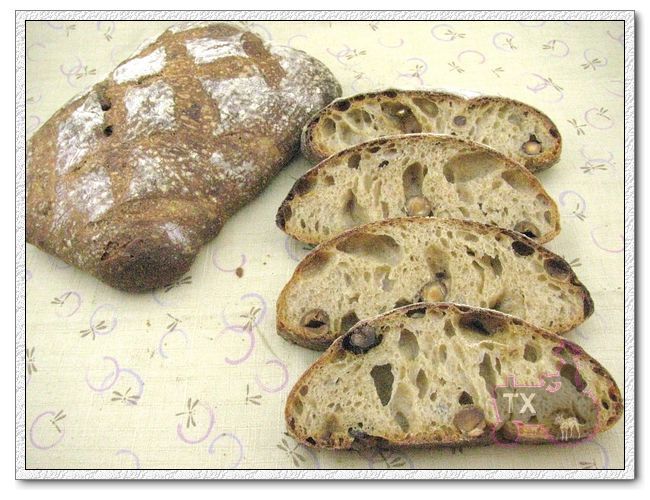
 As you can see it worked, alittle ugly but they are there. The bottoms show thepoor shapping. And the rest is evident to see. Any suggestions would be appreciated. Herb