The Fresh Loaf

A Community of Amateur Bakers and Artisan Bread Enthusiasts.

Blogs

amy bassett's picture
amy bassett

I just love this recipe, thanks to Floyd for posting it!  It is just sweet enough and soft enough that you can't stop eating them!  I made these to go with my blackened salmon burgers............YUM!!  The sweetness of the roll was just a delicious combo!

amy bassett's picture
amy bassett

Ok, so here are my bagels, not my first time making them.  I've actually been making bagels for several years now.  I haven't had any complaints about them, in fact, many people say they really like them!  However, I was on a quest to see if I could get more out of my bagels, see if I could make them better.  So, I tried Peter Reinhart's recipe, minus the baking soda in the water on most of the bagels. I did do 2 bagels in the baking soda.  I always thought that having baking soda in the water would make it taste a lot like a pretzel and I don't think that's how a bagel should taste!  Well, I was wrong, well according to my husband :)  Definitely a little tougher crust, in a good way and the malt adds a little but more flavor!  Other than that, they taste just like the bagels I've been making for years. 

But.....I'm not sure that the process I went through makes this bagel any better than the way I've been doing them.  I've been following a very simple recipe, flour, water, yeast, salt and sugar. Let is rise until double, divide into 4 oz pieces, shape, let rest for 20 minutes, boil for a minute each side and bake for 15-20 minutes at 400-425.  If I left the bagels to rise overnight in the fridge, they would turn out the same.  I just don't know if the retarding process is really necessary.  What do you think?


loydb's picture
loydb

The first batch of sourdough biscuits I made (see below in the blog) were fantastic. So, of course, I had to wildly tinker with the recipe. This time, I decided to mill soft white wheat (3%) to use for the dry flour portion of the recipe. I figured there would be enough bread flour in the sourdough starter. 

I was wrong.

I got no oven spring at all. They taste good, but are dense. I told my wife they were flatbread. I don't think she bought it...

lumos's picture
lumos

Just so that  you know I haven’t given up on T55 baguette challenge. ;)

Been always wondering the reason behind using 30% flour for pre-ferment for poolish baguette formula and 50% for Pain Rustique with Poolish in Hamelman’s book.  Thought higher proportion of pre-fermented flour would give you better flavour, that’s his Pain Rustique with poolish recipe was what my regular formula for poolish baguette was based upon…..Which works fine for baguette using a mix of UK strong flour (70-75%) and plain flour (30-25%). But didn’t with 100% T55.

Replaced plain flour with T55 but kept strong flour in poolish, but still not quite right.   Wondered if its very low protein level can’t withstand my formula of combination of poolish & very long cold fermentation, I tried reducing the ratio of pre-fermented flour to about 1/3, as in Hamelman’s poolish baguette formula…..and it worked, more or less, though not perfect. But the imperfection was probably due to shortcoming of my skill rather than the formula. The dough was much more manageable and easier to handle, easier to shape, easier to score. Though admittedly it lacks the complexity and depth of 50% pre-fermented flour option I’d been using, and the crumb had lighter texture, too, which can be said it’s more baguette-like. 

So, it might be ‘bout time I need to learn to compromise on something to achieve something better in other parts. Maybe the case of a lesson; there can be a good reason for everything. (most of the times….)

So this is the new formula for my latest version of revised Hamelinet Poolish baguette.  The only thing I changed is the ratio of pre-fermented flour used for poolish and the amount of yeast and water, accordingly. The method remains same as the original (the link above).


Hamelinet Poolish Baguette – Revised with 1/3 poolish

 Ingredients (To make 4 x 40cm mini-baguettes)

Poolish --- Strong flour 155g

                    Rye  15g

                    Dried yeast  0.3g

                    Water  155g


Main Dough --- T55  330g

                             WW  20g

                              Dried yeast 1.3g

                               Salt 10g

                              Water 200g


crumb


 Obvious next step may be to replace strong flour in poolish with T55.  Been contemplating that…a lot....though I have a feeling it may needs more intense kneading rather than just several sessions of S & F to develop enough gluten strength for this T55,  at least at the initial kneading stage. Will look into it….perhaps…. Maybe back to my old favourite of Bertinet’s slap & fold technique?  Another case of there's a reason for everything, possibly......

lumos

Mebake's picture
Mebake

This is a my first take on a recipe from Laurel’s Kitchen bread book. It is (Basic Whole Wheat bread). The recipe is basically an enriched (Butter/oil , and Honey) 100% whole wheat bread.

The whole procedure from mixing to baking takes roughly 5-6 hours, quite fast! Recipe calls for 1.6 tsp for a 900 grams of whole wheat flour. The hydration is about 70%, but I increased it to 75%.

I used the slap and fold kneading method to arrive at the gluten development strongly advocated for in the recipe. I added the butter later half way through the mixing. I made sure that a window pane was formed.

The interesting thing about the recipe is that it includes deflating the dough twice, there is a first rising, “gently deflating, not punching down!!” and then 2nd rise, deflating again, then rounding/resting  for 10 minutes, and finally shaping. Even the shaping technique for a sandwich loaf is unique in this book (I may illustrate the shaping technique one day).

I used freshly milled white Australian whole wheat.  


    Tall domed loaf using a Pullman look alike french deep pan


   Very soft, tender and light bread.


    Slices toast very quickly, as would white sandwich loaves.


    The crumb was cotton soft. 2Tb of butter did the trick!


I loved this bread, Period. The book has also some wealth of information about wholegrains and baking in general. I really recommend this book to any Home baker who wishes to bake healthy, yet light and flavorful wholegrain bread at home.

Khalid


sam's picture
sam

Hello,

I wanted to try out a schedule that worked for my normal work-week and maximizing
flavor, because I am usually not around during the daytime hours.  Also I
wanted to see the effect of a purely white flour mash.
Due to the way my schedule works, I did bulk ferment of 24 hrs, with the understanding
that my final dough might be sour (hopefully not inedible sour),
So for this recipe I was going for 100% white flour.  For my palette, a white
bread with a solid tang is good.  Maybe not so much tang for breads with a high
percentage of whole grains.

Turns out, this was perfect (for me).  I would make this again.  Tastes great!

All flour is KA Bread Flour, except for the starter flour which is KA AP.
All weight in grams.


Total Dough Weight: 1000  
Total Dough Hydration: 68%  
Total Dough Flour Weight: 595  
Total Dough Water Weight: 405  

Percentages:
   
Levain Percentage: 20%  
Levain Hydration: 125%  
Starter Percentage: 10% of leaven 
Starter Hydration: 125%

Soaker Percentage: 54%  
Soaker Hydration: 80%  
Mash Percentage: 20% of soaker 
Mash Hydration: 200%  
Soaker Salt Percentage: 1%
Overall Dough Salt Percentage: 1.5%

Levain:
Flour Weight: 114  
Water Weight: 143
Starter Weight: 12

Mash:    
Flour Weight: 64  
Water Weight: 128
Diatastic Malt Powder: 1

Soaker:
All Mash:
Flour Weight: 257  
Water Weight: 129  
Salt Weight: 3  
      
Final Dough:
All Levain
All Soaker/Mash
Flour Weight: 155

Salt: 6

Procedure I did:

1)  Evening #1, made mash.  I did 55C for 90 mins, 60C for 30 mins,
65C for 30 mins, 70C for 30 mins.

2)  Morning #2, mixed levain and soaker/mash.

3)  Evening #2, mixed everything to final dough.  Put dough into
chiller at 44F / 6.6C.

4)  Morning #3, stretch + fold.

5)  Evening #3, took dough out of chiller, another stretch + fold.

6)  Final of evening #3:

Allowed 1 hr for warm-up.

Shaped.  Cut out a small chunk of dough to watch bubble activity.

It took 2.5 hours for dough to be ready for bake -- Both from bubble activity
and feel of the dough.  I am getting better at gauging the feel of the dough,
and not needing the crutch of watching bubble activity, but it is good to have
the small chunk of dough as a confirmation.

Turns out, I am still staying up too late on Evening #3, because it takes a while
for the dough to do the final ferment after being the chiller for so long.  
But, I can make bread during the week!  :)
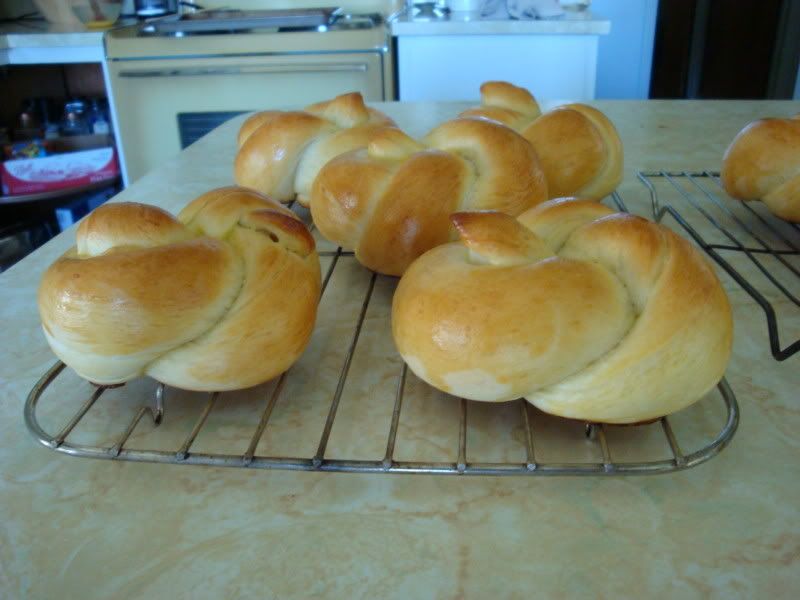
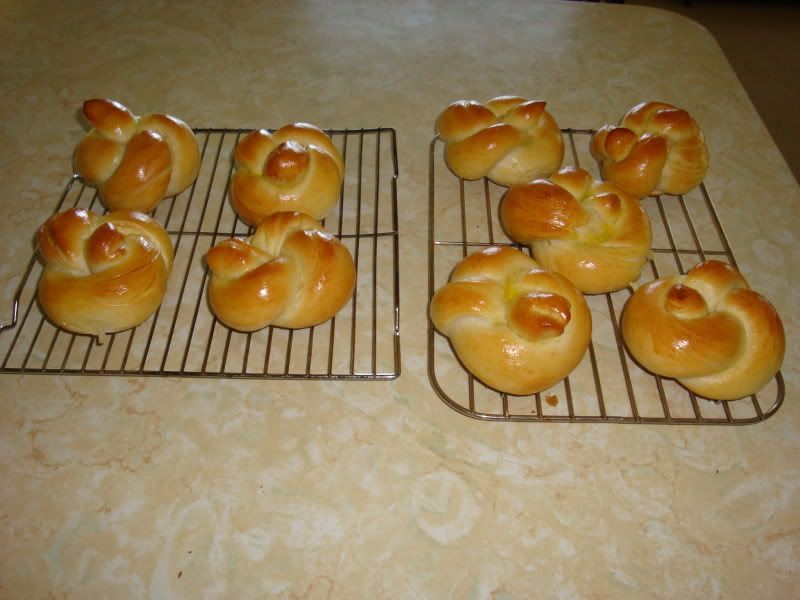
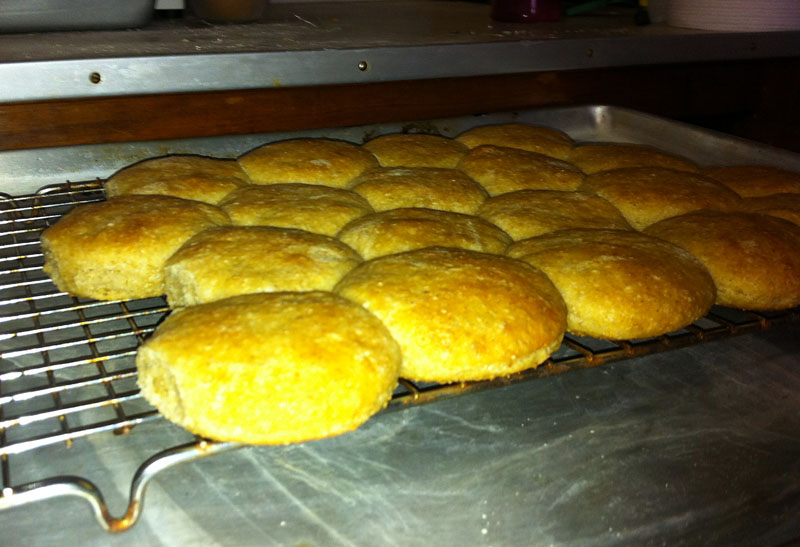
Pictures:

Oven after first 10 minutes of steam:


Baked with steam (above) for 10 mins at 460F, then lowered to 420F.   Here it is after 20 mins at 420F.


A little bit darker than I'd like, but all good.   Internal temp measured 207F and was hollow to the thump.


Crumb:


Happy baking!


kathunter's picture
kathunter

I made my bread dough for a wheat bread using my bread machine. After the kneed cycle I kneaded the dough just enough to shape it and put into a bread pan. It rose very nicely! I spread a little bit of butter on top then into the oven to bake at 350. The bread then flattened out unevenly, even!  What happened?  Suggestions appreciated.

Thanks,

Breadless in Seattle

alexlegeros's picture
alexlegeros

Hello all you bakers with far more experience than I!  I love this site for all your tips and notes.  I have my own, which is more about the process and reflection from an amateur perspective. Hope you'll share your comments with me! 


http://sourdoughrye.blogspot.com/


Thanks!

codruta's picture
codruta

Hello everybody! There are a lot of wonderful breads here lately. I was gone in vacation, and since I got back I keep reading every post that I missed. I feel so inspired everytime I open this site and I read your stories. My "breads-I-must-try" list is already too long and it keeps getting longer. If some of you want to know how my breads looked like two years ago, when I was a beginner and I did not know anything about bread and about this site, take a look at the picture from my latest post on Apa.Faina.Sare. (pictures at the end of the post). I learned a lot in the last two years, thanks to this site and its members.

Thank you.

The last bake, before I went in vacation, was a bread from Martin's blog. Martin names this bread STUREBY DELUXE. A friend of mine had trouble with the recipe and I wanted to help him, so I baked the bread to see how will turn out. I did not have white spelt flour, so I replaced it with white flour (type "0" italian bio flour- very good), and a bit of whole wheat flour. Martin keeps a stiff levain at 70% hydration. I transformed my starter in a stiff one, for this bread. I mixed by hand and I followed his instructions, (only I added more water and I retarded the dough just 8 hours, not 10-14 hours as he recommends). This bread is very very good. The crumb is moist, chewy, full of flavour. I took 3 breads with us in our holiday and they kept very well for a week. Here are some pictures:

You can see my romanian post about this bread here: paine-alba-dupa-reteta-stureby-deluxe

I ordered some bannetons from Germany and I'm impatient to get them. It's a matter of days. Till I'll get my bannetons, I decided I'll only bake baguettes, and after that I'll throw away all the improvised baskets and linens. First breads on my list for the new bannetons will be the kamut bread that andy posted a while ago, and Faux Faux Poilane from varda's blog.

It's good to be back! Happy baking, everyone!

Codruta


Pages

Subscribe to RSS - blogs