The Fresh Loaf

A Community of Amateur Bakers and Artisan Bread Enthusiasts.

Blogs

sam's picture
sam

Hello,

Here is another attempt of soft butter honey rolls.  I used the following hydration estimates for the following ingredients:  Butter = 17%, Honey = 75%, Eggs = 75%, Milk = 90%.   My targeted overall dough hydration was 66%, and fortunately the dough was spot on.  Nice and pliable, not sticky at all, but not too stiff/dry either.

Here was the recipe I made w/pics.    All flour was KA bread flour, all weights in grams.

Total Dough Weight: 950
Targeted Dough Hydration: 66%
Total Dough Flour Weight: 572
Total Dough Water Weight: 378

Percentages:
    
Leaven Percentage: 39%
Leaven Hydration: 100%
Starter Percentage: 20%
Starter Hydration: 125%

Butter Percentage: 20.0%
Eggs Percentage: 10.0%
Whole Milk Percentage: 10.0%
Honey Percentage: 10.0%
Salt Percentage: 1.8%
Baker's Yeast Percentage: 5.0%

Levain Sour:

Flour Weight: 203
Water Weight: 198
Starter Weight: 45
  
Final Dough:

Flour: 349
Butter: 114
Eggs: 57
Whole Milk: 57
Honey: 57
Salt: 10
Baker's Yeast: 29

Procedure:

1) Mix ingredients for levain and ferment until ripened.
2) Mix all ingredients into final dough.
3) Bulk ferment 90 mins, folding the dough once half-way through.
4) Scale rolls at 50 grams, I could fit 15 in a 13x9 pan, with an initial space between each roll (they will join together as they rise).
5) Final ferment 60 mins, or until fully risen.
6) Make an egg-wash + butter glaze, brush before bake.
7) Bake at 375F for 40 mins.


I made 15 rolls for a single pan, and some extra which I made a small loaf from.  The crumb is shreddably soft and light, the crust is also light and flakey.

Pics.

First one is about 15 mins into the final rise, the first balls I shaped had just started to join together:


I cut open the loaf to sample it.   (Saving the rolls for now..)


Happy baking!


Szanter5339's picture
Szanter5339
OldWoodenSpoon's picture
OldWoodenSpoon

I baked two loaves of Vienna Bread from Inside the Jewish Bakery tonight, and have a problem I have not seen before with pan breads.  Since pictures are worth a thousand words, here they are:

and the crumb shot:

These loaves went together without a hitch, using my stock Pendleton Mills Power bread flour.  I mixed the dough in my Bosch.  It took 13 minutes to get to a nice window pane.  Bulk rise went about 1 hour and 15 minutes due to the cold day and cold kitchen.  Same for final proof going about 1 hour and 30 minutes after shaping and panning.  The oven preheated for an hour with stones in place, and the bake took 30+ minutes to get the internal temperature up to 204F.   I took the loaves out of the oven and unpanned them onto my wire rack and went back to the movie.  When I looked in on them in about a half hour, I saw what you see.

The sides and ends of the base of these loaves all collapsed inward at the mid-line up the panned section.  If you look at the background loaf in the crumb shot you can see evidence of a "breakout" that would indicate the loaves could have proofed even a bit longer.  As the crumb shot itself shows, the loaves have a distinct hourglass figure now that they are fully cooled.  The crumb is light, with many holes of varied size, yet there is also a puzzling doughy patch up just part of just one side of this loaf.  I am assuming, but can't actually know, that this was the "inside" of the pan, toward the center of the oven and about 6 inches away from the other loaf, baked at the same time.  Given that the loaf made 204F in the center, this is a complete puzzle to me.

I ate a piece of the sample above, and aside from that doughy patch, it tastes excellent, is well done, tender and soft in the crumb with a nice "chew" to it.  I don't understand the collapse, and if you have and idea what causes this, I'd love to hear them.

Thanks for stopping by.
OldWoodenSpoon

lumos's picture
lumos


Sourdough Potato Focaccia


INGREDIENTS

   For Dough

      Starter (70% hydration)   70g

      Strong flour   100g*

      T65 flour    100g (or 95g Plain flour + 5g WW)*

              *(or alternatively, 195g AP + 5g WW)

      Salt  4g

      Extra Virgin Olive Oil  1 tbls

      Water   155g (78%)


  For Topping

     150 – 200g Small new potatoes (no need to peel)

     1 clove garlic, crushed and chopped

     Rosemary

     Salt and freshly ground black pepper

     Olive oil

     Coarse sea salt

     Optional … Parmesan cheese


  METHOD

  1. Mix all the ingredients for the dough and autolyse for 30 minutes.
  2. S & F 3 times in the bowl every 40 minutes or so until medium gluten development.
  3. Put in the fridge and cold retard for overnight – 24 hrs.
  4. Take it out of the fridge and leave for 30 minutes -1 hr at room temperature.
  5. Letter-fold the dough once or twice to give extra-strength if necessary. 
  6. Rest until fully proofed.
  7. Meanwhile, thinly slice the potatoes to a thickness of ₤1 coin….which may not give much clue to people outside UK. :p….it’s about 3mm thick. The important point is that the slices should be quite thin or they won’t cook in the time the dough bakes.
  8. Put the sliced potatoes, olive oil, rosemary, chopped garlic and salt & pepper in a large bowl and mix well.
  9. Spread the dough into 20-21cm X 30-31cm rectangular on a well oiled baking parchment, dimpling all over with oiled fingertips.
  10. Layer the potato slices over the top and scatter the rosemary and garlic over the potatoes.

  11. Cover and leave for 1- 1 1/2 hours until dough increase the volume and the edges get puffed up a little. 

  12. Pre-heat the oven to 200 – 210 C.

  13. Sprinkle coarse sea salt over the top with freshly grated Parmesan cheese (if using). Drizzle with more olive oil and bake for 25- 35 minutes until golden and potatoes are soft and cooked.


Roast Turkey Sandwich with the left-over focaccia next day


OldWoodenSpoon's picture
OldWoodenSpoon

A couple of days ago David G. posted this recipe in his blog here.  Being a chocoholic that refuses recovery or treatment, I could/would not resist the temptation to indulge.  First, though, I must point out in my defense that I have never baked a biscotti before.  Ever.  They came out well enough to rapidly become an endangered item in the kitchen though!

David mused in his original blog post that he thought these would be better with as much as 3/4 teaspoon of chipotle chili.  My wife and I both enjoy the heat, and neither of us has ever had chocolate with chili before, so I used a scant teaspoon.  Well, more like a fat 3/4 teaspoon, of chipotle.  All I can say is, "I gotta do this again!".

The heat of the chili just trails off the back of the bite, and does not persist overly long, but it is there and lends a lingering tangy tail to the chocolate flavor.  I also used the Hershey Special Dark chocolate chips, but had to settle for the plain old Hershey Dark Cocoa I had in the cupboard since the grocer did not have the special dark cocoa powder on the shelf.

Never making a biscotti before, I did not know what to expect.  I certainly did not expect the dough to be so sticky, and I wonder what it really should be like.  It also took twice as long as the recipe prescribes to bake to the first stage where I could cool and cut them, and they took twice as long as well in the second stage to dry them out/crisp them up.  My oven temps are spot on because I test a couple of times a year, and I have no trouble with bread timings.  I just think I made some kind of mistake, or should have added more flour, making these up.

If you like chocolate, you will really love these!  Try them if your waistline will stand it.  Mine won't, but I went for it anyway!
OldWoodenSpoon

Szanter5339's picture
Szanter5339

I left a few, and overlay made ​​of bread dough on top.
Scissors and cut around the letters as I told, then I put the shaped bread.
Blade will cut around the pattern.
  Beautiful, decorative and what is important, very tasty!


loydb's picture
loydb

Over on Fitocracy, we're having an Iron Chef Apple challenge. This is my entry.

This is based on the Basic Sourdough recipe from Peter Reinhart's Bread Baker's Apprentice. BBA also contains the instructions for making your very own sourdough starter particular to your local environment.

Day 1: The Preferment

Start with a mixture of 45% hard red wheat, 45% hard white wheat, and 10% rye. Mill fine. (Alternately, any combination of unbleached bread flour, whole wheat flour, and rye flour that you like, just maintain the 10% rye ratio by weight.)


Take a few ounces of your sourdough starter, and mix in an equal weight of water and flour. Let it rise covered for 5-8 hours (it will double roughly), then put in the fridge overnight.


Day 2: The Dough

Dice up 3-4 apples. I used three Braeburns and a Granny Smith. Also weigh out 5 oz. of pistachios and 4 oz of blue cheese. Chop the apples up last, as they'll immediately start to oxidize and turn brown.


Add the water and preferment to the mixer and start it up.


Alternate adding the apple and your flour until all the apple (and about 2/3 of the flour) has been incorporated, then alternate adding in the pistachios and the rest of the flour, adding the blue cheese at the very end.


Turn the sticky mass out onto a well-floured cutting board and, using a dough blade and your hands, continue to knead and incorporate flour until it forms a fairly stiff, non-sticky dough.


Put it in a large bowl or tub and let it rise for 4-6 hours, until nearly doubled. Refrigerate overnight.


Day 3: Shape n' Bake

Remove the dough from the fridge at least two hours before shaping. It will have slowly risen more overnight.

Gently divide the dough and shape it, then allow to proof covered until nearly doubled.


Score loaves and bake!


The result makes great sandwich bread -- no cheese is needed, just a couple of pieces of ham. It's also good toasted with honey for breakfast.

loydb's picture
loydb

This is my take on Bon Appétit's Thyme Gougères. I subbed chives for the thyme, and used finely milled hard white wheat for the flour. I also hedged my bets with 1/4 teaspoon of baking powder. These are cheesily delicious, and are begging to be filled with something (duck liver patè maybe?)


PiPs's picture
PiPs

Nat has booked us a well deserved weekend away from the city rat race in the hinterland north of Brisbane as part of my birthday gift. This means a weekend away from the kitchen and the endless washing up I seem to create. 

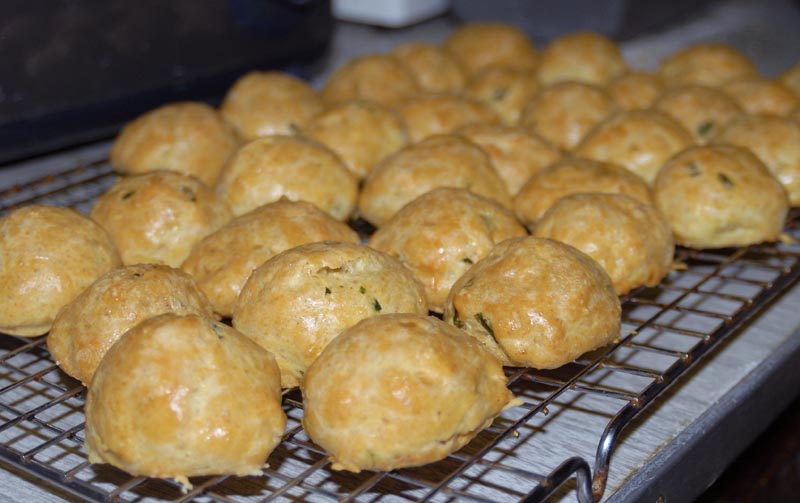
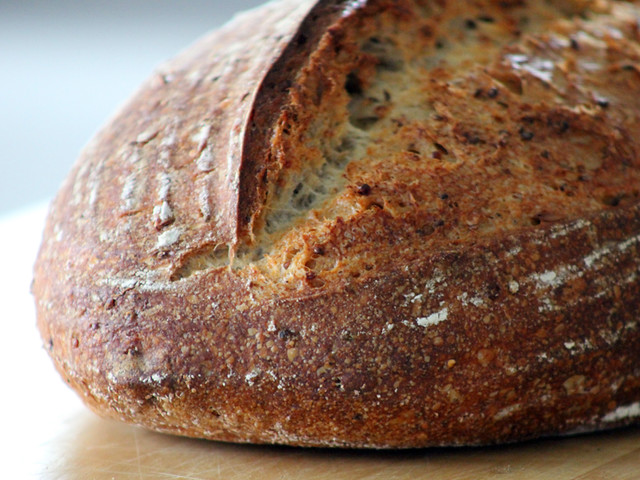
Nat adores the Rye and Caraway loaf from the Bourke Street Bakery cookbook. So I have baked it for her/us so we may take it away with us for picnicking and the like.

While in Sydney earlier this year we found the bakery on Bourke St on the rainiest, windiest, coldest, most miserable day imaginable. It is tiny, really tiny. This particular day all the seating was taken, leaving us standing outside huddled under an umbrella with no room for coffee or a yummy tart. I was already holding a bag full of bread from other bakery visits (Sonoma and Iggy’s Bread of the world) so I had no room for further, so alas I have never tasted the original that this bread is based on. 
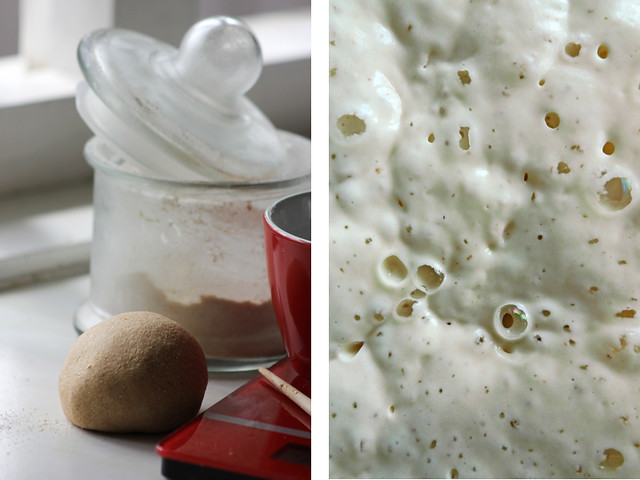
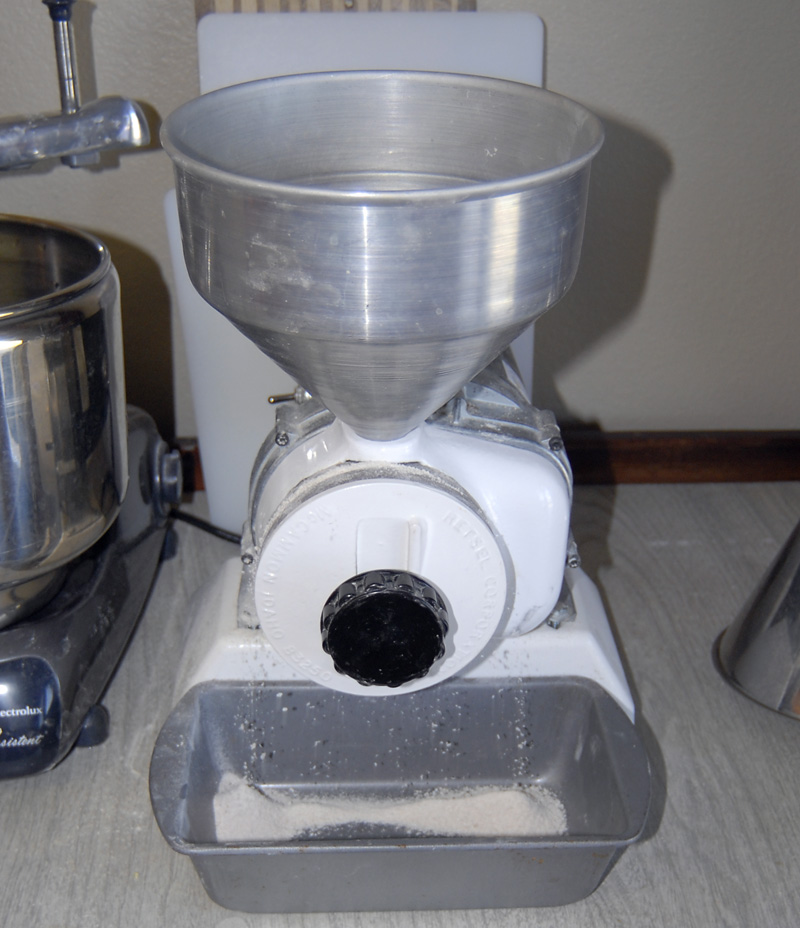
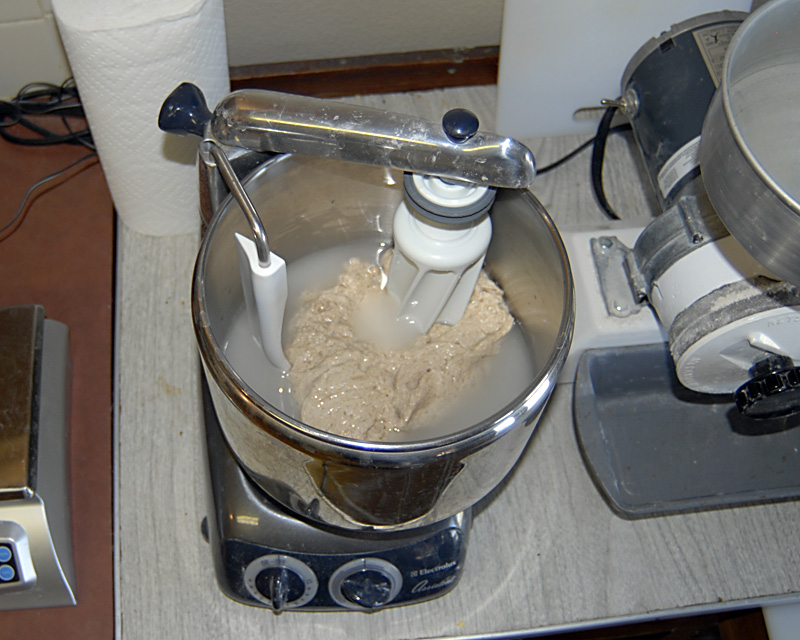
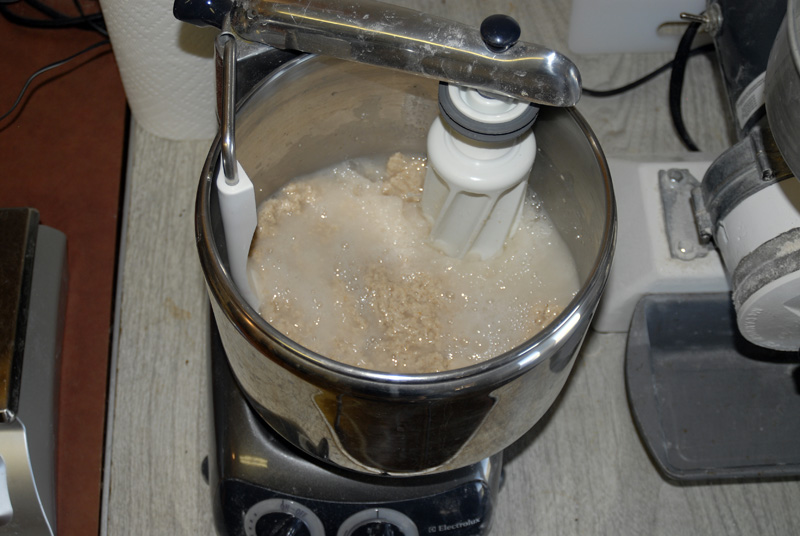
 
Desem to batter

As we are away, I refreshed my desem starter a day ago for another week in the fridge and used the discard to build a 100% hydration white flour starter which the formula calls for. Two feeds later the starter was bubbling, active and ready for use.

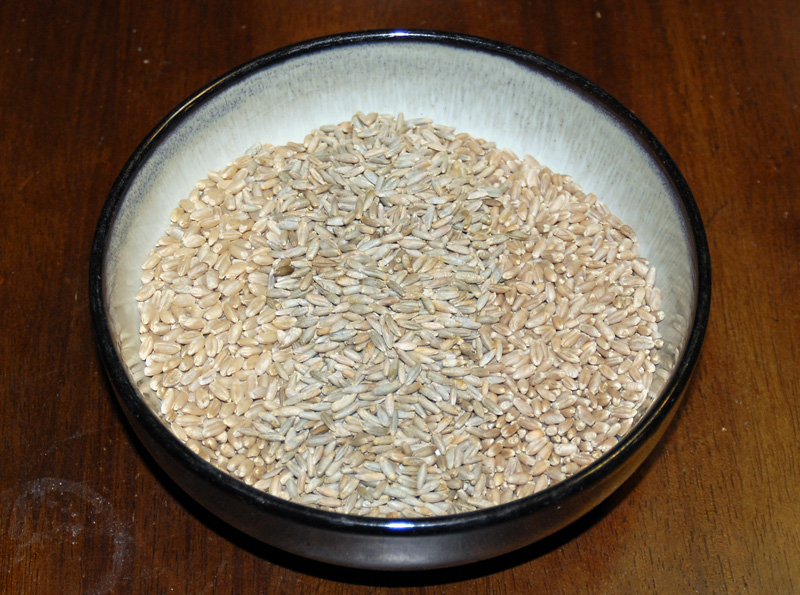
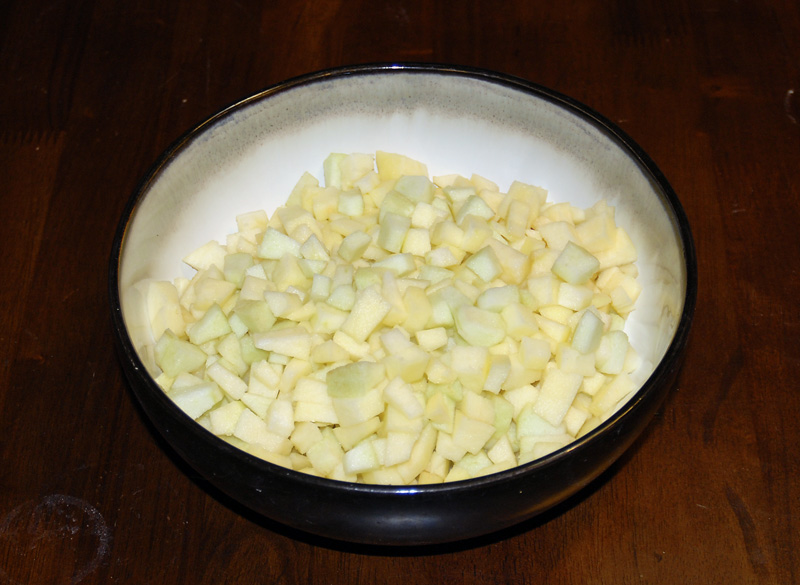
With my rye grain supplies sorely depleted I chose to use quinoa as the alternative grain soaker mentioned in the formula. The morning before mixing I soaked the quinoa in an equal weight of water.


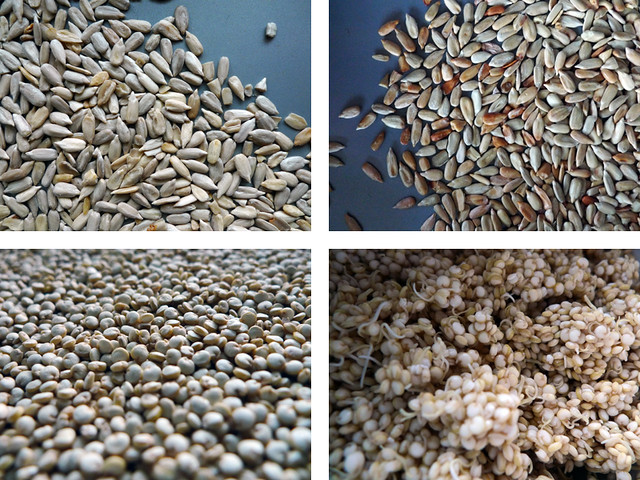
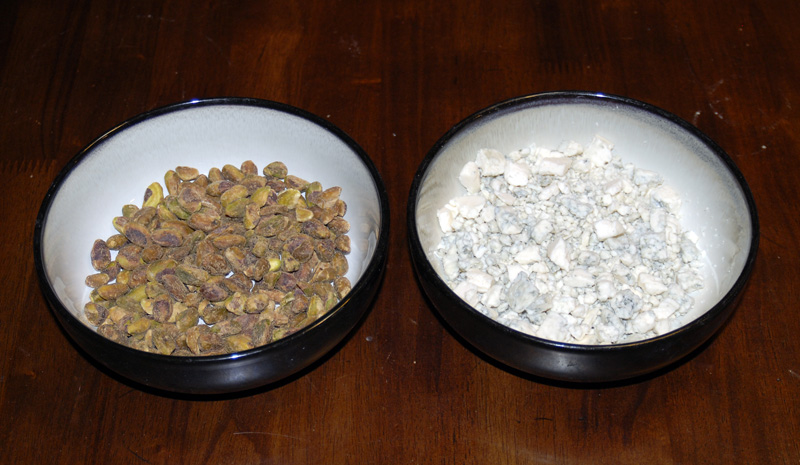
Toasted seeds and sprouting quinoa

… Surprise …When I arrived home the quinoa had sprouted. I had no idea this was going to happen and it brought a rather big smile to my face.

I won’t publish the formula (for copyright reasons) as I didn't deviate from the original apart from using freshly milled whole wheat for 20% of the total flour. Lets just say it’s a sourdough at around 60%-65% hydration with a large proportion of liquid starter. It has aromatic additions of caraway seeds, cumin seeds, toasted sunflower seeds, rye starter and in my case sprouted quinoa grains.


caraway seeds, cumin seeds, toasted sunflower seeds and sprouted quinoa grains

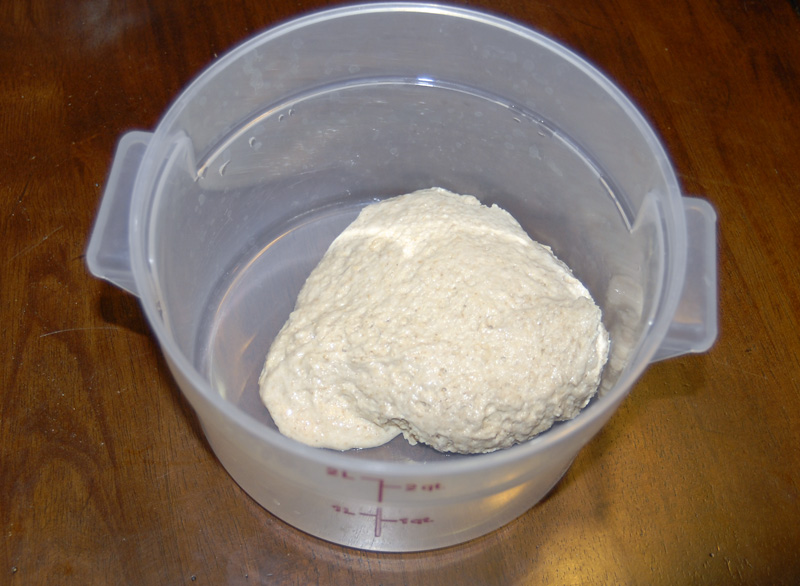
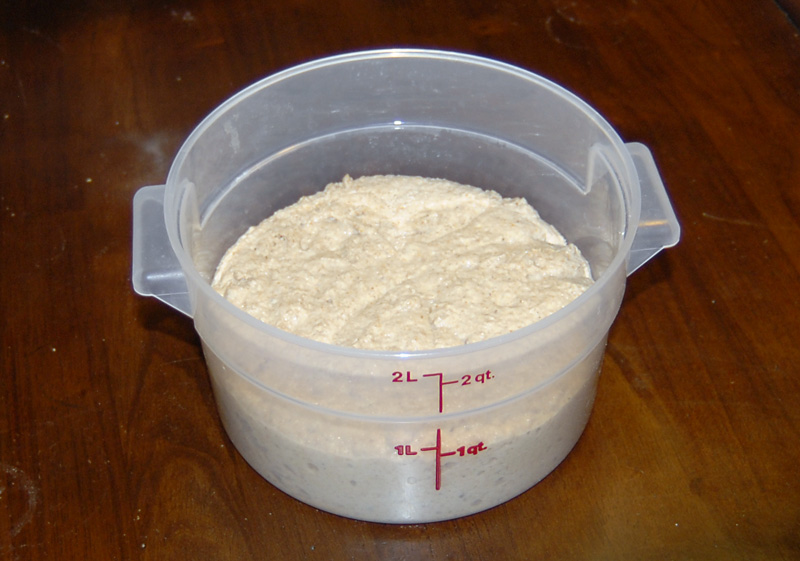
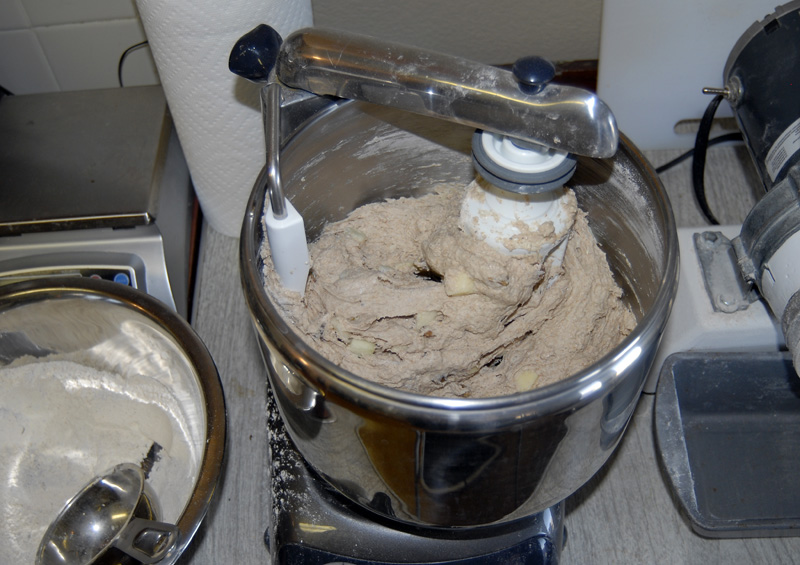
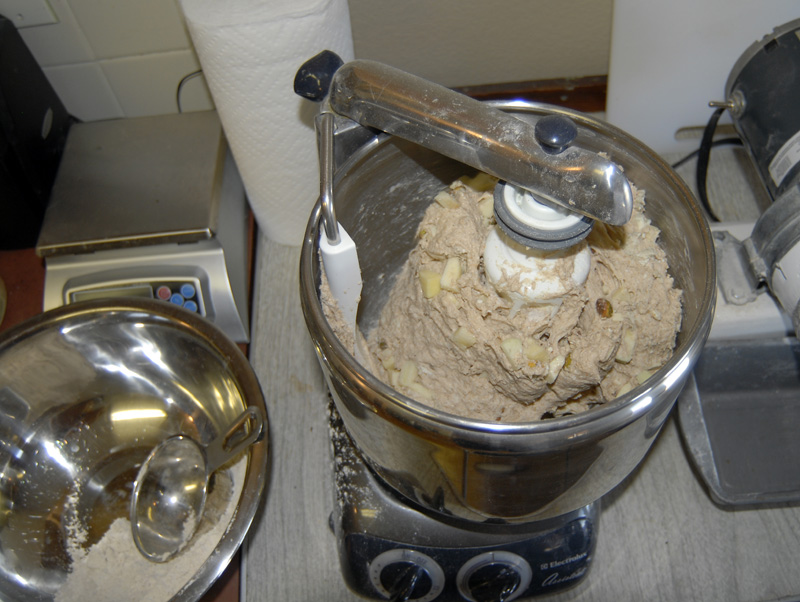
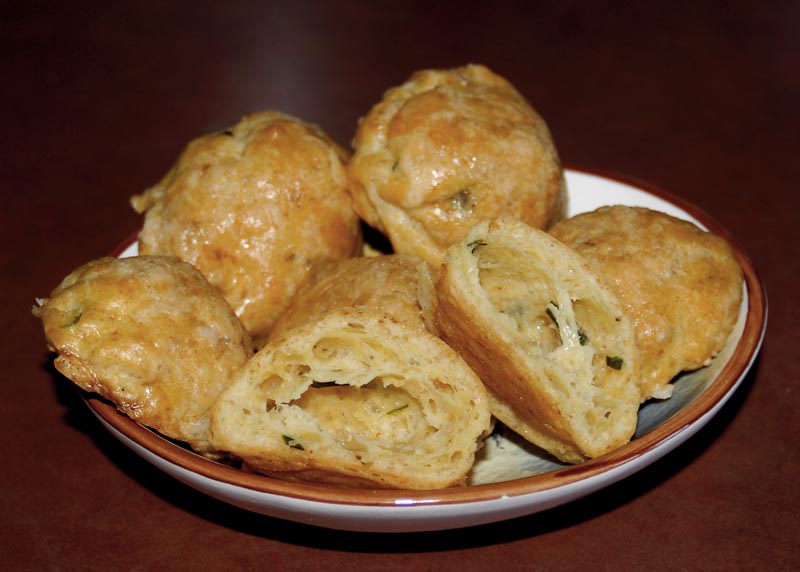
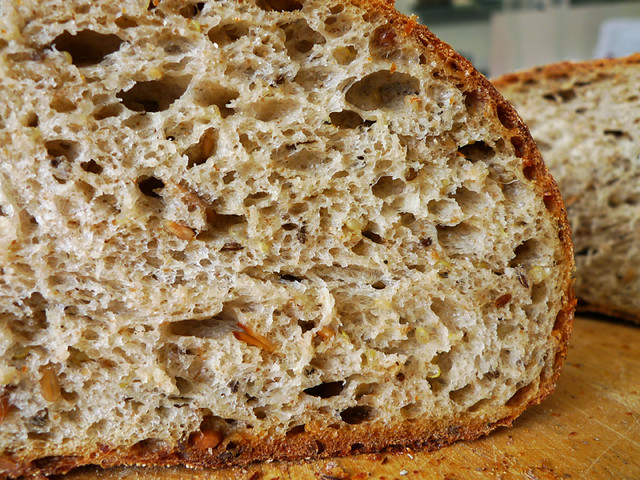
It has been a while since I have had to knead dough at this hydration level. On a hot and humid Brisbane night, it was a 20min workout….but the work pays off for a beautiful silky dough leading to a soft crumb after baking. I cut the bulk ferment short by half an hour and gave the dough a nice long bench rest so shaping would be relaxed and agreeable.

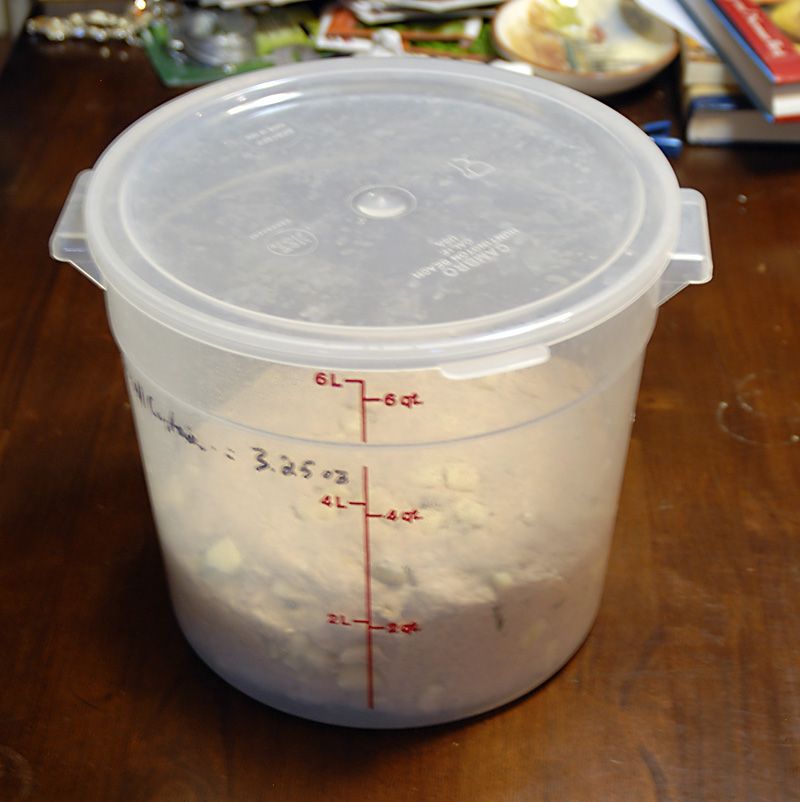
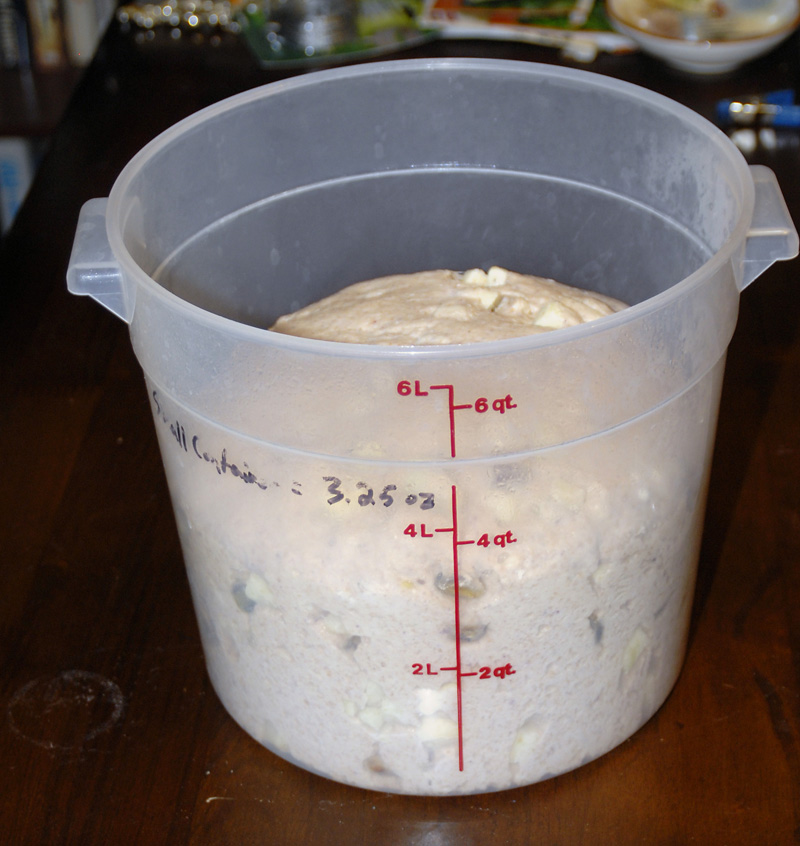
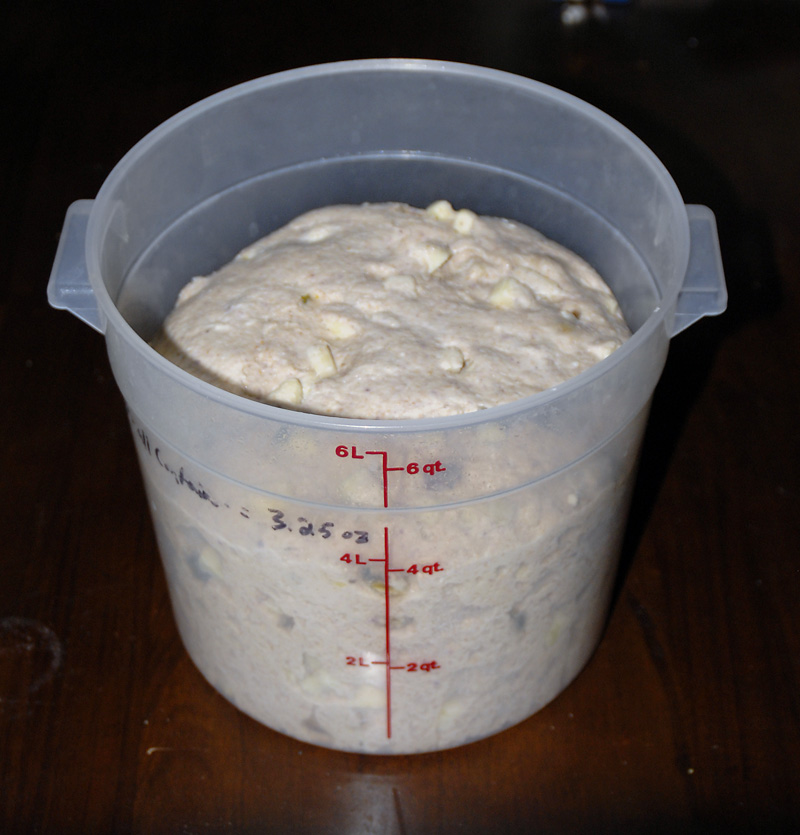
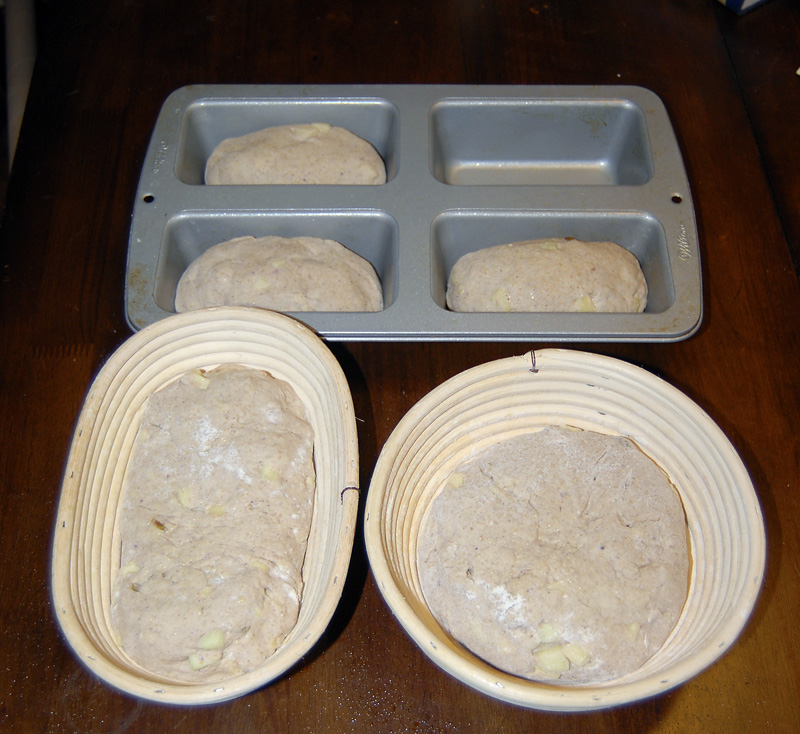
Into the fridge straight away for a nine hour proof.


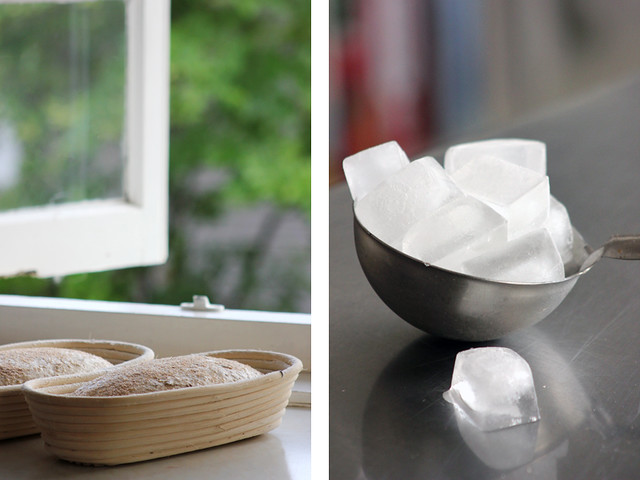
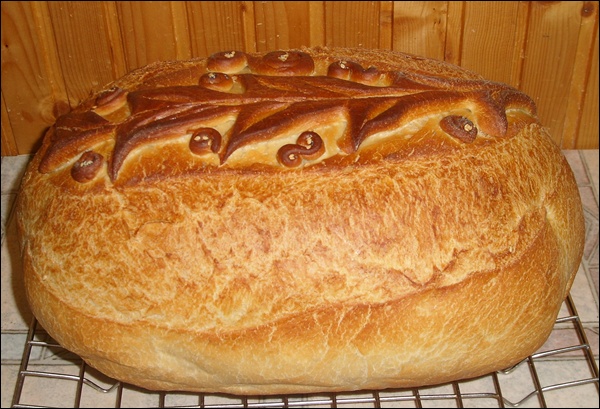
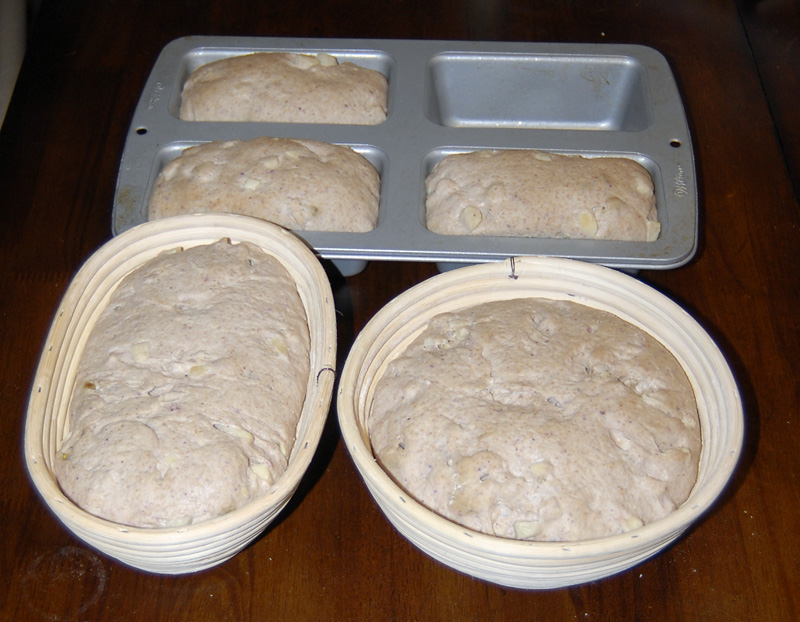
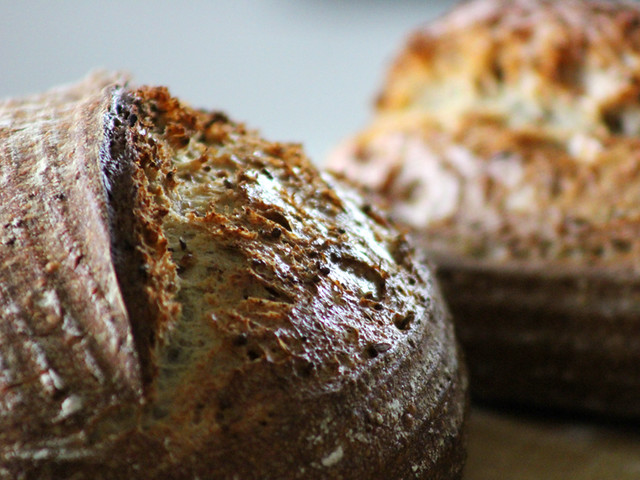
Waiting to load and steam
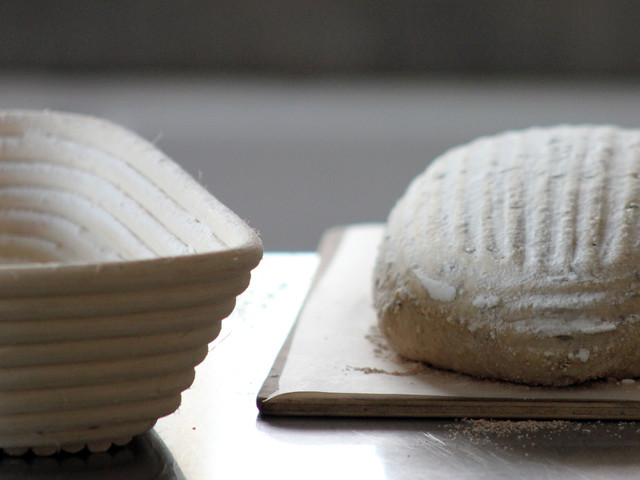
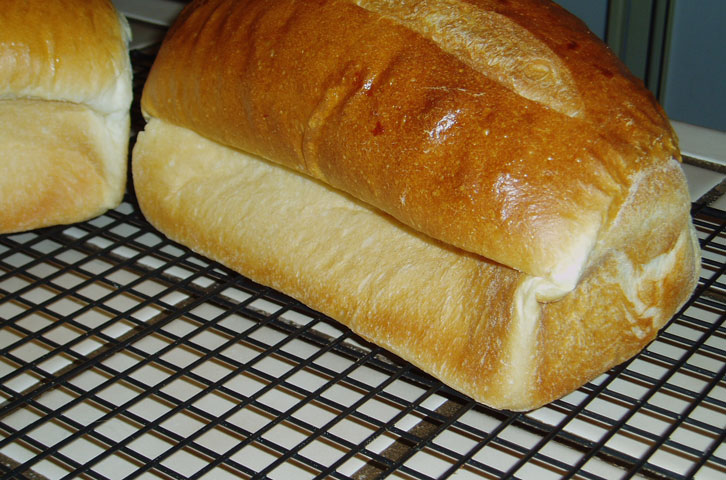

Upturned

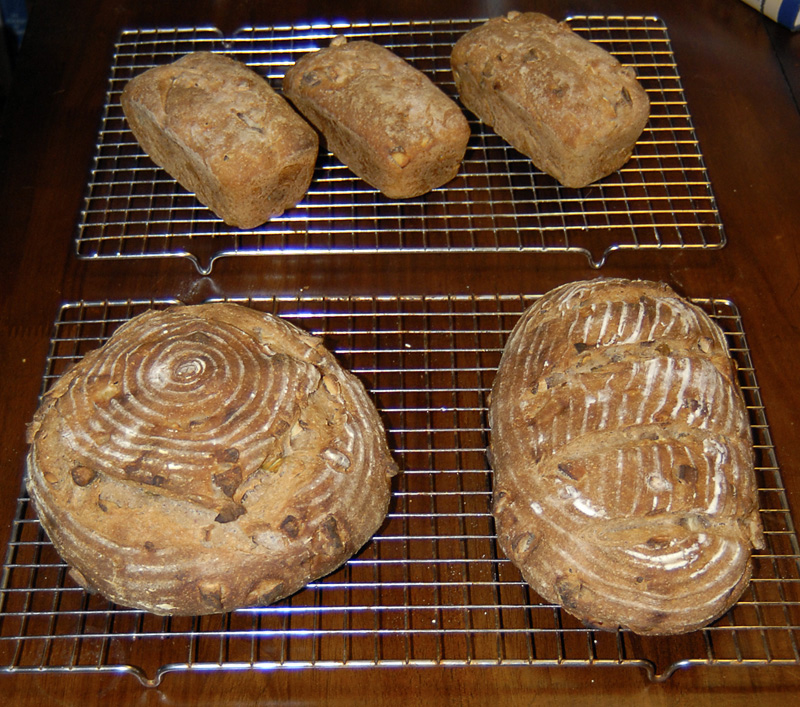
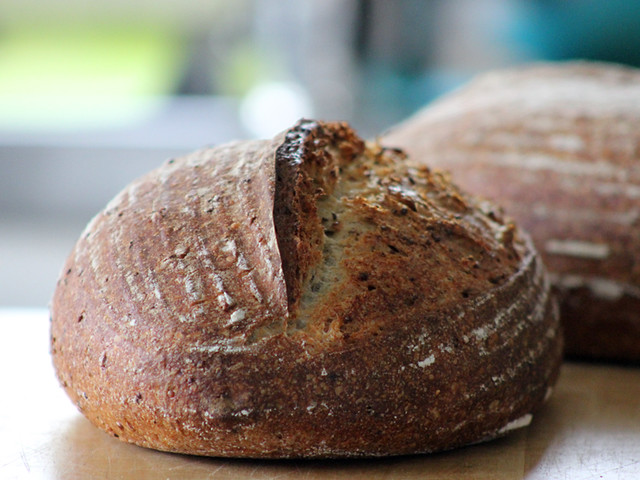
One loaf will travel away with us for the weekend, while the other has come to work with me….half of it is gone already with lots of happy work colleagues.

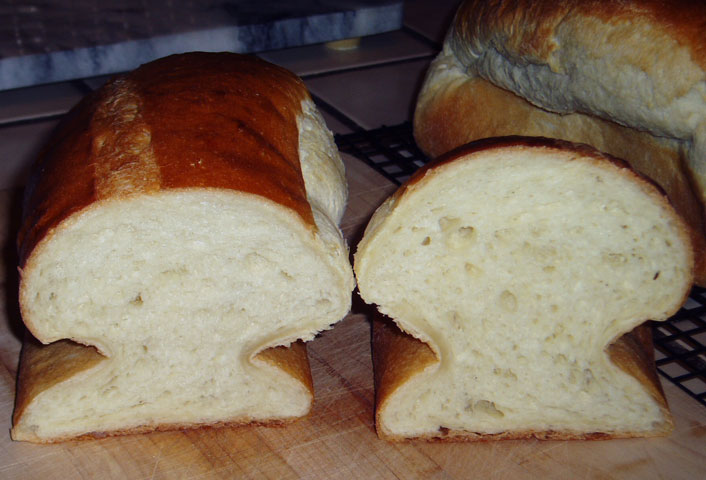
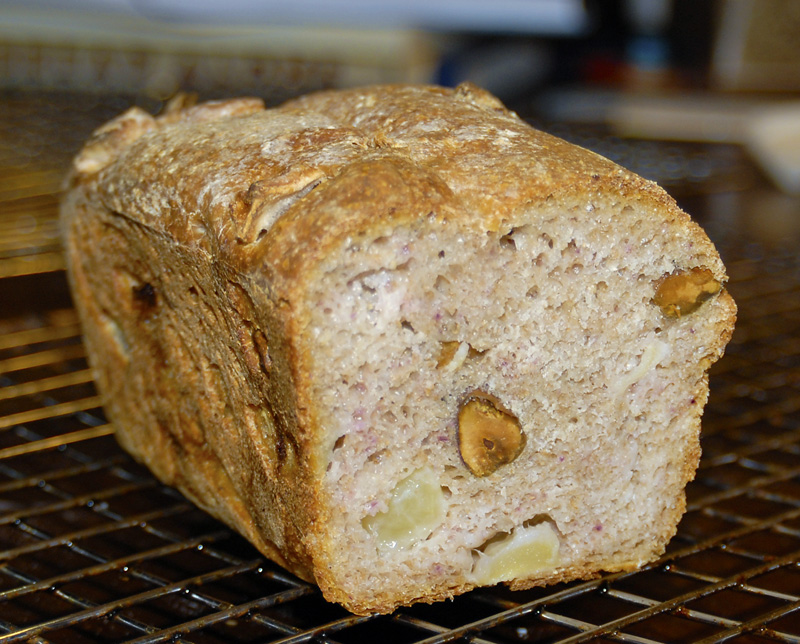
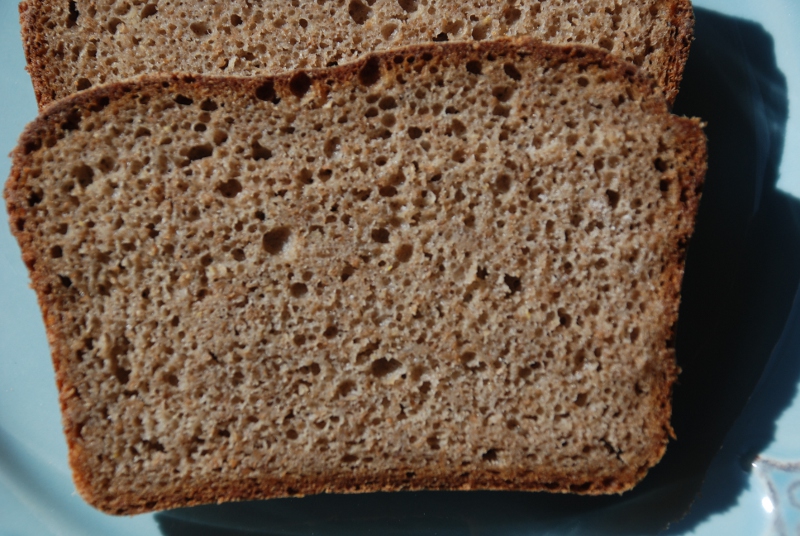
Crumb is soft , aromatic and savoury…I heard someone sniffing all the way down our corridor at work before arriving in our room with a smile.

Best wishes to everyone spending time in their kitchens this weekend … See you all next week.

Cheers, Phil

varda's picture
varda

Detmolder stage 2, Russian Rye production sourdough, new wheat starter, 200% rye starter

Denial is more than a river in Egypt.   When I came back from vacation at the beginning of September, my starter of over a year was only clinging to life after having lived through a power failure of indeterminate length due to a hurricane.   I slowly nursed it back to life only to lose interest while exploring baking with 100% durum.  The breads I made from time to time with my trusty wheat starter were getting weaker and weaker until finally they stopped rising altogether.   I was forced to admit the sad truth: my starter died of neglect.   I decided to start over again with a new wheat starter.   Meanwhile I got Andrew Whitley's book - Bread Matters - and was onto a new project - getting a 200% hydration rye starter going and raising bread.    Fortunately Juergen stepped in with a tutorial on how it's done.  I had hope that with patience I could do it too.   Then a Noreaster paid an unexpected visit and there I was with two new starters sitting on the counter with no light, no heat, and a very bored and upset eleven year old with no school to go to since the power was out there too.   This would have been a good time to let the new starters die as well, but somehow I fit in a few feedings during the four day power outage, and lo and behold when the lights turned on yesterday afternoon they were both not only alive but doing well.   In fact the rye starter was frothing - the state I've been awaiting for a few weeks.    I decided to try again (#5?) with Whitley's Russian Rye.   At the same time, I decided to go back to a formula I had tried almost a year ago,  Detmolder's 3 Stage 90% Rye in Hamelman (p. 201) because I was interested in the contrast between the Russian and German ryes.   So I mixed up stage 2 of the Detmolder (I went straight to stage 2 because I was making only one loaf which would have called for just 2 g seed starter in stage 1)  and the production sourdough for the Russian Rye and was ready to go today.   The Russian Rye went exactly as directed.   The recipe calls for 200% hydration rye starter, and 103% total hydration so it isn't a dough in any sense but rather a paste as Andy terms it.   The German Rye has a bit of high gluten flour (10% of total) in the final dough, but is also high hydration  - 79% - so not much doughier and sorta kinda shapable but not really.   Since so much fermentation takes place during the starter stages bulk ferment is only 10  minutes and proof is an hour, whereas for the Russian Rye, there is no bulk ferment and proof is according to Whitley anywhere from 2 to 8 hours.   Mine took 3 hours.

German is round, Russian is rectangular

Formulas:

Russian Rye


Andrew Whitley


11/2/2011


8:00 PM


Production Sourdough


Seed

50


Total


Whole Rye

17

150

167

100%

Water

33

300

333

200%


500


11/3/2011

8:30 AM


Final

Starter

Total

Percent

Medium Rye

330


330

69%

Whole Rye


147

147

31%

Water

200

293

493

103%

Salt

5


5

1.0%

Prod SD

440


31%


975


Mix production sourdough at least 12 hours in advance.   Mix final dough and place in bread pan.   Proof until it softens (3 hours for me.)   No docking or scoring.  Bake at 480F for 10 minutes with steam, 50 minutes without at 410.


3-Stage 90% Rye


Hamelman


11/2/2011

11/3/2011


8:00 PM

9:30 AM


Starter


Seed

12


Total

Percent

Whole Rye

6

50


56

29%

Medium Rye


135

135

71%

Water

6

39

135

180

94%


371


11/3/2011

1:00 PM


Final

Starter

Total

Percent


Medium Rye

261

135

396

79%


Whole Rye


56

56

11%


High Gluten

50


50

10%


Water

215

180

395

79%


Salt

9


9

1.8%


Starter

371


38%


906


Please read Hamelman for starter directions - they're complicated.   Mix final dough and bulk ferment for 10 minutes.   Transfer to oiled bowl for proof.   Proof until dough softens.   Flip (and coax out of bowl) to parchment paper on peel.   Bake at 480F for 10 minutes with steam, 40 minutes at 410F without. 

Frustratingly, I have to wait to cut for a day.   Crumb shots to follow.

And here they are:

Russian Rye

German Rye

As for taste, the Russian Rye is very moist.   It has a slightly tart flavor and in general is packed with flavor.   I just had a slice without anything on it, and it was so flavorful it didn't need anything.   The German Rye is more what I'm used to as far as rye goes.   I grew up on Jewish Rye, and it tastes very similar to that, even though Jewish Rye has much lower percentage of Rye than this.    It is a very tasty bread, but I would not eat a slice without a topping of some sort.    If someone stuck a gun to my head and I had to choose (who would do such a thing - a crazed baker?)  I would pick the Russian hands down.   It is so good that I am very reluctant to fiddle with it.   It tastes like a rye pudding only in bread form.   Really incredibly delicious.  

And finally the storm:

It's January in October

Pages

Subscribe to RSS - blogs