I wanted to make a bread for a recent gathering of friends. My preference was for something sweet but not a sticky, gooey kind of sweet. After paging through a number of books, I came across a recipe in Beth Hensperger's The Bread Bible for a sweet vanilla challah that sounded like it would fit the bill. The recipe called for just 1/2 cup of sugar in a two-loaf batch of bread, so it wasn't excessively sweet. The flavor, though, was driven by 1-1/2 tablespoons of vanilla extract in the dough and another teaspoon of vanilla extract in the glaze. How could it be anything but good?
The dough ingredients include:
1 tablespoon yeast (instant or active dry)
1/2 cup sugar
1 tablespoon salt
6-1/2 to 7 cups of flour
1-3/4 cups hot water (120 F)
4 large eggs at room temperature, lightly beaten
1/2 cup vegetable oil
1-1/2 tablespoons vanilla extract
The glaze ingredients include:
1 large egg yolk
1 teaspoon vanilla extract
1/2 teaspoon sugar
Process
Combine the yeast, sugar, salt and 2 cups of the flour; mix by hand or by mixer.
Add the hot water, eggs, oil, and vanilla. Beat hard until smooth. Add the remaining flour, 1/2 cup at a time. Continue beating until the dough is too stiff to stir.
Turn out on a lightly floured surface and knead until soft and springy and a layer of blisters shows under the skin, about 4 minutes. (Note: I did not see any blisters forming, but kneaded until the dough was smooth and elastic.) The dough needs to be slightly firm for free-form loaves.
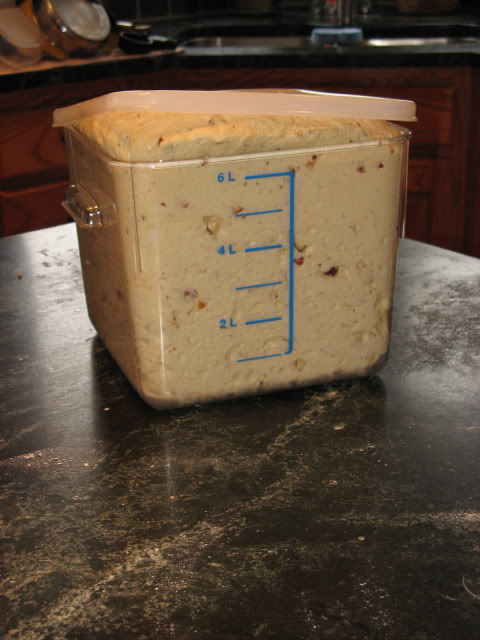
Place the dough in a greased deep container. Turn the dough once to coat the top and cover with plastic wrap. Let rise at room temperature until doubled in bulk, 1-1/2 to 2 hours. (Even with room temperature at a relatively cool 65F in my kitchen, it did not need this much time to double. I could see this doubling in less than an hour with warmer, summer-time temperatures.)
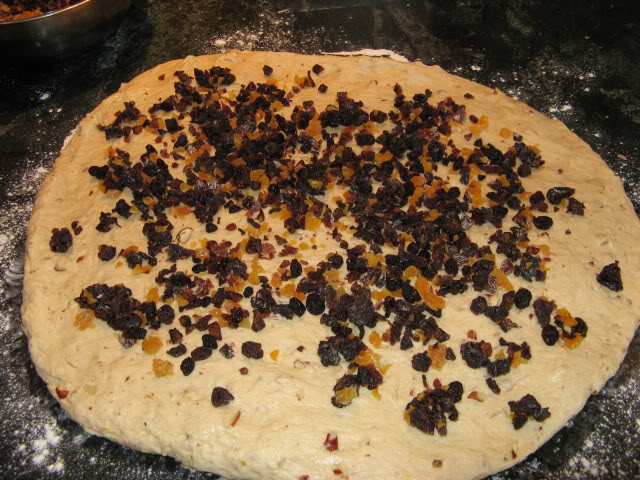
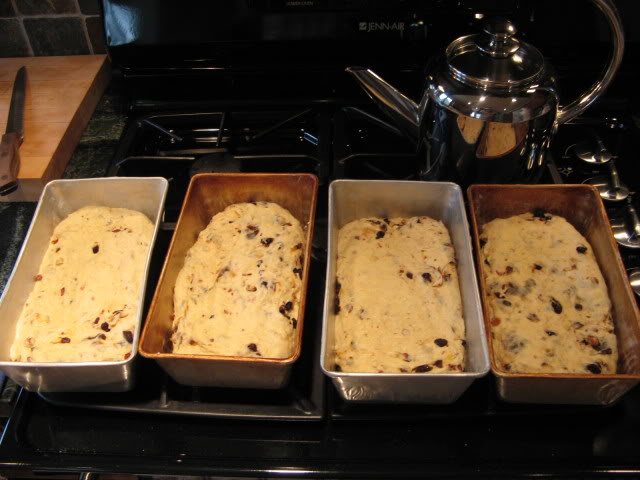
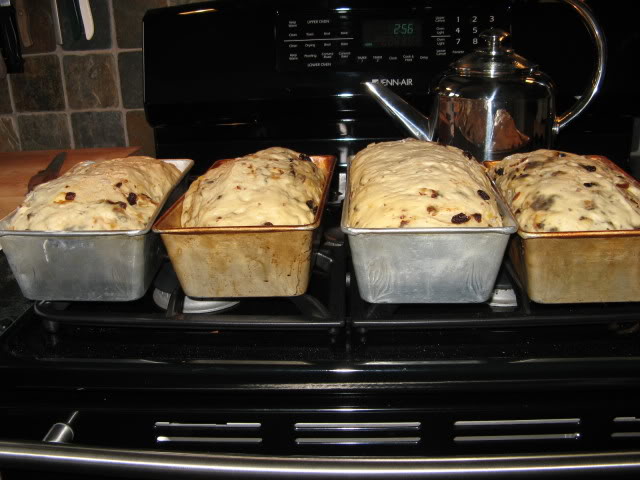
Grease or parchment-line 1 or 2 baking sheets. (I went with 2 sheets, not wanting to risk the two loaves growing together while they baked. It turned out to be a good choice. Note that Ms. Hensperger also offers the option of using springform pans.) Gently deflate the dough. Turn the dough onto a lightly-floured surface. Divide the dough in 2 equal portions. Roll each portion out into a smooth, thick strip about 30 inches long, with one end 2-3 inches wider than the other. (Picture a shorter, thicker billiard cue stick.) Roll to to lengthen and taper the thinner end. With the wide end on the work surface, lift the tapered end and wind the rest of the dough around the thick end 2 or 3 times, forming a compact coil. Pinch the thin end to the body of the coil and tuck it under. Place the coils, with the swirl pattern facing up, on the baking sheet(s). Cover loosely with plastic wrap and allow to rise until nearly doubled in bulk, about 30-40 minutes. Because of the eggs, this loaf does not need to double completely; it will rise enough in the oven. (And how! It sprang up to double or treble its original height.)
Twenty minutes before baking, preheat the oven to 350F. To make the vanilla egg glaze, whisk together the egg yolk, vanilla and sugar in a small bowl. Beat until well blended. Gently brush the dough surfaces with a thick layer of the glaze. Place the baking sheet(s) on a rack in the center of the oven and bake 40-45 minutes, or until a deep, golden brown and the loaves sound hollow when tapped with your finger. Carefully lift the turbans off the baking sheet(s) with a spatula and transfer to cooling racks. Cool completely before slicing.
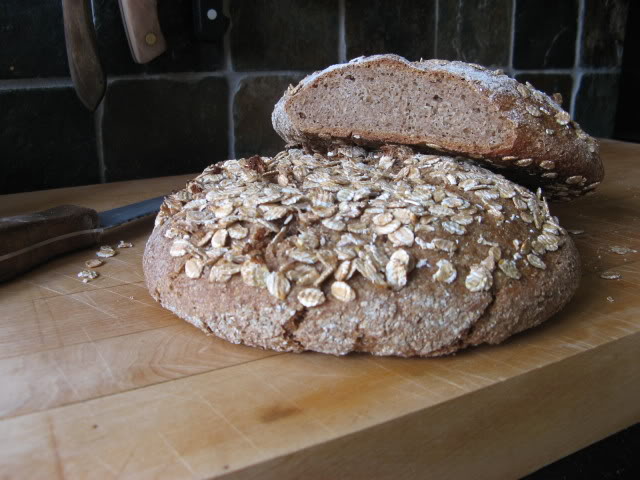
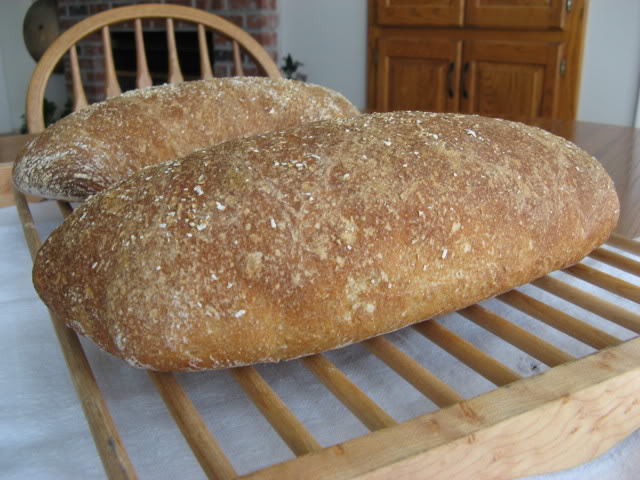
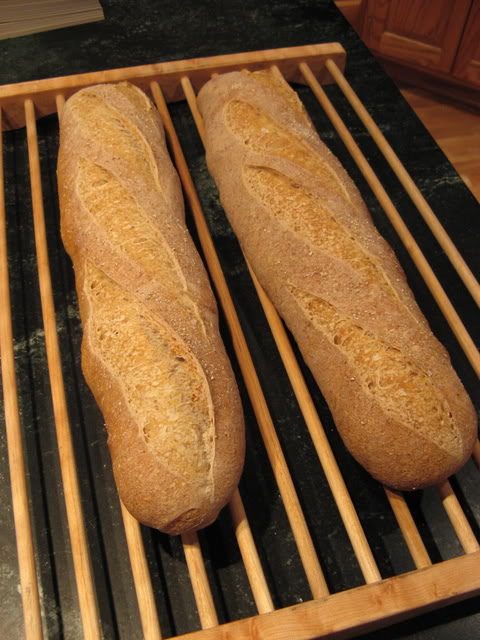
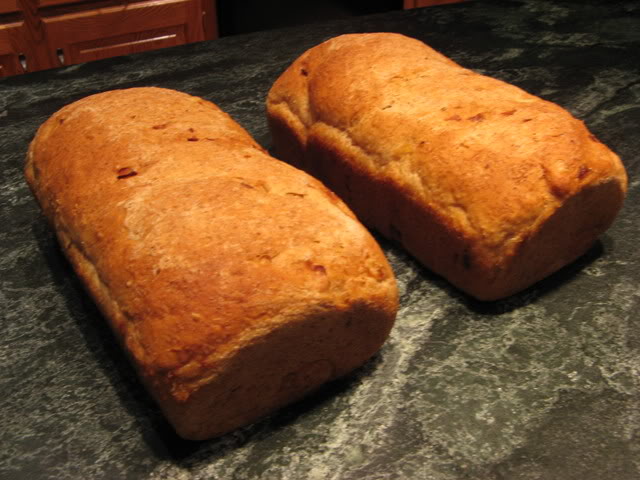
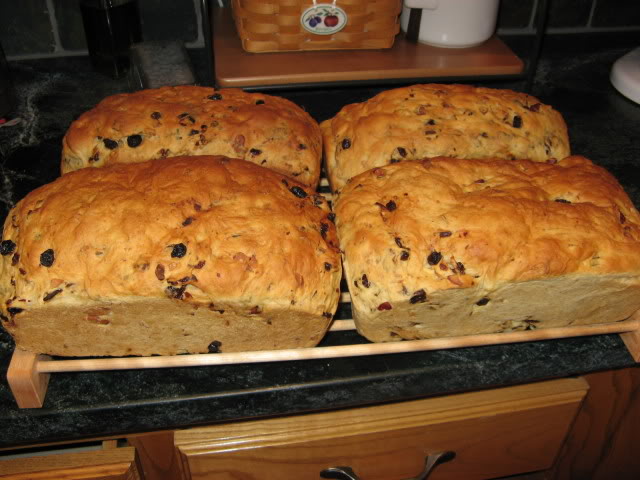
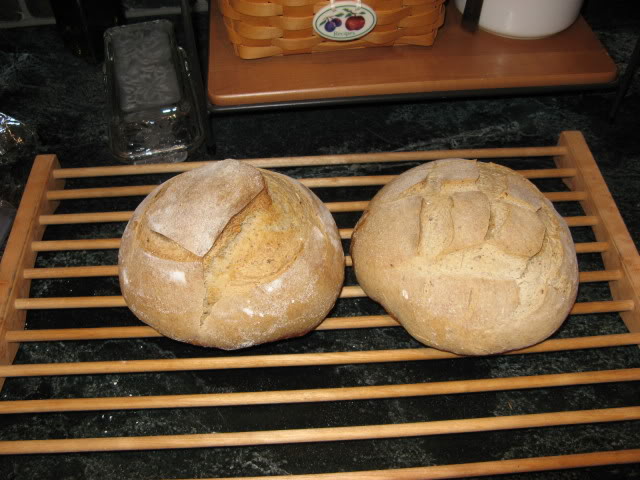
The finished bread looks like this:


Now, any bread smells good when it's baking. This bread's fragrance while baking is over the top; our whole house was perfumed with vanilla.
The flavor is also marvelous. The crumb is fine-textured, smooth and moist. It's good all by itself, with a dab of butter, with jam or marmalade, and toasted. It will never last long enough to go stale, but it would make a wonderful base for either French toast or bread pudding.
The results were every bit as good as I had anticipated and a big hit with my friends.
Paul